


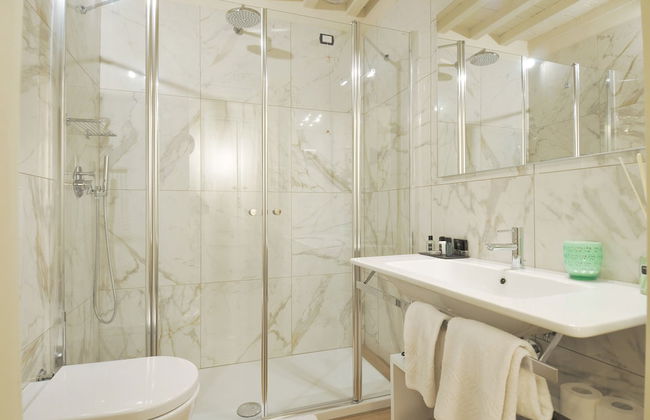


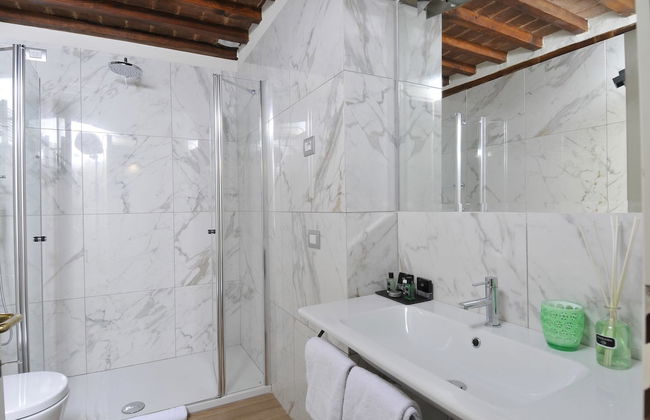


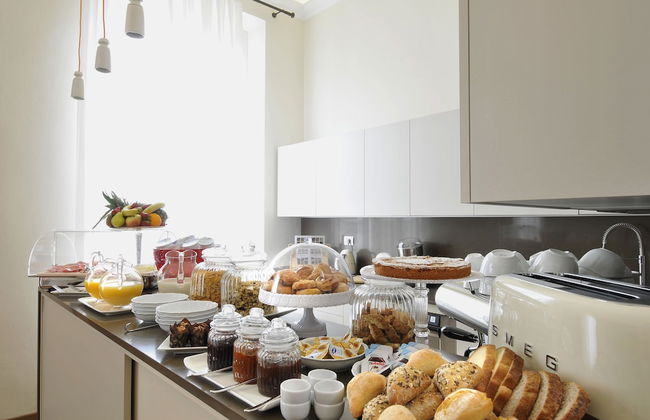


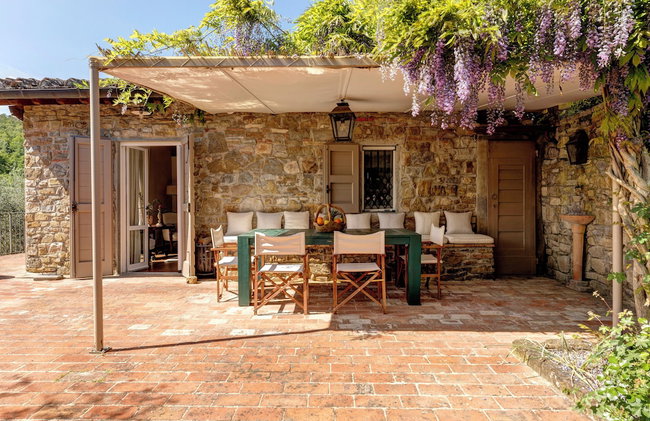
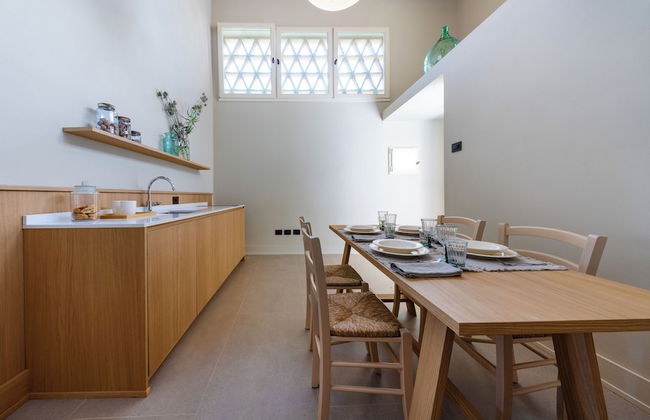
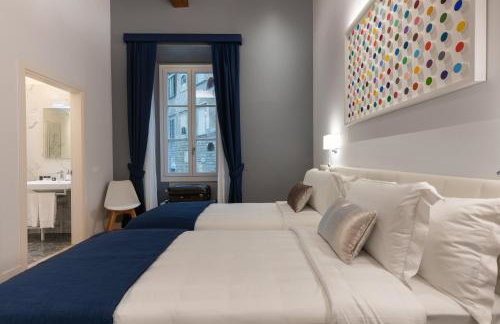
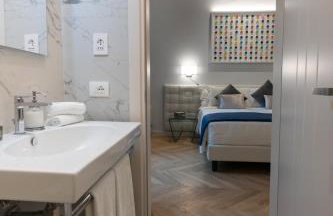
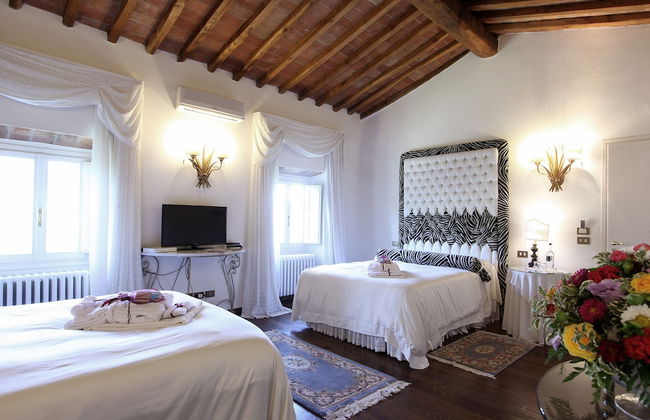
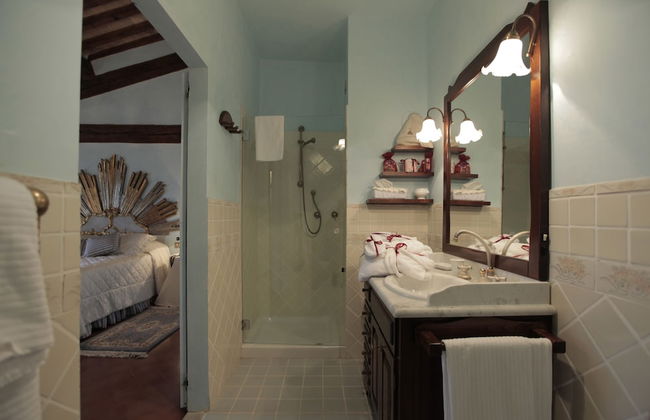
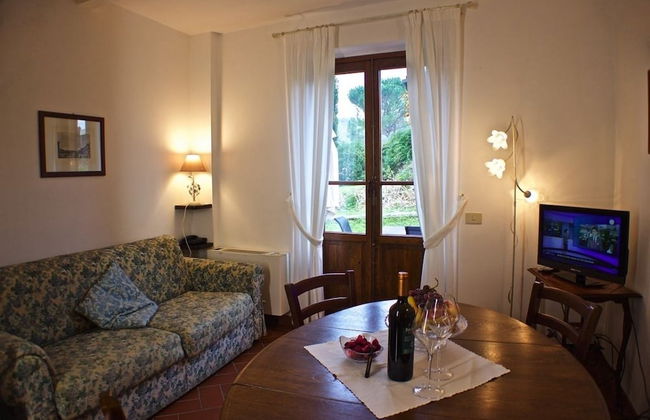
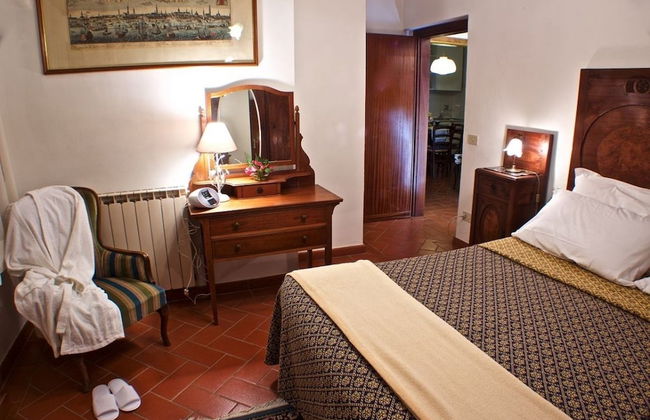
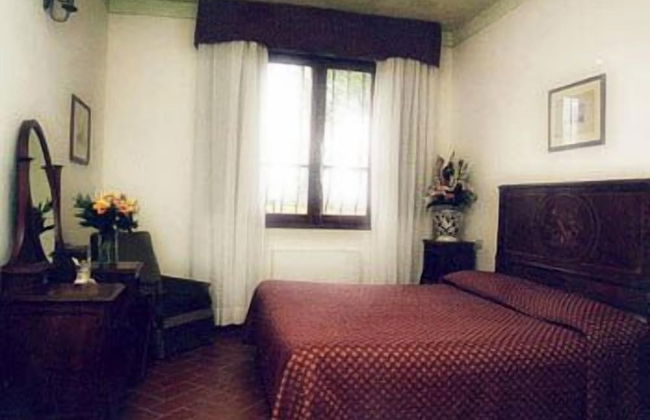
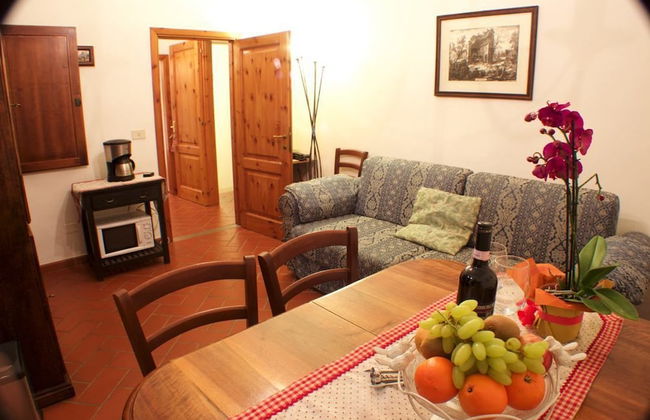
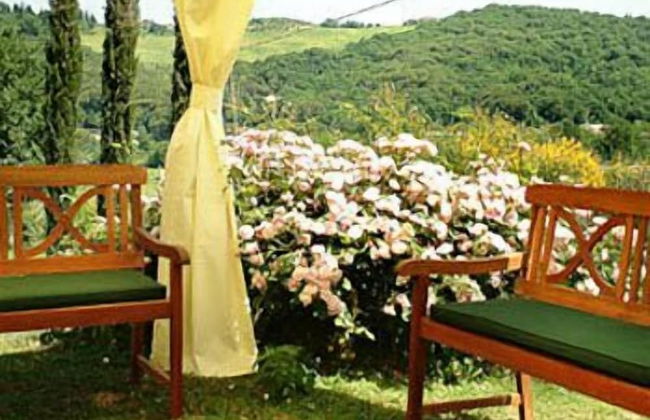
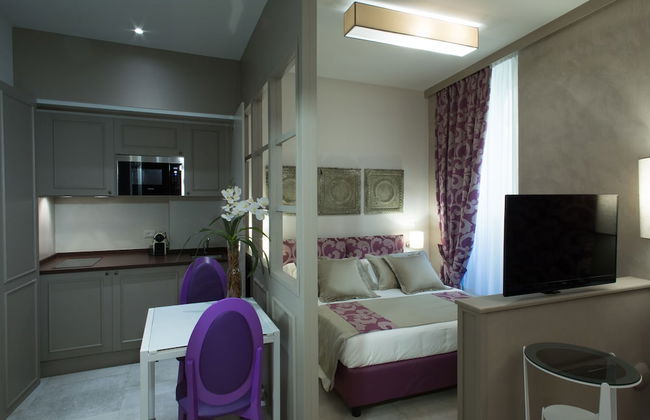
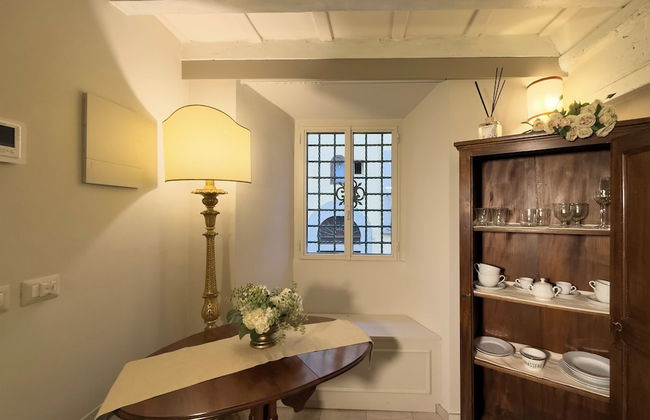
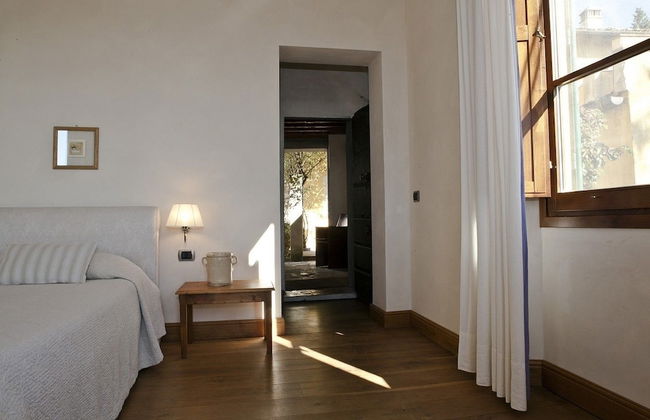
Garden House by Canto degli Aranci
Florenz - Centro Storico - 970 m vom Zentrum
- 32 M2
- 2 Schlafzimmer
- 4 Personen
- Klimaanlage
- Heizung
- Terrasse
- Parkplatz
- Fahrstuhl
- Tv
- Handtücher
- Bettlaken


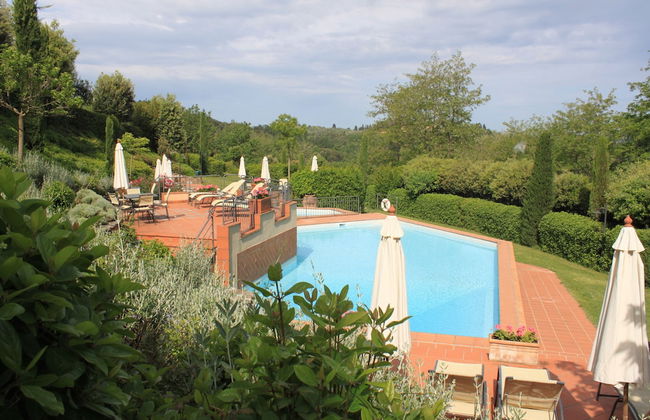


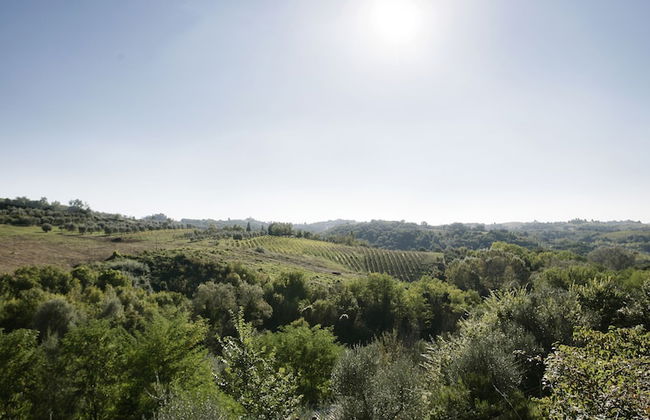


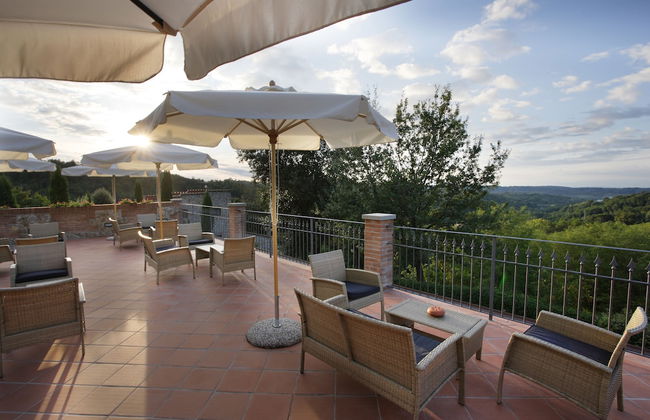


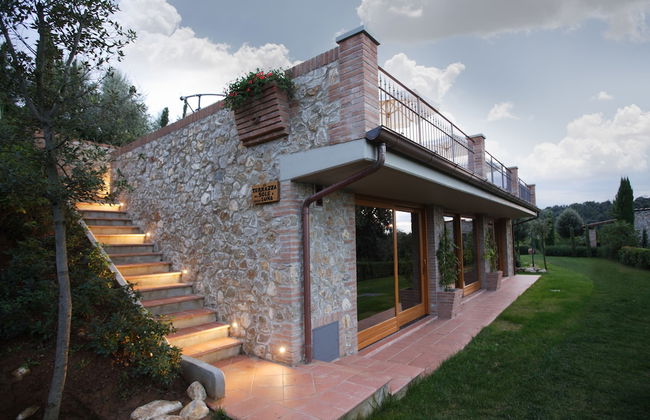


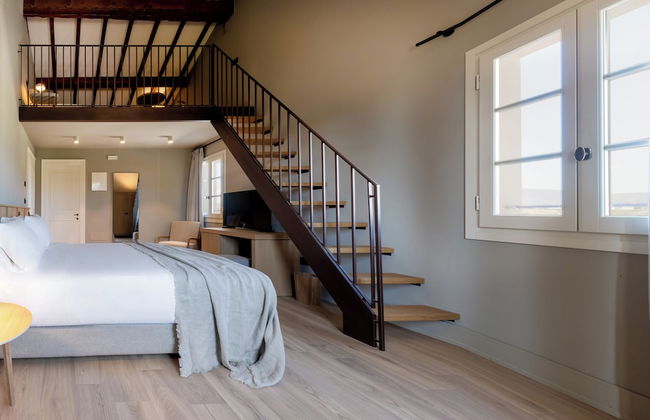
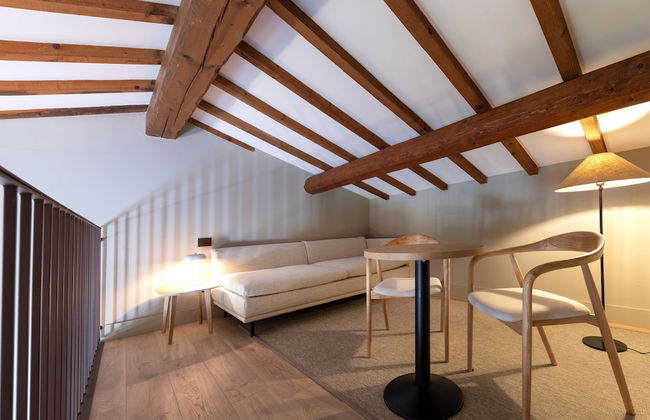
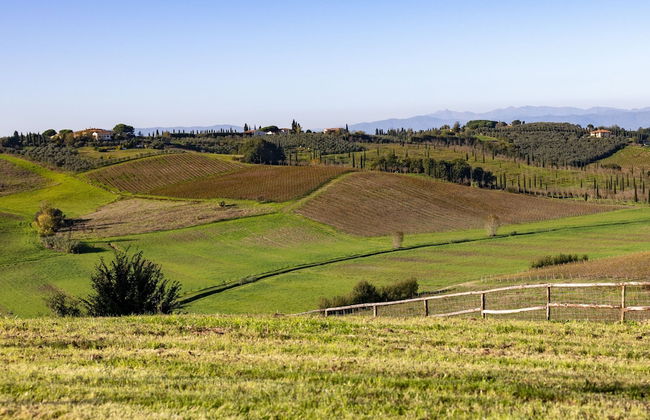
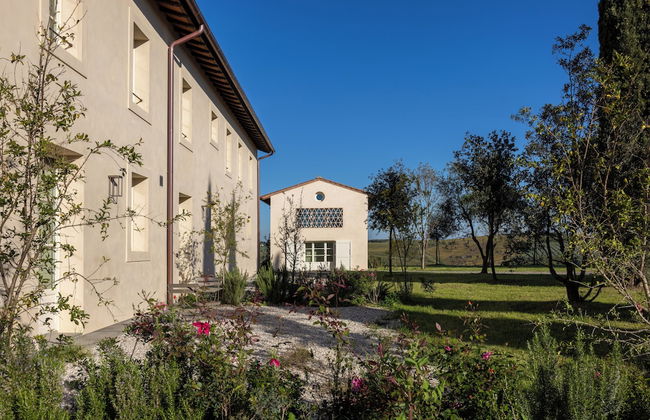
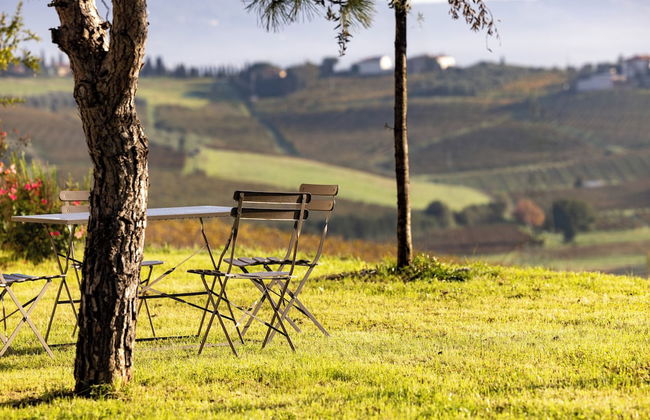
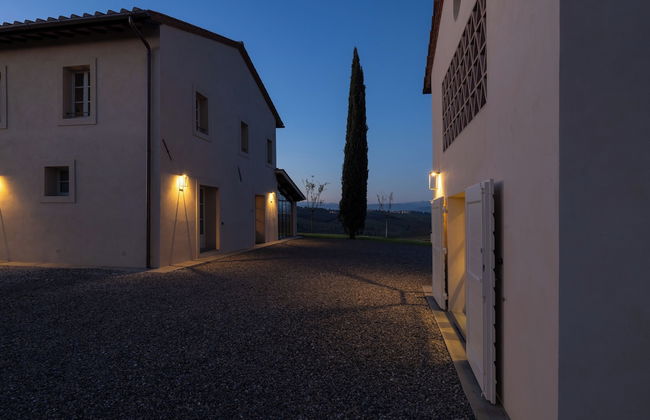
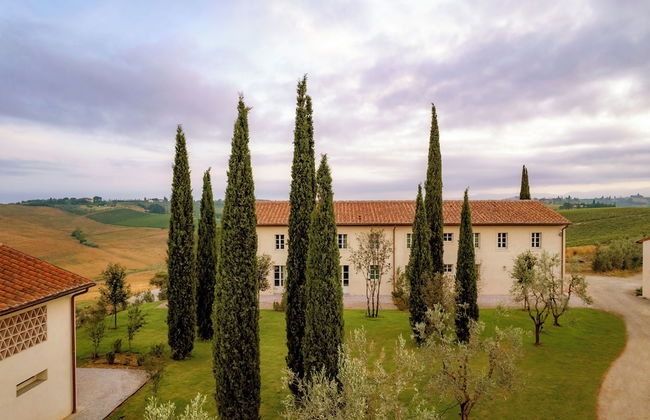
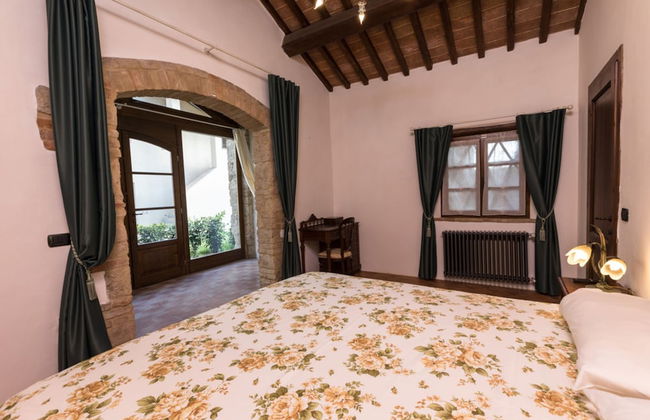
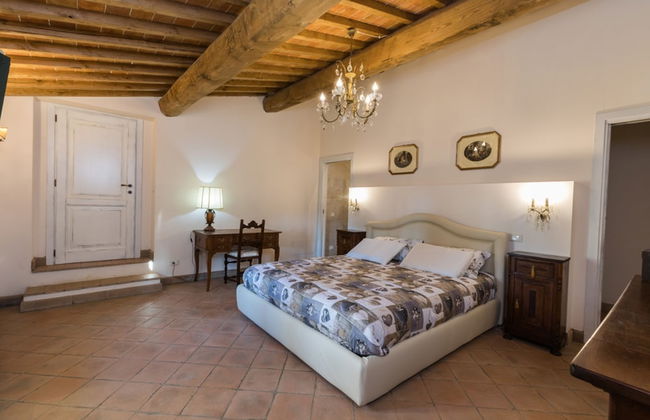
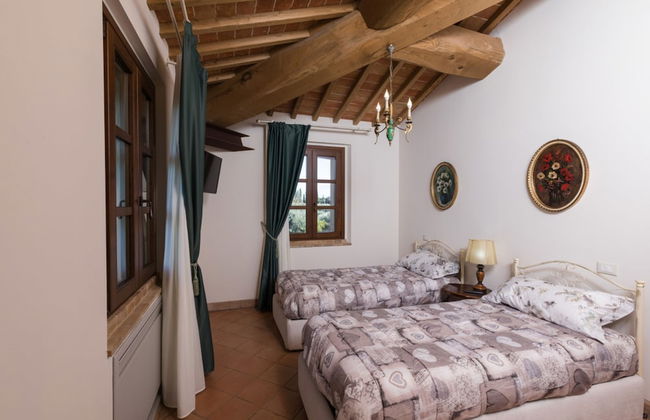
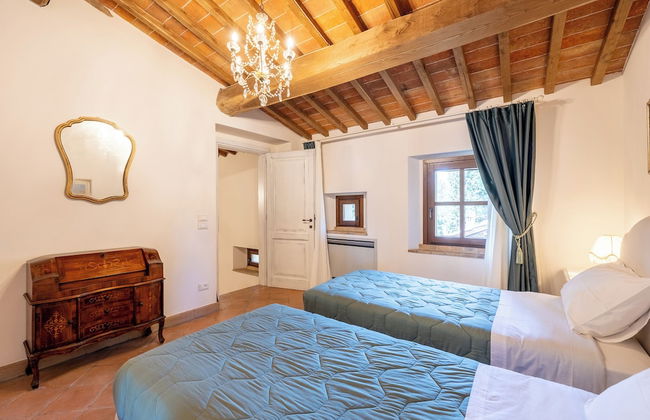
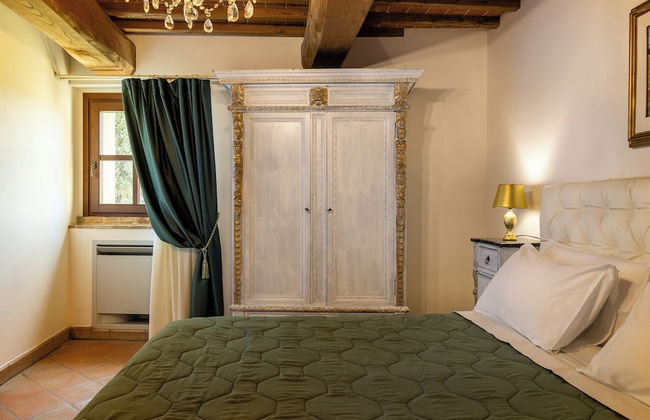
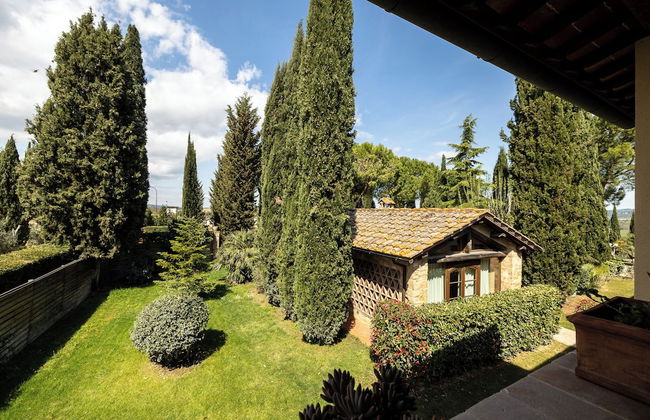
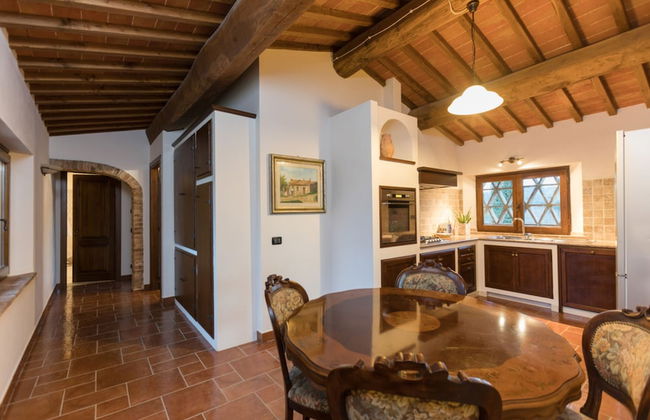
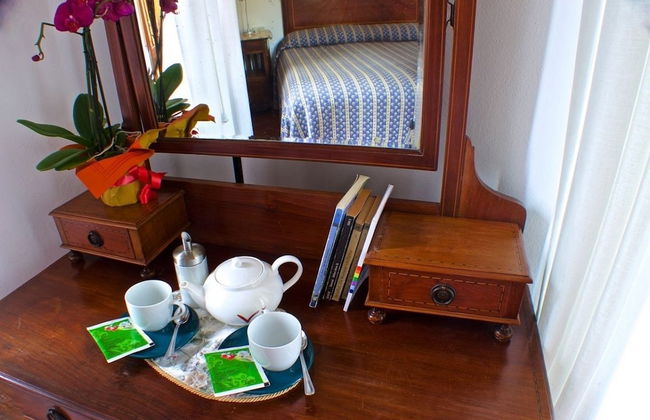
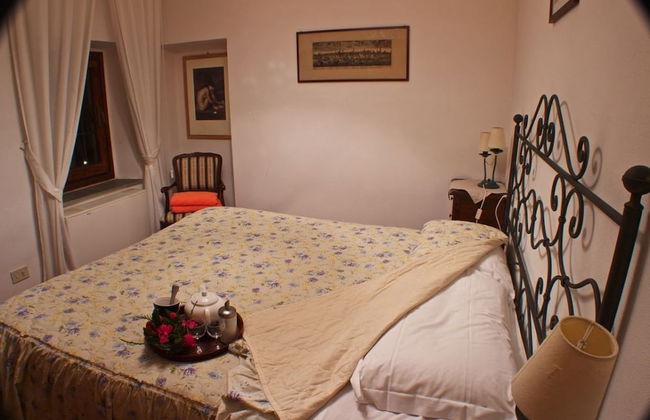
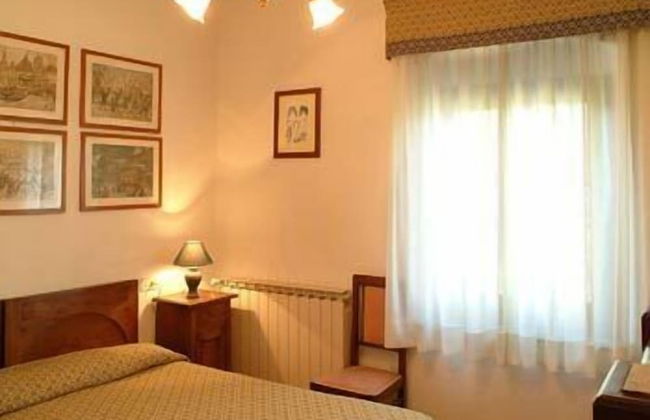
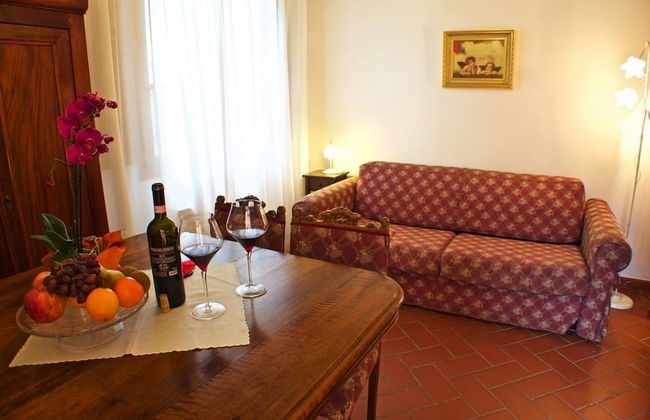
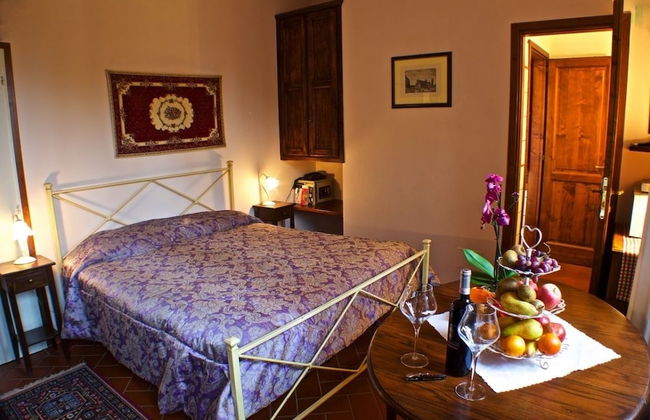
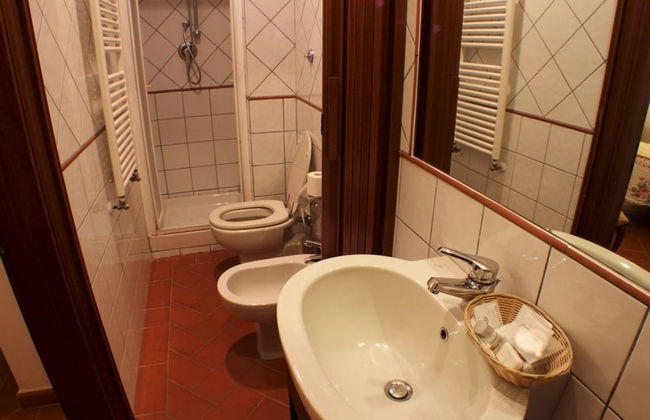
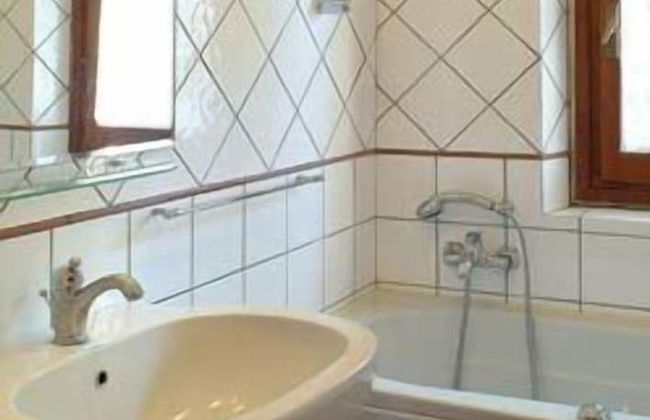
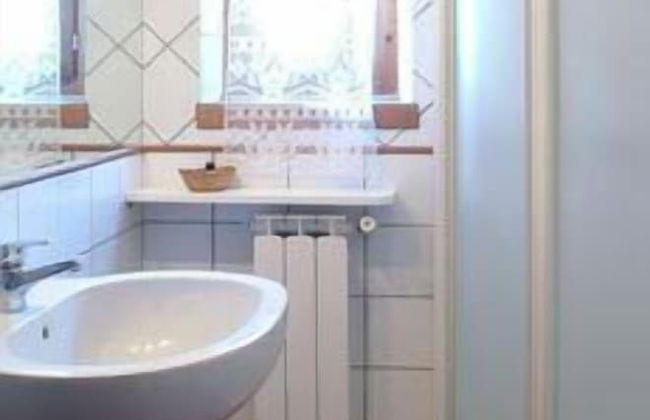
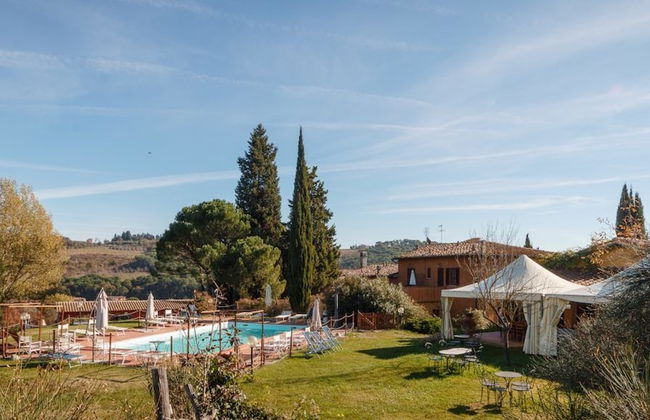
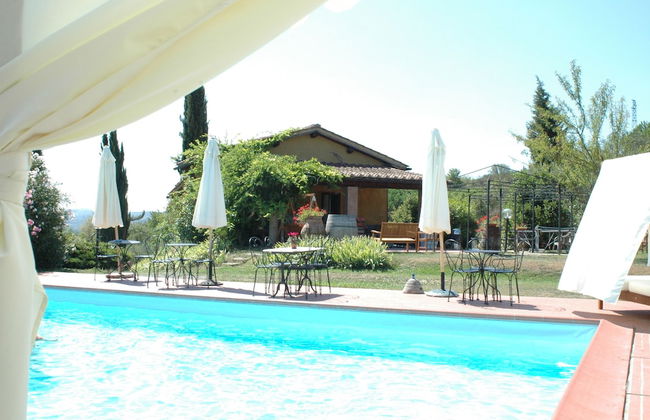
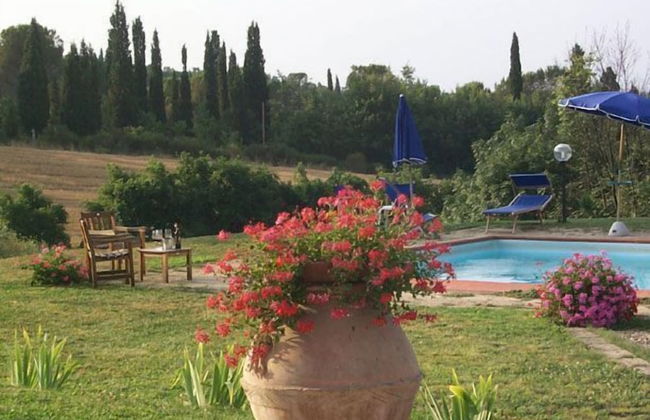
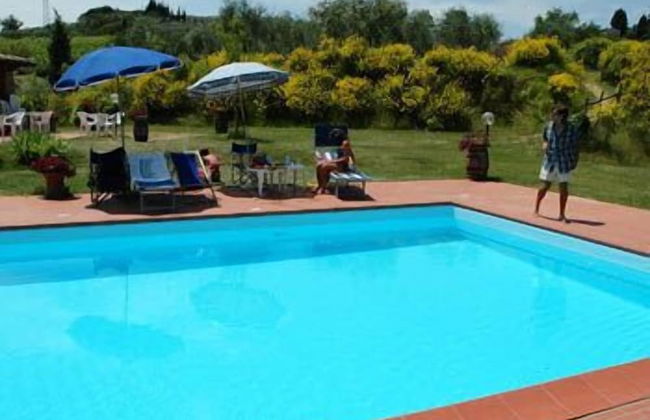
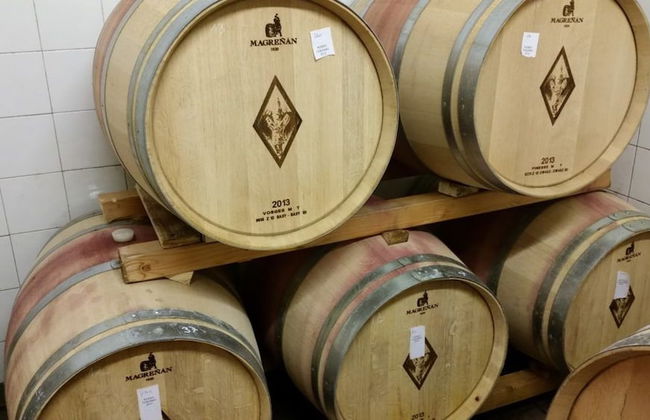
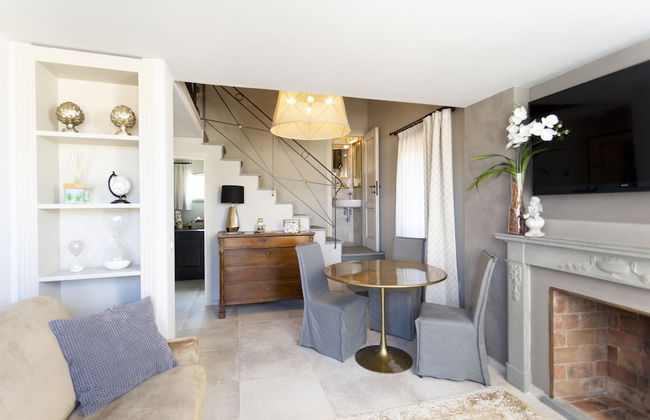
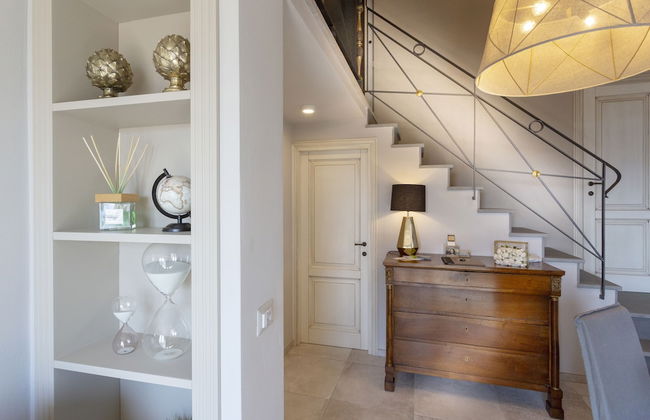
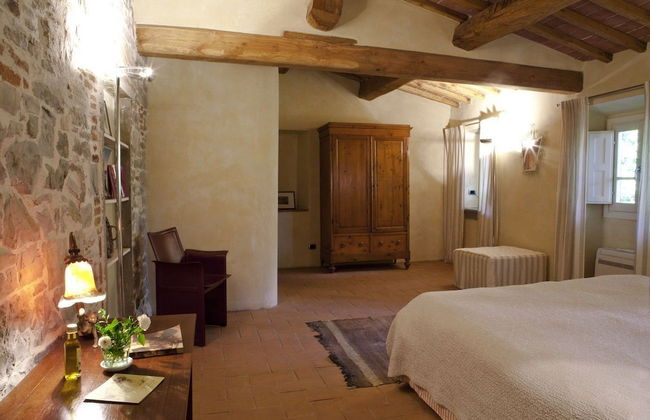
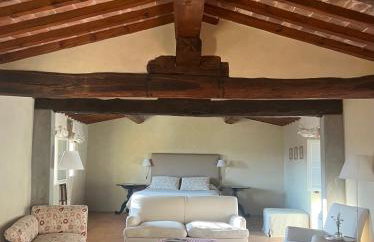
Il Torrino Country Resort
Montaione - 670 m vom Zentrum
- 120 M2
- 3 Schlafzimmer
- 7 Personen
- Klimaanlage
- Heizung
- Terrasse
- Schwimmbad
- Parkplatz
- Balkon
- Garten
- Tv
- Waschmaschine
- Schornstein
- Barbecue
- Handtücher
- Bettlaken


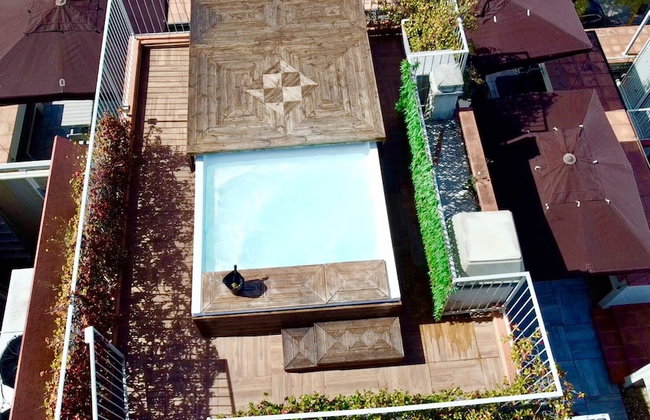


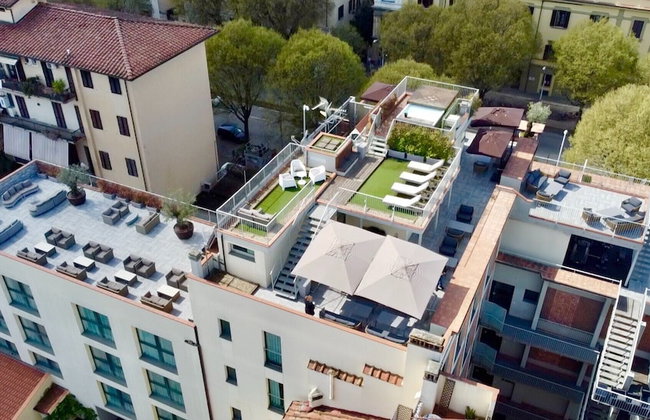
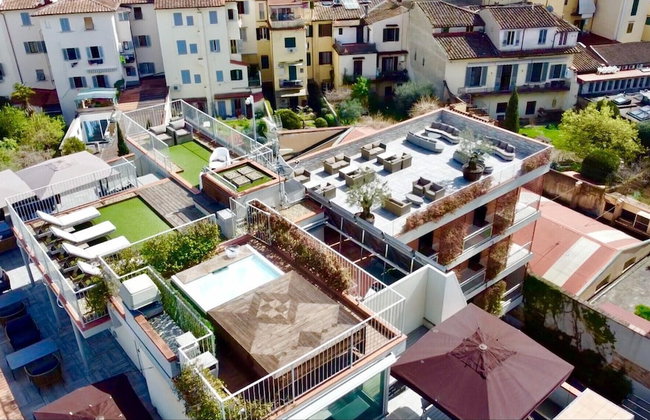


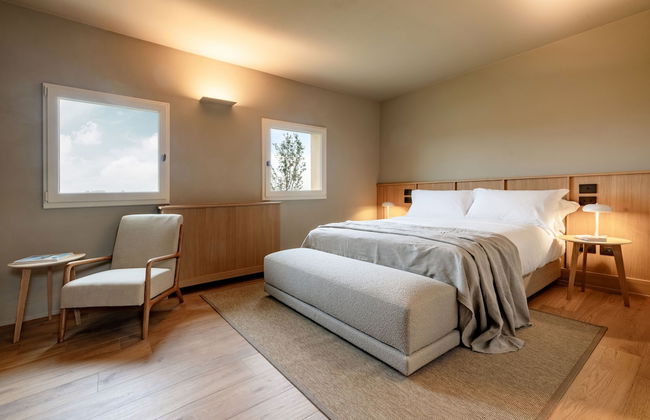
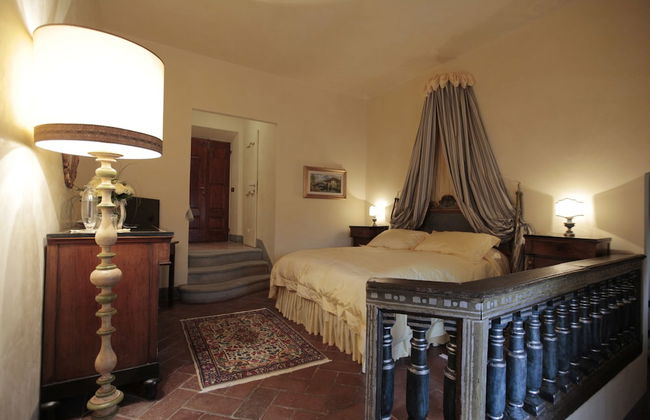
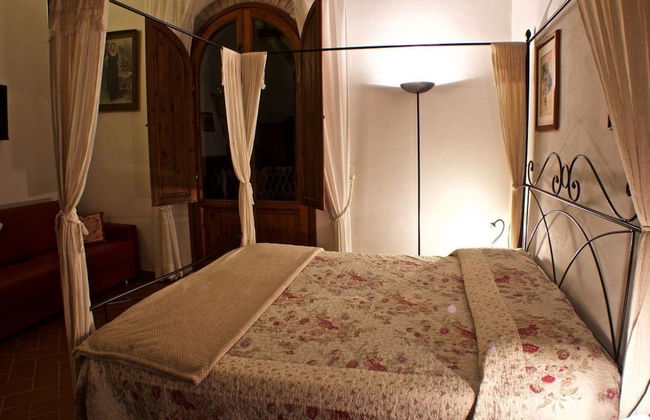
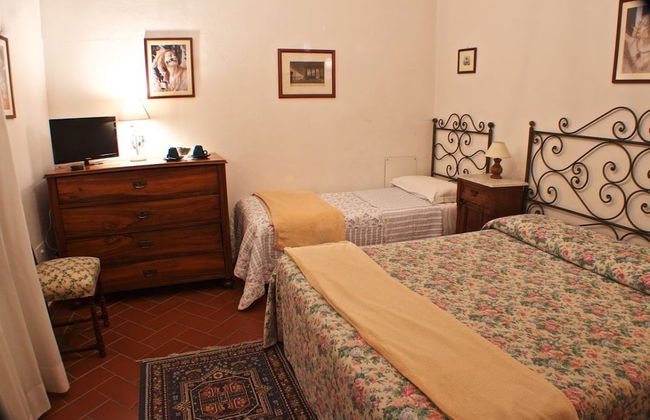
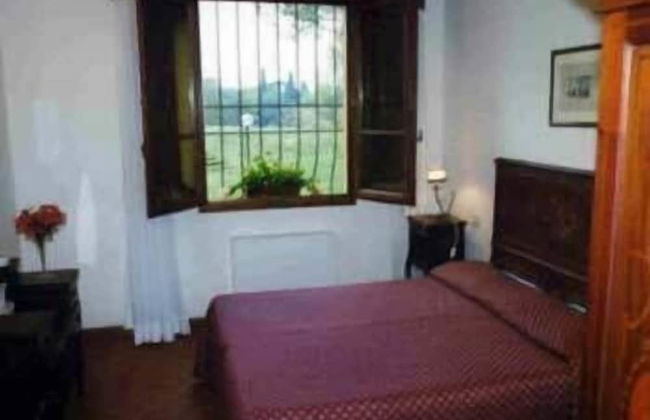
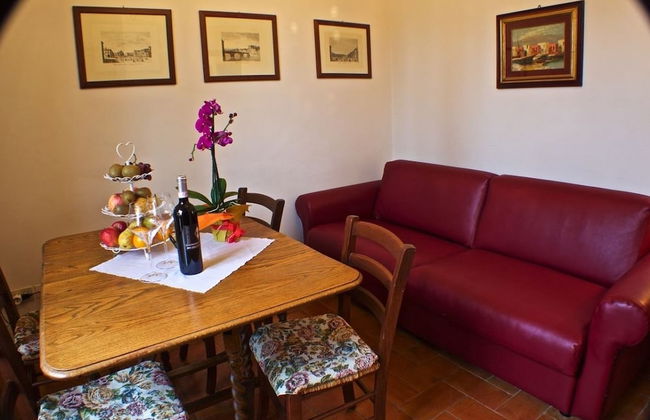
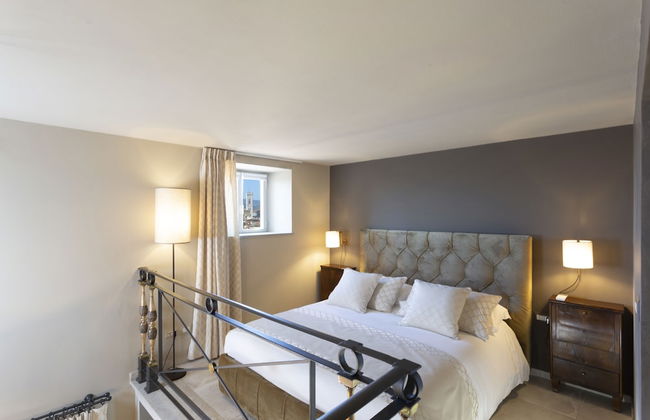
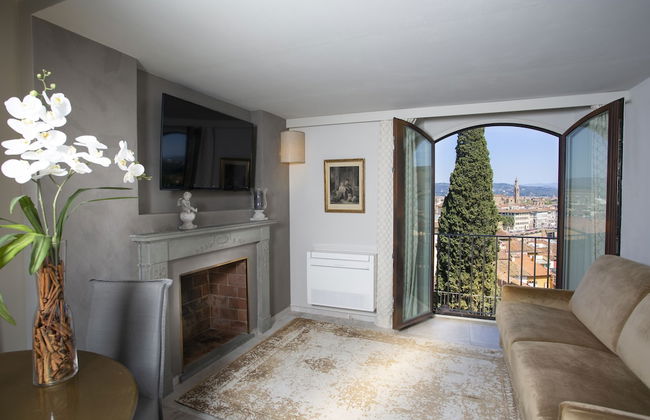
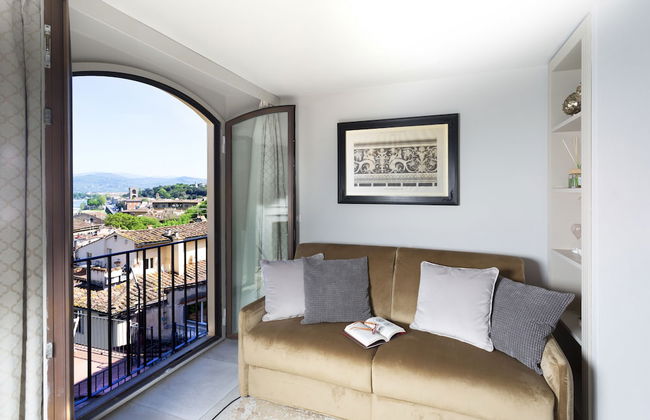
Forte16 View & Spa
Florenz - Centro Storico - 1.2 km vom Zentrum
- 53 M2
- 6 Personen
- Kochnische
- Klimaanlage
- Heizung
- Terrasse
- Schwimmbad
- Parkplatz
- Fahrstuhl
- Balkon
- Garten
- Tv
- Handtücher
- Bettlaken


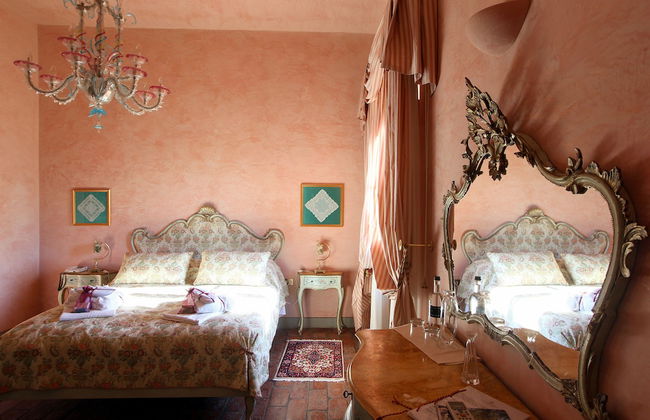
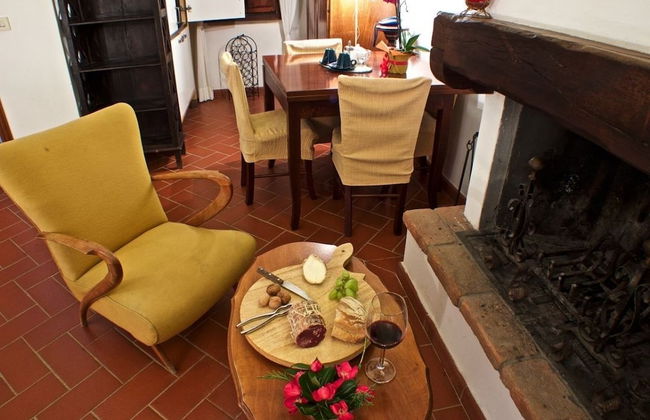
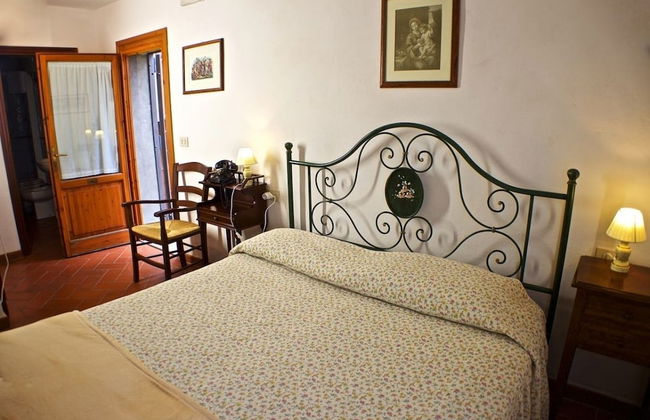
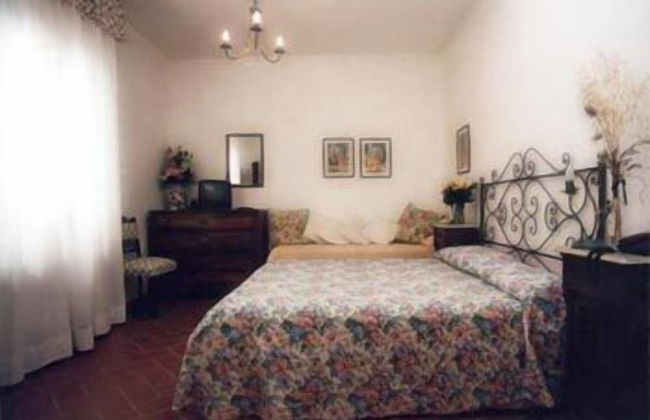
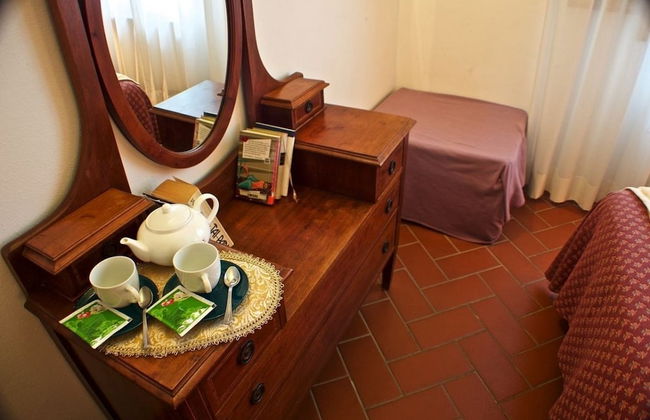
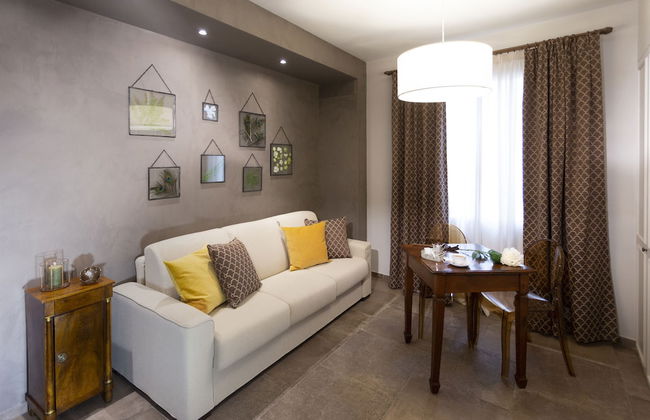
Granduomo Charming Accomodation
Florenz - Centro Storico - 500 m vom Zentrum
- 35 M2
- 2 Schlafzimmer
- 4 Personen
- Kochnische
- Klimaanlage
- Heizung
- Terrasse
- Parkplatz
- Fahrstuhl
- Balkon
- Tv
- Handtücher
- Bettlaken


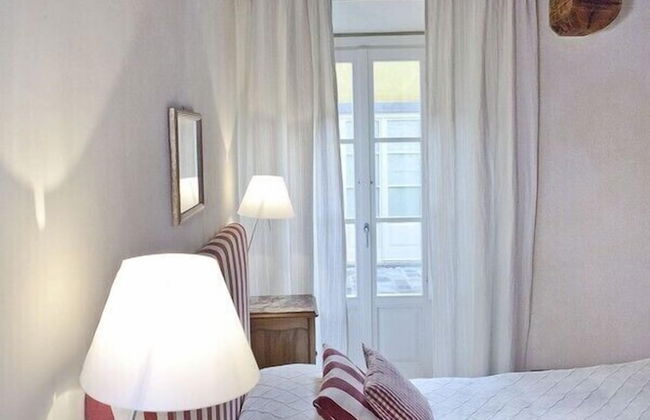
Relais Luce Florence
Florenz - Centro Storico - 230 m vom Zentrum
- 20 M2
- 3 Personen
- Klimaanlage
- Heizung
- Terrasse
- Parkplatz
- Fahrstuhl
- Tv
- Handtücher
- Bettlaken


Terre di Baccio
Greve in Chianti - 590 m vom Zentrum
- 70 M2
- 6 Personen
- Klimaanlage
- Heizung
- Terrasse
- Schwimmbad
- Parkplatz
- Garten
- Tv
- Schornstein
- Barbecue
- Handtücher
- Bettlaken


Dante & Virgilio Apartments by Mamo Florence
Florenz - Centro Storico - 1.4 km vom Zentrum
- 60 M2
- 2 Schlafzimmer
- 6 Personen
- Kochnische
- Klimaanlage
- Heizung
- Fahrstuhl
- Tv
- Waschmaschine
- Handtücher
- Bettlaken


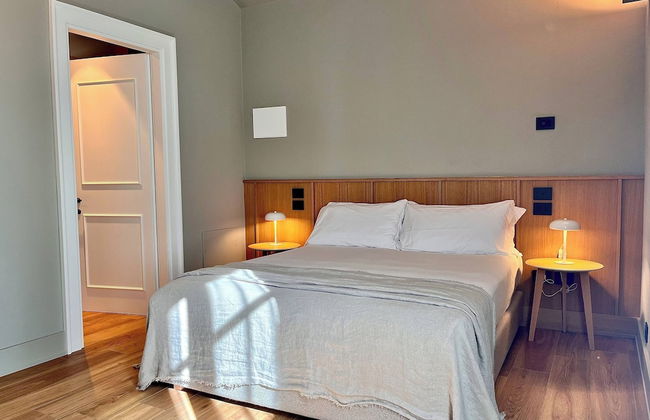


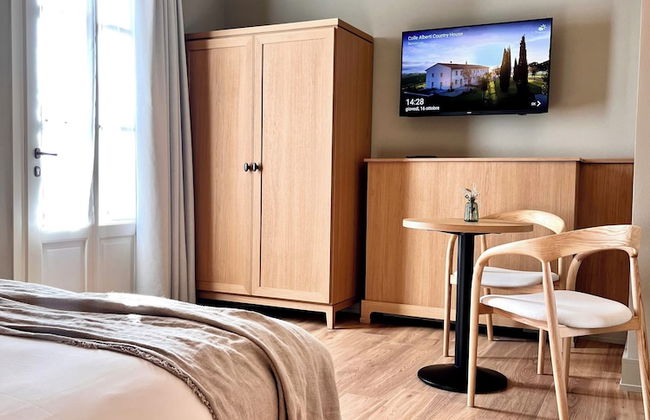


Colle Alberti Country House
Cerreto Guidi - Colle Alberti - 2.7 km vom Zentrum
- 4 Personen
- Klimaanlage
- Heizung
- Schwimmbad
- Parkplatz
- Garten
- Tv
- Handtücher


Kairos by Florence Art Apartments
Florenz - Centro Storico - 320 m von Palazzo Vecchio
- 110 M2
- 2 Schlafzimmer
- 6 Personen
- Kochnische
- Klimaanlage
- Heizung
- Parkplatz
- Fahrstuhl
- Balkon
- Tv
- Waschmaschine
- Handtücher
- Bettlaken


San Giuliano Inn - Adults Only
Florenz - Centro Storico - Im Zentrum
- 14 M2
- 2 Personen
- Klimaanlage
- Heizung
- Parkplatz
- Fahrstuhl
- Tv
- Handtücher
- Bettlaken


Tenuta Tegolato
Barberino Tavarnelle - 7.7 km vom Zentrum
- 64 M2
- 6 Personen
- Klimaanlage
- Heizung
- Schwimmbad
- Parkplatz
- Garten
- Schornstein
- Barbecue
- Handtücher
- Bettlaken


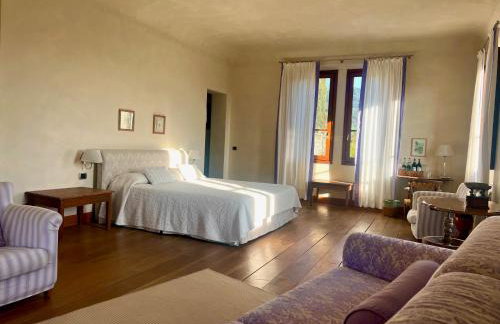
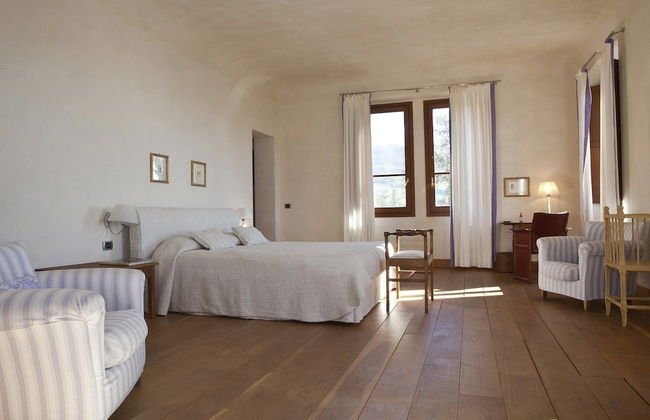
Agriturismo Villa Ulivello in Chianti
Greve in Chianti - 9.9 km vom Zentrum
- 108 M2
- 3 Schlafzimmer
- 6 Personen
- Klimaanlage
- Heizung
- Terrasse
- Parkplatz
- Garten
- Barbecue
- Handtücher


Casa Villa Rentals by Torre a Cona
Rignano sull'Arno - 4.6 km vom Zentrum
- 10 Schlafzimmer
- 20 Personen
- Kochnische
- Klimaanlage
- Heizung
- Schwimmbad
- Parkplatz
- Fahrstuhl
- Garten
- Tv
- Waschmaschine
- Handtücher
- Bettlaken


Florence Winery Country Villas - Fattoria Lavacchio
Pontassieve - 3.8 km vom Zentrum
- 80 M2
- 4 Schlafzimmer
- 8 Personen
- Kochnische
- Klimaanlage
- Heizung
- Terrasse
- Schwimmbad
- Parkplatz
- Garten
- Tv
- Schornstein
- Barbecue
- Handtücher
- Bettlaken


Villa Poggio Bartoli
Vicchio - 4.2 km vom Zentrum
- 40 M2
- 4 Personen
- Klimaanlage
- Heizung
- Terrasse
- Schwimmbad
- Parkplatz
- Garten
- Tv
- Schornstein
- Handtücher


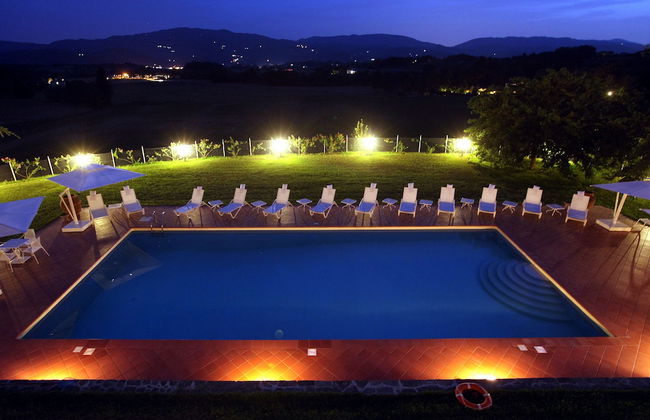
Podere dell'Anselmo
Montespertoli - Anselmo - 4.5 km vom Zentrum
- 25 M2
- 2 Schlafzimmer
- 7 Personen
- Klimaanlage
- Heizung
- Terrasse
- Schwimmbad
- Parkplatz
- Balkon
- Garten
- Tv
- Barbecue


Il Cipresso Home Tower QK Costa 58
Florenz - Centro Storico - 210 m von Galleria degli Uffizi
- 30 M2
- 1 Schlafzimmer
- 4 Personen
- Klimaanlage
- Heizung
- Terrasse
- Parkplatz
- Fahrstuhl
- Tv
- Handtücher
- Bettlaken


Tenuta Poggio Marino
Dicomano - 1.5 km vom Zentrum
- 61 M2
- 2 Schlafzimmer
- 5 Personen
- Kochnische
- Klimaanlage
- Heizung
- Schwimmbad
- Parkplatz
- Garten
- Tv
- Barbecue
- Handtücher


Villa di Campolungo Agriturismo
Vaglia - 6.5 km vom Zentrum
- 49 M2
- 4 Personen
- Klimaanlage
- Heizung
- Terrasse
- Parkplatz
- Garten
- Schornstein
- Handtücher
- Bettlaken


Le Cetinelle B&B
Greve in Chianti - 3.7 km vom Zentrum
- 21 M2
- 2 Schlafzimmer
- 3 Personen
- Klimaanlage
- Heizung
- Schwimmbad
- Parkplatz
- Garten
- Barbecue
- Handtücher
- Bettlaken