


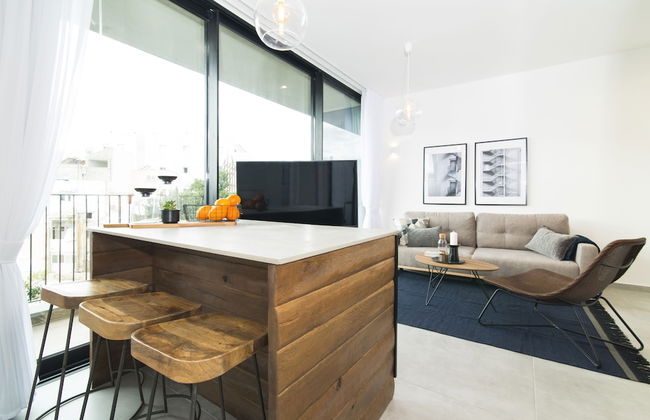
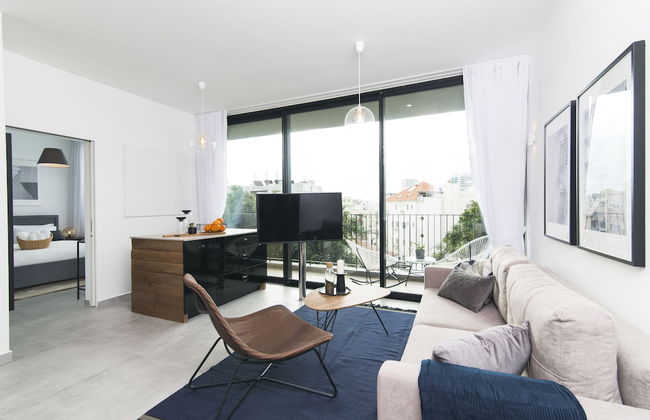
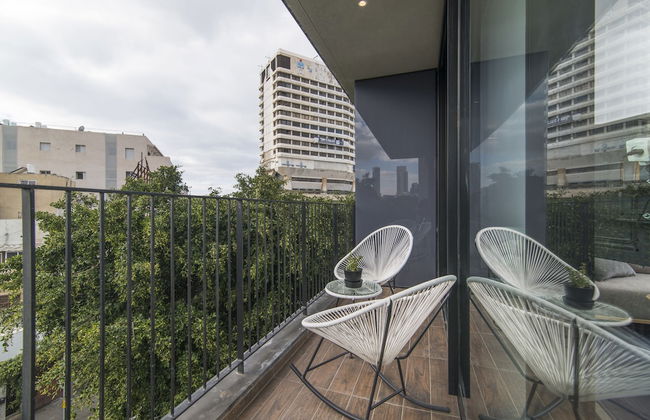
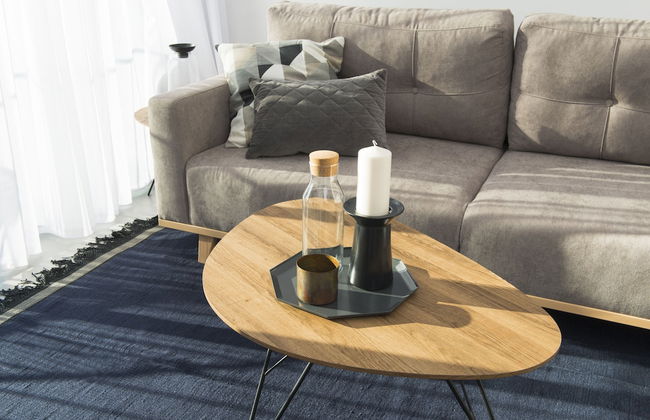


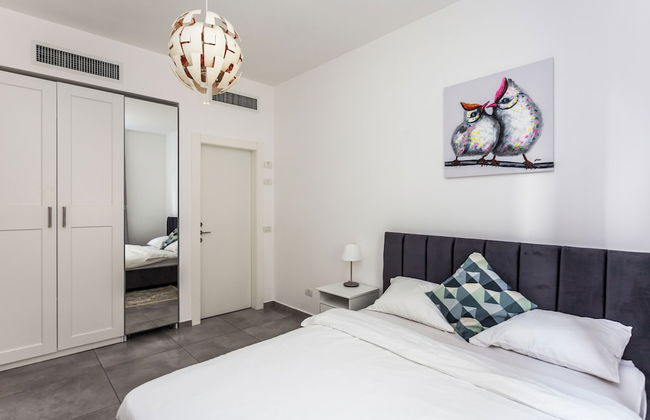
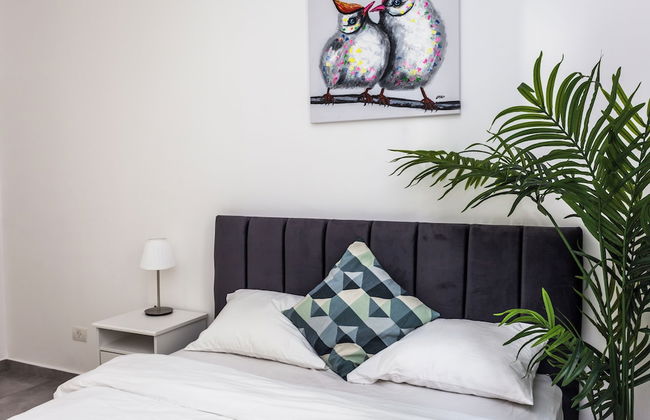


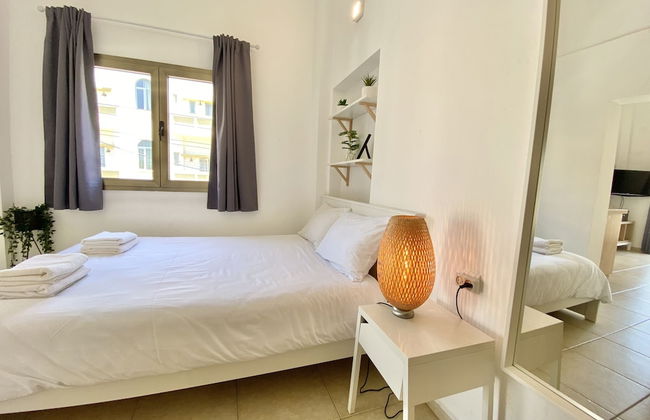
Mr. Allenby - By TLV2GO
Tel Aviv - Lev Tel-Aviv - 1.9 km vom Zentrum
- 5 Personen
- Klimaanlage
- Heizung
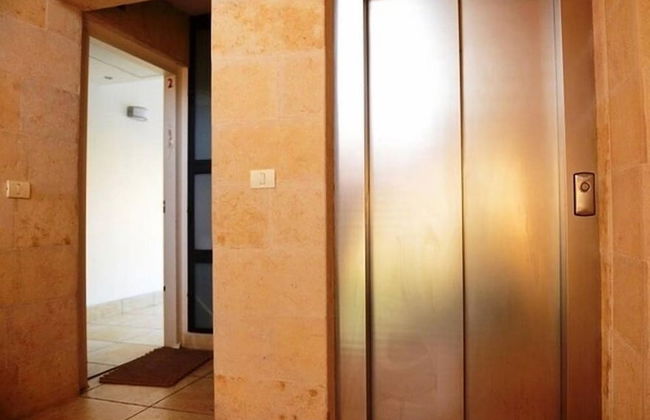
- Fahrstuhl
- Balkon
- Tv
- Waschmaschine
- Handtücher
- Bettlaken
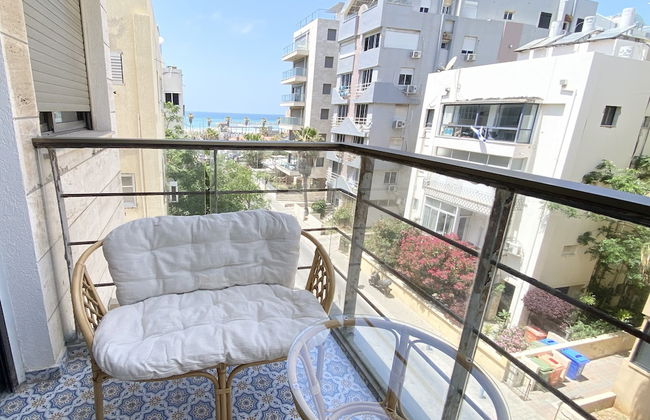


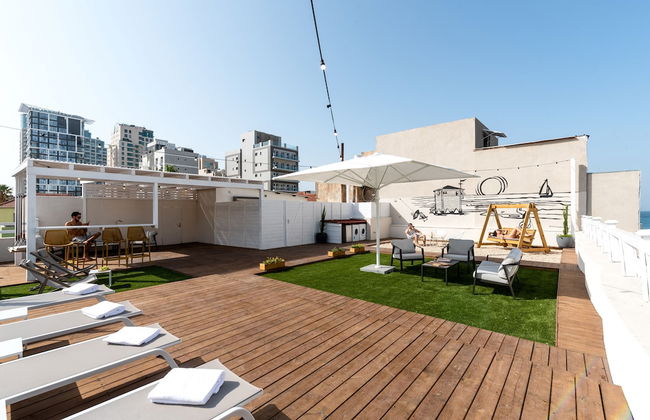
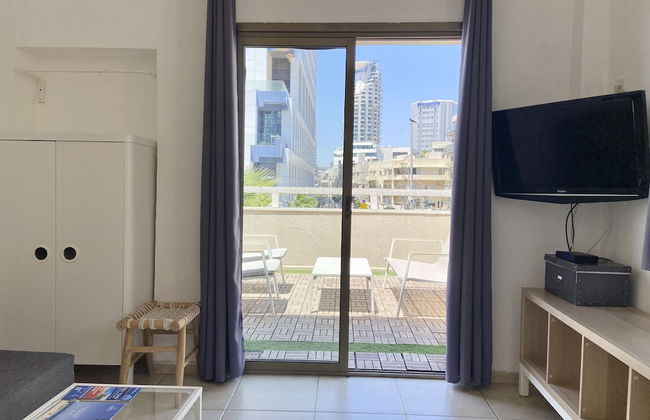
Sea Suites Apartments
Tel Aviv - Kerem HaTemanim - 2.5 km vom Zentrum
- 65 M2
- 6 Personen
- Klimaanlage
- Heizung
- Schwimmbad
- Balkon
- Tv
- Waschmaschine
- Schornstein
- Handtücher
- Bettlaken


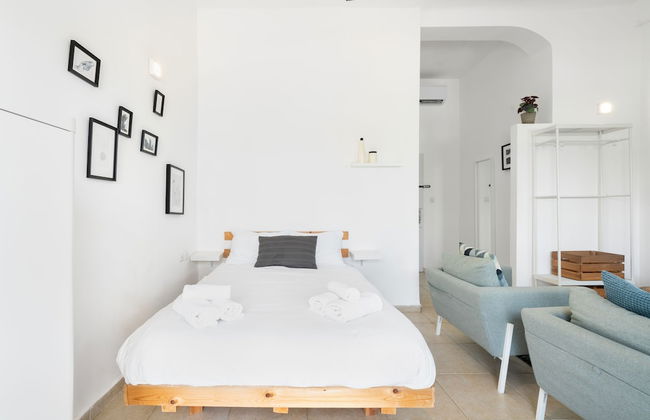


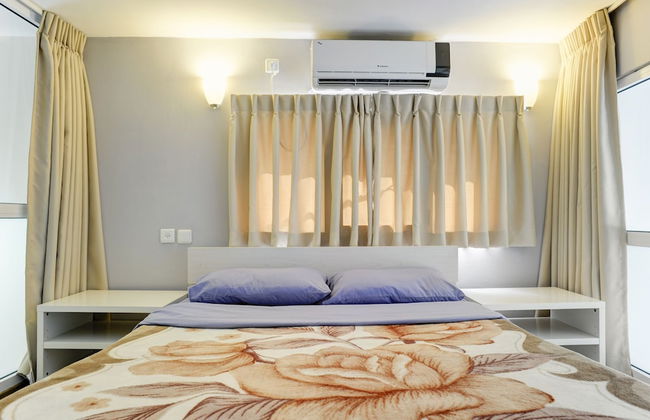
YARKON - By Beach Apartments TLV
Tel Aviv - Kerem HaTemanim - 2.1 km vom Zentrum
- 4 Personen
- Klimaanlage
- Heizung
- Terrasse
- Balkon
- Tv
- Waschmaschine
- Handtücher
- Bettlaken


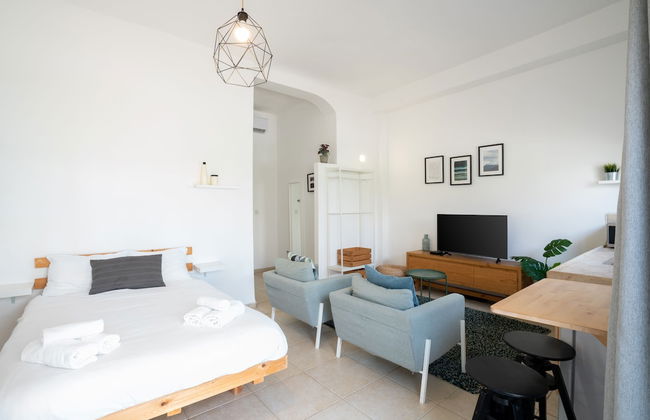
House of Palm
Tel Aviv - Lev Tel-Aviv - 2.1 km vom Zentrum
- 45 M2
- 6 Personen
- Klimaanlage
- Heizung
- Terrasse
- Fahrstuhl
- Balkon
- Tv
- Waschmaschine
- Handtücher
- Bettlaken


Shenkin Vilmar Apartments
Tel Aviv - Lev Tel-Aviv - 2 km vom Zentrum
- 120 M2
- 8 Personen
- Klimaanlage
- Balkon
- Tv


Mr. Promenade - By TLV2GO
Tel Aviv - Kerem HaTemanim - 2.3 km vom Zentrum
- 200 M2
- 10 Personen
- Klimaanlage
- Heizung
- Terrasse
- Parkplatz
- Balkon
- Tv
- Waschmaschine
- Handtücher
- Bettlaken


Geula Suites
Tel Aviv - Kerem HaTemanim - 2 km vom Zentrum
- 16 M2
- 3 Personen
- Kochnische
- Klimaanlage
- Parkplatz
- Balkon
- Tv
- Handtücher
- Bettlaken


AspenTLV - Hacarmel Market Apartments
Tel Aviv - Kerem HaTemanim - 2.3 km vom Zentrum
- 55 M2
- 6 Personen
- Klimaanlage
- Heizung
- Balkon
- Tv
- Handtücher
- Bettlaken


Mate ALLENBY - By HOMY
Tel Aviv - Lev Tel-Aviv - 2 km vom Zentrum
- 6 Personen
- Klimaanlage
- Tv
- Waschmaschine
- Handtücher
- Bettlaken


TLV Urban Life Style
Tel Aviv - Lev Tel-Aviv - 2 km vom Zentrum
- 60 M2
- 4 Personen
- Kochnische
- Klimaanlage
- Terrasse
- Balkon
- Tv
- Handtücher
- Bettlaken


Mr. Yavos - By TLV2GO
Tel Aviv - Lev Tel-Aviv - 2.5 km vom Zentrum
- 100 M2
- 8 Personen
- Klimaanlage
- Terrasse
- Balkon
- Tv
- Waschmaschine
- Handtücher
- Bettlaken


Kerem Hateiminim Apartments
Tel Aviv - Kerem HaTemanim - 2.1 km vom Zentrum
- 6 Personen
- Klimaanlage
- Balkon
- Tv


Carmel Market Apartments
Tel Aviv - Kerem HaTemanim - 2.1 km vom Zentrum
- 40 M2
- 3 Personen
- Kochnische
- Klimaanlage
- Heizung
- Balkon
- Tv
- Handtücher
- Bettlaken


Tel-Aviving Apartments
Tel Aviv - Kerem HaTemanim - 2.2 km vom Zentrum
- 65 M2
- 7 Personen
- Klimaanlage
- Heizung
- Terrasse
- Balkon
- Tv
- Waschmaschine
- Handtücher
- Bettlaken


Beautiful Apt by the Beach - 2BDR- TL38
Tel Aviv - Kerem HaTemanim - 2.5 km vom Zentrum
- 75 M2
- 4 Personen
- Klimaanlage
- Heizung
- Terrasse
- Parkplatz
- Fahrstuhl
- Balkon
- Tv
- Waschmaschine
- Handtücher
- Bettlaken


Allenbeach TLV- Apt Hotel-Adults only
Tel Aviv - Lev Tel-Aviv - 2.1 km vom Zentrum
- 24 M2
- 4 Personen
- Klimaanlage
- Heizung
- Parkplatz
- Tv
- Handtücher
- Bettlaken


Residence Suites Hotel
Tel Aviv - Kerem HaTemanim - 2.2 km vom Zentrum
- 20 M2
- 3 Personen
- Kochnische
- Klimaanlage
- Terrasse
- Balkon
- Garten
- Tv
- Handtücher


The Shell House
Tel Aviv - Kerem HaTemanim - 2.3 km vom Zentrum
- 40 M2
- 6 Personen
- Kochnische
- Klimaanlage
- Heizung
- Terrasse
- Balkon
- Tv
- Handtücher
- Bettlaken


Bauhaus Boutique by TLV2rent
Tel Aviv - Kerem HaTemanim - 2 km vom Zentrum
- 60 M2
- 5 Personen
- Klimaanlage
- Heizung
- Fahrstuhl
- Tv
- Waschmaschine
- Handtücher
- Bettlaken


Stunning Duplex Near the Sea
Tel Aviv - Kerem HaTemanim - 2.4 km vom Zentrum
- 125 M2
- 8 Personen
- Klimaanlage
- Terrasse
- Parkplatz
- Balkon
- Tv
- Waschmaschine
- Barbecue
- Handtücher
- Bettlaken