
157 Wohnungen in der Nähe von Jardins do Palácio de Cristal


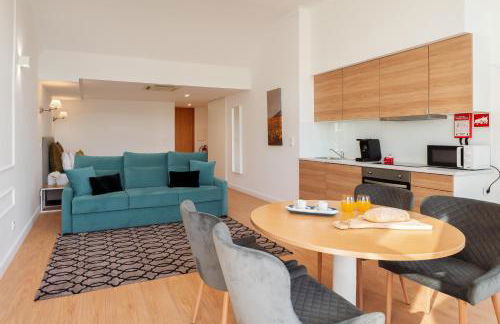
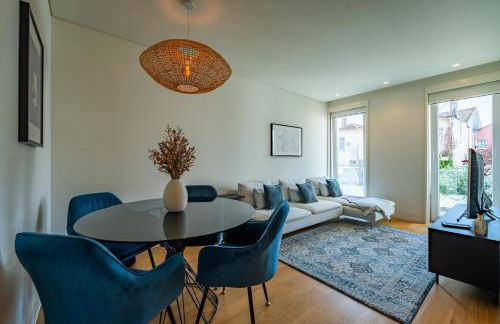
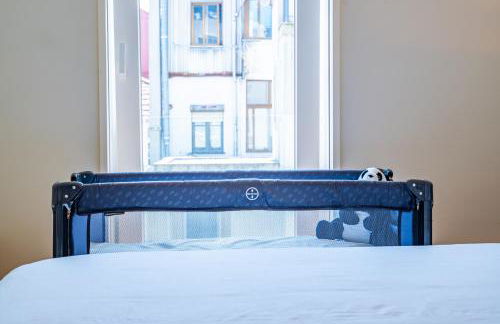
Simon Guest Apartments
Porto - Cedofeita - 470 m vom Zentrum
- 4 Personen
- Kochnische
- Klimaanlage
- Heizung
- Terrasse
- Tv
- Handtücher
- Bettlaken
70 Bewertungen


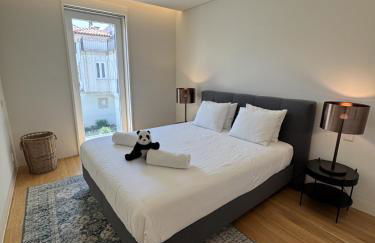
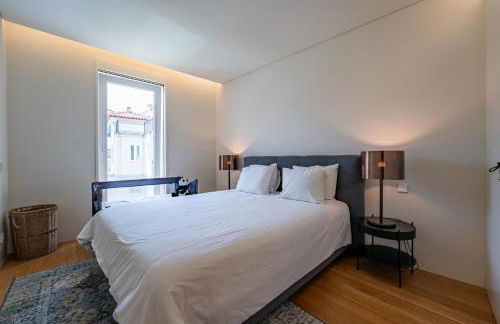
Porto Apartments - Bombarda 451 Suites
Porto - Miragaia - 550 m vom Zentrum
- 30 M2
- 5 Personen
- Kochnische
- Klimaanlage
- Heizung
- Terrasse
- Parkplatz
- Garten
- Handtücher
- Bettlaken
255 Bewertungen


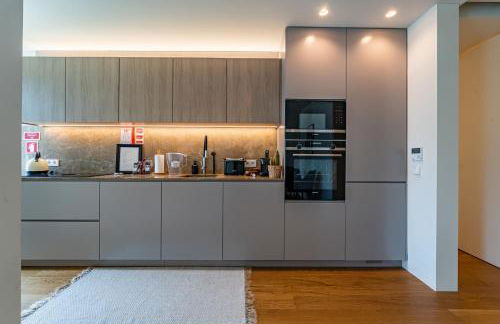
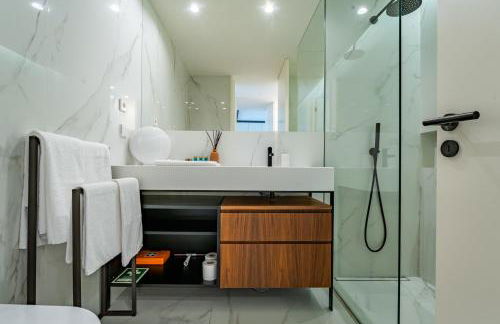
Crystal Palace Oporto Flat - With Two Bedrooms
Porto - Massarelos - 910 m vom Zentrum
- 58 M2
- 2 Schlafzimmer
- 4 Personen
- Klimaanlage
- Heizung
- Parkplatz
- Fahrstuhl
10 Bewertungen


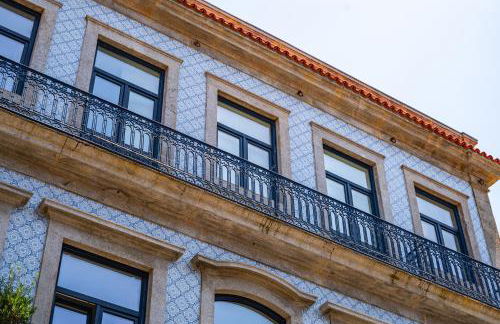
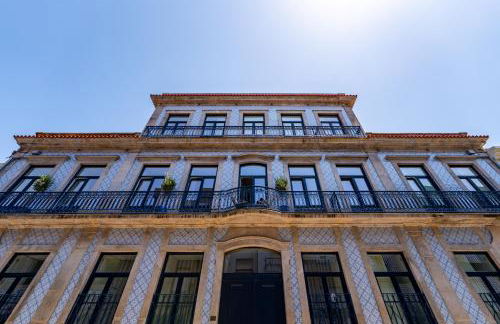
Wonderful Porto Design Apartments
Porto - Miragaia - 580 m vom Zentrum
- 45 M2
- 1 Schlafzimmer
- 4 Personen
- Klimaanlage
- Heizung
- Terrasse
- Parkplatz
230 Bewertungen


Maison des Amis Porto
Porto - Miragaia - 360 m vom Zentrum
- 35 M2
- 3 Personen
- Heizung
- Terrasse
- Garten
19 Bewertungen


Vilar Studios - Palácio de Cristal
Porto - Massarelos - 990 m vom Zentrum
- 34 M2
- 2 Personen
- Kochnische
- Klimaanlage
- Heizung
- Parkplatz
- Fahrstuhl
- Garten
- Tv
- Handtücher
- Bettlaken
50 Bewertungen


Architect House
Porto - Massarelos - 920 m vom Zentrum
- 60 M2
- 1 Schlafzimmer
- 5 Personen
- Klimaanlage
- Heizung
- Terrasse
- Parkplatz
- Fahrstuhl
- Garten
55 Bewertungen


luxury stay Romantic Douro River & Sunset views
Porto - Massarelos - 940 m vom Zentrum
- 45 M2
- 1 Schlafzimmer
- 4 Personen
- Klimaanlage
- Heizung
- Terrasse
- Parkplatz
- Fahrstuhl
- Garten
53 Bewertungen


BBA Apartments Palácio I - Douro View, Gym & Free Parking
Porto - Massarelos - 960 m vom Zentrum
- 50 M2
- 1 Schlafzimmer
- 4 Personen
- Klimaanlage
- Heizung
- Parkplatz
- Fahrstuhl
- Garten
51 Bewertungen


Limehome Porto Rua de Dom Manuel II
Porto - Massarelos - 640 m vom Zentrum
- 28 M2
- 3 Personen
- Kochnische
- Klimaanlage
- Heizung
- Terrasse
- Balkon
- Tv
- Handtücher
8 Bewertungen


Oporto Serviced Apartments - Miragaia II
Porto - Miragaia - 530 m vom Zentrum
- 139 M2
- 2 Schlafzimmer
- 8 Personen
- Klimaanlage
- Heizung
- Terrasse
- Parkplatz
- Fahrstuhl
- Garten
132 Bewertungen


Away to Enjoy Apartment - hapiness has a place
Porto - Massarelos - 1.1 km vom Zentrum
- 50 M2
- 1 Schlafzimmer
- 4 Personen
- Heizung
37 Bewertungen


Liiiving in Porto - Crystal Palace Apartment
Porto - Cedofeita - 610 m vom Zentrum
- 59 M2
- 3 Personen
- Klimaanlage
- Heizung
- Terrasse
- Fahrstuhl
- Tv
- Handtücher
- Bettlaken
18 Bewertungen


bnapartments Palacio
Porto - Massarelos - 700 m vom Zentrum
- 55 M2
- 1 Schlafzimmer
- 4 Personen
- Kochnische
- Klimaanlage
- Heizung
- Parkplatz
- Fahrstuhl
- Tv
- Handtücher
- Bettlaken
229 Bewertungen


rosario inn porto
Porto - Miragaia - 420 m vom Zentrum
- 54 M2
- 1 Schlafzimmer
- 4 Personen
- Klimaanlage
- Heizung
- Parkplatz
- Fahrstuhl
129 Bewertungen


Bombarda House & Home
Porto - Cedofeita - 450 m vom Zentrum
- 115 M2
- 2 Schlafzimmer
- 7 Personen
- Klimaanlage
- Heizung
- Terrasse
- Parkplatz
- Fahrstuhl
- Garten
179 Bewertungen


ROSARIO 1E by rosario inn porto
Porto - Miragaia - 420 m vom Zentrum
- 54 M2
- 1 Schlafzimmer
- 4 Personen
- Klimaanlage
- Heizung
- Parkplatz
71 Bewertungen


Elegance in Porto
Porto - Cedofeita - 550 m vom Zentrum
- 40 M2
- 1 Schlafzimmer
- 4 Personen
- Klimaanlage
- Heizung
- Fahrstuhl
12 Bewertungen


L'atelier L - Quartier des Arts
Porto - Cedofeita - 610 m vom Zentrum
- 59 M2
- 1 Schlafzimmer
- 3 Personen
- Klimaanlage
- Heizung
- Parkplatz
- Fahrstuhl
20 Bewertungen


Art District - POP & ROCK Apartments
Porto - Miragaia - 400 m vom Zentrum
- 45 M2
- 2 Personen
- Klimaanlage
- Heizung
- Fahrstuhl
- Garten
73 Bewertungen