
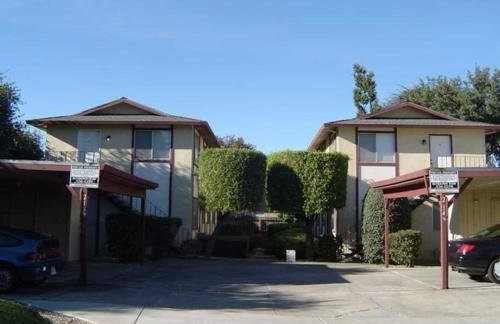
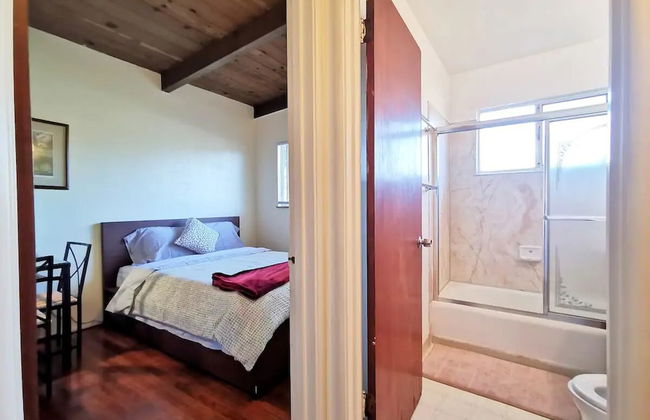
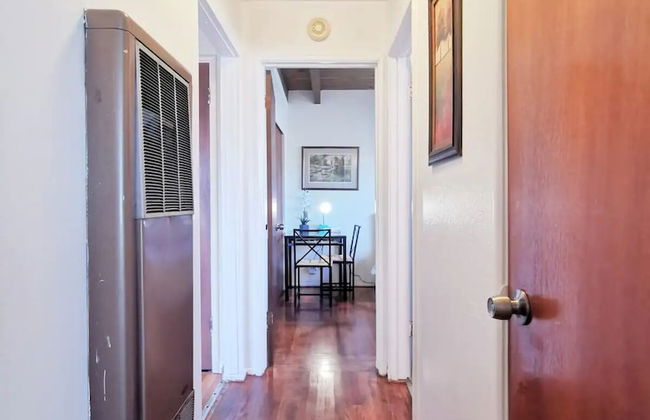
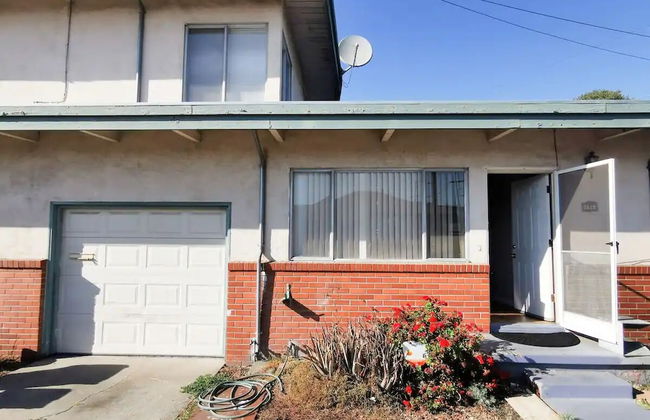
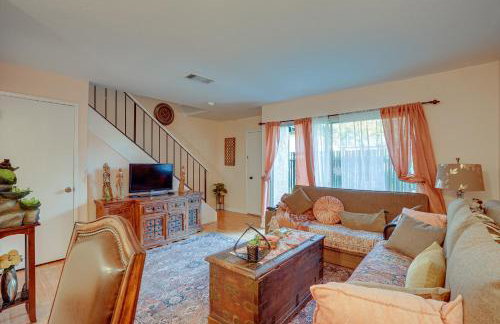
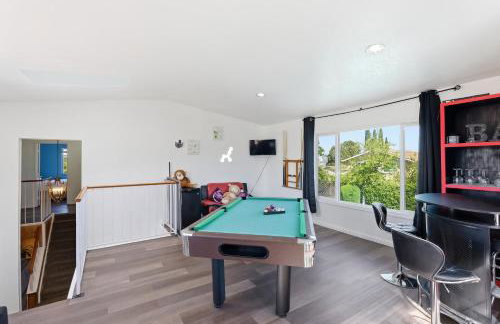
111 Wohnungen in Contra Costa


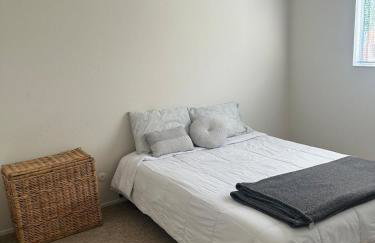
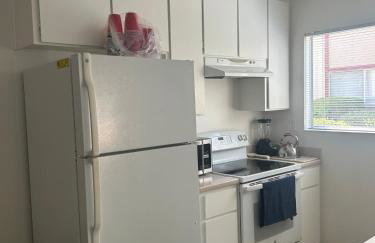
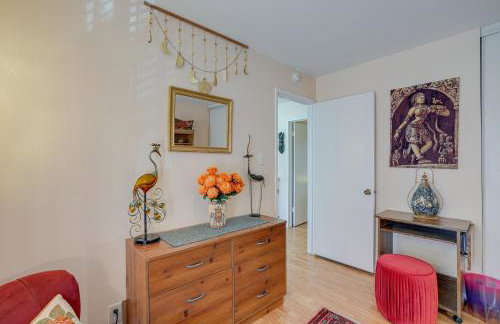
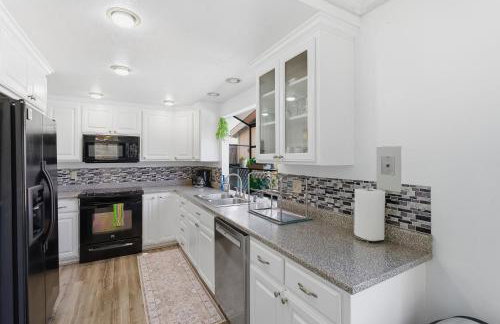
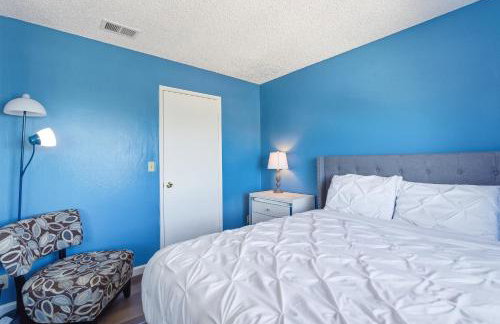
Angie Oasis Yard, Loft & Stocked Kitchen
San Ramon - 5.1 km vom Zentrum
- 90 M2
- 2 Schlafzimmer
- 5 Personen
- Klimaanlage
- Heizung
- Parkplatz
- Garten
16 Bewertungen


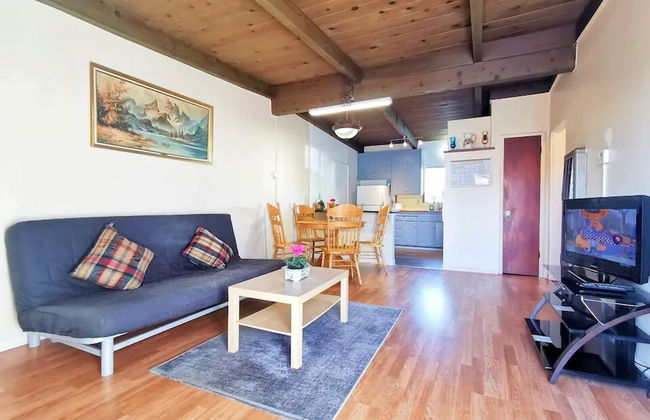
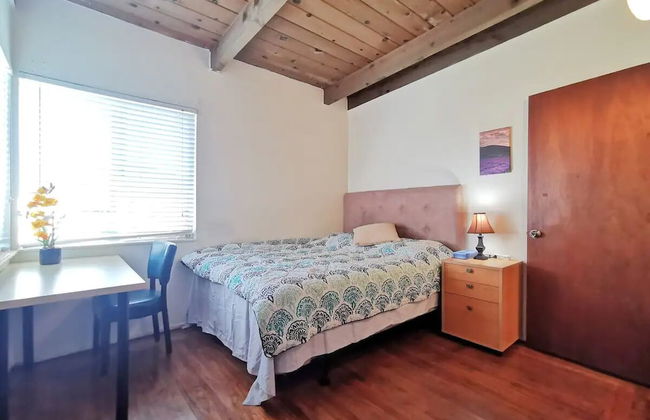
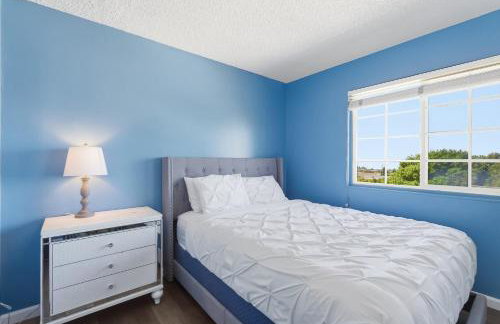
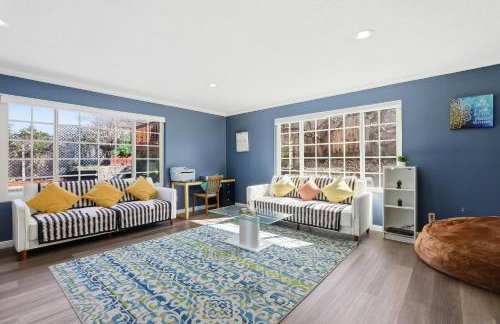
Modern Living Steps From Downtown
Walnut Creek - The Hill - 380 m vom Zentrum
- 75 M2
- 2 Schlafzimmer
- 4 Personen
- Klimaanlage
- Parkplatz
11 Bewertungen


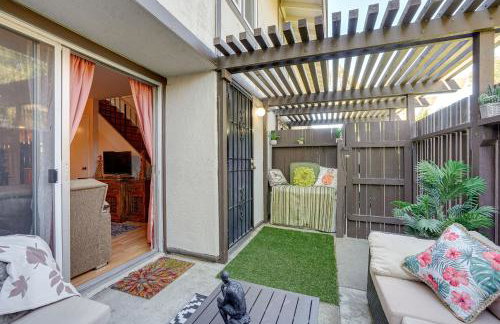
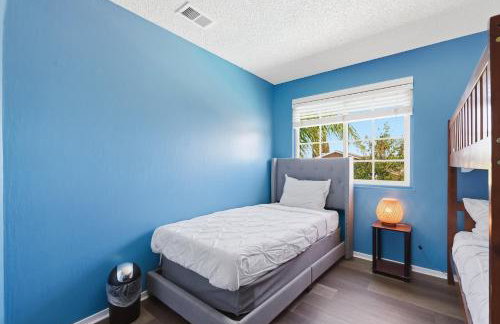
Bright Top Floor-King Bed-Parking-Fast Wi-Fi
Walnut Creek - Downtown Walnut Creek - Im Zentrum
- 46 M2
- 1 Schlafzimmer
- 2 Personen
- Klimaanlage
- Heizung
- Terrasse
- Parkplatz
- Garten
- Barbecue
2 Bewertungen


Your Most Romantic and Peaceful Getaway
El Sobrante
- 44 M2
- 1 Schlafzimmer
- 3 Personen
- Klimaanlage
- Heizung
- Terrasse
- Parkplatz
- Garten
- Barbecue
7 Bewertungen


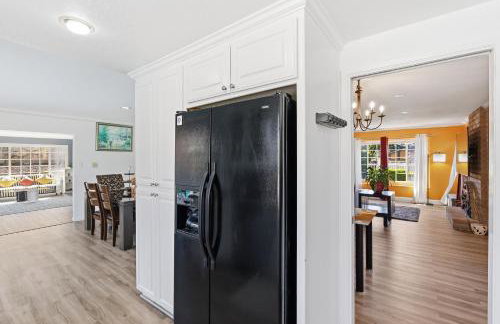
Home away from home
Concord - 460 m vom Zentrum
- 84 M2
- 2 Schlafzimmer
- 4 Personen
- Klimaanlage
- Heizung
- Parkplatz
4 Bewertungen


Private Dock Discovery Bay Vacation Rental!
Discovery Bay
- 327 M2
- 5 Schlafzimmer
- 12 Personen
- Heizung
- Parkplatz
2 Bewertungen


Downtown-Elevator-King Bed-Garage Parking-Laundry
Walnut Creek - Downtown Walnut Creek - Im Zentrum
- 59 M2
- 1 Schlafzimmer
- 2 Personen
- Klimaanlage
- Terrasse
- Parkplatz
- Garten
- Barbecue
2 Bewertungen


Walk to Keller Beach Waterfront Studio with Hot Tub
Richmond - Point Richmond - 3.8 km vom Zentrum
- 60 M2
- 3 Personen
- Parkplatz
4 Bewertungen


Elevator-Work Here-Gig WiFi-King Bed-Laundry in unit
Walnut Creek - Downtown Walnut Creek - Im Zentrum
- 59 M2
- 1 Schlafzimmer
- 2 Personen
- Klimaanlage
- Terrasse
- Parkplatz
- Garten
- Barbecue
3 Bewertungen


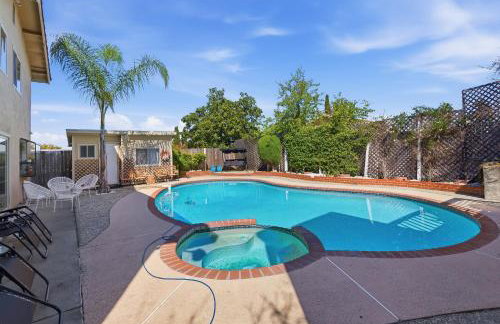
The Castle of Dreams
Martinez - 4.9 km vom Zentrum
- 395 M2
- 5 Schlafzimmer
- 8 Personen
- Klimaanlage
- Heizung
- Terrasse
- Schwimmbad
- Parkplatz
- Garten
3 Bewertungen


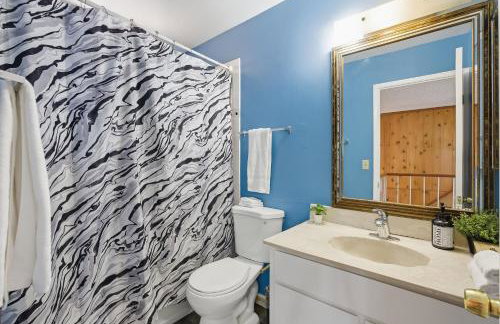
Comfy 2BR 1Bath Apartment near HWY580-80
Richmond - Richmond Annex - 3.5 km vom Zentrum
- 4 Personen
- Heizung
- Parkplatz
- Tv
- Waschmaschine
- Handtücher
3 Bewertungen


King Bed-Walk Downtown-Free Garage Parking-Laundry
Walnut Creek - Downtown Walnut Creek - Im Zentrum
- 59 M2
- 1 Schlafzimmer
- 2 Personen
- Klimaanlage
- Terrasse
- Parkplatz
- Garten
3 Bewertungen


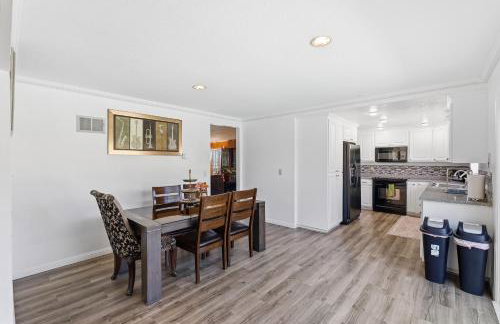
Lovely Concord Townhome Retreat with Community Pool!
Concord - 6.3 km vom Zentrum
- 86 M2
- 2 Schlafzimmer
- 4 Personen
- Heizung
- Schwimmbad
- Parkplatz
2 Bewertungen


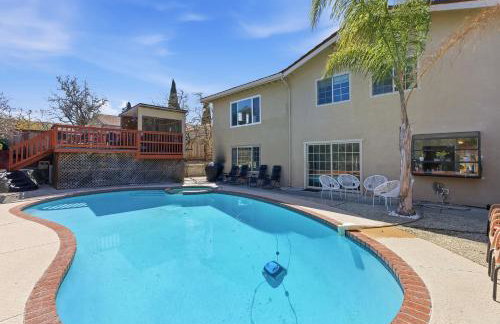


Colorful and Cozy Haven with Heated Pool
Rodeo
- 1 Schlafzimmer
- 9 Personen
- Klimaanlage
- Terrasse
- Schwimmbad
- Parkplatz
- Garten
2 Bewertungen


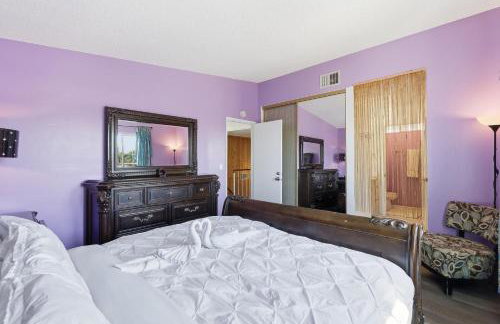
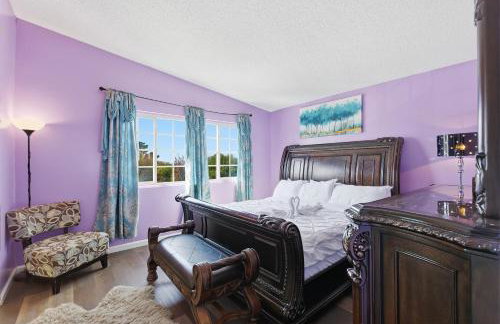
Homestead Haven
Concord - 580 m vom Zentrum
- 121 M2
- 3 Schlafzimmer
- 8 Personen
- Heizung
- Parkplatz
- Garten
3 Bewertungen