18 Wohnungen in Bellingham
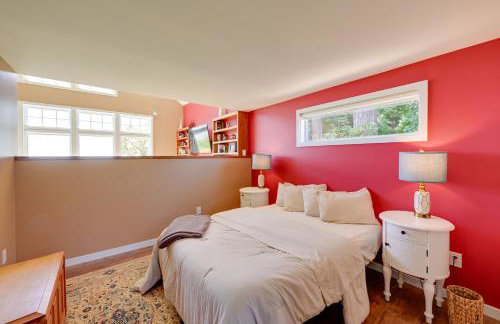
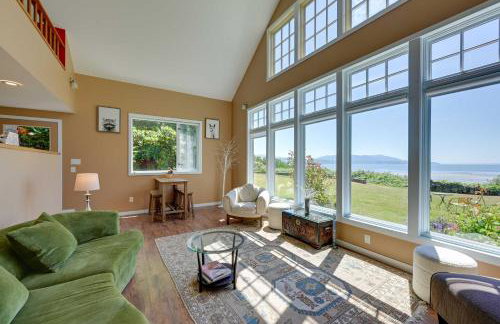
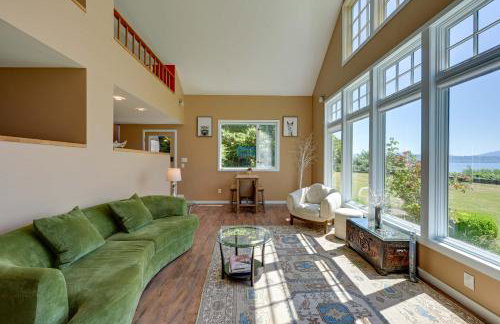
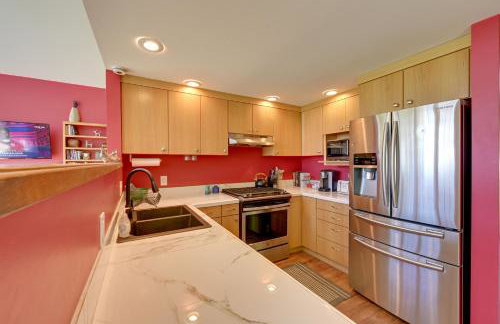
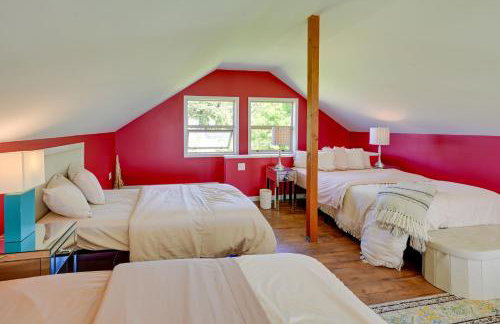
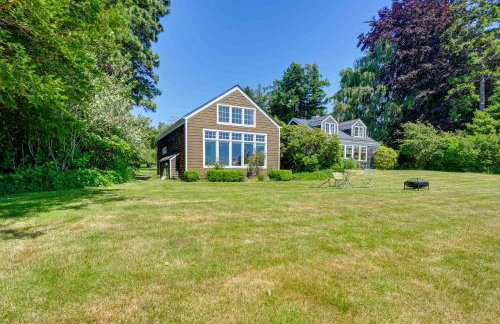
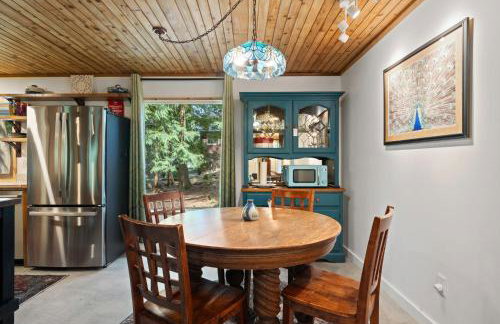
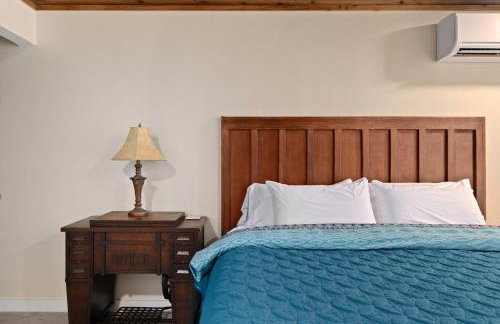
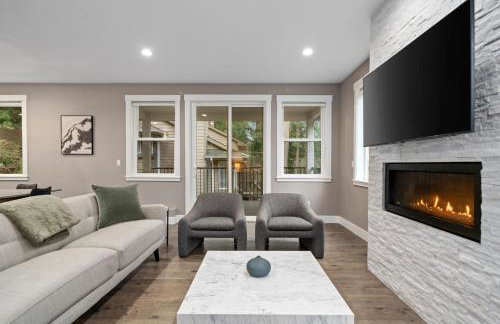
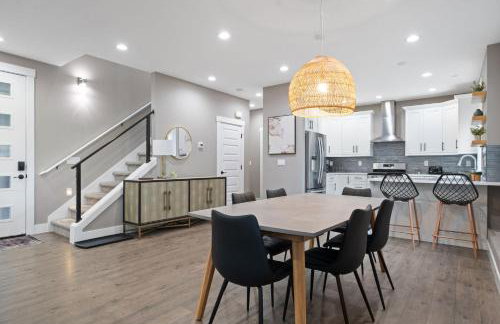
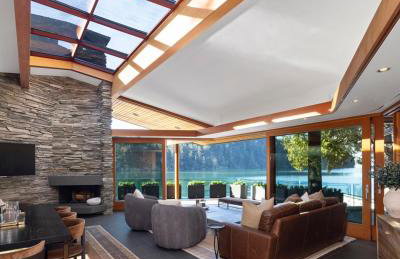
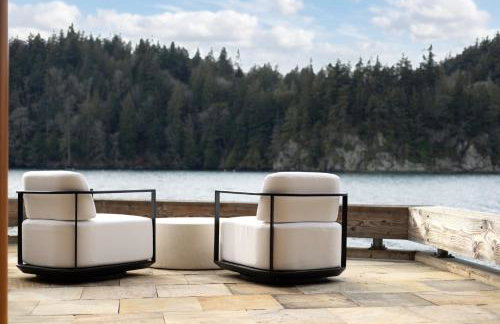
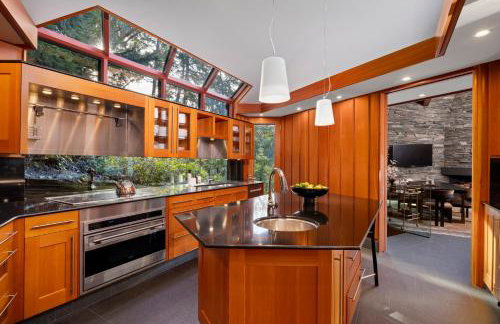
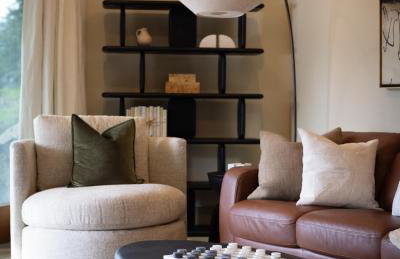
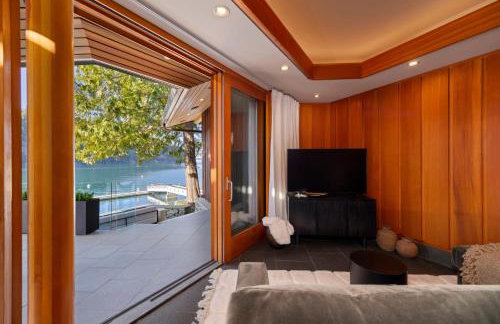
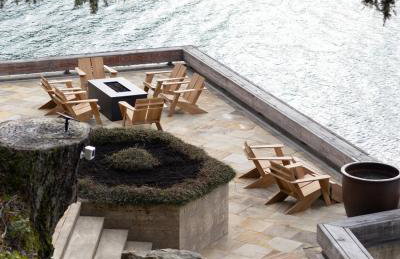
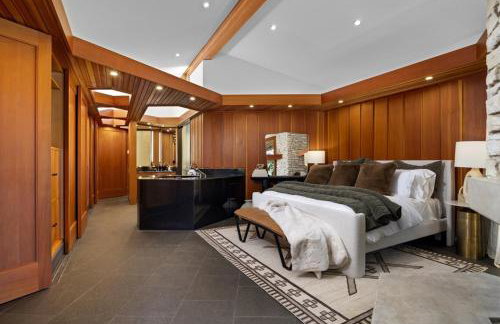
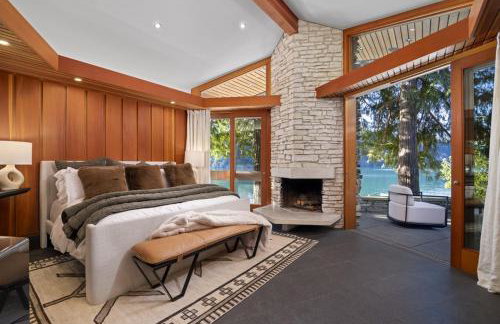
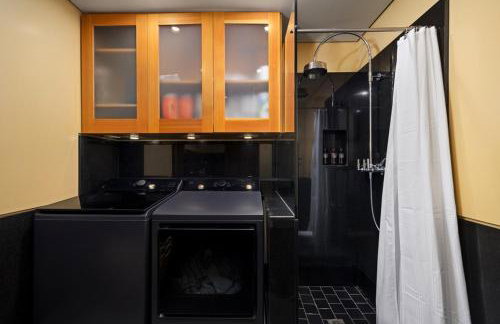
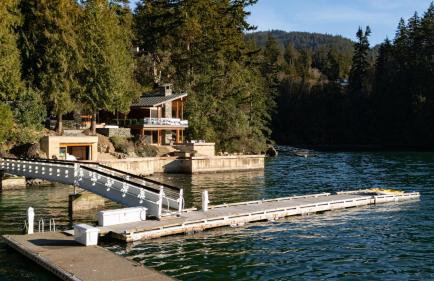
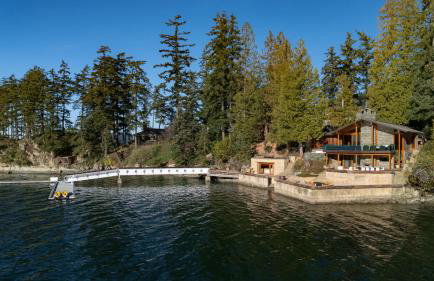
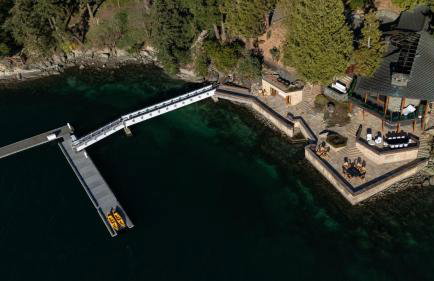
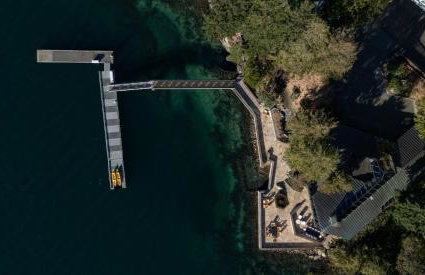
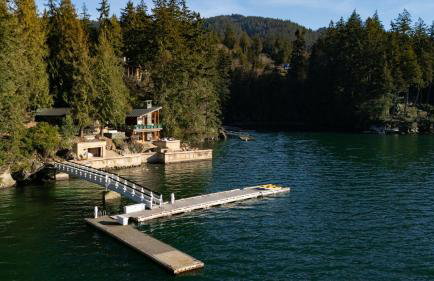
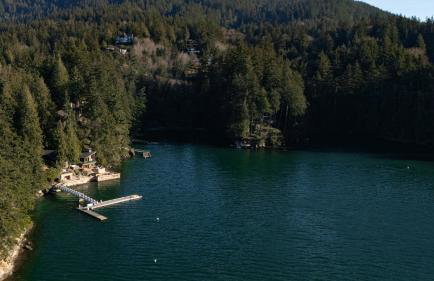
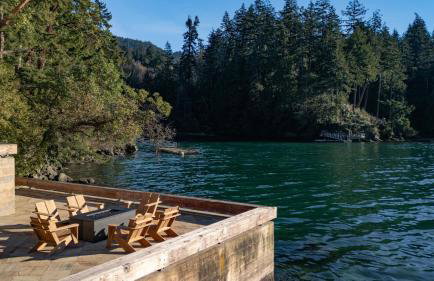
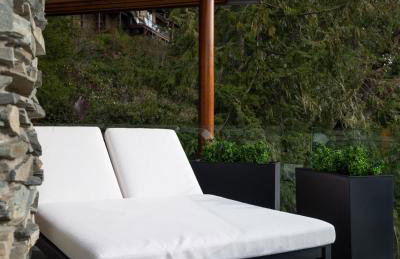
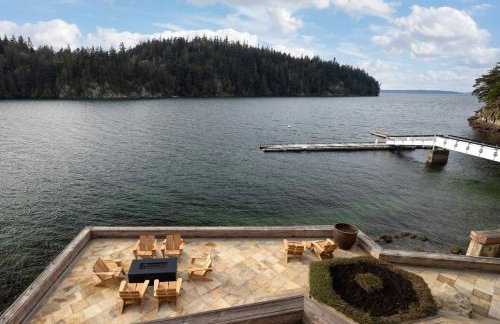
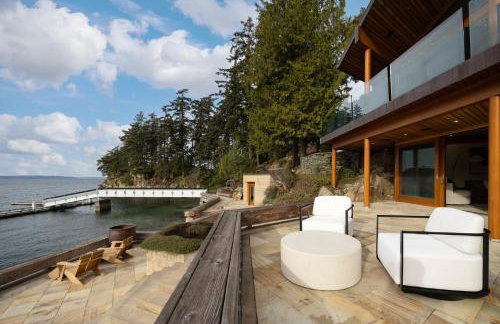
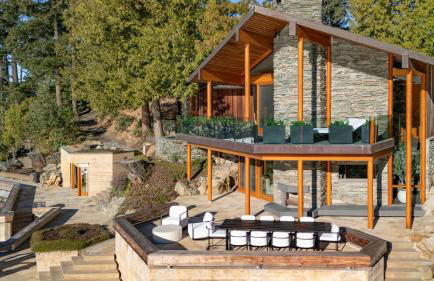
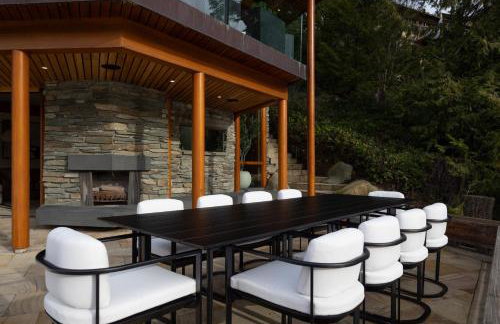
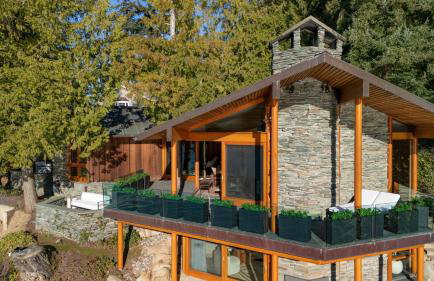
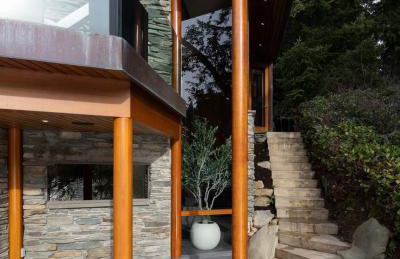
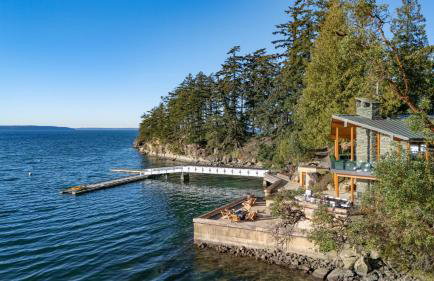
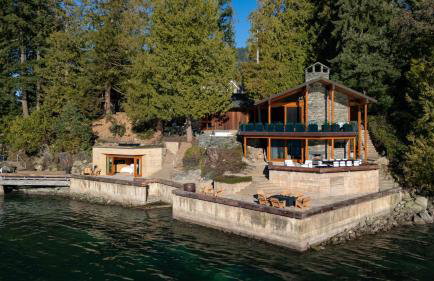
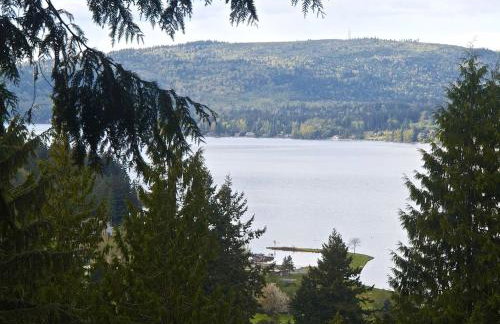
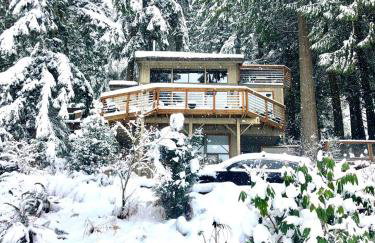
Waterfront Bellingham Bliss: Steps to Beach! - Foto 1
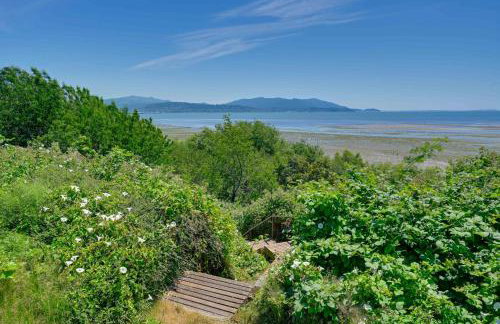
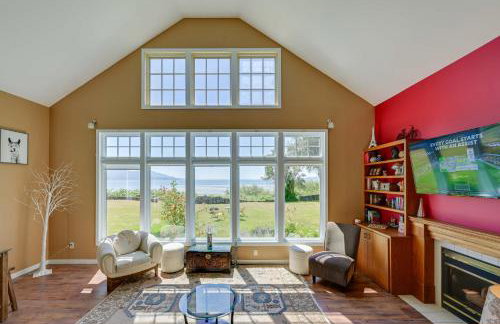
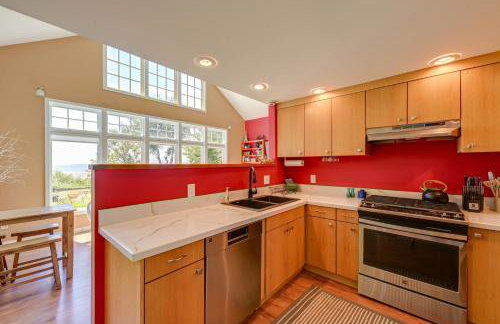
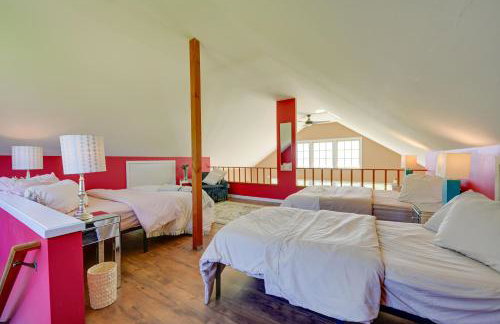
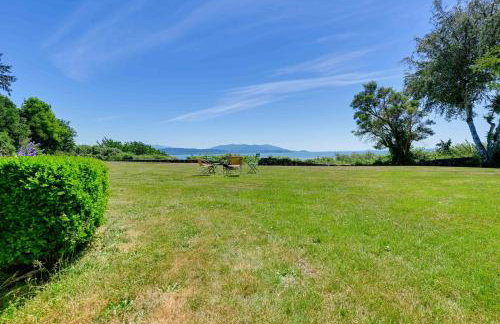
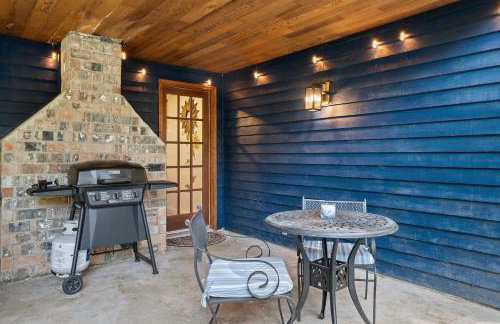
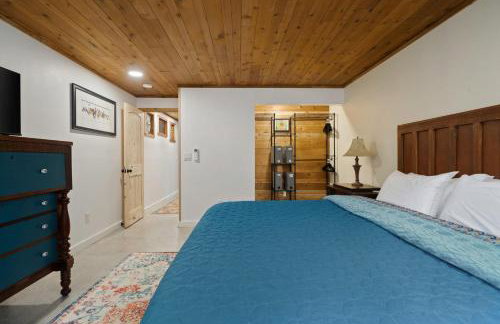
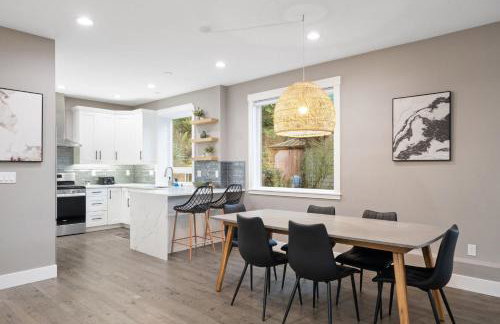
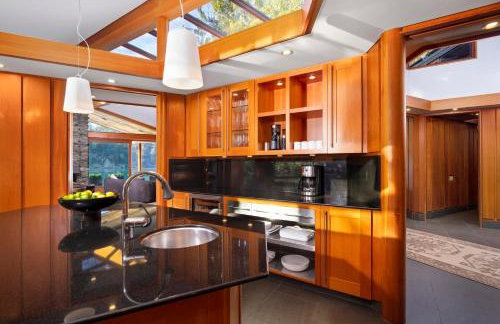
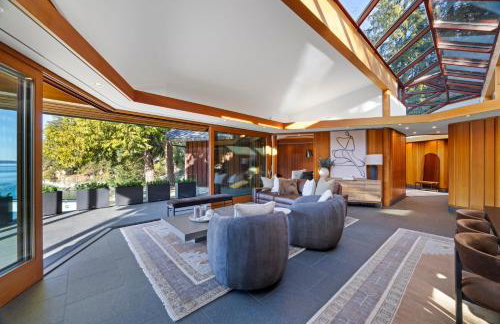
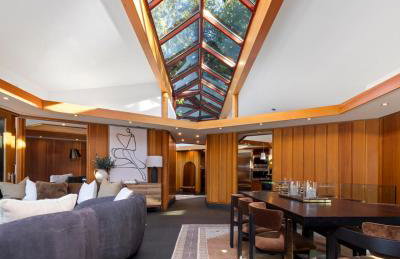
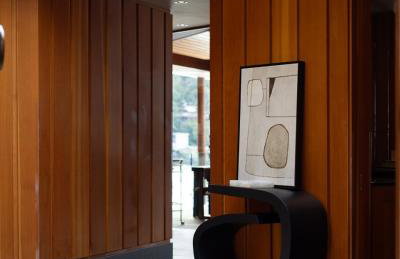
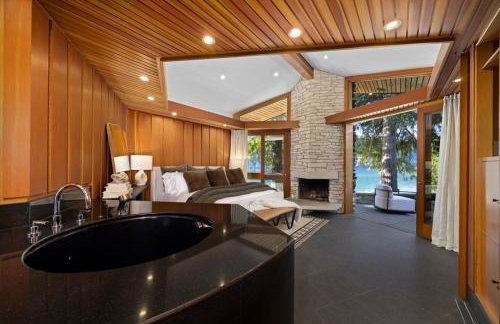
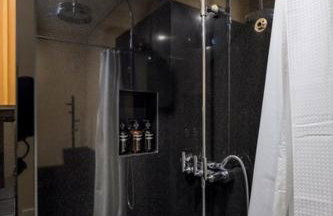
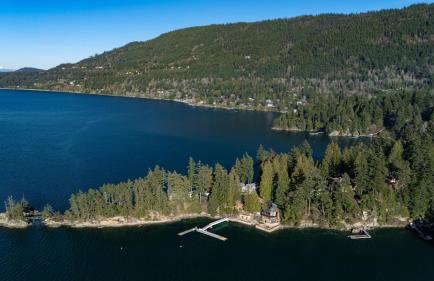
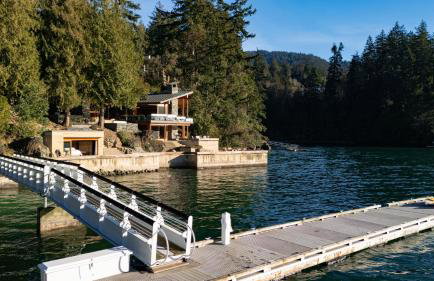
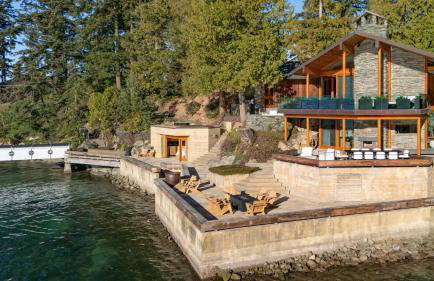
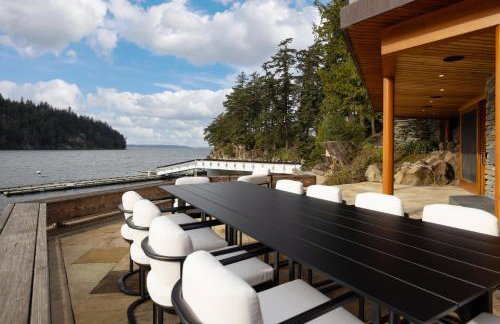
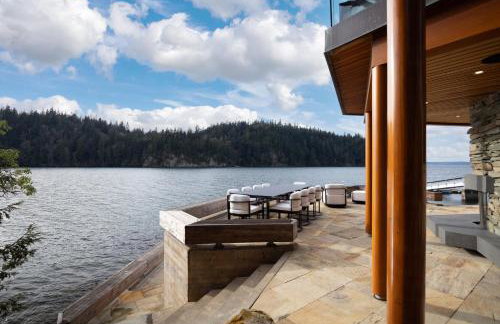
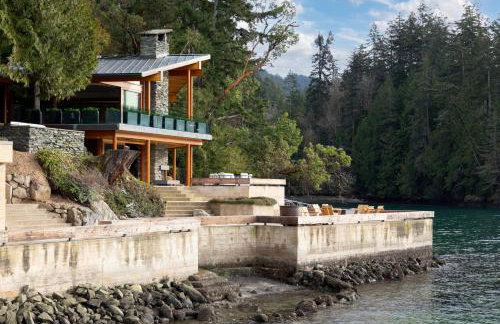
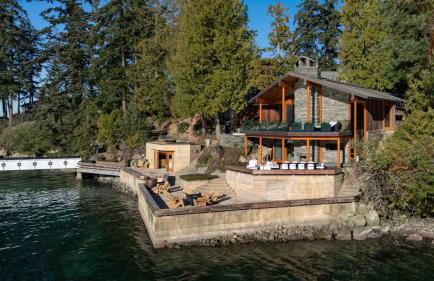
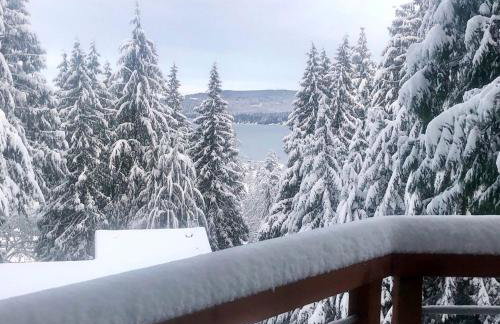
Waterfront Bellingham Bliss: Steps to Beach! - Foto 2
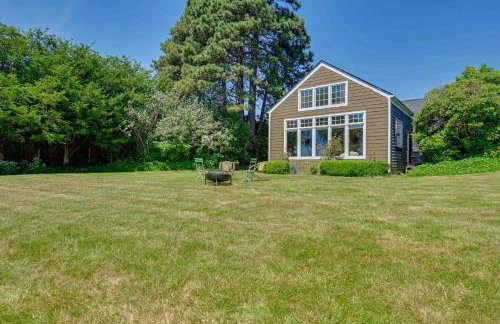
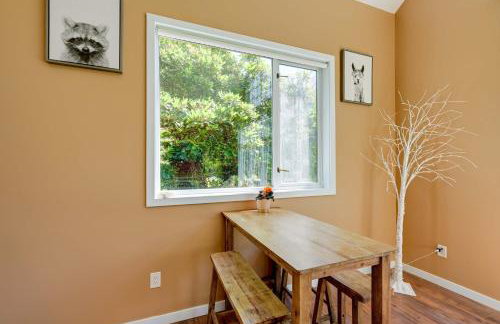
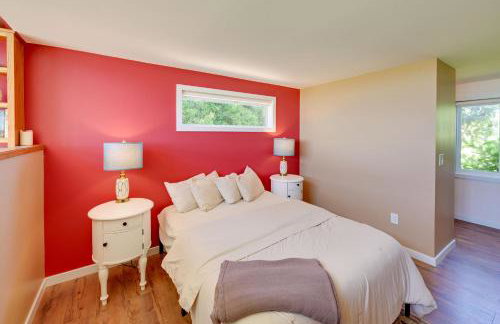
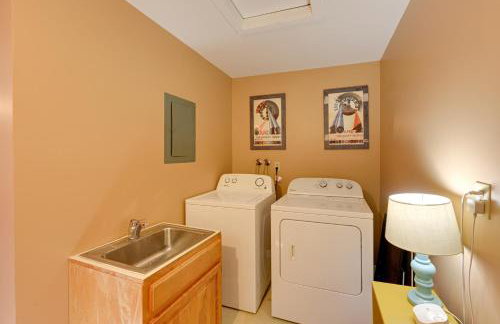
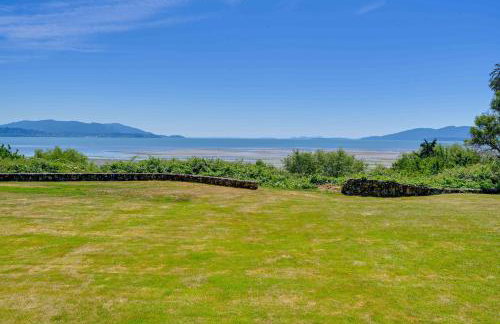
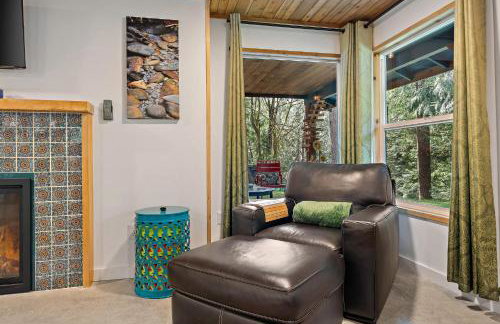
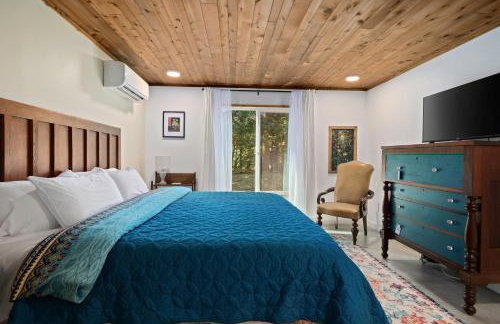
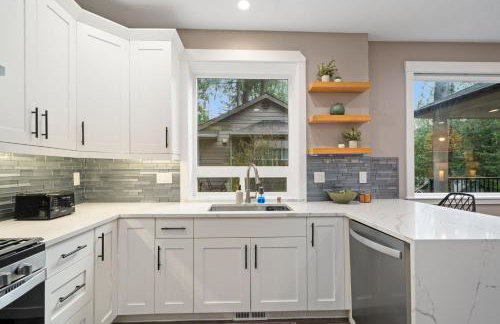
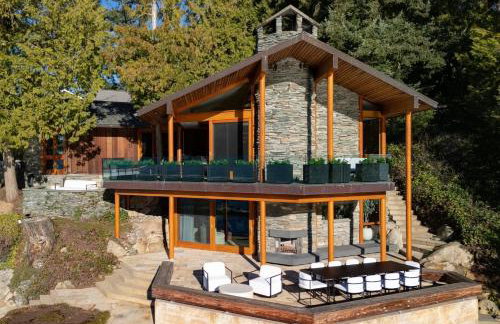
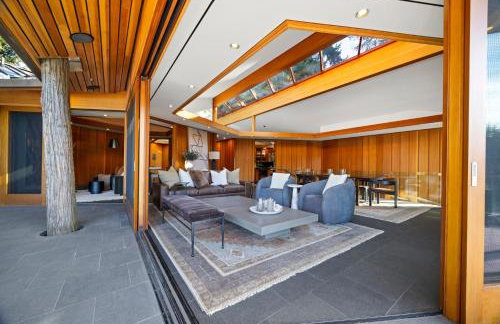
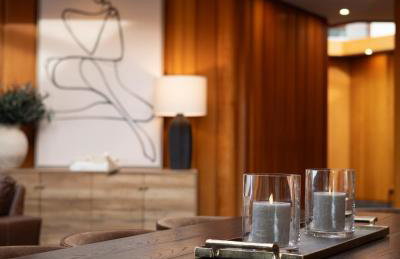
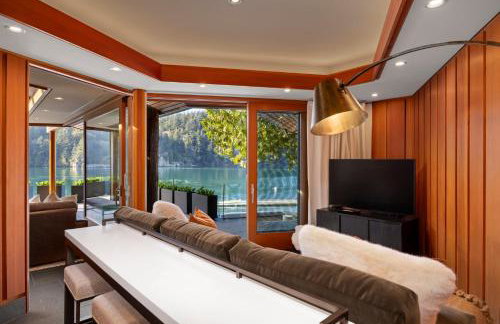
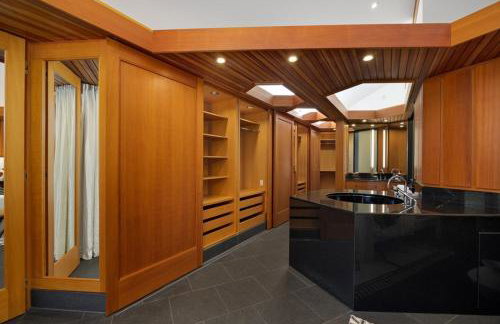
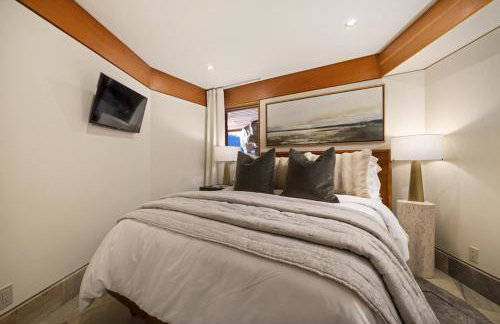
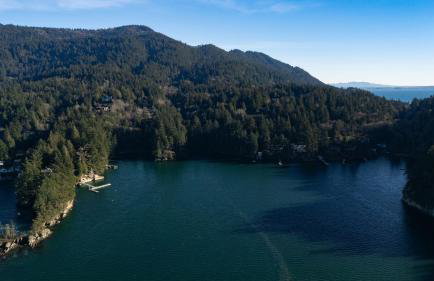
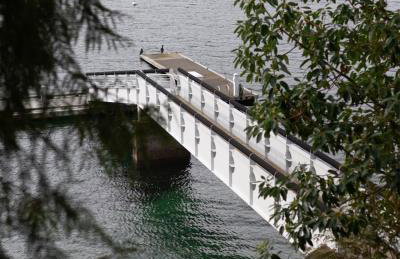
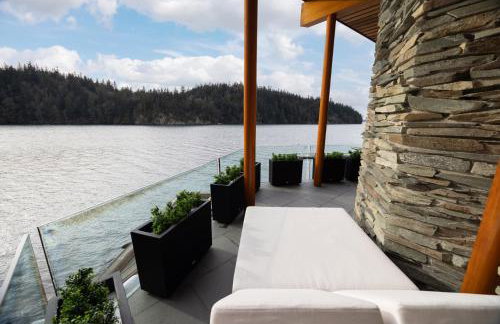
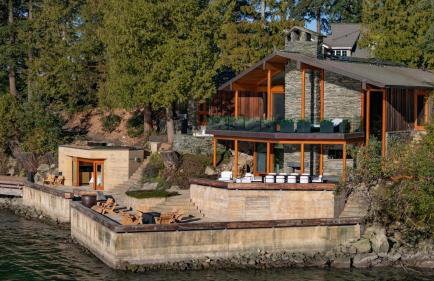
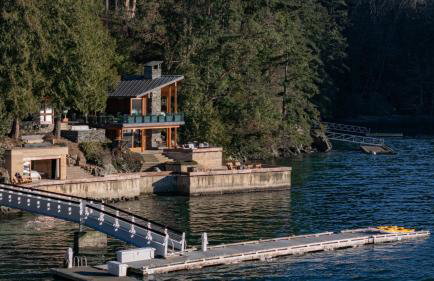
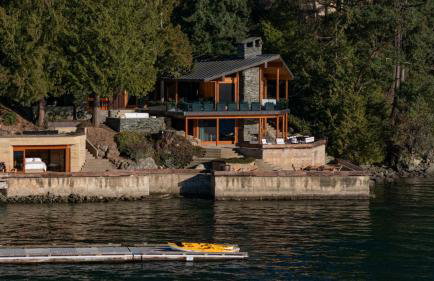
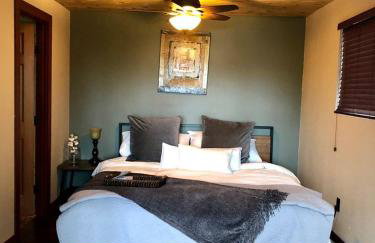
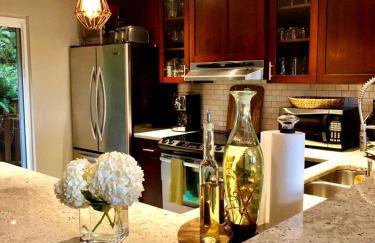
Waterfront Bellingham Bliss: Steps to Beach! - Foto 3
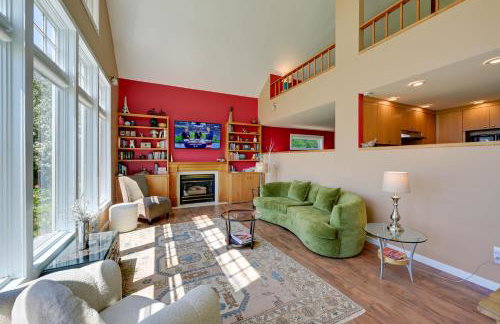
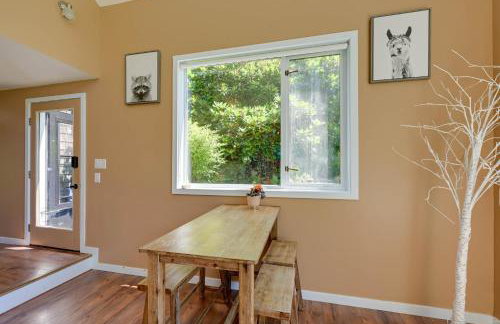
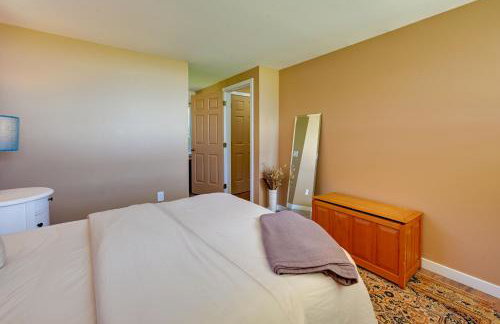
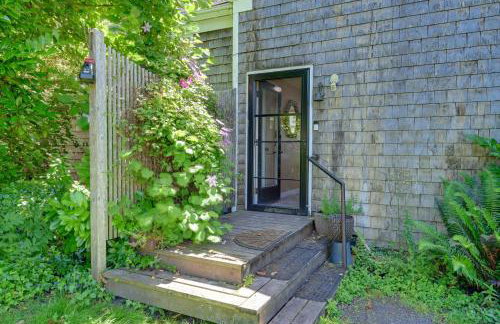
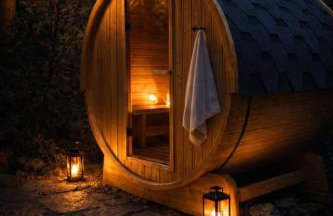
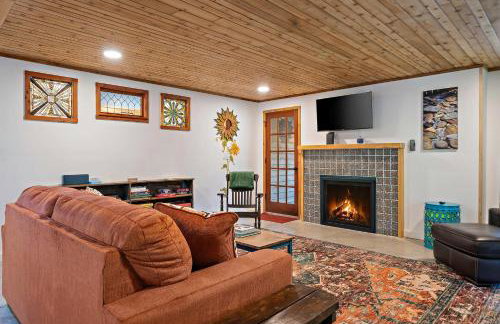
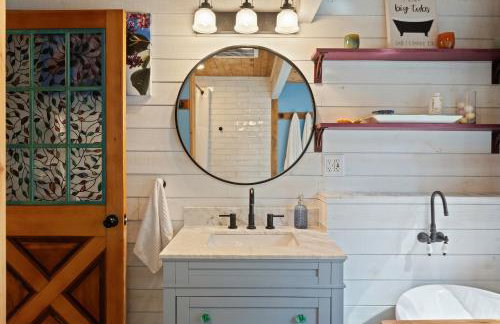
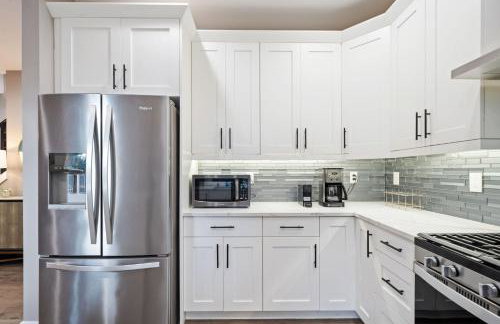
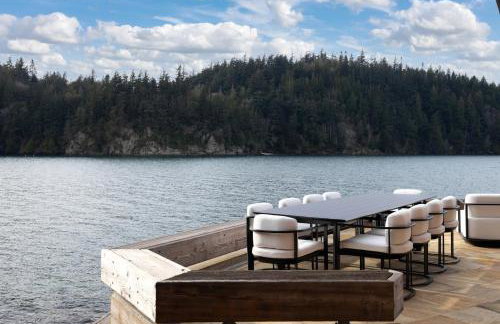
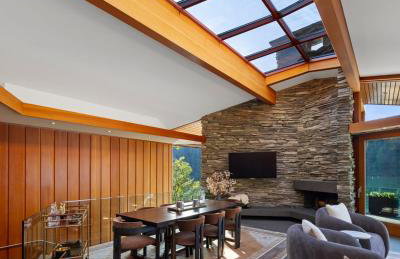
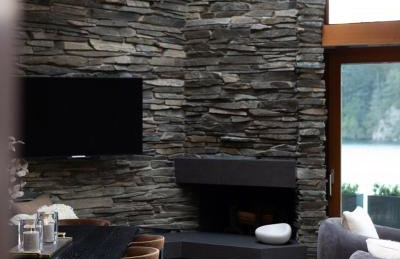
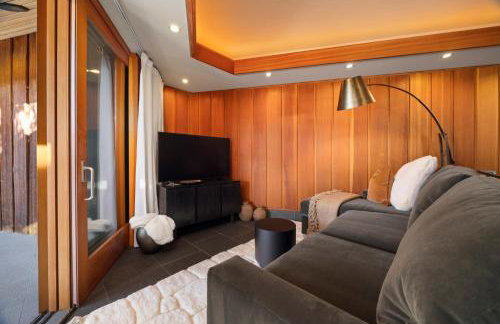
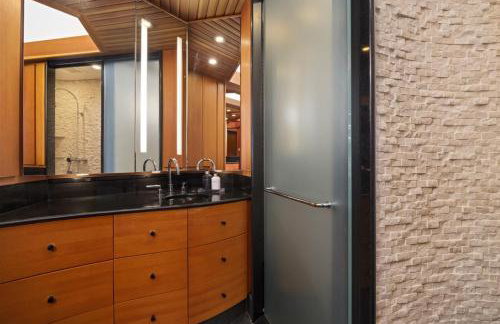
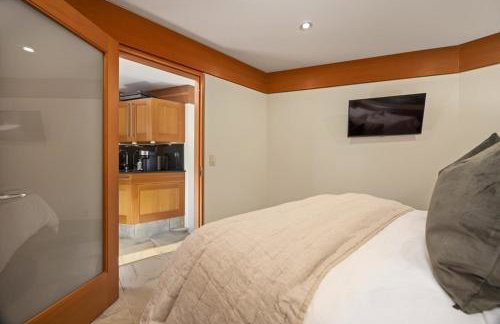
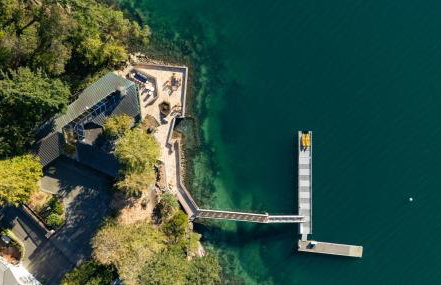
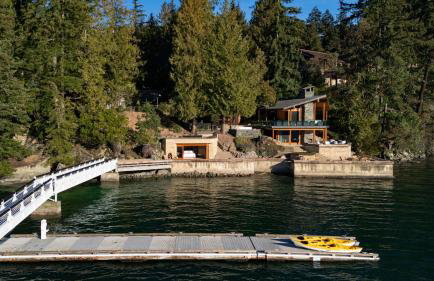
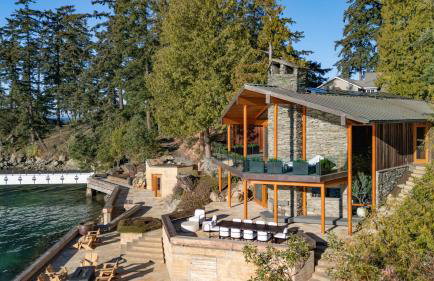
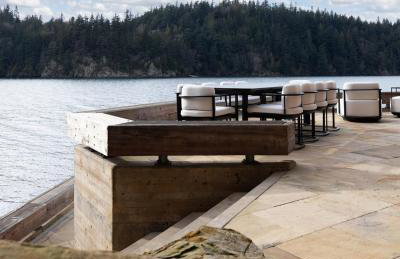
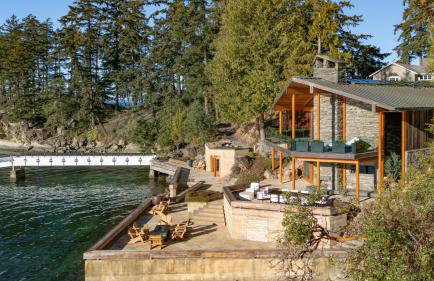
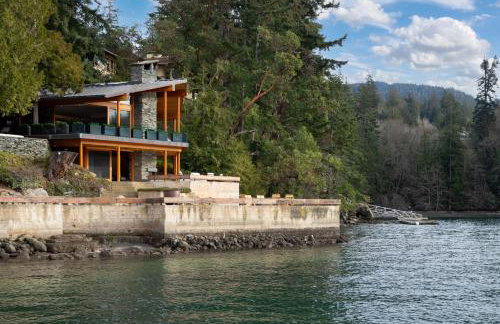
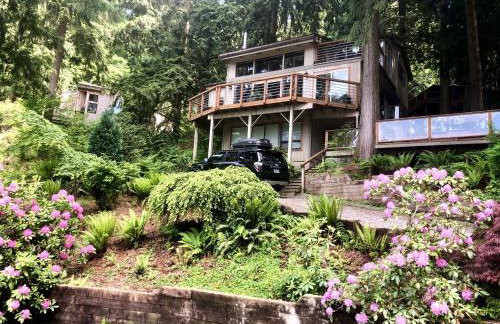
Waterfront Bellingham Bliss: Steps to Beach! - Foto 4
Waterfront Bellingham Bliss: Steps to Beach! - Foto 5
Waterfront Bellingham Bliss: Steps to Beach! - Foto 6
Waterfront Bellingham Bliss: Steps to Beach! - Foto 7
Waterfront Bellingham Bliss: Steps to Beach! - Foto 8
Waterfront Bellingham Bliss: Steps to Beach! - Foto 9
Waterfront Bellingham Bliss: Steps to Beach! - Foto 10
Waterfront Bellingham Bliss: Steps to Beach! - Foto 11
Waterfront Bellingham Bliss: Steps to Beach! - Foto 12
Waterfront Bellingham Bliss: Steps to Beach! - Foto 13
Waterfront Bellingham Bliss: Steps to Beach! - Foto 14
Waterfront Bellingham Bliss: Steps to Beach! - Foto 15
Waterfront Bellingham Bliss: Steps to Beach! - Foto 16
Waterfront Bellingham Bliss: Steps to Beach! - Foto 17
Waterfront Bellingham Bliss: Steps to Beach! - Foto 18
Waterfront Bellingham Bliss: Steps to Beach! - Foto 19
Waterfront Bellingham Bliss: Steps to Beach! - Foto 20
Waterfront Bellingham Bliss: Steps to Beach! - Foto 21
Waterfront Bellingham Bliss: Steps to Beach! - Foto 22
Waterfront Bellingham Bliss: Steps to Beach! - Foto 23
Waterfront Bellingham Bliss: Steps to Beach! - Foto 24
Waterfront Bellingham Bliss: Steps to Beach! - Foto 25
Waterfront Bellingham Bliss: Steps to Beach! - Foto 26
Waterfront Bellingham Bliss: Steps to Beach! - Foto 27
Waterfront Bellingham Bliss: Steps to Beach! - Foto 28
Waterfront Bellingham Bliss: Steps to Beach! - Foto 29
Waterfront Bellingham Bliss: Steps to Beach! - Foto 30
Waterfront Bellingham Bliss: Steps to Beach! - Foto 31
Waterfront Bellingham Bliss: Steps to Beach! - Foto 32

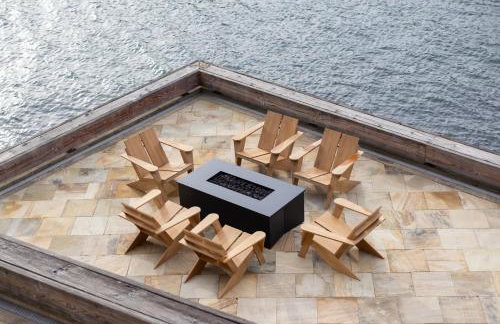
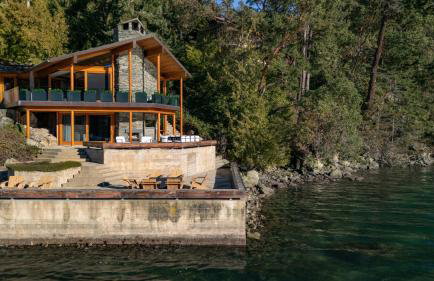
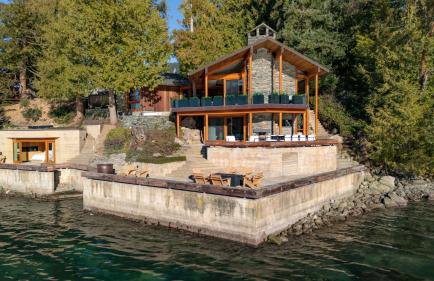
Waterfront Bellingham Bliss: Steps to Beach!

Bellingham - 6.2 km vom Zentrum

  • 112 M2
  • 1 Schlafzimmer
  • 10 Personen
  • Heizung
  • Parkplatz
  • Garten
10Hervorragend | 2 Bewertungen
Fountain District Craftsman - Foto 1
Fountain District Craftsman - Foto 2
Fountain District Craftsman - Foto 3
Fountain District Craftsman - Foto 4
Fountain District Craftsman - Foto 5
Fountain District Craftsman - Foto 6
Fountain District Craftsman - Foto 7
Fountain District Craftsman - Foto 8
Fountain District Craftsman - Foto 9
Fountain District Craftsman - Foto 10
Fountain District Craftsman - Foto 11
Fountain District Craftsman - Foto 12
Fountain District Craftsman - Foto 13
Fountain District Craftsman - Foto 14
Fountain District Craftsman - Foto 15
Fountain District Craftsman - Foto 16
Fountain District Craftsman - Foto 17
Fountain District Craftsman - Foto 18
Fountain District Craftsman - Foto 19
Fountain District Craftsman - Foto 20
Fountain District Craftsman - Foto 21
Fountain District Craftsman - Foto 22
Fountain District Craftsman - Foto 23
Fountain District Craftsman - Foto 24
Fountain District Craftsman - Foto 25
Fountain District Craftsman - Foto 26
Fountain District Craftsman - Foto 27
Fountain District Craftsman - Foto 28
Fountain District Craftsman - Foto 29
Fountain District Craftsman - Foto 30
Fountain District Craftsman - Foto 31
Fountain District Craftsman - Foto 32
Fountain District Craftsman - Foto 33
Fountain District Craftsman - Foto 34
Fountain District Craftsman - Foto 35
Fountain District Craftsman - Foto 36
Fountain District Craftsman - Foto 37
Fountain District Craftsman - Foto 38
Fountain District Craftsman - Foto 39
Fountain District Craftsman - Foto 40

Fountain District Craftsman

Bellingham - Columbia - 1.3 km vom Zentrum
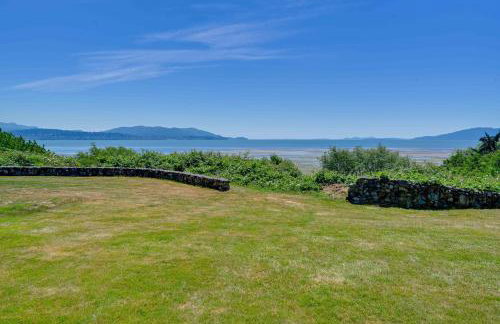
  • 195 M2
  • 3 Schlafzimmer
  • 8 Personen
  • Heizung
  • Parkplatz
  • Garten
10Hervorragend | 2 Bewertungen
Bellingham A-Frame - Hot tub - Fireplace - Firepit - Foto 1
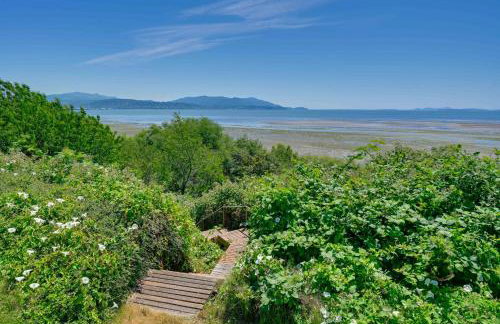
Bellingham A-Frame - Hot tub - Fireplace - Firepit - Foto 2
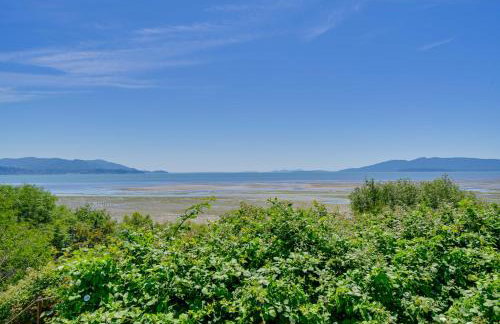
Bellingham A-Frame - Hot tub - Fireplace - Firepit - Foto 3
Bellingham A-Frame - Hot tub - Fireplace - Firepit - Foto 4
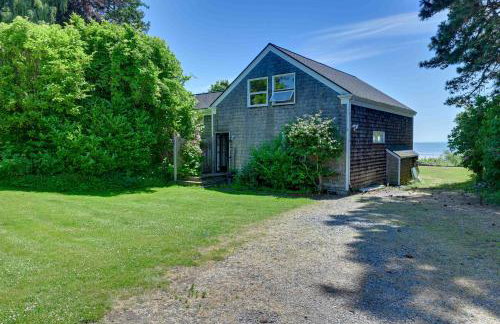
Bellingham A-Frame - Hot tub - Fireplace - Firepit - Foto 5
Bellingham A-Frame - Hot tub - Fireplace - Firepit - Foto 6
Bellingham A-Frame - Hot tub - Fireplace - Firepit - Foto 7
Bellingham A-Frame - Hot tub - Fireplace - Firepit - Foto 8
Bellingham A-Frame - Hot tub - Fireplace - Firepit - Foto 9
Bellingham A-Frame - Hot tub - Fireplace - Firepit - Foto 10
Bellingham A-Frame - Hot tub - Fireplace - Firepit - Foto 11
Bellingham A-Frame - Hot tub - Fireplace - Firepit - Foto 12
Bellingham A-Frame - Hot tub - Fireplace - Firepit - Foto 13
Bellingham A-Frame - Hot tub - Fireplace - Firepit - Foto 14
Bellingham A-Frame - Hot tub - Fireplace - Firepit - Foto 15
Bellingham A-Frame - Hot tub - Fireplace - Firepit - Foto 16
Bellingham A-Frame - Hot tub - Fireplace - Firepit - Foto 17
Bellingham A-Frame - Hot tub - Fireplace - Firepit - Foto 18
Bellingham A-Frame - Hot tub - Fireplace - Firepit - Foto 19
Bellingham A-Frame - Hot tub - Fireplace - Firepit - Foto 20
Bellingham A-Frame - Hot tub - Fireplace - Firepit - Foto 21
Bellingham A-Frame - Hot tub - Fireplace - Firepit - Foto 22
Bellingham A-Frame - Hot tub - Fireplace - Firepit - Foto 23
Bellingham A-Frame - Hot tub - Fireplace - Firepit - Foto 24
Bellingham A-Frame - Hot tub - Fireplace - Firepit - Foto 25
Bellingham A-Frame - Hot tub - Fireplace - Firepit - Foto 26
Bellingham A-Frame - Hot tub - Fireplace - Firepit - Foto 27
Bellingham A-Frame - Hot tub - Fireplace - Firepit - Foto 28
Bellingham A-Frame - Hot tub - Fireplace - Firepit - Foto 29

Bellingham A-Frame - Hot tub - Fireplace - Firepit

Bellingham - 9.9 km vom Zentrum

  • 195 M2
  • 2 Schlafzimmer
  • 4 Personen
  • Klimaanlage
  • Heizung
  • Parkplatz
  • Garten
  • Barbecue
9.6Außergewöhnlich | 5 Bewertungen
Sudden Valley Home ~ 1 Block to Lake Whatcom! - Foto 1
Sudden Valley Home ~ 1 Block to Lake Whatcom! - Foto 2
Sudden Valley Home ~ 1 Block to Lake Whatcom! - Foto 3
Sudden Valley Home ~ 1 Block to Lake Whatcom! - Foto 4
Sudden Valley Home ~ 1 Block to Lake Whatcom! - Foto 5
Sudden Valley Home ~ 1 Block to Lake Whatcom! - Foto 6
Sudden Valley Home ~ 1 Block to Lake Whatcom! - Foto 7
Sudden Valley Home ~ 1 Block to Lake Whatcom! - Foto 8
Sudden Valley Home ~ 1 Block to Lake Whatcom! - Foto 9
Sudden Valley Home ~ 1 Block to Lake Whatcom! - Foto 10
Sudden Valley Home ~ 1 Block to Lake Whatcom! - Foto 11
Sudden Valley Home ~ 1 Block to Lake Whatcom! - Foto 12
Sudden Valley Home ~ 1 Block to Lake Whatcom! - Foto 13
Sudden Valley Home ~ 1 Block to Lake Whatcom! - Foto 14
Sudden Valley Home ~ 1 Block to Lake Whatcom! - Foto 15
Sudden Valley Home ~ 1 Block to Lake Whatcom! - Foto 16
Sudden Valley Home ~ 1 Block to Lake Whatcom! - Foto 17
Sudden Valley Home ~ 1 Block to Lake Whatcom! - Foto 18
Sudden Valley Home ~ 1 Block to Lake Whatcom! - Foto 19
Sudden Valley Home ~ 1 Block to Lake Whatcom! - Foto 20
Sudden Valley Home ~ 1 Block to Lake Whatcom! - Foto 21
Sudden Valley Home ~ 1 Block to Lake Whatcom! - Foto 22
Sudden Valley Home ~ 1 Block to Lake Whatcom! - Foto 23
Sudden Valley Home ~ 1 Block to Lake Whatcom! - Foto 24
Sudden Valley Home ~ 1 Block to Lake Whatcom! - Foto 25
Sudden Valley Home ~ 1 Block to Lake Whatcom! - Foto 26
Sudden Valley Home ~ 1 Block to Lake Whatcom! - Foto 27
Sudden Valley Home ~ 1 Block to Lake Whatcom! - Foto 28
Sudden Valley Home ~ 1 Block to Lake Whatcom! - Foto 29
Sudden Valley Home ~ 1 Block to Lake Whatcom! - Foto 30

Sudden Valley Home ~ 1 Block to Lake Whatcom!

Bellingham - 10.6 km vom Zentrum

  • 216 M2
  • 3 Schlafzimmer
  • 8 Personen
  • Heizung
  • Parkplatz
9.5Außergewöhnlich | 2 Bewertungen
Lake View Lodge - Foto 1
Lake View Lodge - Foto 2
Lake View Lodge - Foto 3
Lake View Lodge - Foto 4
Lake View Lodge - Foto 5
Lake View Lodge - Foto 6
Lake View Lodge - Foto 7
Lake View Lodge - Foto 8
Lake View Lodge - Foto 9
Lake View Lodge - Foto 10
Lake View Lodge - Foto 11
Lake View Lodge - Foto 12
Lake View Lodge - Foto 13
Lake View Lodge - Foto 14
Lake View Lodge - Foto 15
Lake View Lodge - Foto 16
Lake View Lodge - Foto 17
Lake View Lodge - Foto 18
Lake View Lodge - Foto 19
Lake View Lodge - Foto 20
Lake View Lodge - Foto 21
Lake View Lodge - Foto 22
Lake View Lodge - Foto 23
Lake View Lodge - Foto 24
Lake View Lodge - Foto 25
Lake View Lodge - Foto 26
Lake View Lodge - Foto 27
Lake View Lodge - Foto 28
Lake View Lodge - Foto 29
Lake View Lodge - Foto 30

Lake View Lodge

Bellingham - 10.3 km vom Zentrum

  • 186 M2
  • 3 Schlafzimmer
  • 6 Personen
  • Klimaanlage
  • Heizung
  • Parkplatz
  • Garten
  • Barbecue
9.3Außergewöhnlich | 3 Bewertungen
Lake Samish Cozy Getaway - Foto 1
Lake Samish Cozy Getaway - Foto 2
Lake Samish Cozy Getaway - Foto 3
Lake Samish Cozy Getaway - Foto 4
Lake Samish Cozy Getaway - Foto 5
Lake Samish Cozy Getaway - Foto 6
Lake Samish Cozy Getaway - Foto 7
Lake Samish Cozy Getaway - Foto 8
Lake Samish Cozy Getaway - Foto 9
Lake Samish Cozy Getaway - Foto 10
Lake Samish Cozy Getaway - Foto 11
Lake Samish Cozy Getaway - Foto 12
Lake Samish Cozy Getaway - Foto 13
Lake Samish Cozy Getaway - Foto 14
Lake Samish Cozy Getaway - Foto 15
Lake Samish Cozy Getaway - Foto 16
Lake Samish Cozy Getaway - Foto 17
Lake Samish Cozy Getaway - Foto 18
Lake Samish Cozy Getaway - Foto 19
Lake Samish Cozy Getaway - Foto 20
Lake Samish Cozy Getaway - Foto 21
Lake Samish Cozy Getaway - Foto 22
Lake Samish Cozy Getaway - Foto 23
Lake Samish Cozy Getaway - Foto 24
Lake Samish Cozy Getaway - Foto 25
Lake Samish Cozy Getaway - Foto 26
Lake Samish Cozy Getaway - Foto 27
Lake Samish Cozy Getaway - Foto 28

Lake Samish Cozy Getaway

Bellingham - 12 km vom Zentrum

  • 56 M2
  • 1 Schlafzimmer
  • 6 Personen
  • Heizung
  • Parkplatz
  • Garten
  • Barbecue
10Hervorragend | 1 Bewertung
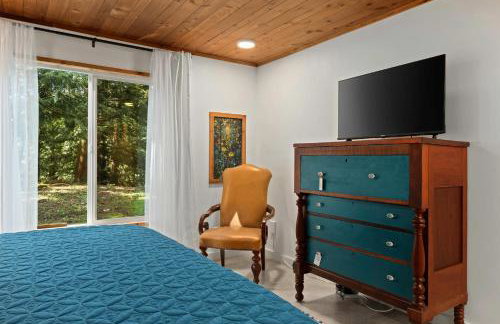
Little Blue - Foto 1
Little Blue - Foto 2
Little Blue - Foto 3
Little Blue - Foto 4
Little Blue - Foto 5
Little Blue - Foto 6
Little Blue - Foto 7
Little Blue - Foto 8
Little Blue - Foto 9
Little Blue - Foto 10
Little Blue - Foto 11
Little Blue - Foto 12
Little Blue - Foto 13
Little Blue - Foto 14
Little Blue - Foto 15
Little Blue - Foto 16
Little Blue - Foto 17
Little Blue - Foto 18
Little Blue - Foto 19
Little Blue - Foto 20
Little Blue - Foto 21
Little Blue - Foto 22
Little Blue - Foto 23
Little Blue - Foto 24
Little Blue - Foto 25
Little Blue - Foto 26
Little Blue - Foto 27
Little Blue - Foto 28
Little Blue - Foto 29
Little Blue - Foto 30
Little Blue - Foto 31
Little Blue - Foto 32
Little Blue - Foto 33
Little Blue - Foto 34
Little Blue - Foto 35
Little Blue - Foto 36
Little Blue - Foto 37
Little Blue - Foto 38
Little Blue - Foto 39
Little Blue - Foto 40

Little Blue

Bellingham - 9.2 km vom Zentrum

  • 102 M2
  • 2 Schlafzimmer
  • 4 Personen
  • Klimaanlage
  • Heizung
  • Parkplatz
10Hervorragend | 1 Bewertung
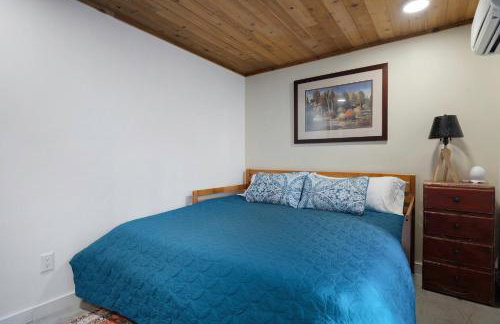
Lake Whatcom House w/ Private Hot Tub + Dock - Foto 1
Lake Whatcom House w/ Private Hot Tub + Dock - Foto 2
Lake Whatcom House w/ Private Hot Tub + Dock - Foto 3
Lake Whatcom House w/ Private Hot Tub + Dock - Foto 4
Lake Whatcom House w/ Private Hot Tub + Dock - Foto 5
Lake Whatcom House w/ Private Hot Tub + Dock - Foto 6
Lake Whatcom House w/ Private Hot Tub + Dock - Foto 7
Lake Whatcom House w/ Private Hot Tub + Dock - Foto 8
Lake Whatcom House w/ Private Hot Tub + Dock - Foto 9
Lake Whatcom House w/ Private Hot Tub + Dock - Foto 10
Lake Whatcom House w/ Private Hot Tub + Dock - Foto 11
Lake Whatcom House w/ Private Hot Tub + Dock - Foto 12
Lake Whatcom House w/ Private Hot Tub + Dock - Foto 13
Lake Whatcom House w/ Private Hot Tub + Dock - Foto 14
Lake Whatcom House w/ Private Hot Tub + Dock - Foto 15
Lake Whatcom House w/ Private Hot Tub + Dock - Foto 16
Lake Whatcom House w/ Private Hot Tub + Dock - Foto 17
Lake Whatcom House w/ Private Hot Tub + Dock - Foto 18
Lake Whatcom House w/ Private Hot Tub + Dock - Foto 19
Lake Whatcom House w/ Private Hot Tub + Dock - Foto 20
Lake Whatcom House w/ Private Hot Tub + Dock - Foto 21
Lake Whatcom House w/ Private Hot Tub + Dock - Foto 22
Lake Whatcom House w/ Private Hot Tub + Dock - Foto 23
Lake Whatcom House w/ Private Hot Tub + Dock - Foto 24
Lake Whatcom House w/ Private Hot Tub + Dock - Foto 25
Lake Whatcom House w/ Private Hot Tub + Dock - Foto 26
Lake Whatcom House w/ Private Hot Tub + Dock - Foto 27
Lake Whatcom House w/ Private Hot Tub + Dock - Foto 28
Lake Whatcom House w/ Private Hot Tub + Dock - Foto 29
Lake Whatcom House w/ Private Hot Tub + Dock - Foto 30
Lake Whatcom House w/ Private Hot Tub + Dock - Foto 31
Lake Whatcom House w/ Private Hot Tub + Dock - Foto 32
Lake Whatcom House w/ Private Hot Tub + Dock - Foto 33

Lake Whatcom House w/ Private Hot Tub + Dock

Bellingham - 7.9 km vom Zentrum

  • 232 M2
  • 3 Schlafzimmer
  • 10 Personen
  • Heizung
  • Parkplatz
10Hervorragend | 1 Bewertung
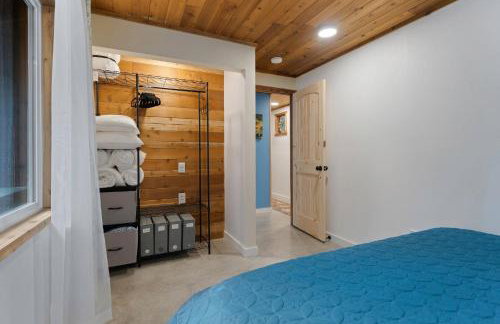
Stylish Bellingham Home w/ Lake + Mountain Views! - Foto 1
Stylish Bellingham Home w/ Lake + Mountain Views! - Foto 2
Stylish Bellingham Home w/ Lake + Mountain Views! - Foto 3
Stylish Bellingham Home w/ Lake + Mountain Views! - Foto 4
Stylish Bellingham Home w/ Lake + Mountain Views! - Foto 5
Stylish Bellingham Home w/ Lake + Mountain Views! - Foto 6
Stylish Bellingham Home w/ Lake + Mountain Views! - Foto 7
Stylish Bellingham Home w/ Lake + Mountain Views! - Foto 8
Stylish Bellingham Home w/ Lake + Mountain Views! - Foto 9
Stylish Bellingham Home w/ Lake + Mountain Views! - Foto 10
Stylish Bellingham Home w/ Lake + Mountain Views! - Foto 11
Stylish Bellingham Home w/ Lake + Mountain Views! - Foto 12
Stylish Bellingham Home w/ Lake + Mountain Views! - Foto 13
Stylish Bellingham Home w/ Lake + Mountain Views! - Foto 14
Stylish Bellingham Home w/ Lake + Mountain Views! - Foto 15
Stylish Bellingham Home w/ Lake + Mountain Views! - Foto 16
Stylish Bellingham Home w/ Lake + Mountain Views! - Foto 17
Stylish Bellingham Home w/ Lake + Mountain Views! - Foto 18
Stylish Bellingham Home w/ Lake + Mountain Views! - Foto 19
Stylish Bellingham Home w/ Lake + Mountain Views! - Foto 20
Stylish Bellingham Home w/ Lake + Mountain Views! - Foto 21
Stylish Bellingham Home w/ Lake + Mountain Views! - Foto 22
Stylish Bellingham Home w/ Lake + Mountain Views! - Foto 23
Stylish Bellingham Home w/ Lake + Mountain Views! - Foto 24
Stylish Bellingham Home w/ Lake + Mountain Views! - Foto 25
Stylish Bellingham Home w/ Lake + Mountain Views! - Foto 26

Stylish Bellingham Home w/ Lake + Mountain Views!

Bellingham - Geneva - 5.1 km vom Zentrum

  • 149 M2
  • 2 Schlafzimmer
  • 4 Personen
  • Heizung
  • Parkplatz
10Hervorragend | 1 Bewertung
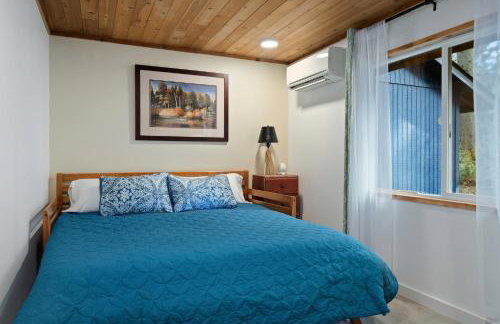
Casa Belli - Foto 1
Casa Belli - Foto 2
Casa Belli - Foto 3
Casa Belli - Foto 4
Casa Belli - Foto 5
Casa Belli - Foto 6
Casa Belli - Foto 7
Casa Belli - Foto 8
Casa Belli - Foto 9
Casa Belli - Foto 10
Casa Belli - Foto 11
Casa Belli - Foto 12
Casa Belli - Foto 13
Casa Belli - Foto 14
Casa Belli - Foto 15
Casa Belli - Foto 16
Casa Belli - Foto 17
Casa Belli - Foto 18
Casa Belli - Foto 19
Casa Belli - Foto 20
Casa Belli - Foto 21
Casa Belli - Foto 22
Casa Belli - Foto 23
Casa Belli - Foto 24
Casa Belli - Foto 25
Casa Belli - Foto 26
Casa Belli - Foto 27
Casa Belli - Foto 28
Casa Belli - Foto 29
Casa Belli - Foto 30
Casa Belli - Foto 31
Casa Belli - Foto 32
Casa Belli - Foto 33
Casa Belli - Foto 34
Casa Belli - Foto 35
Casa Belli - Foto 36
Casa Belli - Foto 37
Casa Belli - Foto 38
Casa Belli - Foto 39
Casa Belli - Foto 40
Casa Belli - Foto 41
Casa Belli - Foto 42

Casa Belli

Bellingham - 8.7 km vom Zentrum

  • 213 M2
  • 4 Schlafzimmer
  • 8 Personen
  • Heizung
  • Parkplatz
10Hervorragend | 1 Bewertung
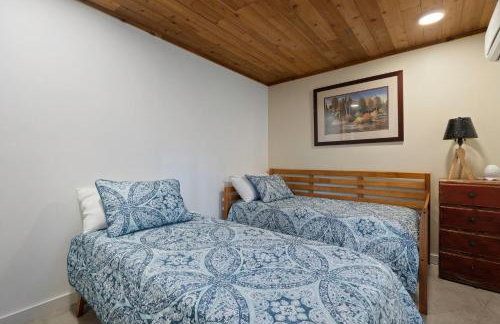
Modern Bellingham Retreat Near Galbraith Mountain! - Foto 1
Modern Bellingham Retreat Near Galbraith Mountain! - Foto 2
Modern Bellingham Retreat Near Galbraith Mountain! - Foto 3
Modern Bellingham Retreat Near Galbraith Mountain! - Foto 4
Modern Bellingham Retreat Near Galbraith Mountain! - Foto 5
Modern Bellingham Retreat Near Galbraith Mountain! - Foto 6
Modern Bellingham Retreat Near Galbraith Mountain! - Foto 7
Modern Bellingham Retreat Near Galbraith Mountain! - Foto 8
Modern Bellingham Retreat Near Galbraith Mountain! - Foto 9
Modern Bellingham Retreat Near Galbraith Mountain! - Foto 10
Modern Bellingham Retreat Near Galbraith Mountain! - Foto 11
Modern Bellingham Retreat Near Galbraith Mountain! - Foto 12
Modern Bellingham Retreat Near Galbraith Mountain! - Foto 13
Modern Bellingham Retreat Near Galbraith Mountain! - Foto 14
Modern Bellingham Retreat Near Galbraith Mountain! - Foto 15
Modern Bellingham Retreat Near Galbraith Mountain! - Foto 16
Modern Bellingham Retreat Near Galbraith Mountain! - Foto 17
Modern Bellingham Retreat Near Galbraith Mountain! - Foto 18
Modern Bellingham Retreat Near Galbraith Mountain! - Foto 19
Modern Bellingham Retreat Near Galbraith Mountain! - Foto 20
Modern Bellingham Retreat Near Galbraith Mountain! - Foto 21
Modern Bellingham Retreat Near Galbraith Mountain! - Foto 22
Modern Bellingham Retreat Near Galbraith Mountain! - Foto 23
Modern Bellingham Retreat Near Galbraith Mountain! - Foto 24
Modern Bellingham Retreat Near Galbraith Mountain! - Foto 25
Modern Bellingham Retreat Near Galbraith Mountain! - Foto 26
Modern Bellingham Retreat Near Galbraith Mountain! - Foto 27
Modern Bellingham Retreat Near Galbraith Mountain! - Foto 28
Modern Bellingham Retreat Near Galbraith Mountain! - Foto 29
Modern Bellingham Retreat Near Galbraith Mountain! - Foto 30

Modern Bellingham Retreat Near Galbraith Mountain!

Bellingham - Geneva - 5.3 km vom Zentrum

  • 139 M2
  • 3 Schlafzimmer
  • 6 Personen
  • Heizung
  • Parkplatz
7Gut | 1 Bewertung
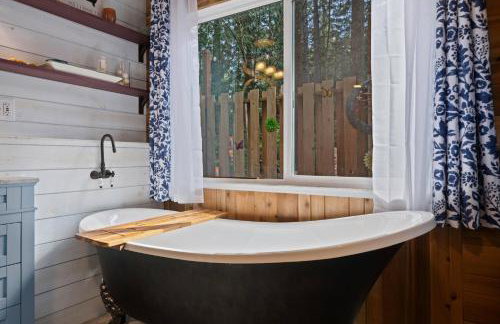
Cozy and Relaxing Private Getaway Full Amenities - Foto 1
Cozy and Relaxing Private Getaway Full Amenities - Foto 2
Cozy and Relaxing Private Getaway Full Amenities - Foto 3
Cozy and Relaxing Private Getaway Full Amenities - Foto 4
Cozy and Relaxing Private Getaway Full Amenities - Foto 5
Cozy and Relaxing Private Getaway Full Amenities - Foto 6
Cozy and Relaxing Private Getaway Full Amenities - Foto 7
Cozy and Relaxing Private Getaway Full Amenities - Foto 8
Cozy and Relaxing Private Getaway Full Amenities - Foto 9
Cozy and Relaxing Private Getaway Full Amenities - Foto 10
Cozy and Relaxing Private Getaway Full Amenities - Foto 11
Cozy and Relaxing Private Getaway Full Amenities - Foto 12
Cozy and Relaxing Private Getaway Full Amenities - Foto 13
Cozy and Relaxing Private Getaway Full Amenities - Foto 14
Cozy and Relaxing Private Getaway Full Amenities - Foto 15
Cozy and Relaxing Private Getaway Full Amenities - Foto 16
Cozy and Relaxing Private Getaway Full Amenities - Foto 17
Cozy and Relaxing Private Getaway Full Amenities - Foto 18
Cozy and Relaxing Private Getaway Full Amenities - Foto 19
Cozy and Relaxing Private Getaway Full Amenities - Foto 20
Cozy and Relaxing Private Getaway Full Amenities - Foto 21
Cozy and Relaxing Private Getaway Full Amenities - Foto 22
Cozy and Relaxing Private Getaway Full Amenities - Foto 23

Cozy and Relaxing Private Getaway Full Amenities

Bellingham - Alabama Hill - 3.1 km vom Zentrum

  • 7 M2
  • 1 Schlafzimmer
  • 6 Personen
  • Klimaanlage
  • Heizung
  • Terrasse
  • Parkplatz
  • Garten
  • Barbecue
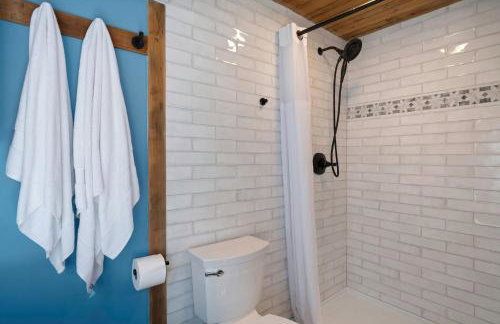
Modern Bellingham Home for work & play, beach access - Foto 1
Modern Bellingham Home for work & play, beach access - Foto 2
Modern Bellingham Home for work & play, beach access - Foto 3
Modern Bellingham Home for work & play, beach access - Foto 4
Modern Bellingham Home for work & play, beach access - Foto 5
Modern Bellingham Home for work & play, beach access - Foto 6
Modern Bellingham Home for work & play, beach access - Foto 7
Modern Bellingham Home for work & play, beach access - Foto 8
Modern Bellingham Home for work & play, beach access - Foto 9
Modern Bellingham Home for work & play, beach access - Foto 10
Modern Bellingham Home for work & play, beach access - Foto 11
Modern Bellingham Home for work & play, beach access - Foto 12
Modern Bellingham Home for work & play, beach access - Foto 13
Modern Bellingham Home for work & play, beach access - Foto 14
Modern Bellingham Home for work & play, beach access - Foto 15
Modern Bellingham Home for work & play, beach access - Foto 16
Modern Bellingham Home for work & play, beach access - Foto 17
Modern Bellingham Home for work & play, beach access - Foto 18
Modern Bellingham Home for work & play, beach access - Foto 19
Modern Bellingham Home for work & play, beach access - Foto 20
Modern Bellingham Home for work & play, beach access - Foto 21
Modern Bellingham Home for work & play, beach access - Foto 22
Modern Bellingham Home for work & play, beach access - Foto 23
Modern Bellingham Home for work & play, beach access - Foto 24
Modern Bellingham Home for work & play, beach access - Foto 25
Modern Bellingham Home for work & play, beach access - Foto 26
Modern Bellingham Home for work & play, beach access - Foto 27
Modern Bellingham Home for work & play, beach access - Foto 28
Modern Bellingham Home for work & play, beach access - Foto 29

Modern Bellingham Home for work & play, beach access

Bellingham - 10 km vom Zentrum

  • 195 M2
  • 3 Schlafzimmer
  • 7 Personen
  • Klimaanlage
  • Terrasse
  • Parkplatz
  • Garten
  • Barbecue
Bellingham Vacation Rental w/ Private Deck - Foto 1
Bellingham Vacation Rental w/ Private Deck - Foto 2
Bellingham Vacation Rental w/ Private Deck - Foto 3
Bellingham Vacation Rental w/ Private Deck - Foto 4
Bellingham Vacation Rental w/ Private Deck - Foto 5
Bellingham Vacation Rental w/ Private Deck - Foto 6
Bellingham Vacation Rental w/ Private Deck - Foto 7
Bellingham Vacation Rental w/ Private Deck - Foto 8
Bellingham Vacation Rental w/ Private Deck - Foto 9
Bellingham Vacation Rental w/ Private Deck - Foto 10
Bellingham Vacation Rental w/ Private Deck - Foto 11
Bellingham Vacation Rental w/ Private Deck - Foto 12
Bellingham Vacation Rental w/ Private Deck - Foto 13
Bellingham Vacation Rental w/ Private Deck - Foto 14
Bellingham Vacation Rental w/ Private Deck - Foto 15
Bellingham Vacation Rental w/ Private Deck - Foto 16
Bellingham Vacation Rental w/ Private Deck - Foto 17
Bellingham Vacation Rental w/ Private Deck - Foto 18
Bellingham Vacation Rental w/ Private Deck - Foto 19
Bellingham Vacation Rental w/ Private Deck - Foto 20
Bellingham Vacation Rental w/ Private Deck - Foto 21
Bellingham Vacation Rental w/ Private Deck - Foto 22
Bellingham Vacation Rental w/ Private Deck - Foto 23
Bellingham Vacation Rental w/ Private Deck - Foto 24
Bellingham Vacation Rental w/ Private Deck - Foto 25
Bellingham Vacation Rental w/ Private Deck - Foto 26
Bellingham Vacation Rental w/ Private Deck - Foto 27
Bellingham Vacation Rental w/ Private Deck - Foto 28
Bellingham Vacation Rental w/ Private Deck - Foto 29
Bellingham Vacation Rental w/ Private Deck - Foto 30
Bellingham Vacation Rental w/ Private Deck - Foto 31
Bellingham Vacation Rental w/ Private Deck - Foto 32
Bellingham Vacation Rental w/ Private Deck - Foto 33
Bellingham Vacation Rental w/ Private Deck - Foto 34
Bellingham Vacation Rental w/ Private Deck - Foto 35
Bellingham Vacation Rental w/ Private Deck - Foto 36

Bellingham Vacation Rental w/ Private Deck

Bellingham - 3.6 km vom Zentrum

  • 142 M2
  • 3 Schlafzimmer
  • 6 Personen
  • Heizung
  • Terrasse
  • Parkplatz
Sudden Valley Luxury Stay-Steps to Lake Louise - Foto 1
Sudden Valley Luxury Stay-Steps to Lake Louise - Foto 2
Sudden Valley Luxury Stay-Steps to Lake Louise - Foto 3
Sudden Valley Luxury Stay-Steps to Lake Louise - Foto 4
Sudden Valley Luxury Stay-Steps to Lake Louise - Foto 5
Sudden Valley Luxury Stay-Steps to Lake Louise - Foto 6
Sudden Valley Luxury Stay-Steps to Lake Louise - Foto 7
Sudden Valley Luxury Stay-Steps to Lake Louise - Foto 8
Sudden Valley Luxury Stay-Steps to Lake Louise - Foto 9
Sudden Valley Luxury Stay-Steps to Lake Louise - Foto 10
Sudden Valley Luxury Stay-Steps to Lake Louise - Foto 11
Sudden Valley Luxury Stay-Steps to Lake Louise - Foto 12
Sudden Valley Luxury Stay-Steps to Lake Louise - Foto 13
Sudden Valley Luxury Stay-Steps to Lake Louise - Foto 14
Sudden Valley Luxury Stay-Steps to Lake Louise - Foto 15
Sudden Valley Luxury Stay-Steps to Lake Louise - Foto 16
Sudden Valley Luxury Stay-Steps to Lake Louise - Foto 17
Sudden Valley Luxury Stay-Steps to Lake Louise - Foto 18
Sudden Valley Luxury Stay-Steps to Lake Louise - Foto 19
Sudden Valley Luxury Stay-Steps to Lake Louise - Foto 20
Sudden Valley Luxury Stay-Steps to Lake Louise - Foto 21
Sudden Valley Luxury Stay-Steps to Lake Louise - Foto 22
Sudden Valley Luxury Stay-Steps to Lake Louise - Foto 23
Sudden Valley Luxury Stay-Steps to Lake Louise - Foto 24
Sudden Valley Luxury Stay-Steps to Lake Louise - Foto 25
Sudden Valley Luxury Stay-Steps to Lake Louise - Foto 26
Sudden Valley Luxury Stay-Steps to Lake Louise - Foto 27
Sudden Valley Luxury Stay-Steps to Lake Louise - Foto 28
Sudden Valley Luxury Stay-Steps to Lake Louise - Foto 29
Sudden Valley Luxury Stay-Steps to Lake Louise - Foto 30
Sudden Valley Luxury Stay-Steps to Lake Louise - Foto 31
Sudden Valley Luxury Stay-Steps to Lake Louise - Foto 32
Sudden Valley Luxury Stay-Steps to Lake Louise - Foto 33
Sudden Valley Luxury Stay-Steps to Lake Louise - Foto 34
Sudden Valley Luxury Stay-Steps to Lake Louise - Foto 35
Sudden Valley Luxury Stay-Steps to Lake Louise - Foto 36
Sudden Valley Luxury Stay-Steps to Lake Louise - Foto 37
Sudden Valley Luxury Stay-Steps to Lake Louise - Foto 38
Sudden Valley Luxury Stay-Steps to Lake Louise - Foto 39
Sudden Valley Luxury Stay-Steps to Lake Louise - Foto 40
Sudden Valley Luxury Stay-Steps to Lake Louise - Foto 41
Sudden Valley Luxury Stay-Steps to Lake Louise - Foto 42

Sudden Valley Luxury Stay-Steps to Lake Louise

Bellingham - 11.4 km vom Zentrum

  • 174 M2
  • 3 Schlafzimmer
  • 10 Personen
  • Klimaanlage
  • Heizung
  • Parkplatz
Chuckanut Point Villa 2 Bedroom - Foto 1
Chuckanut Point Villa 2 Bedroom - Foto 2
Chuckanut Point Villa 2 Bedroom - Foto 3
Chuckanut Point Villa 2 Bedroom - Foto 4
Chuckanut Point Villa 2 Bedroom - Foto 5
Chuckanut Point Villa 2 Bedroom - Foto 6
Chuckanut Point Villa 2 Bedroom - Foto 7
Chuckanut Point Villa 2 Bedroom - Foto 8
Chuckanut Point Villa 2 Bedroom - Foto 9
Chuckanut Point Villa 2 Bedroom - Foto 10
Chuckanut Point Villa 2 Bedroom - Foto 11
Chuckanut Point Villa 2 Bedroom - Foto 12
Chuckanut Point Villa 2 Bedroom - Foto 13
Chuckanut Point Villa 2 Bedroom - Foto 14
Chuckanut Point Villa 2 Bedroom - Foto 15
Chuckanut Point Villa 2 Bedroom - Foto 16
Chuckanut Point Villa 2 Bedroom - Foto 17
Chuckanut Point Villa 2 Bedroom - Foto 18
Chuckanut Point Villa 2 Bedroom - Foto 19
Chuckanut Point Villa 2 Bedroom - Foto 20
Chuckanut Point Villa 2 Bedroom - Foto 21
Chuckanut Point Villa 2 Bedroom - Foto 22
Chuckanut Point Villa 2 Bedroom - Foto 23
Chuckanut Point Villa 2 Bedroom - Foto 24
Chuckanut Point Villa 2 Bedroom - Foto 25
Chuckanut Point Villa 2 Bedroom - Foto 26
Chuckanut Point Villa 2 Bedroom - Foto 27
Chuckanut Point Villa 2 Bedroom - Foto 28
Chuckanut Point Villa 2 Bedroom - Foto 29
Chuckanut Point Villa 2 Bedroom - Foto 30
Chuckanut Point Villa 2 Bedroom - Foto 31
Chuckanut Point Villa 2 Bedroom - Foto 32
Chuckanut Point Villa 2 Bedroom - Foto 33
Chuckanut Point Villa 2 Bedroom - Foto 34
Chuckanut Point Villa 2 Bedroom - Foto 35
Chuckanut Point Villa 2 Bedroom - Foto 36
Chuckanut Point Villa 2 Bedroom - Foto 37
Chuckanut Point Villa 2 Bedroom - Foto 38
Chuckanut Point Villa 2 Bedroom - Foto 39
Chuckanut Point Villa 2 Bedroom - Foto 40
Chuckanut Point Villa 2 Bedroom - Foto 41
Chuckanut Point Villa 2 Bedroom - Foto 42
Chuckanut Point Villa 2 Bedroom - Foto 43
Chuckanut Point Villa 2 Bedroom - Foto 44
Chuckanut Point Villa 2 Bedroom - Foto 45
Chuckanut Point Villa 2 Bedroom - Foto 46
Chuckanut Point Villa 2 Bedroom - Foto 47
Chuckanut Point Villa 2 Bedroom - Foto 48
Chuckanut Point Villa 2 Bedroom - Foto 49
Chuckanut Point Villa 2 Bedroom - Foto 50
Chuckanut Point Villa 2 Bedroom - Foto 51
Chuckanut Point Villa 2 Bedroom - Foto 52
Chuckanut Point Villa 2 Bedroom - Foto 53
Chuckanut Point Villa 2 Bedroom - Foto 54
Chuckanut Point Villa 2 Bedroom - Foto 55
Chuckanut Point Villa 2 Bedroom - Foto 56
Chuckanut Point Villa 2 Bedroom - Foto 57
Chuckanut Point Villa 2 Bedroom - Foto 58
Chuckanut Point Villa 2 Bedroom - Foto 59
Chuckanut Point Villa 2 Bedroom - Foto 60
Chuckanut Point Villa 2 Bedroom - Foto 61
Chuckanut Point Villa 2 Bedroom - Foto 62
Chuckanut Point Villa 2 Bedroom - Foto 63
Chuckanut Point Villa 2 Bedroom - Foto 64
Chuckanut Point Villa 2 Bedroom - Foto 65
Chuckanut Point Villa 2 Bedroom - Foto 66
Chuckanut Point Villa 2 Bedroom - Foto 67
Chuckanut Point Villa 2 Bedroom - Foto 68
Chuckanut Point Villa 2 Bedroom - Foto 69
Chuckanut Point Villa 2 Bedroom - Foto 70
Chuckanut Point Villa 2 Bedroom - Foto 71
Chuckanut Point Villa 2 Bedroom - Foto 72
Chuckanut Point Villa 2 Bedroom - Foto 73
Chuckanut Point Villa 2 Bedroom - Foto 74
Chuckanut Point Villa 2 Bedroom - Foto 75
Chuckanut Point Villa 2 Bedroom - Foto 76
Chuckanut Point Villa 2 Bedroom - Foto 77
Chuckanut Point Villa 2 Bedroom - Foto 78
Chuckanut Point Villa 2 Bedroom - Foto 79

Chuckanut Point Villa 2 Bedroom

Bellingham - 9.2 km vom Zentrum

  • 255 M2
  • 2 Schlafzimmer
  • 6 Personen
  • Heizung
  • Parkplatz
  • Garten
  • Barbecue
3BR with Game Room, near Seattle & Vancouver - Foto 1
3BR with Game Room, near Seattle & Vancouver - Foto 2
3BR with Game Room, near Seattle & Vancouver - Foto 3
3BR with Game Room, near Seattle & Vancouver - Foto 4
3BR with Game Room, near Seattle & Vancouver - Foto 5
3BR with Game Room, near Seattle & Vancouver - Foto 6
3BR with Game Room, near Seattle & Vancouver - Foto 7
3BR with Game Room, near Seattle & Vancouver - Foto 8
3BR with Game Room, near Seattle & Vancouver - Foto 9
3BR with Game Room, near Seattle & Vancouver - Foto 10
3BR with Game Room, near Seattle & Vancouver - Foto 11
3BR with Game Room, near Seattle & Vancouver - Foto 12
3BR with Game Room, near Seattle & Vancouver - Foto 13
3BR with Game Room, near Seattle & Vancouver - Foto 14
3BR with Game Room, near Seattle & Vancouver - Foto 15
3BR with Game Room, near Seattle & Vancouver - Foto 16
3BR with Game Room, near Seattle & Vancouver - Foto 17
3BR with Game Room, near Seattle & Vancouver - Foto 18
3BR with Game Room, near Seattle & Vancouver - Foto 19
3BR with Game Room, near Seattle & Vancouver - Foto 20
3BR with Game Room, near Seattle & Vancouver - Foto 21
3BR with Game Room, near Seattle & Vancouver - Foto 22
3BR with Game Room, near Seattle & Vancouver - Foto 23
3BR with Game Room, near Seattle & Vancouver - Foto 24
3BR with Game Room, near Seattle & Vancouver - Foto 25
3BR with Game Room, near Seattle & Vancouver - Foto 26
3BR with Game Room, near Seattle & Vancouver - Foto 27
3BR with Game Room, near Seattle & Vancouver - Foto 28
3BR with Game Room, near Seattle & Vancouver - Foto 29
3BR with Game Room, near Seattle & Vancouver - Foto 30
3BR with Game Room, near Seattle & Vancouver - Foto 31
3BR with Game Room, near Seattle & Vancouver - Foto 32
3BR with Game Room, near Seattle & Vancouver - Foto 33
3BR with Game Room, near Seattle & Vancouver - Foto 34
3BR with Game Room, near Seattle & Vancouver - Foto 35
3BR with Game Room, near Seattle & Vancouver - Foto 36
3BR with Game Room, near Seattle & Vancouver - Foto 37
3BR with Game Room, near Seattle & Vancouver - Foto 38
3BR with Game Room, near Seattle & Vancouver - Foto 39
3BR with Game Room, near Seattle & Vancouver - Foto 40
3BR with Game Room, near Seattle & Vancouver - Foto 41
3BR with Game Room, near Seattle & Vancouver - Foto 42
3BR with Game Room, near Seattle & Vancouver - Foto 43
3BR with Game Room, near Seattle & Vancouver - Foto 44

3BR with Game Room, near Seattle & Vancouver

Bellingham - Guide Meridian - 4.3 km vom Zentrum

  • 3 Schlafzimmer
  • 6 Personen
  • Klimaanlage
  • Parkplatz
Stylish Lake Cabin with a Sauna and Hot Tub in Bellingham, Washington - Foto 1
Stylish Lake Cabin with a Sauna and Hot Tub in Bellingham, Washington - Foto 2
Stylish Lake Cabin with a Sauna and Hot Tub in Bellingham, Washington - Foto 3
Stylish Lake Cabin with a Sauna and Hot Tub in Bellingham, Washington - Foto 4
Stylish Lake Cabin with a Sauna and Hot Tub in Bellingham, Washington - Foto 5
Stylish Lake Cabin with a Sauna and Hot Tub in Bellingham, Washington - Foto 6
Stylish Lake Cabin with a Sauna and Hot Tub in Bellingham, Washington - Foto 7
Stylish Lake Cabin with a Sauna and Hot Tub in Bellingham, Washington - Foto 8
Stylish Lake Cabin with a Sauna and Hot Tub in Bellingham, Washington - Foto 9
Stylish Lake Cabin with a Sauna and Hot Tub in Bellingham, Washington - Foto 10
Stylish Lake Cabin with a Sauna and Hot Tub in Bellingham, Washington - Foto 11
Stylish Lake Cabin with a Sauna and Hot Tub in Bellingham, Washington - Foto 12
Stylish Lake Cabin with a Sauna and Hot Tub in Bellingham, Washington - Foto 13
Stylish Lake Cabin with a Sauna and Hot Tub in Bellingham, Washington - Foto 14
Stylish Lake Cabin with a Sauna and Hot Tub in Bellingham, Washington - Foto 15
Stylish Lake Cabin with a Sauna and Hot Tub in Bellingham, Washington - Foto 16
Stylish Lake Cabin with a Sauna and Hot Tub in Bellingham, Washington - Foto 17
Stylish Lake Cabin with a Sauna and Hot Tub in Bellingham, Washington - Foto 18
Stylish Lake Cabin with a Sauna and Hot Tub in Bellingham, Washington - Foto 19
Stylish Lake Cabin with a Sauna and Hot Tub in Bellingham, Washington - Foto 20
Stylish Lake Cabin with a Sauna and Hot Tub in Bellingham, Washington - Foto 21
Stylish Lake Cabin with a Sauna and Hot Tub in Bellingham, Washington - Foto 22
Stylish Lake Cabin with a Sauna and Hot Tub in Bellingham, Washington - Foto 23
Stylish Lake Cabin with a Sauna and Hot Tub in Bellingham, Washington - Foto 24
Stylish Lake Cabin with a Sauna and Hot Tub in Bellingham, Washington - Foto 25
Stylish Lake Cabin with a Sauna and Hot Tub in Bellingham, Washington - Foto 26

Stylish Lake Cabin with a Sauna and Hot Tub in Bellingham, Washington

Bellingham - 11.6 km vom Zentrum

  • 139 M2
  • 3 Schlafzimmer
  • 6 Personen
  • Klimaanlage
  • Heizung
  • Barbecue

Verwandte Reiseziele