
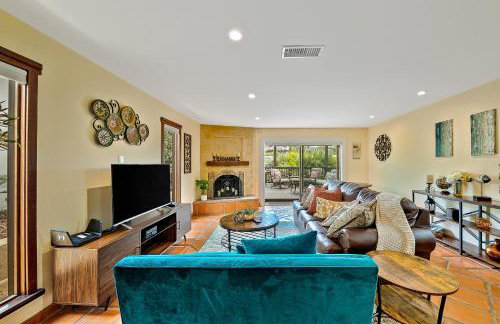
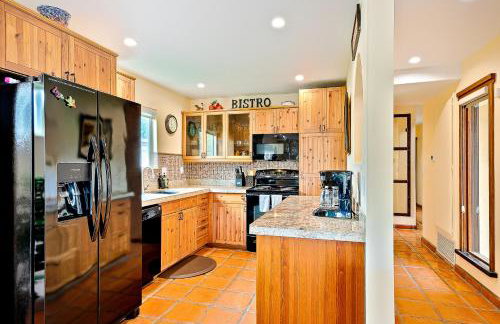
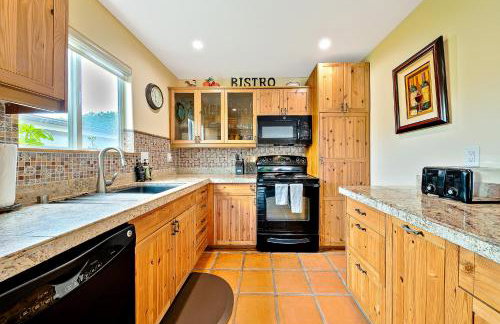
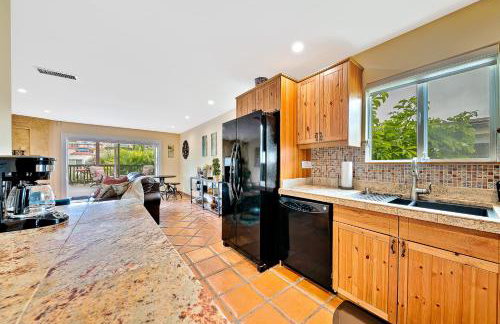
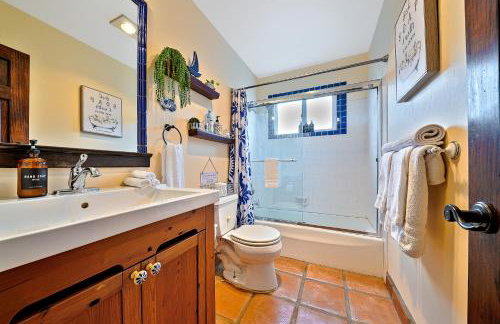
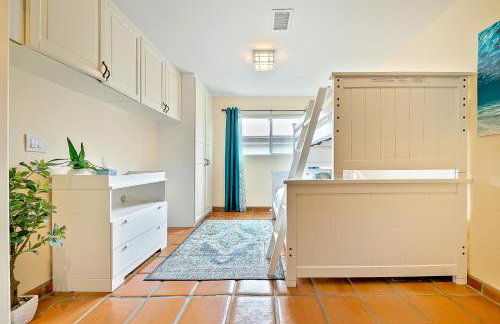
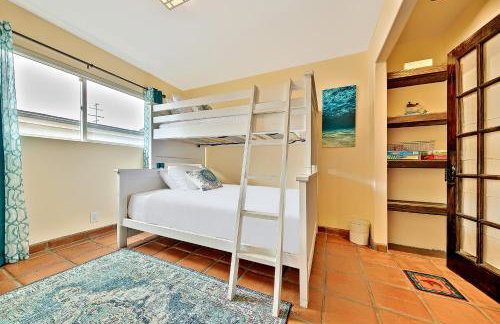
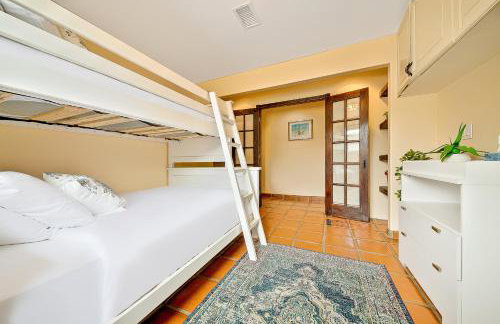
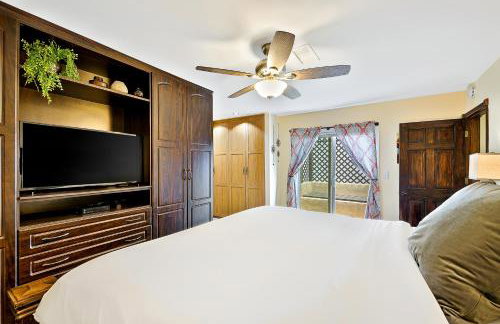
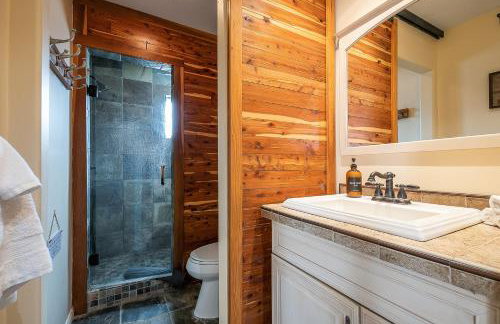
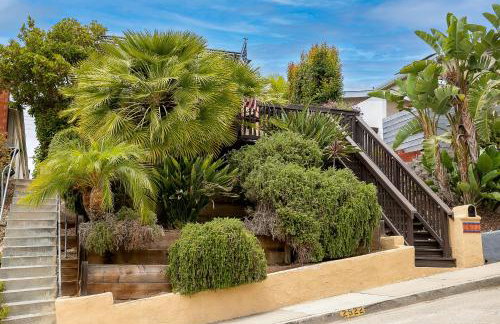
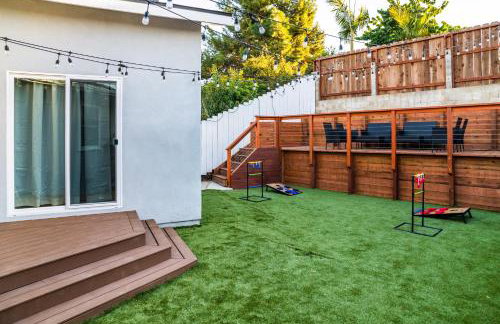
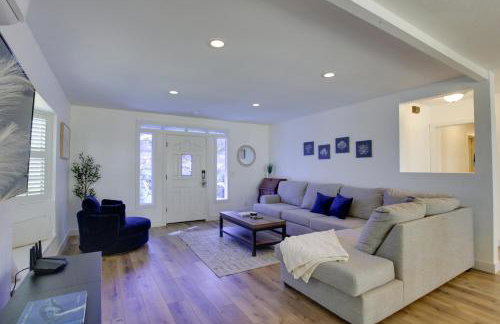
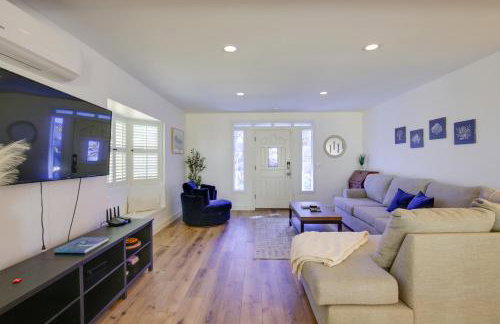
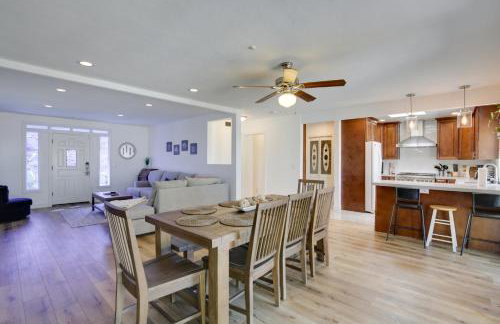
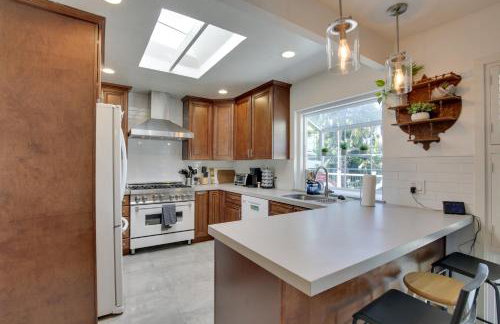
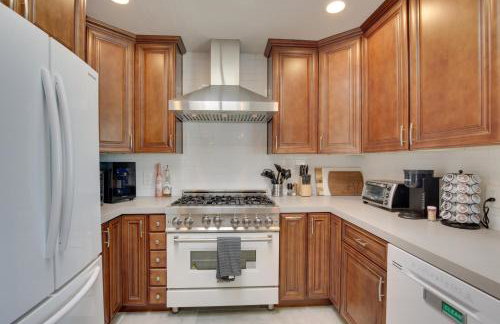
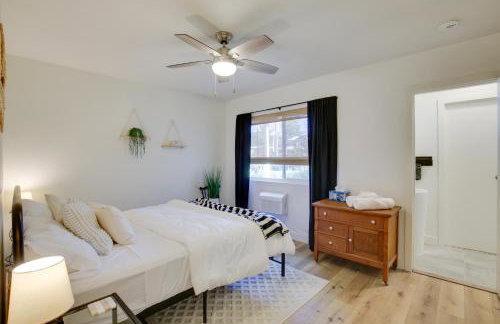
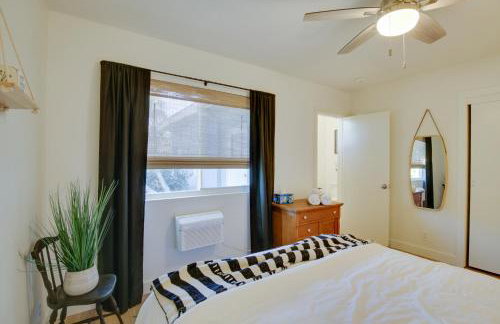
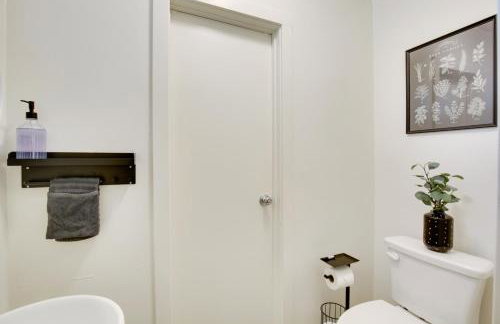
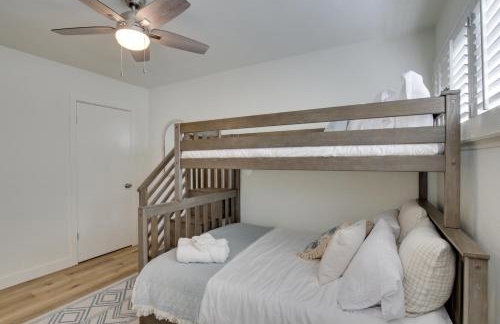
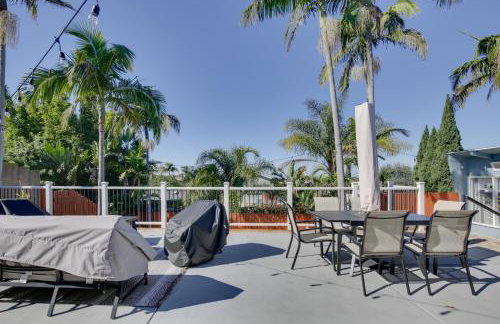
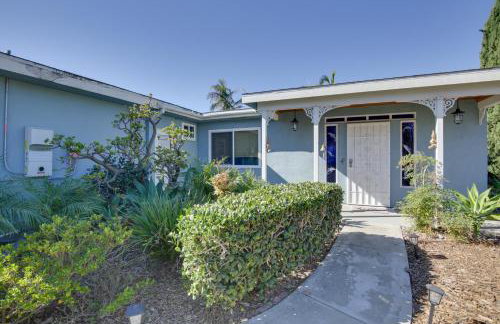
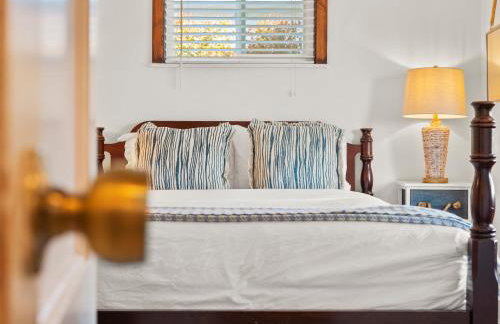
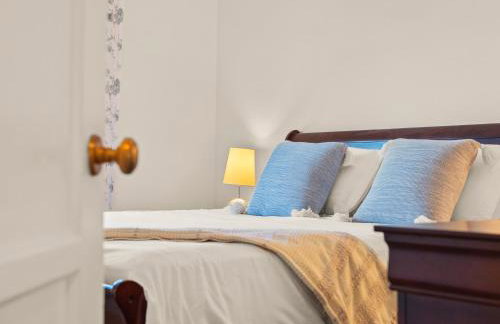
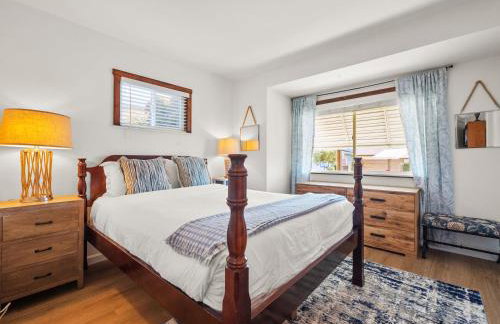
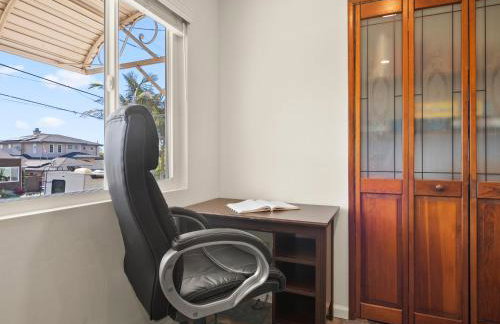
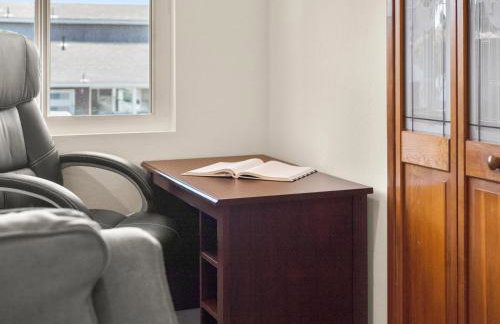
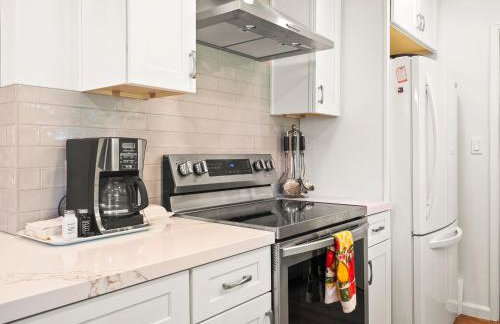
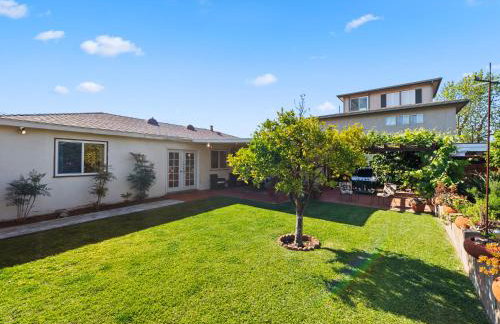
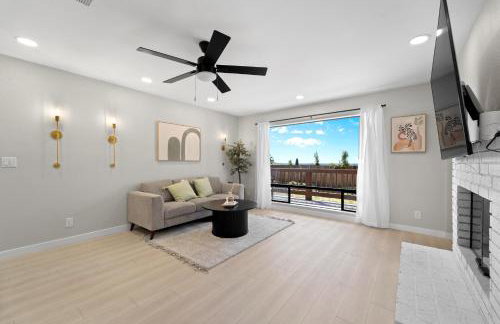
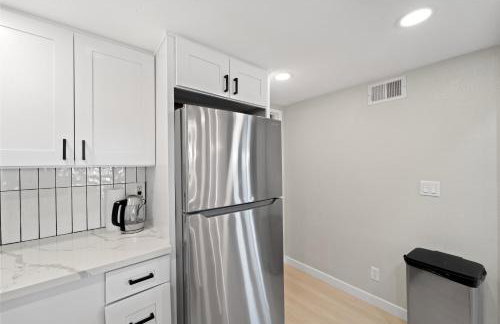
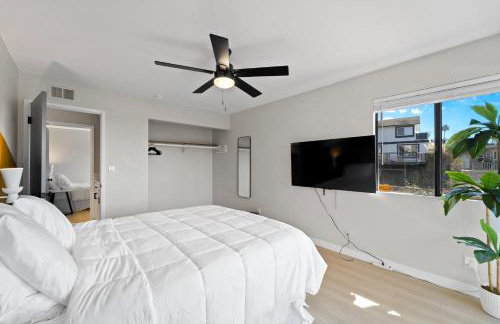
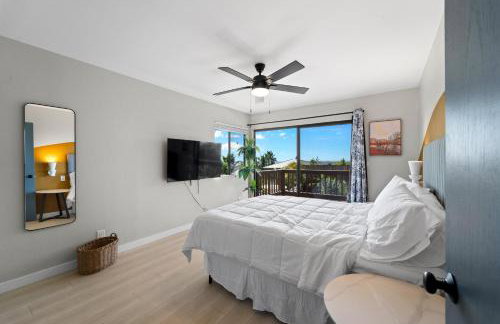
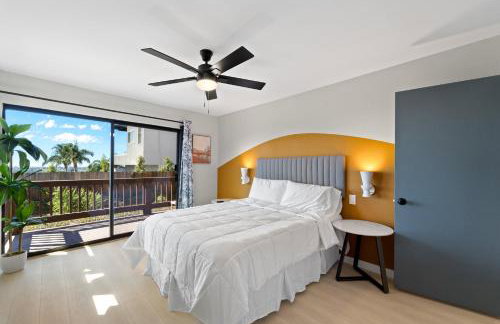
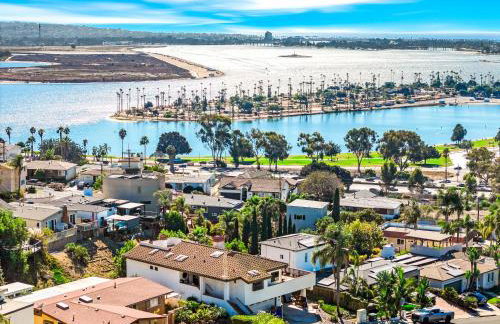
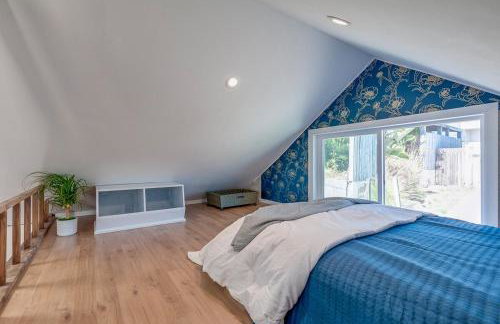
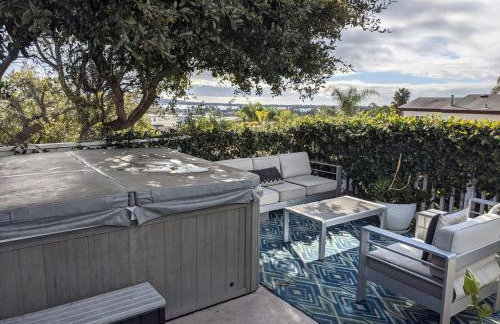
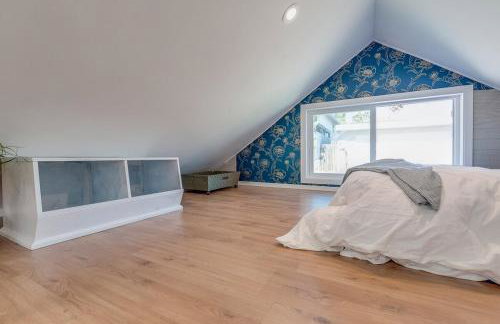
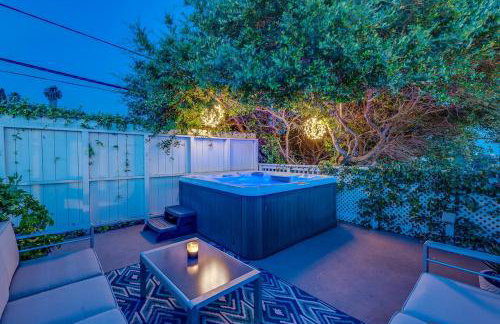
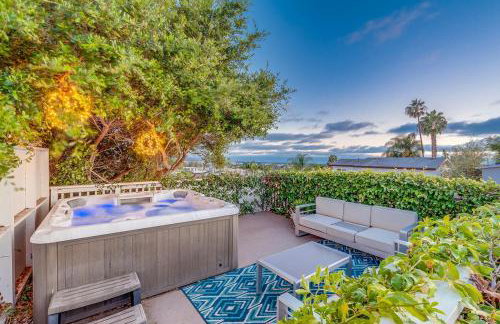
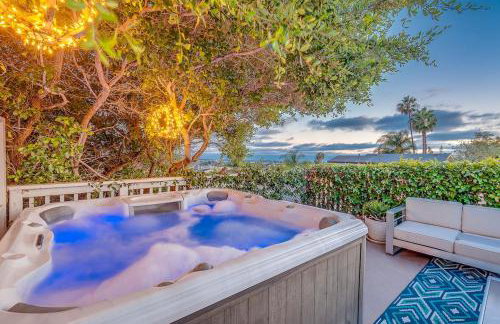
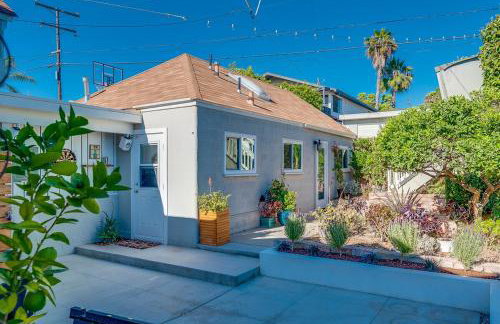
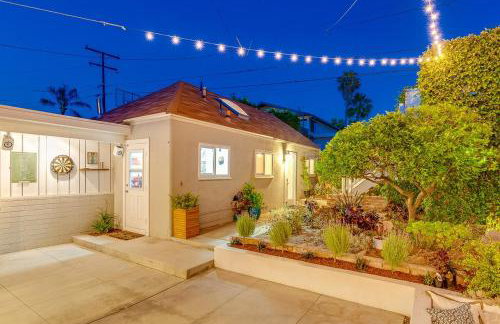
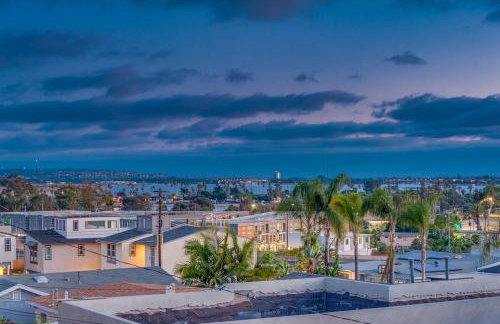
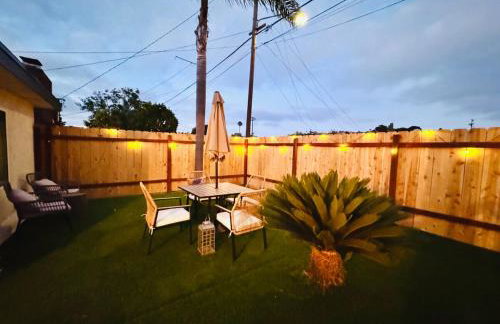
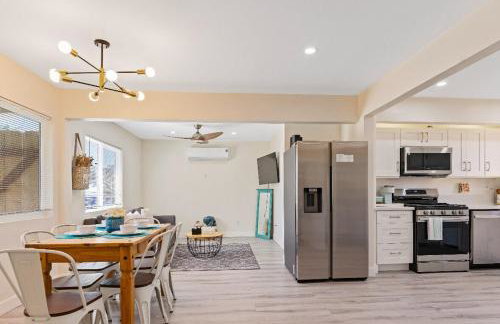
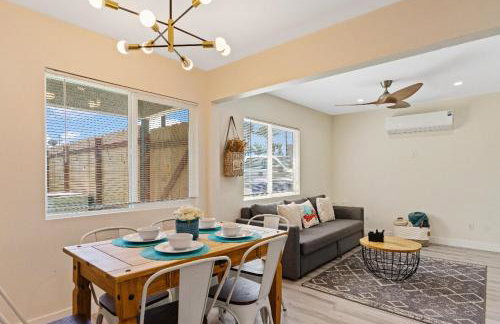
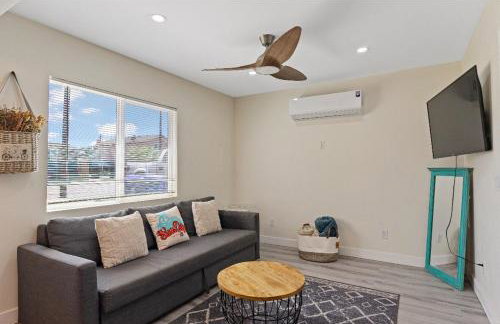
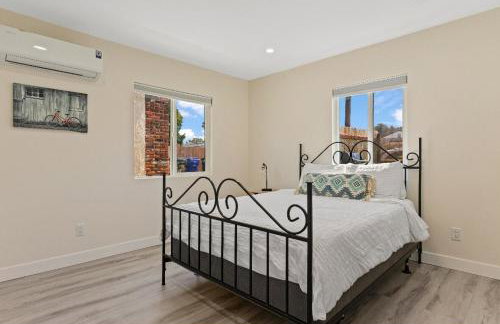
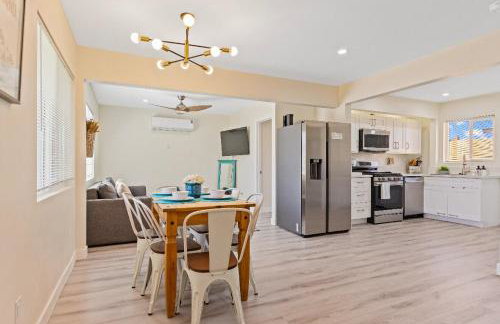
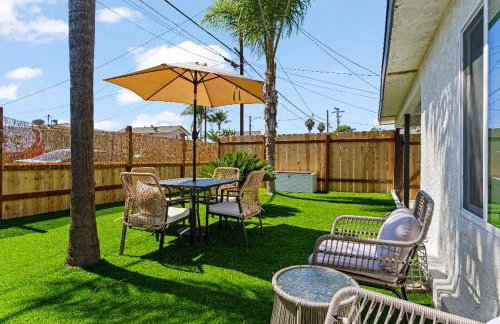
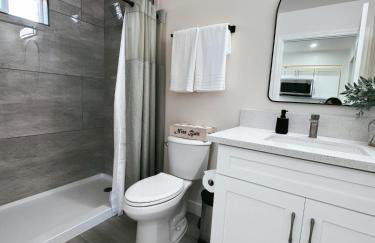
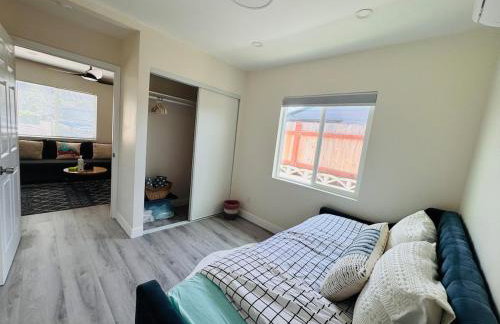
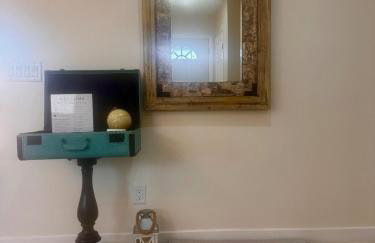
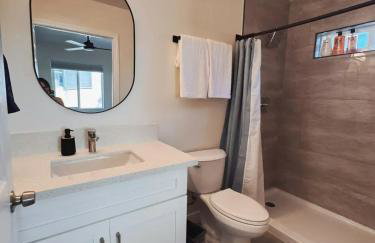
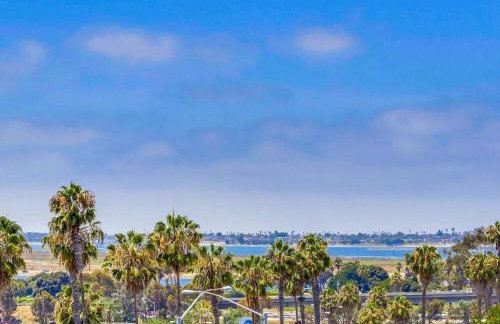
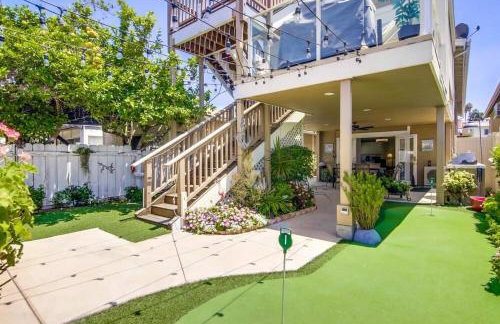
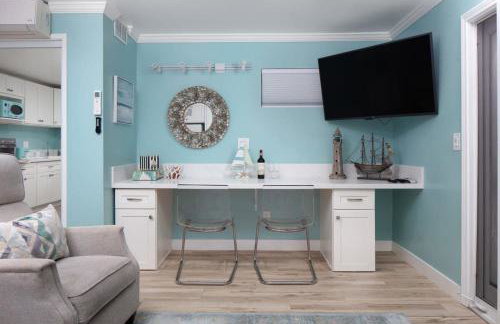
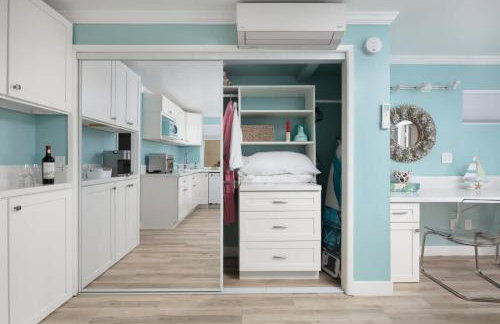
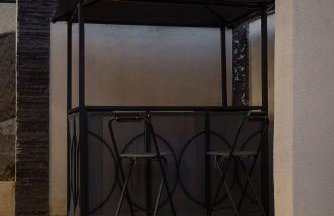
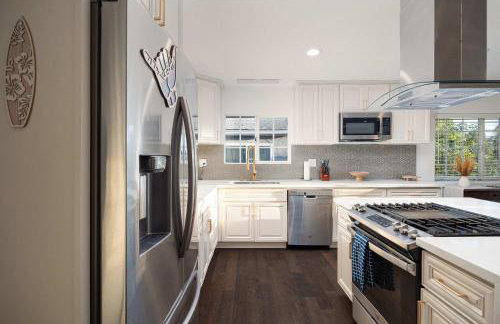
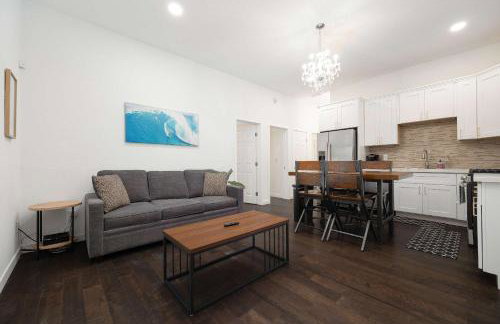
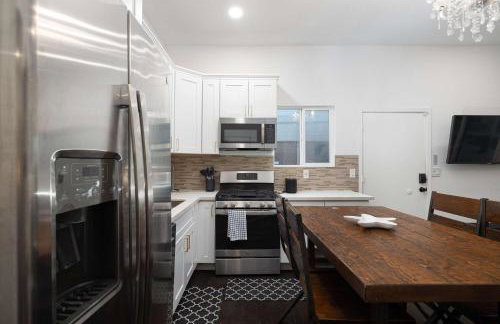
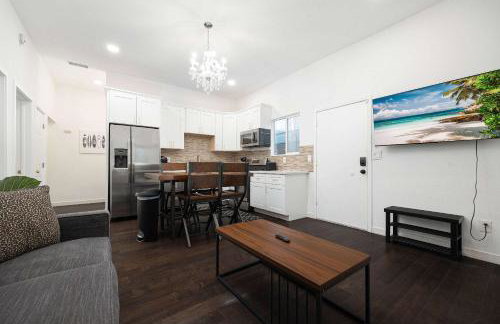
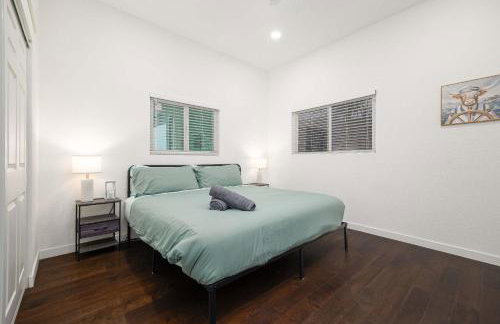
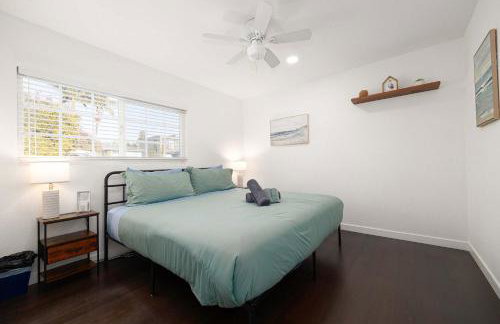
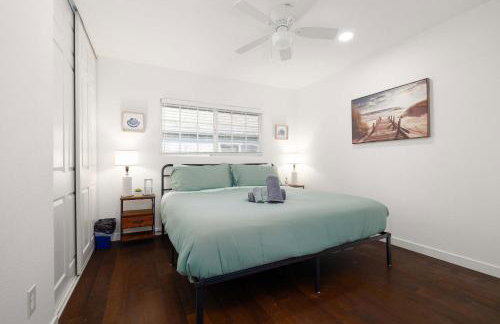
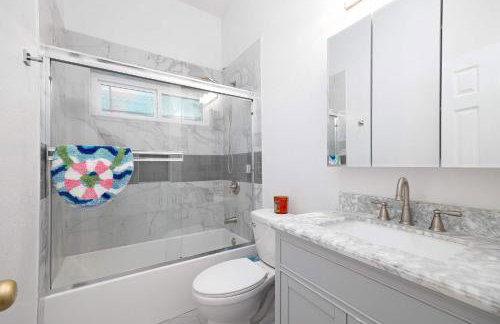
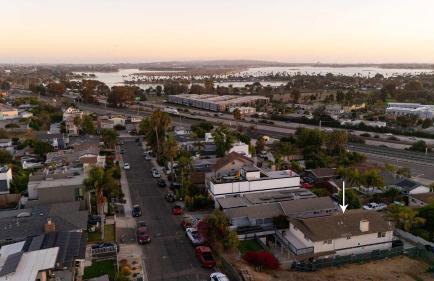
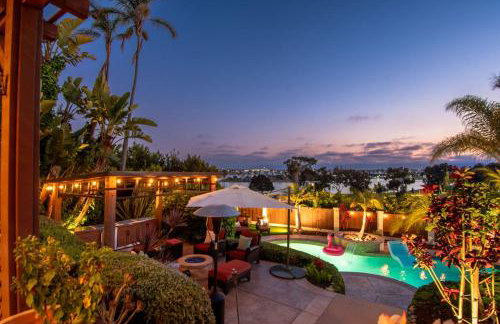
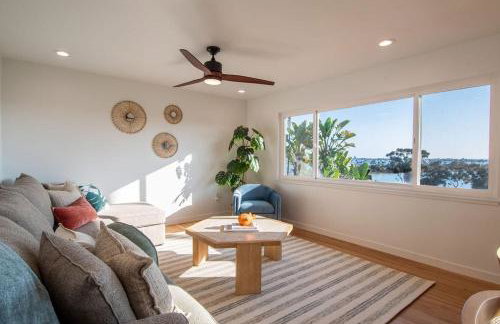
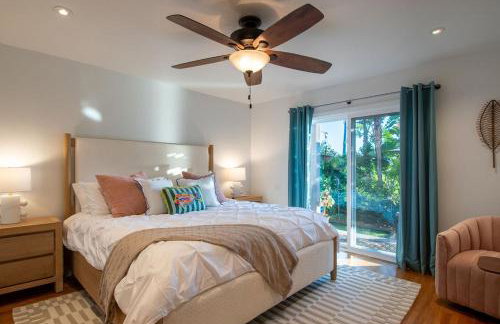
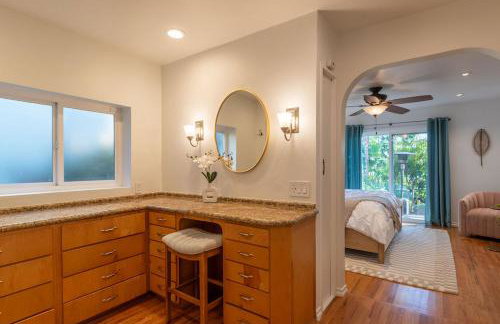
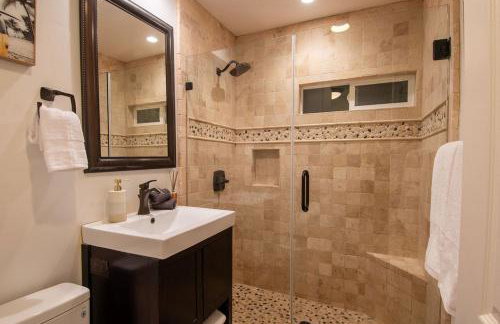
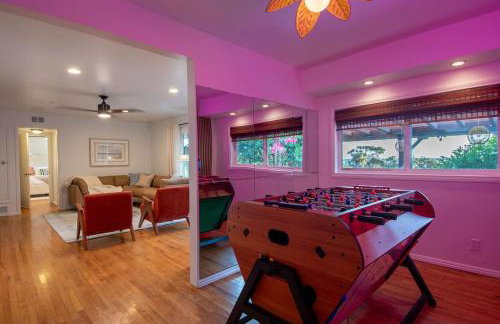
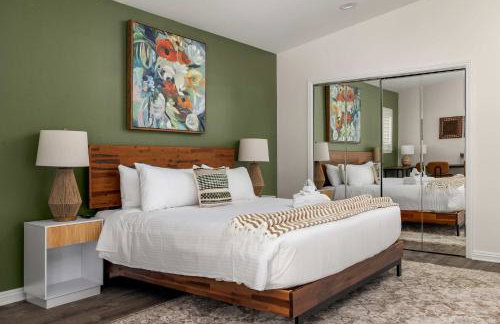
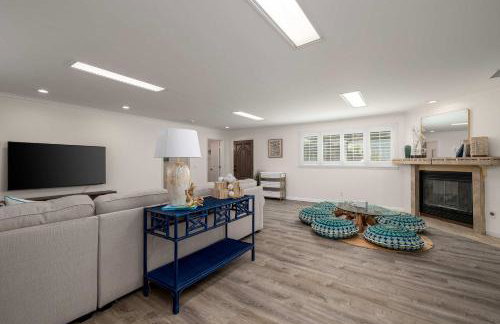
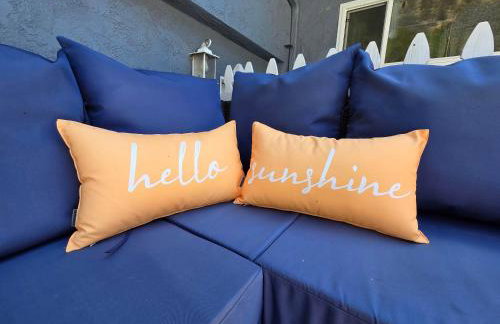
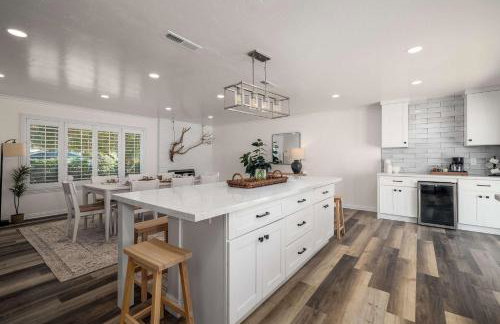
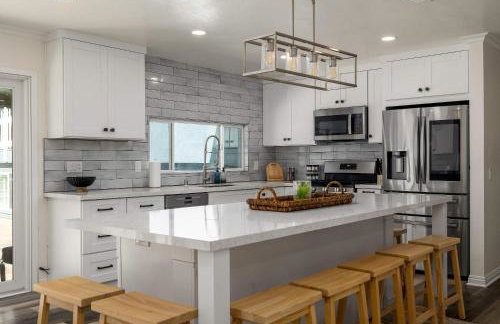
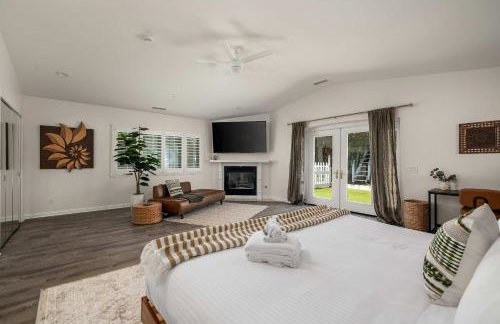
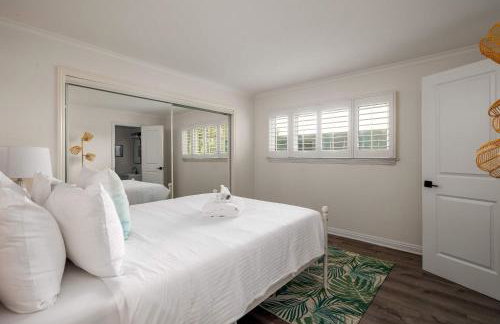
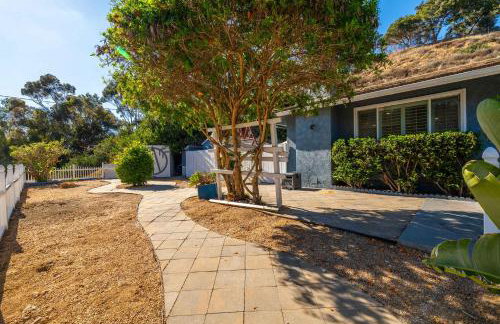
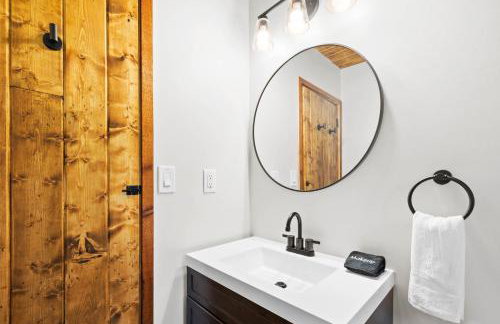
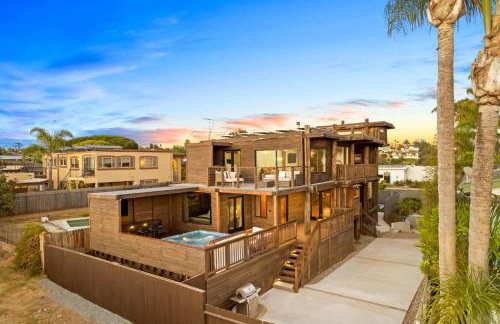
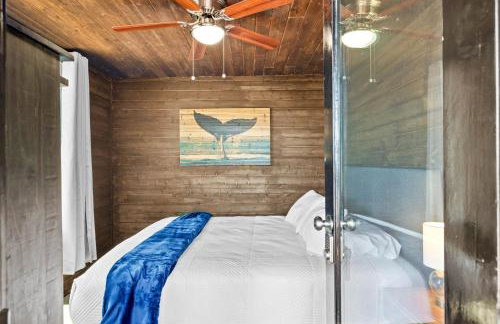
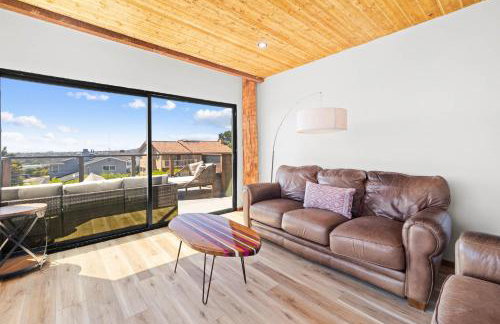
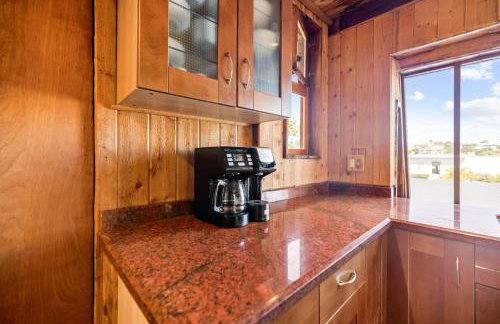
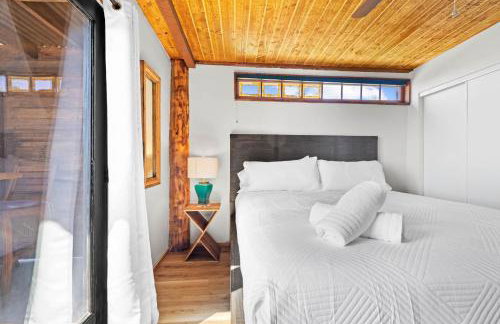
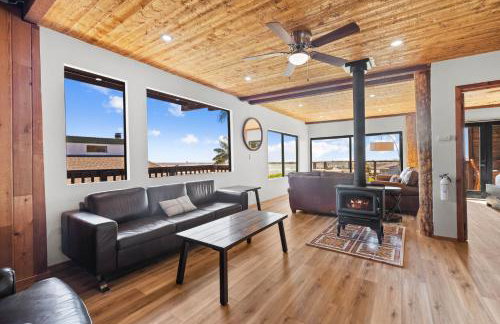
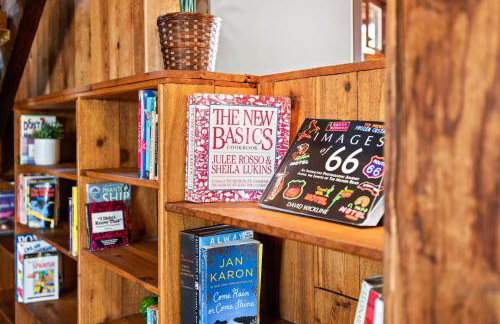
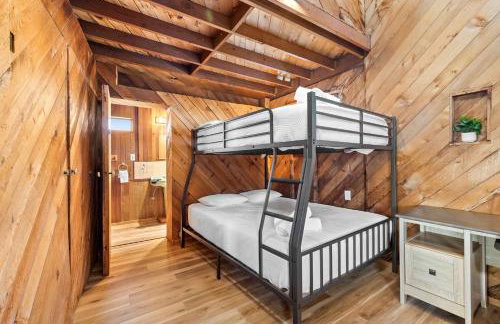
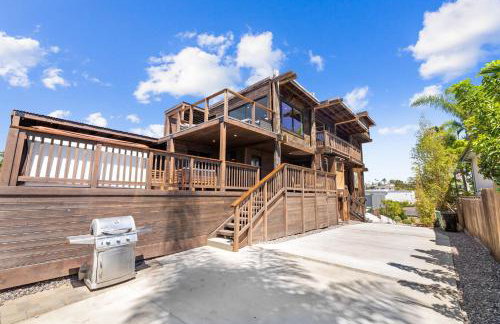
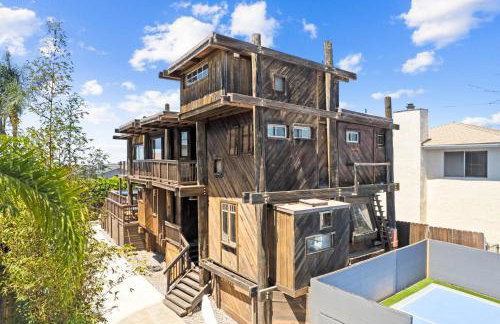
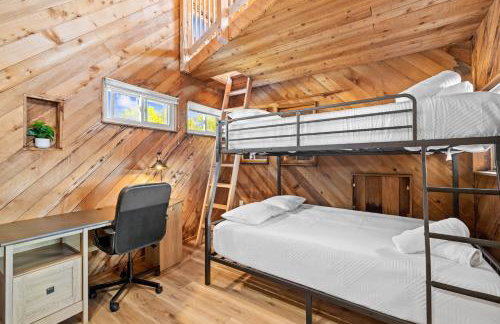
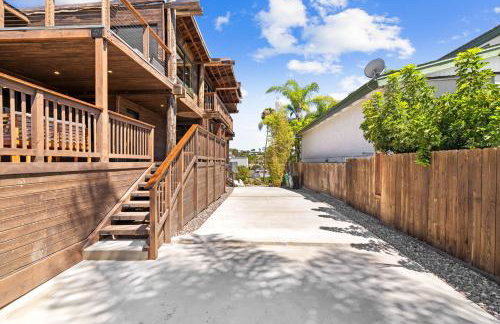
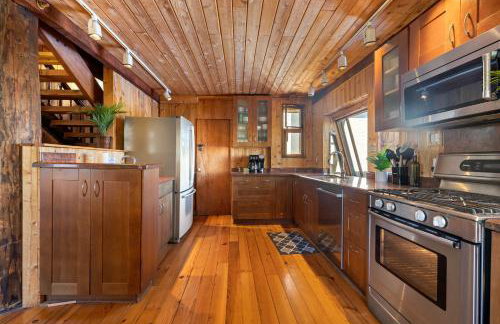
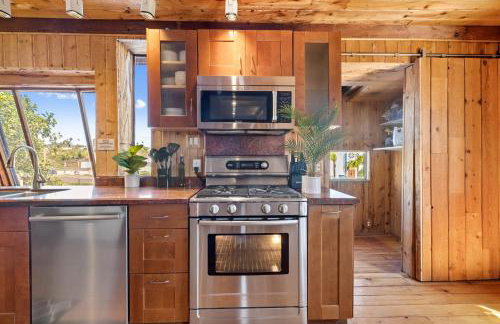
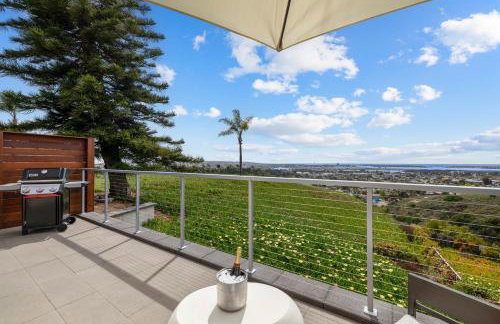
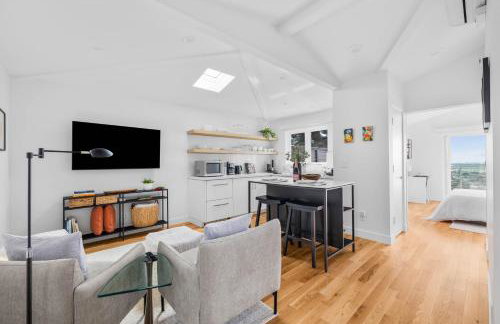
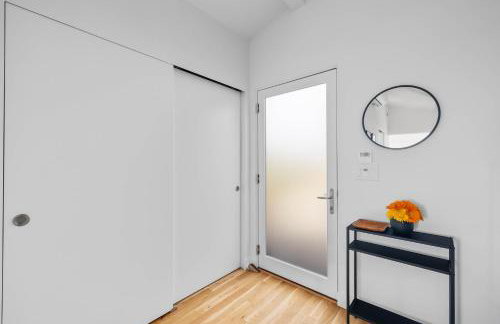
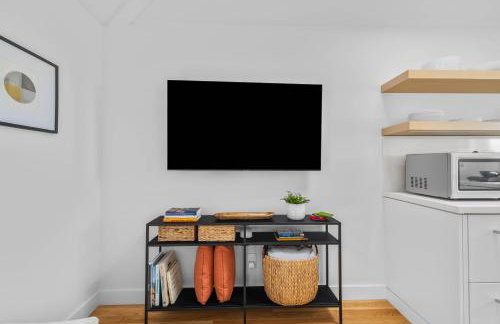
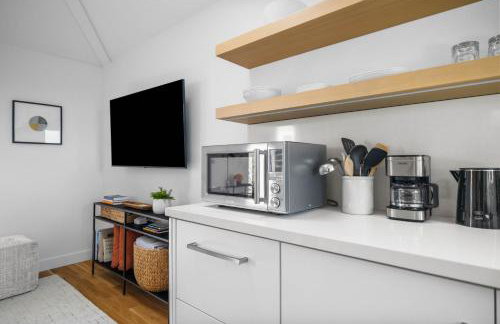
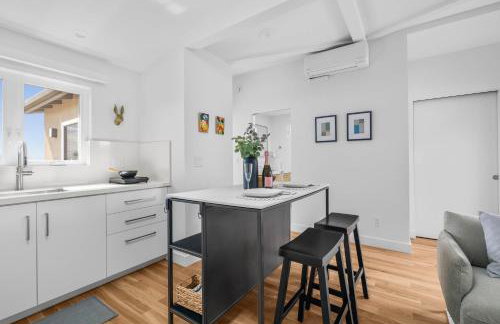
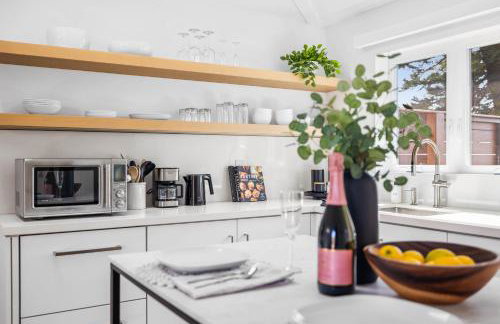
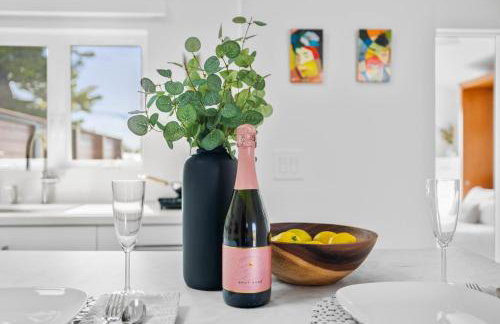
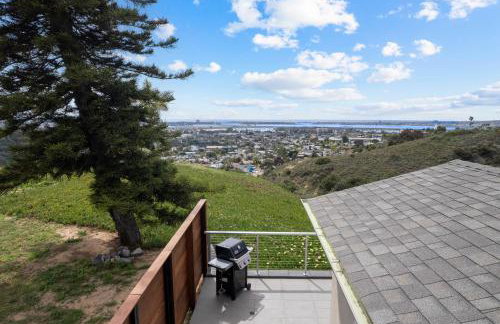
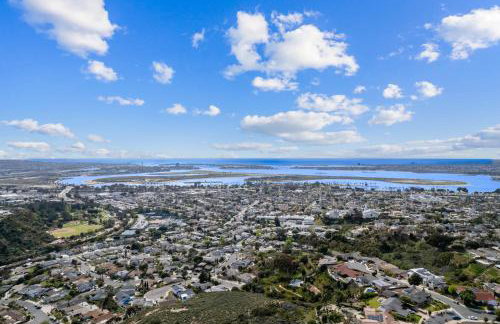
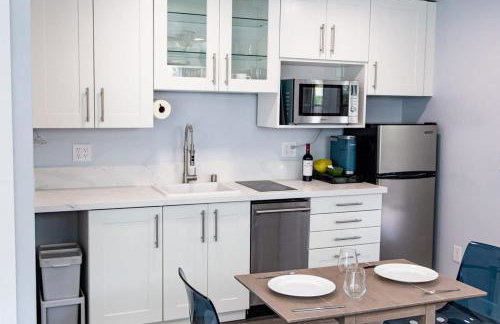
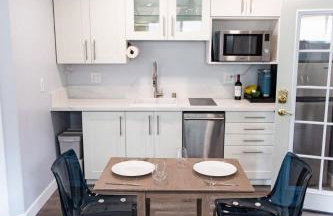
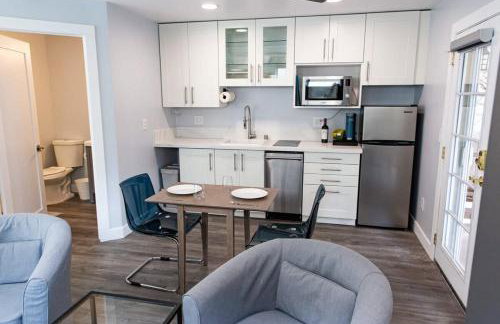
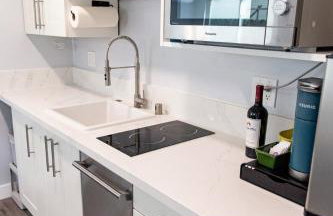
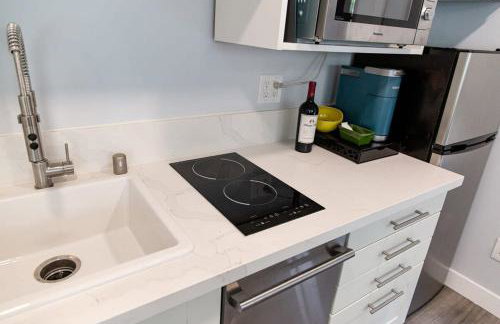
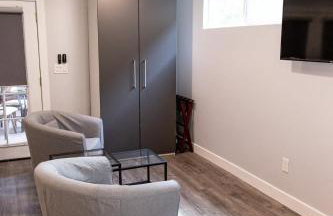
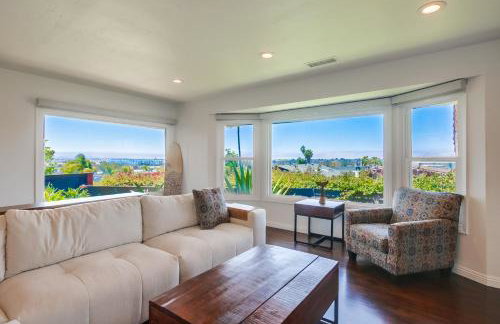
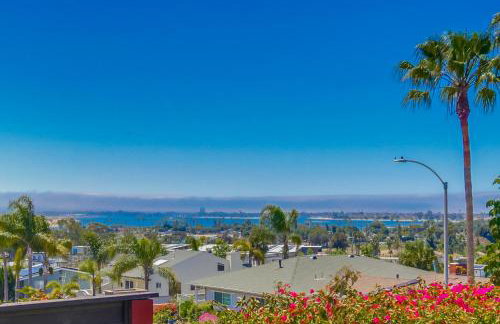
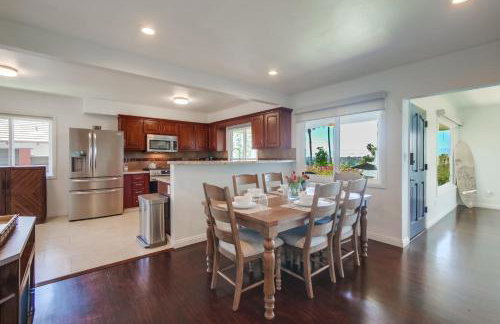
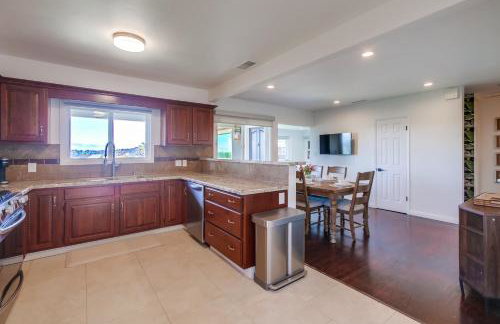
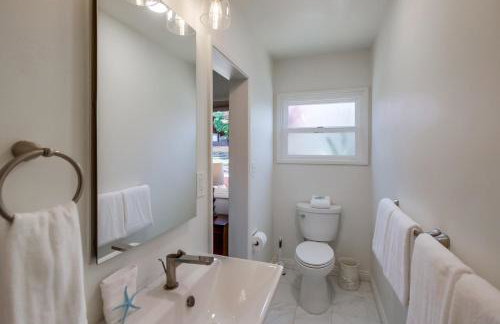
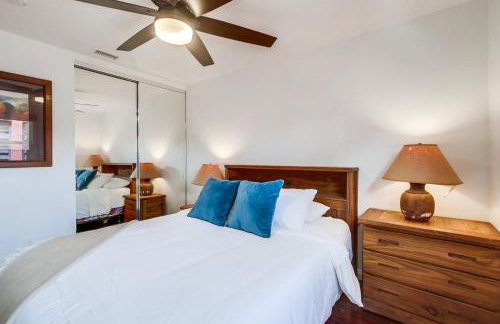
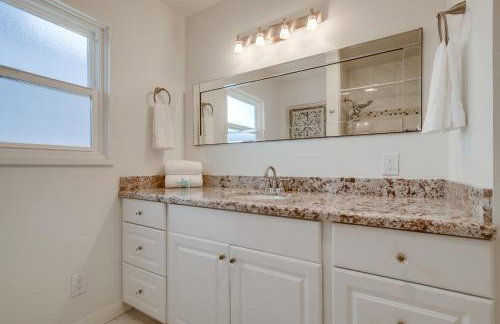
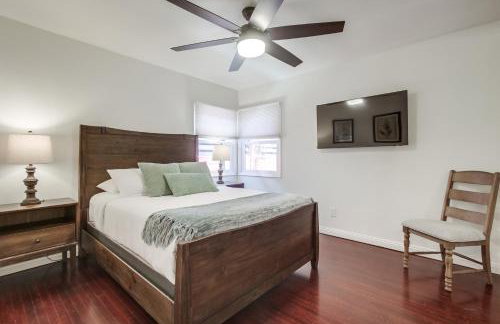
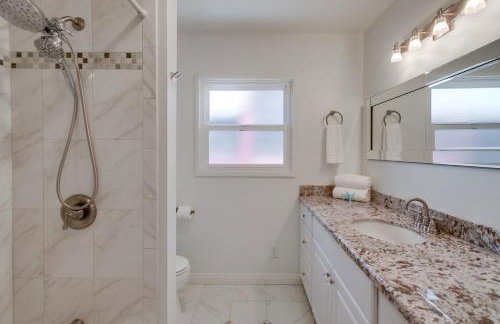
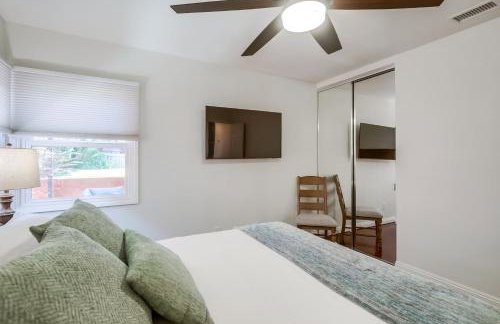
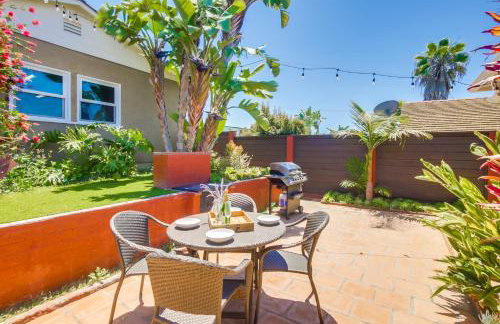
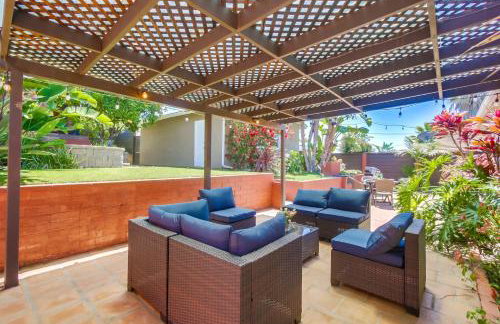
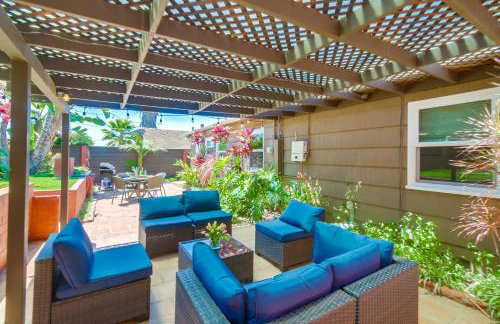
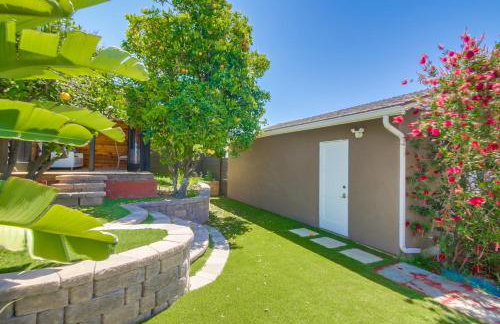
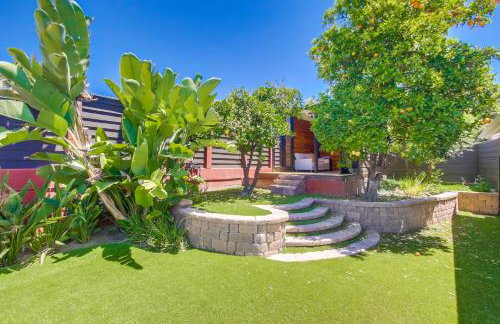
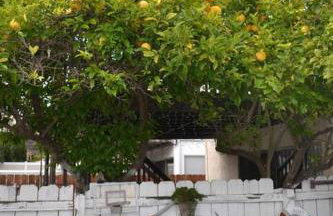
Canyon Palms
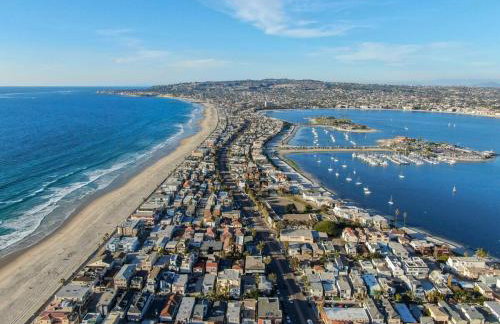
San Diego - Bay Park - 8.3 km vom Zentrum
- 100 M2
- 2 Schlafzimmer
- 6 Personen
- Klimaanlage
- Heizung
- Parkplatz
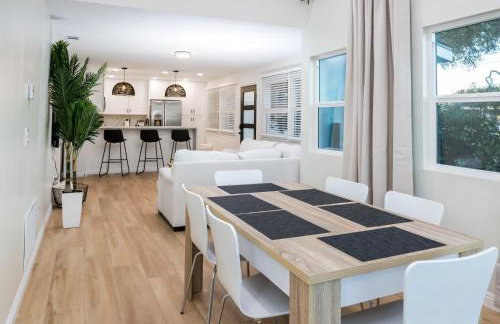


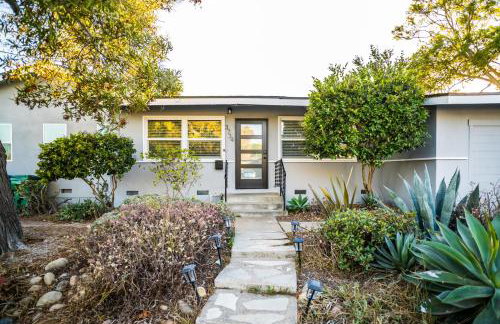
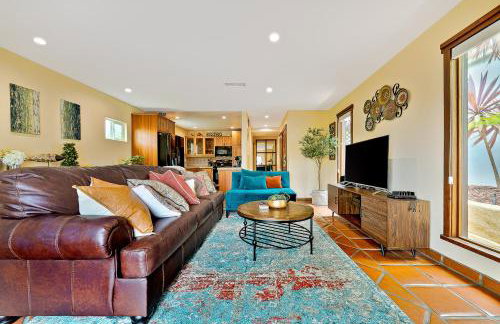
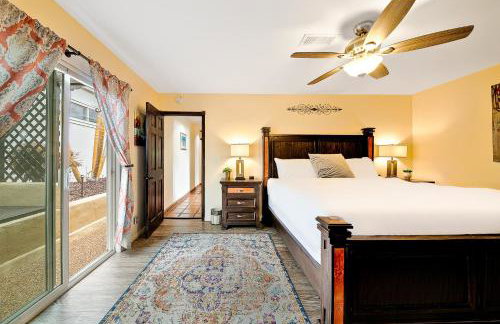
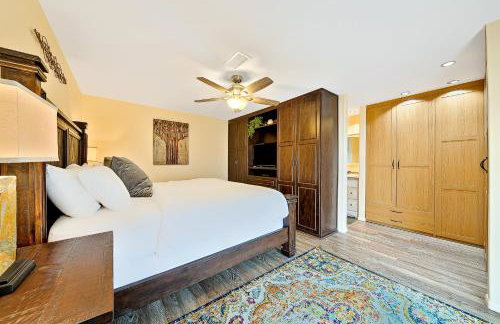
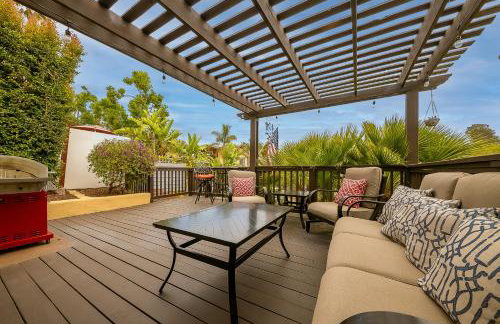
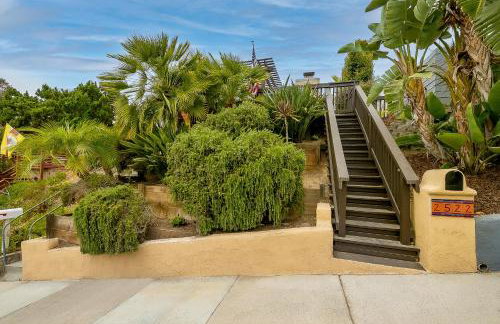
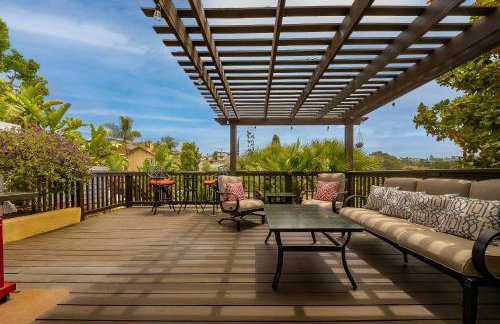
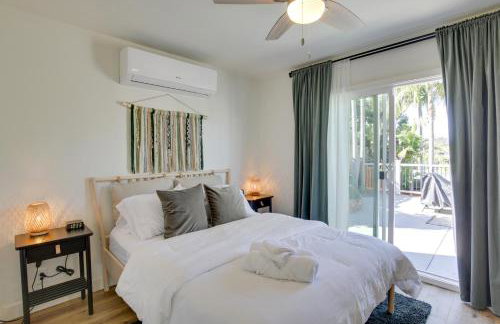
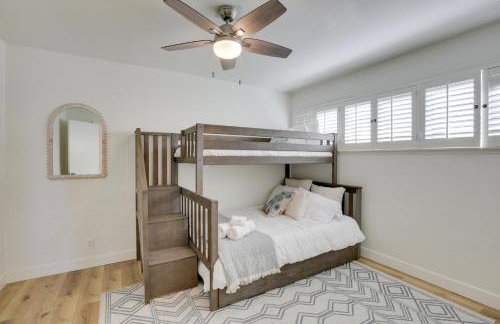
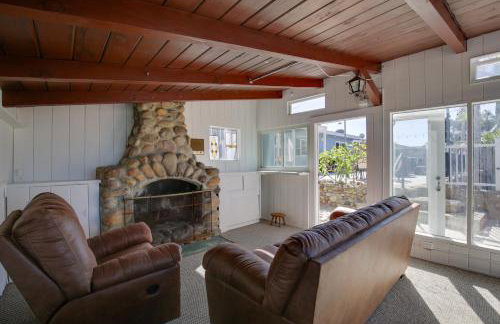
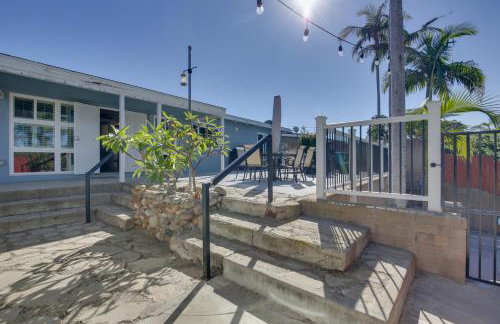
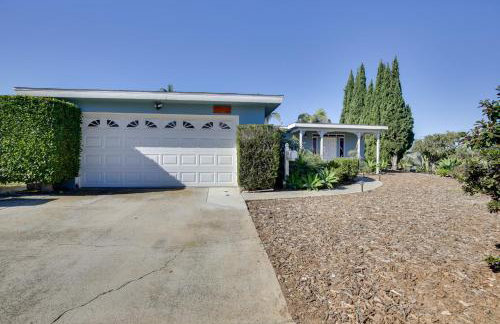
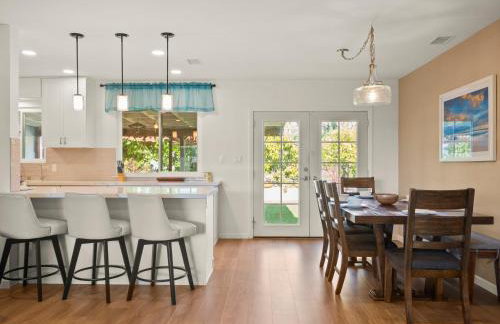
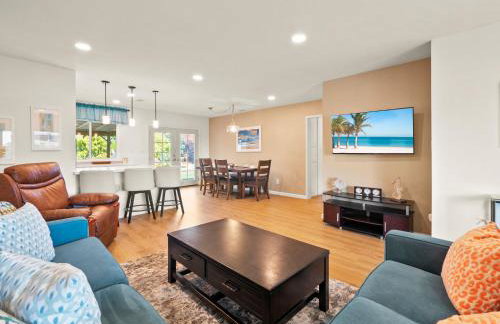
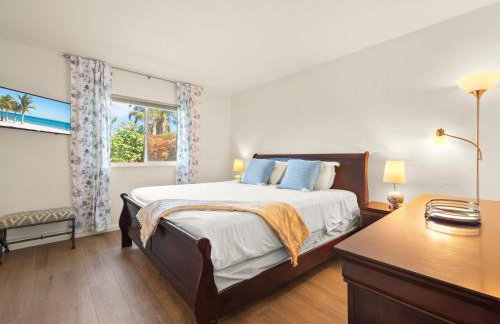
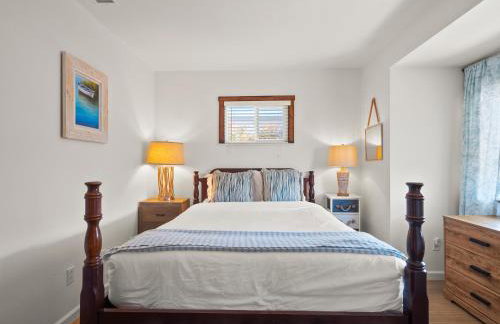
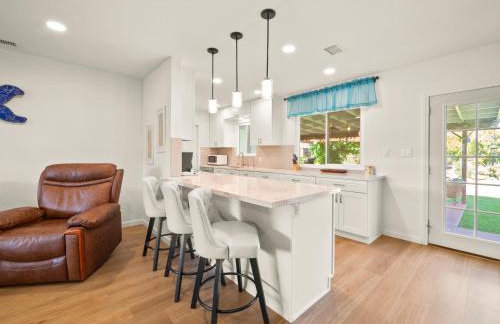
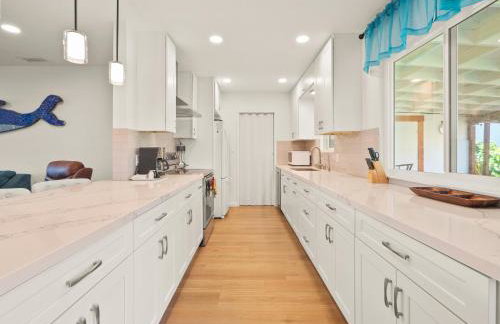
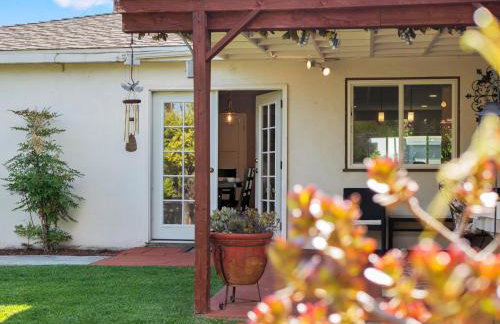
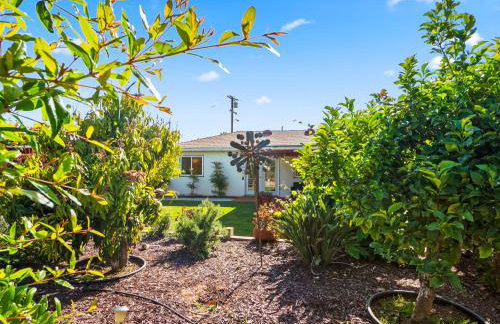
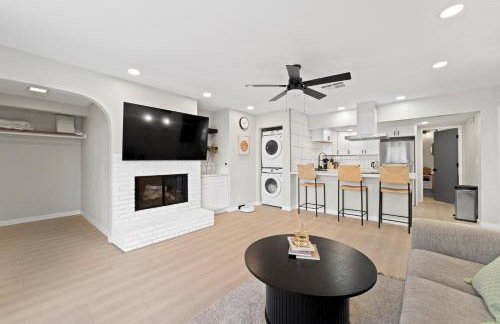
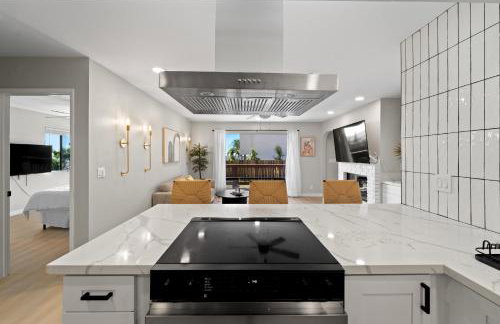
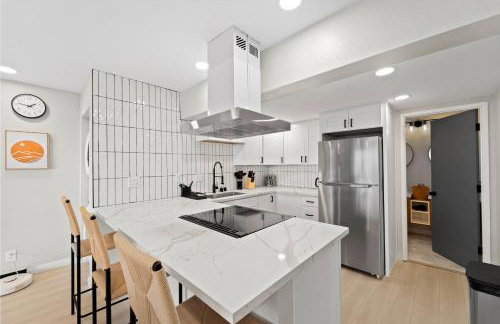
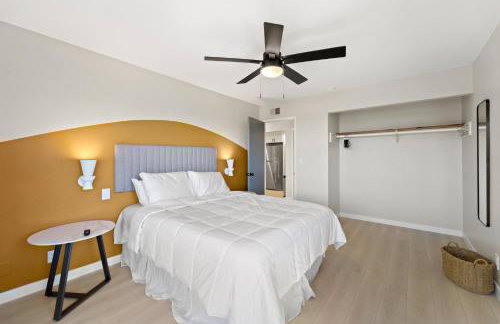
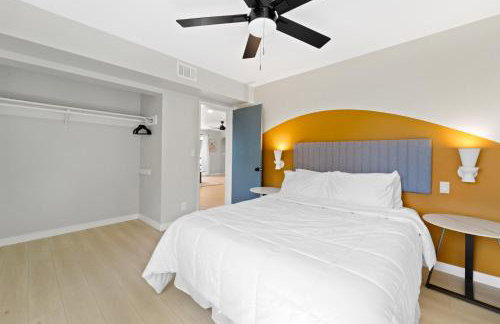
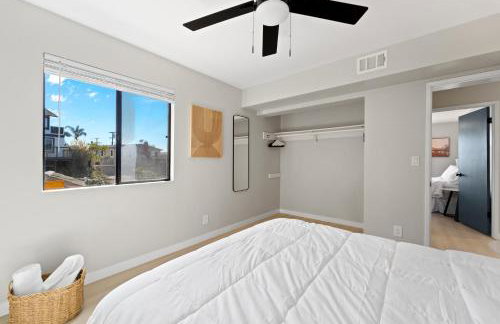
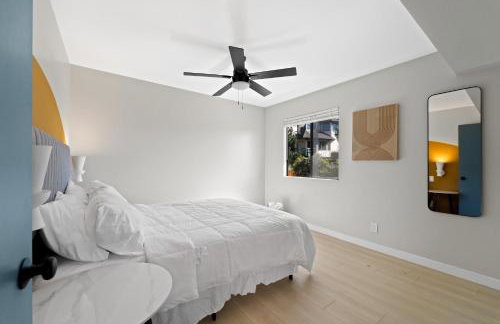
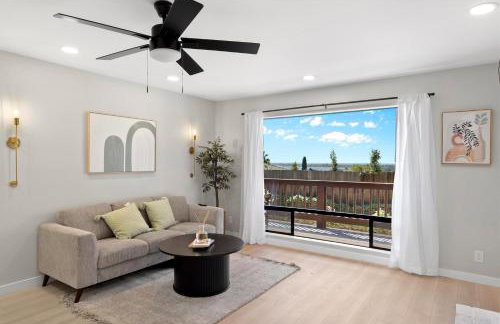
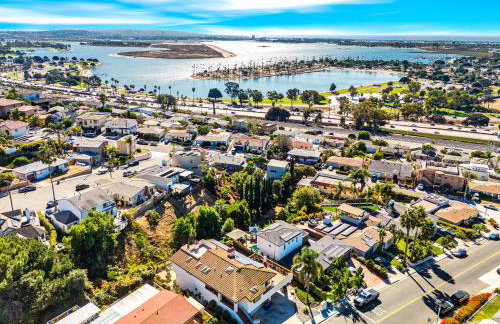
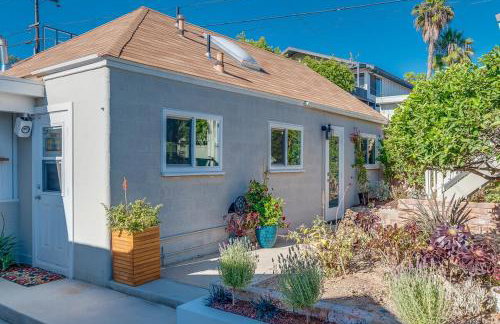
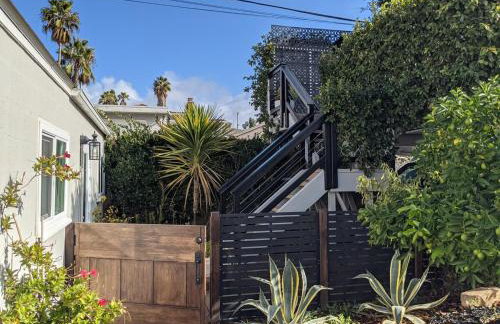
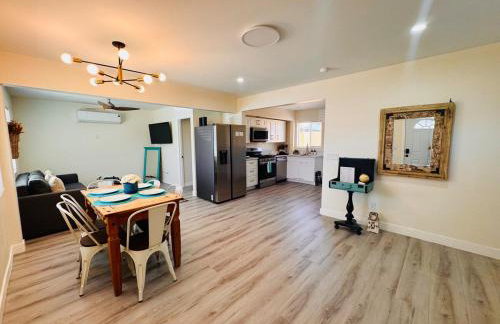
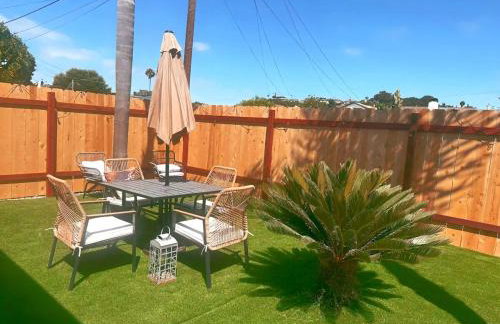
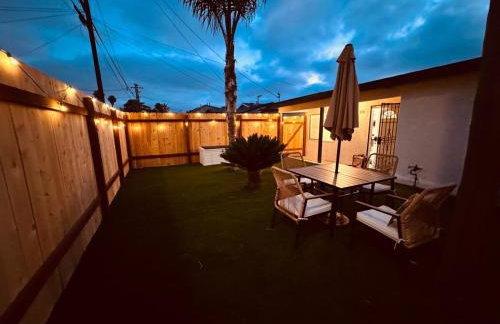
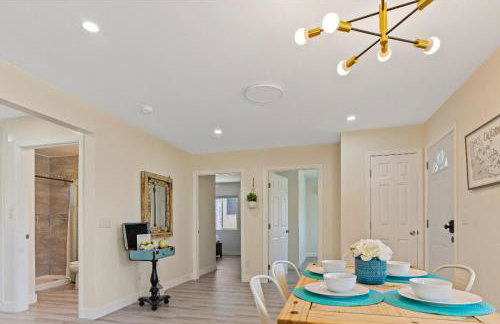
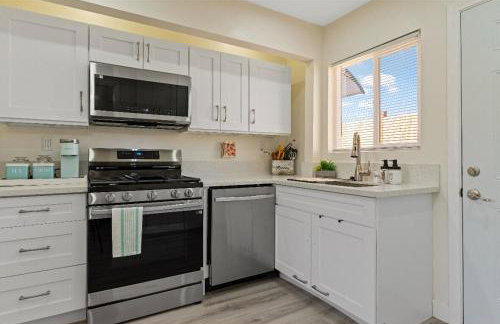
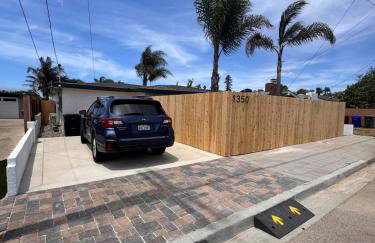
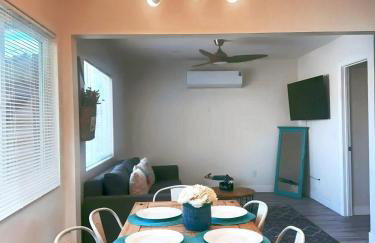
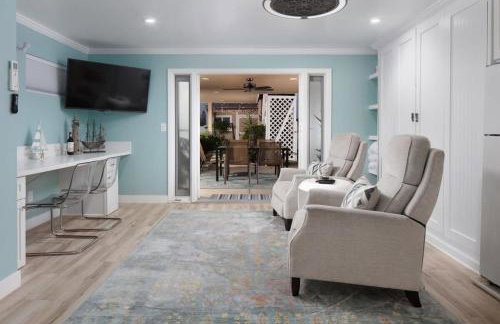
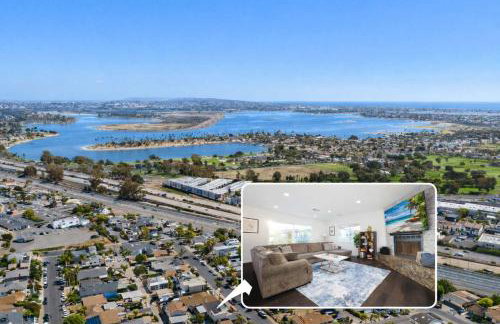
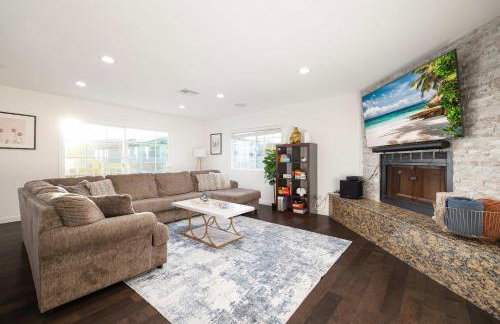
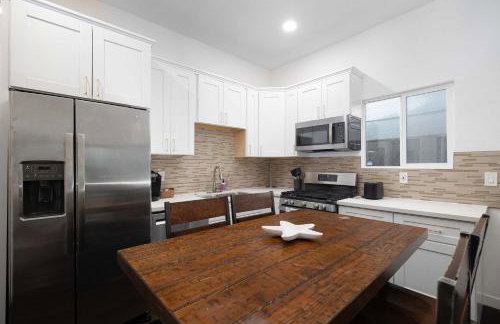
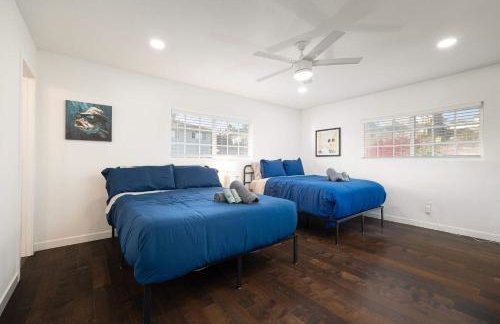
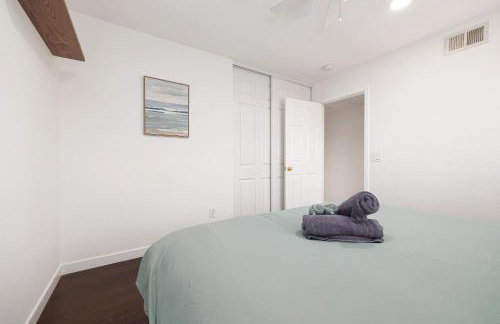
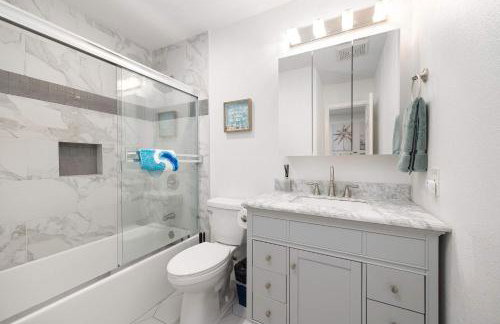
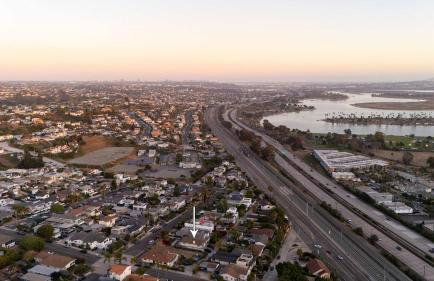
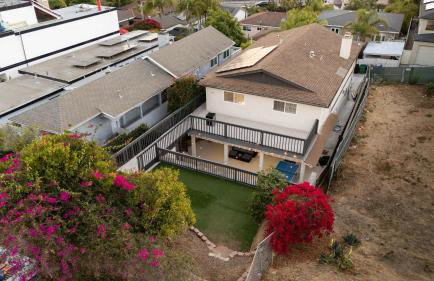
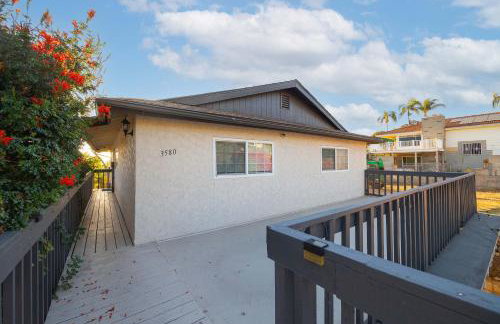
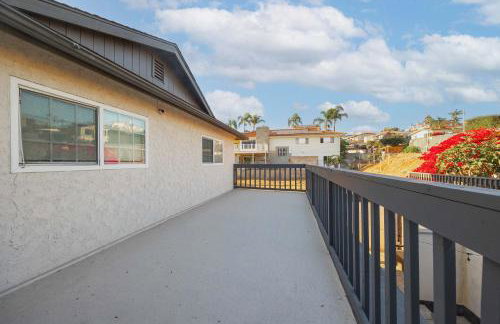
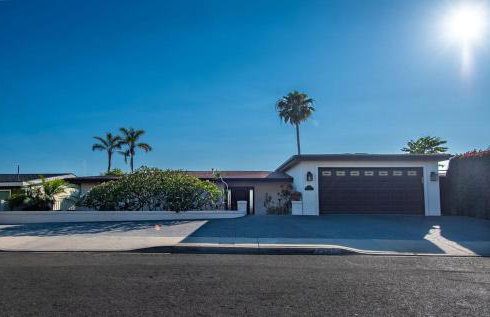
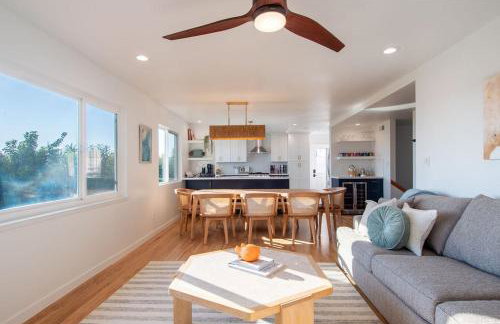
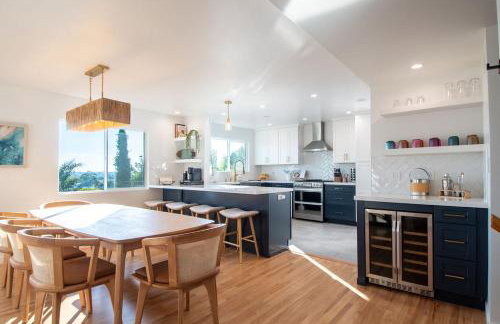
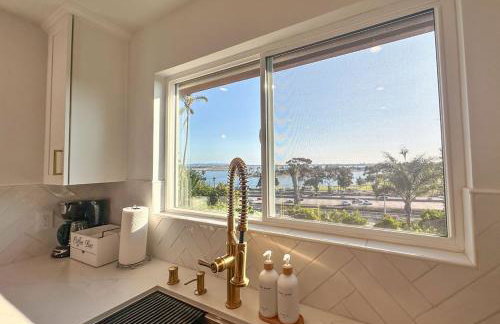
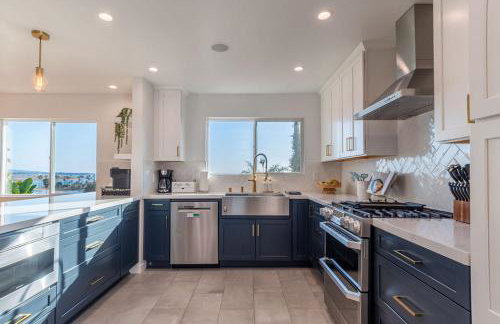
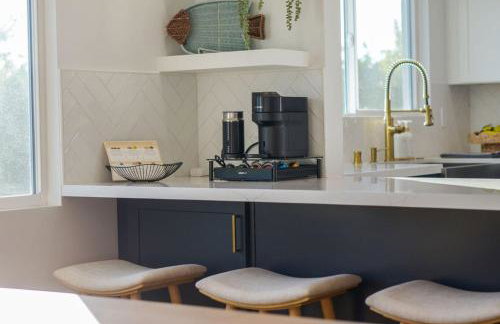
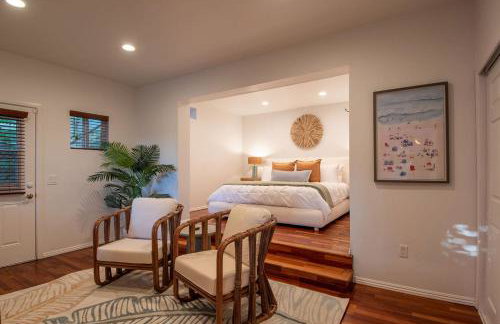
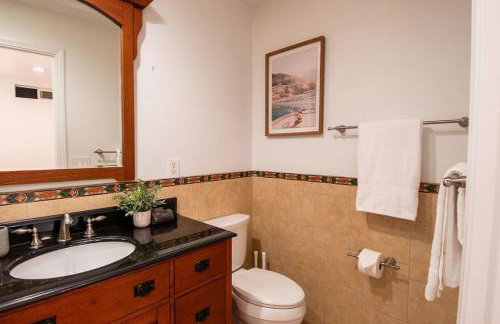
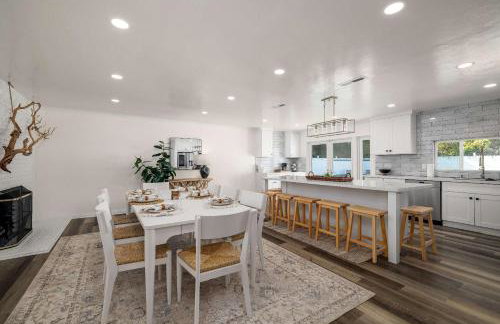
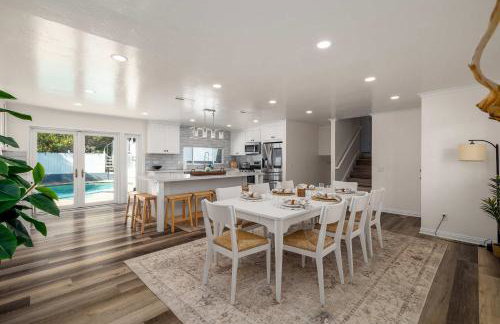
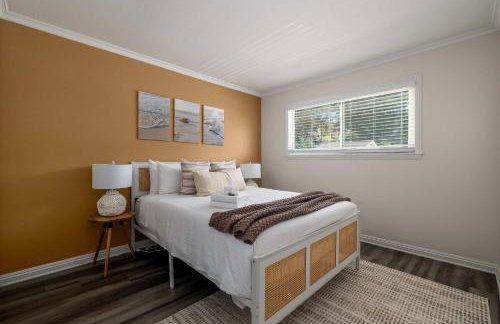
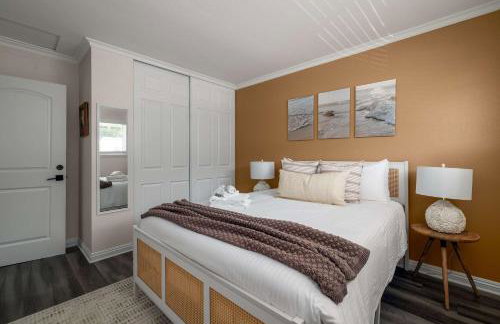
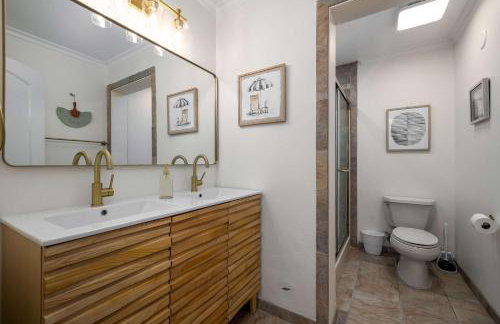
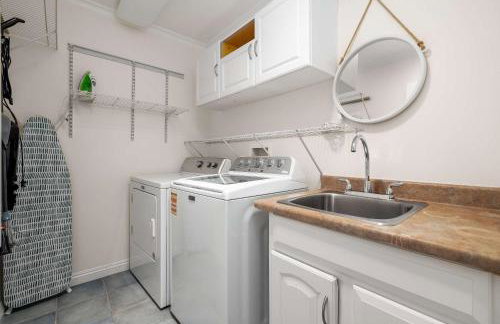
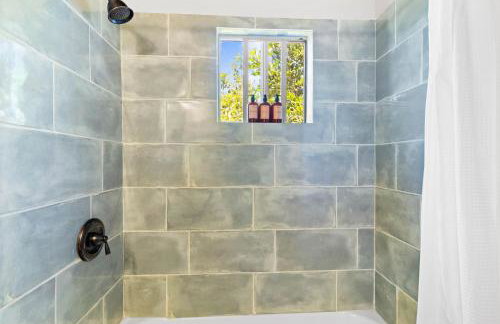
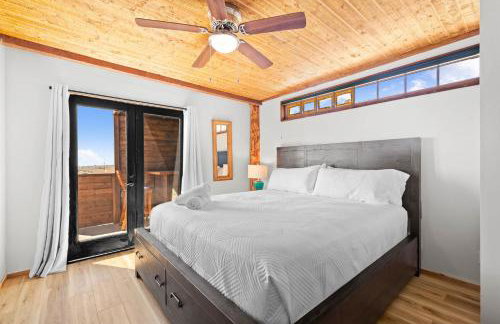
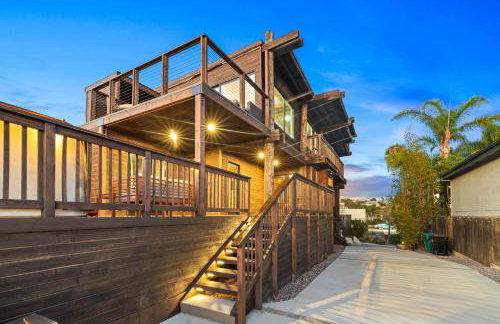
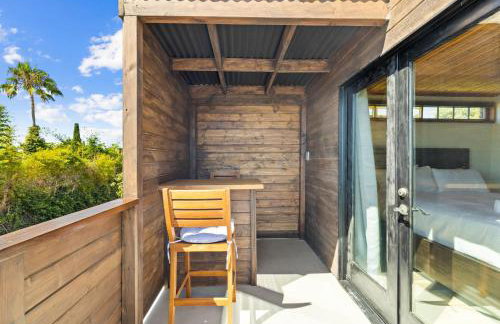
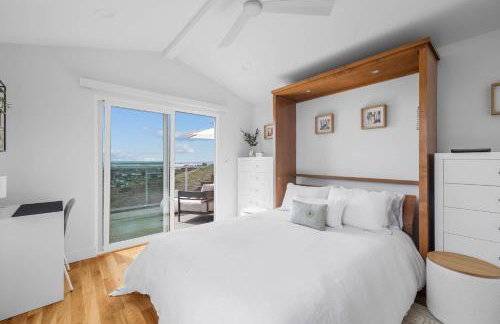
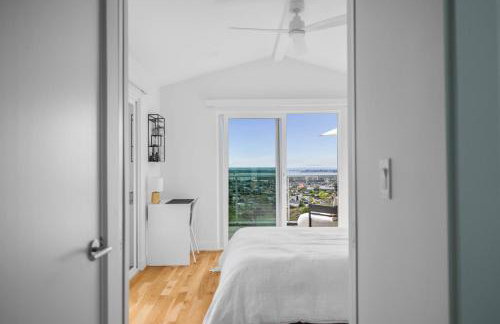
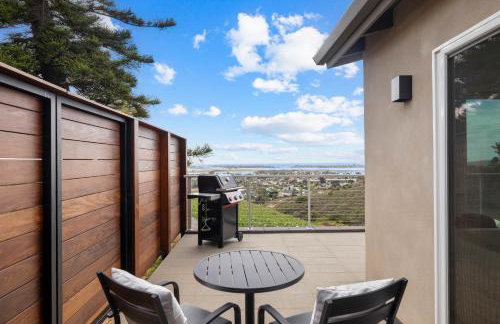
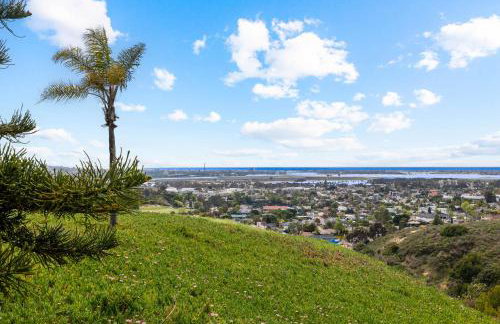
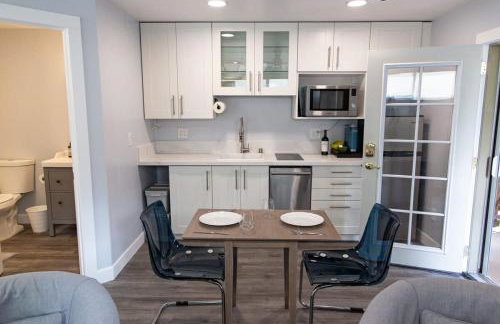
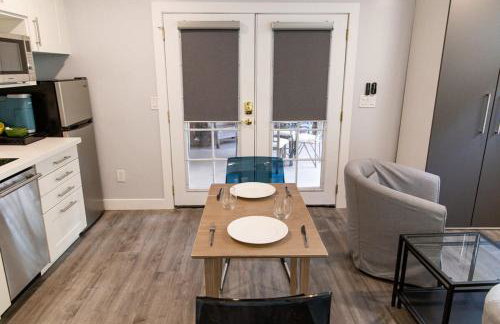
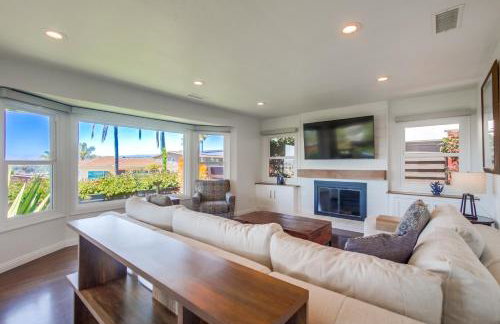
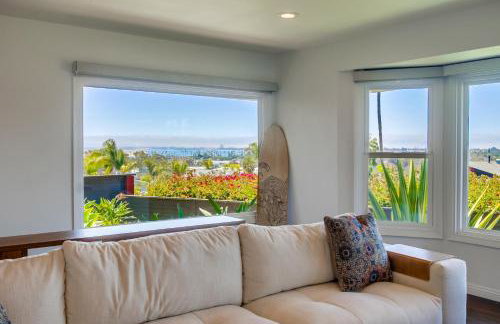
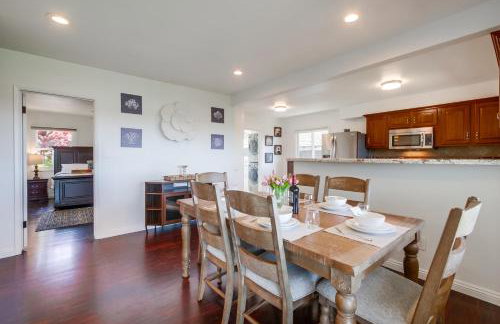
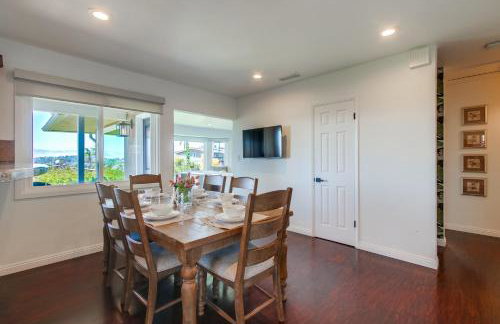
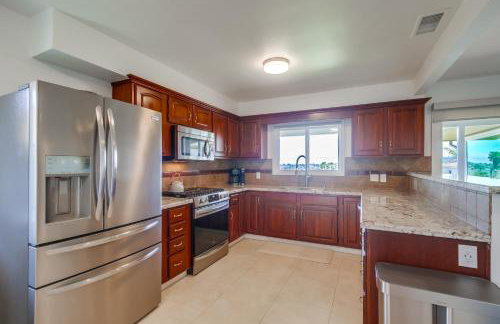
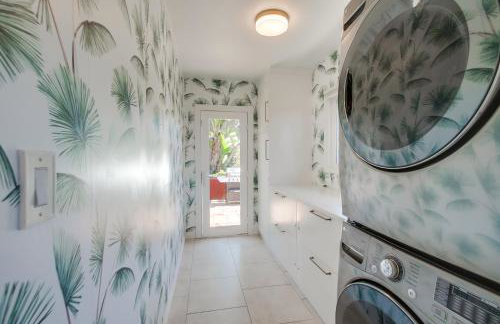
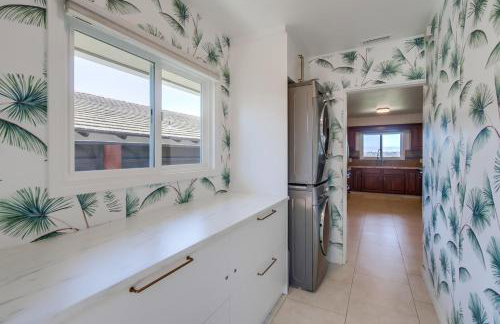
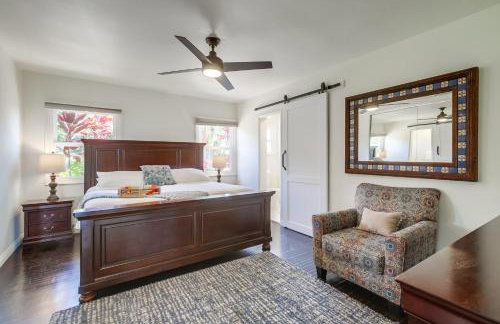
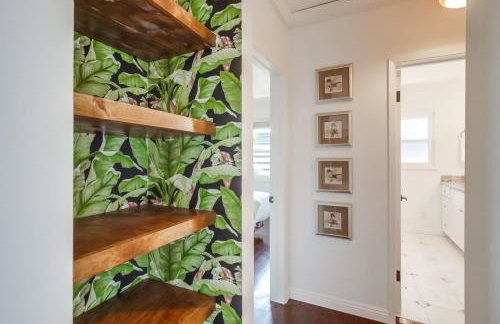
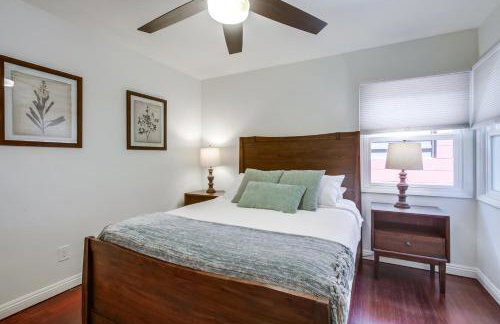
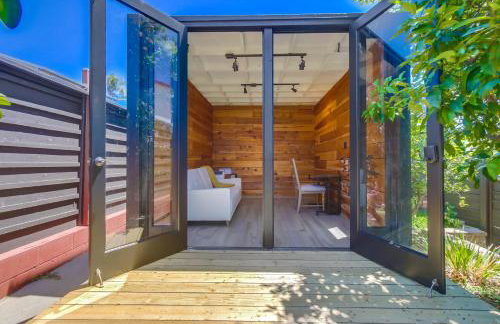
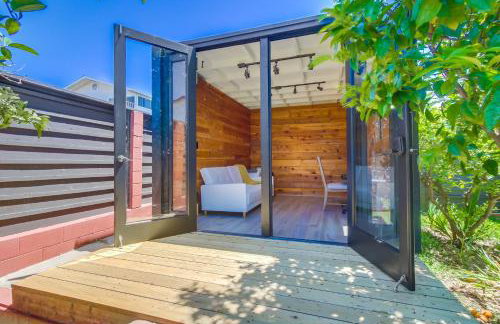
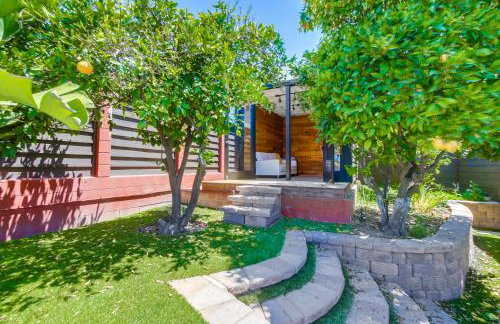
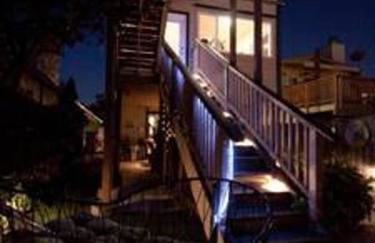
Newly Built Coastal Home with Yard
San Diego - Bay Park - 10.2 km vom Zentrum
- 127 M2
- 3 Schlafzimmer
- 8 Personen
- Klimaanlage
- Parkplatz
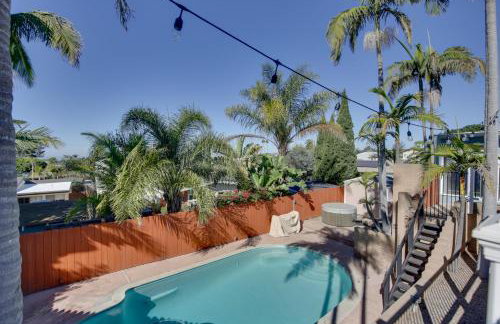


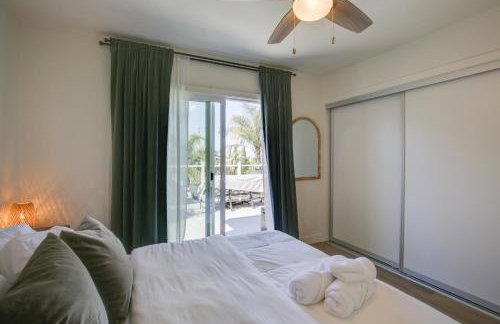
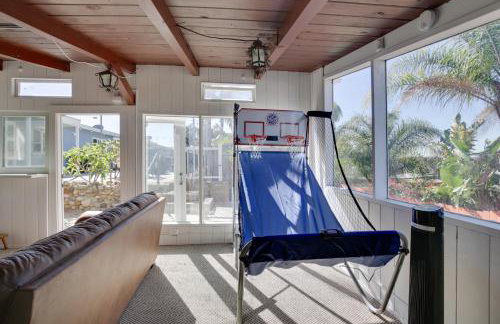
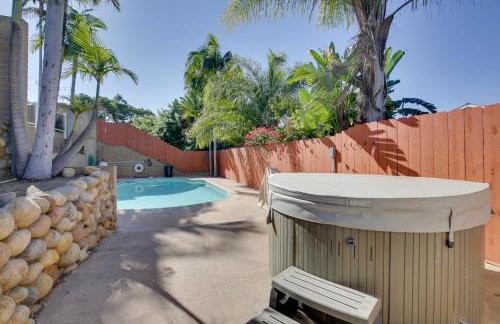
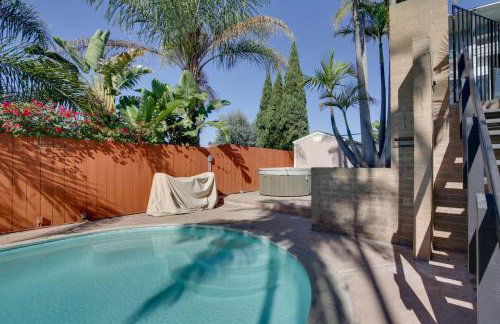
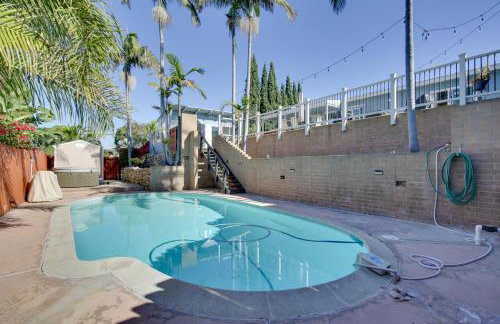
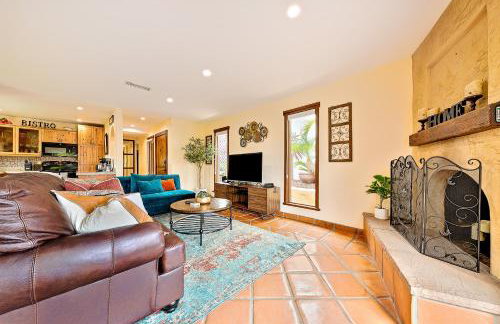
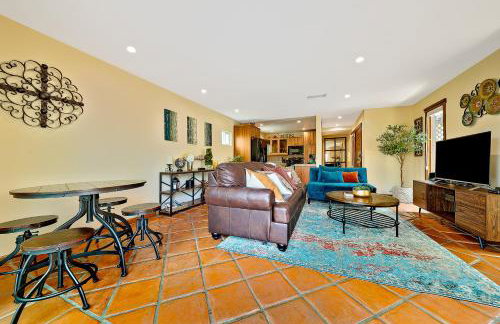
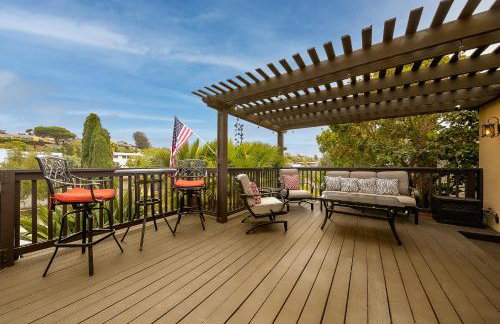
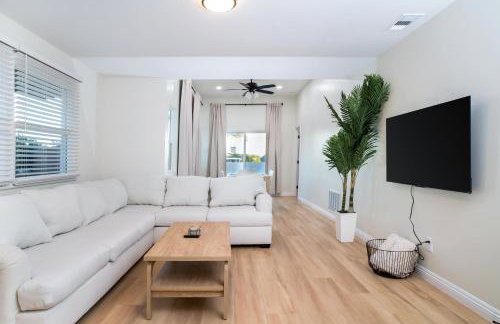
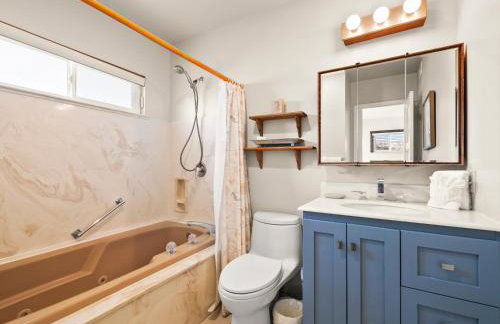
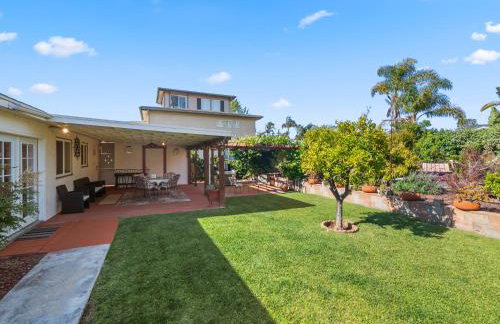
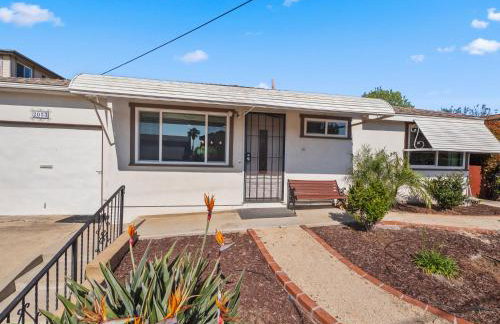
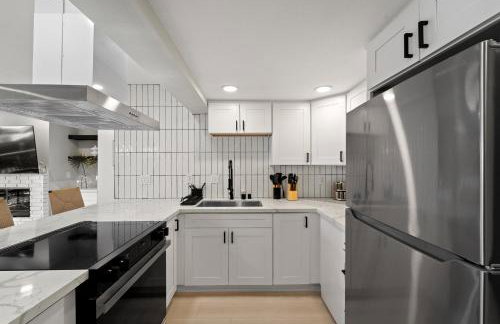
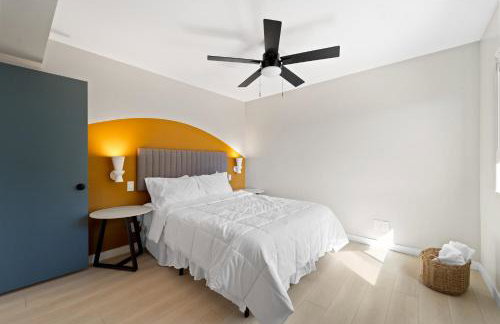
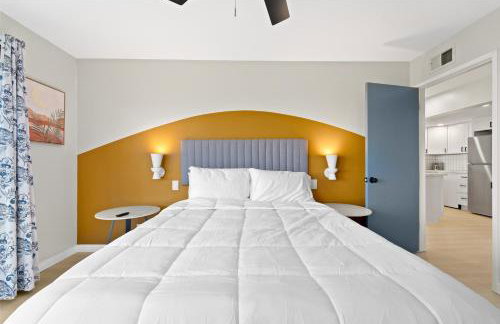
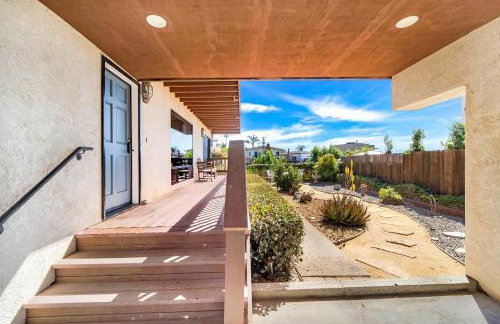
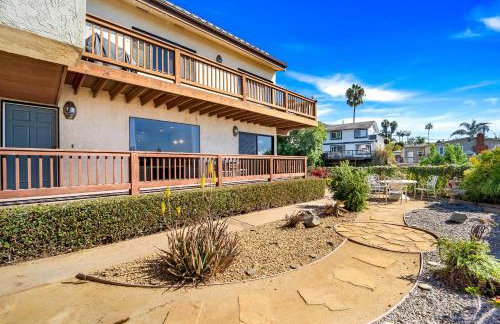
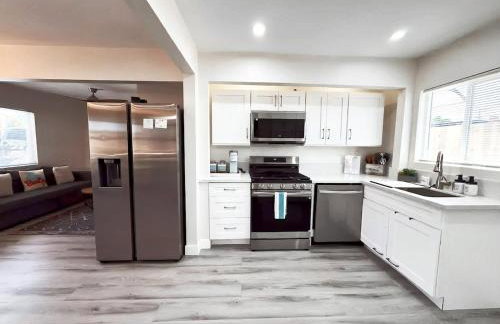
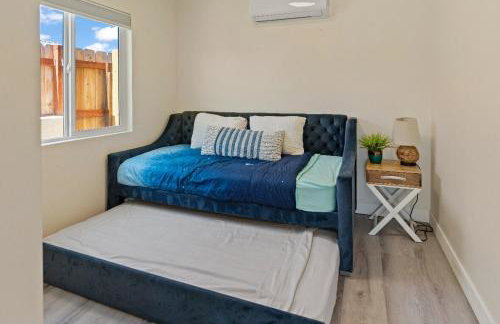
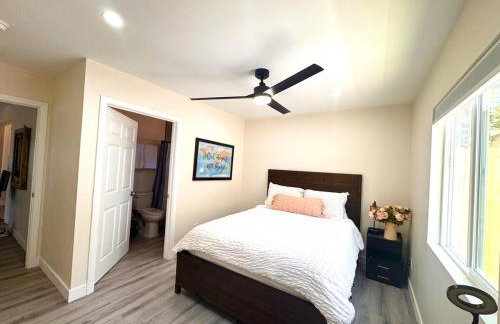
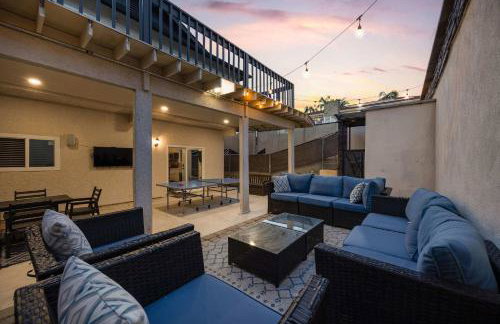
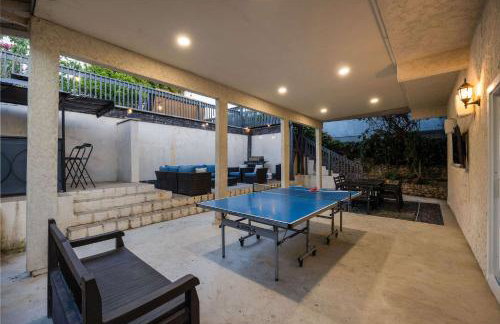
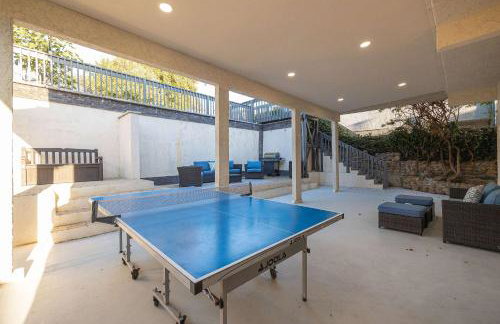
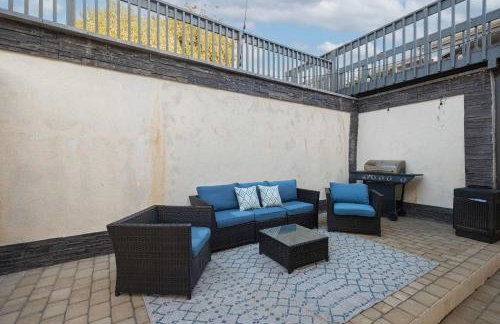
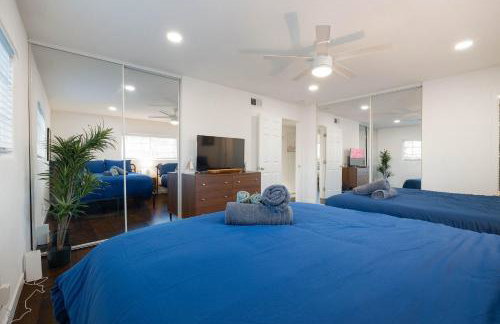
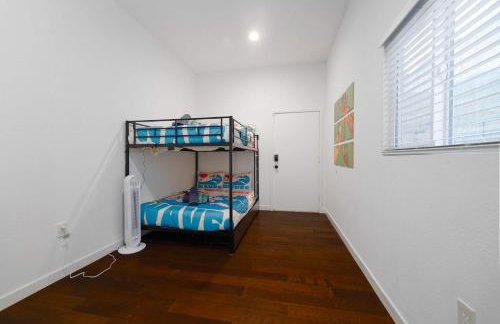
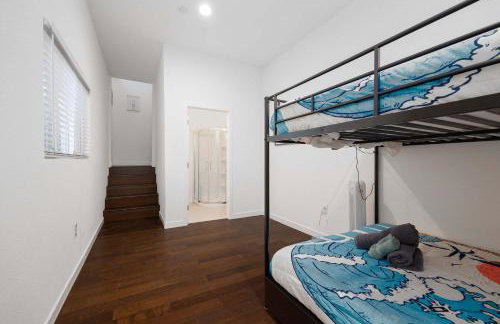
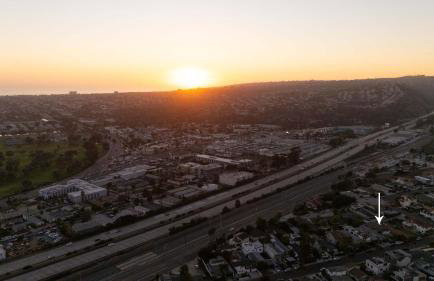
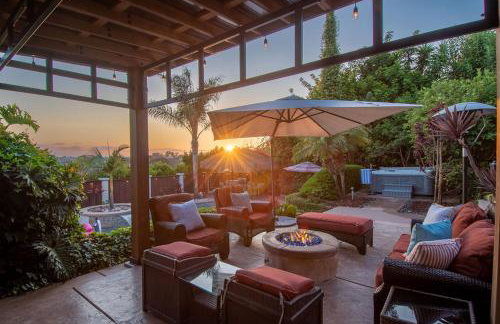
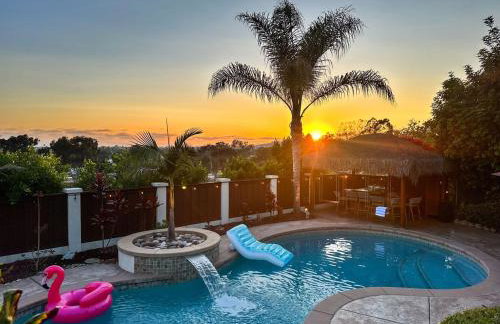
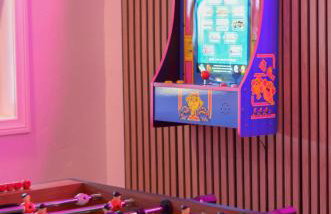
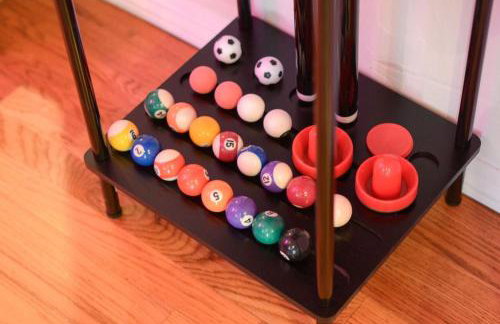
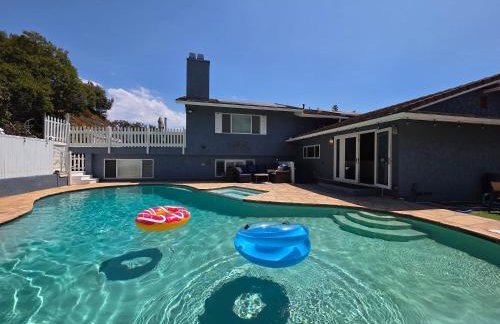
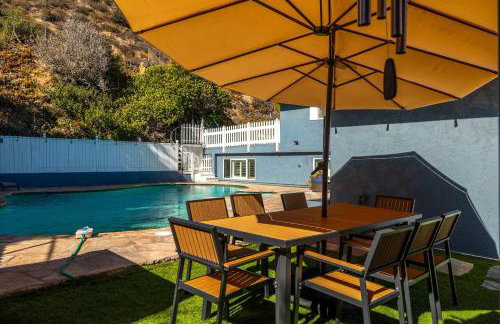
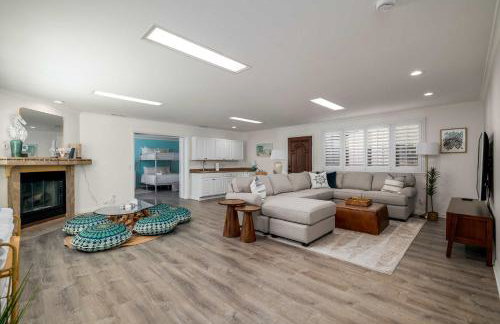
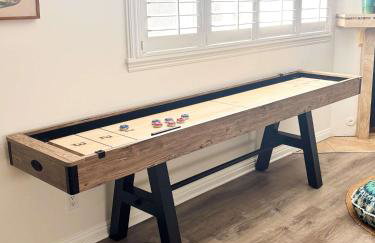
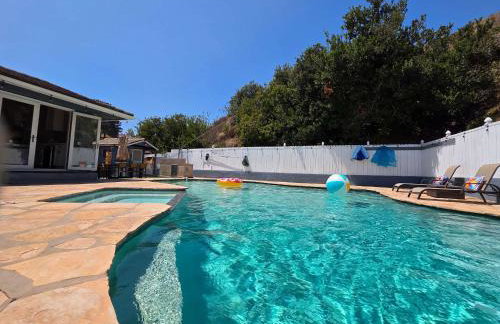
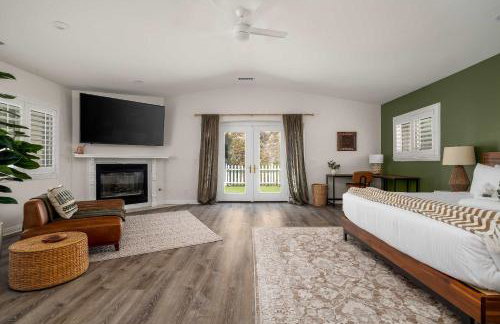
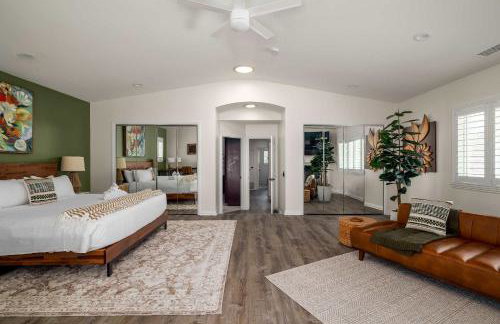
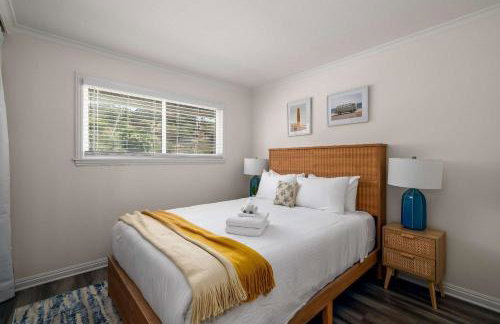
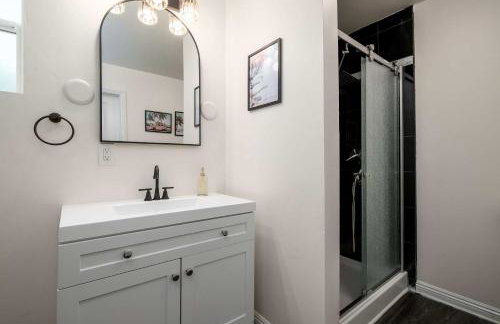
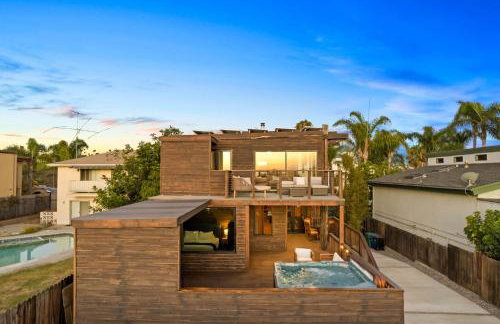
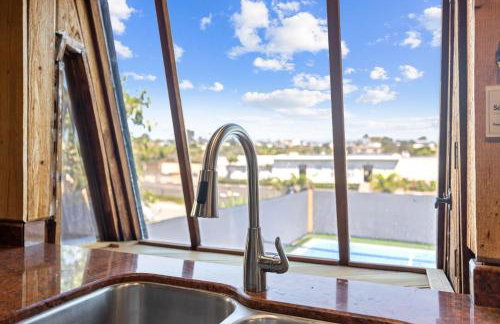
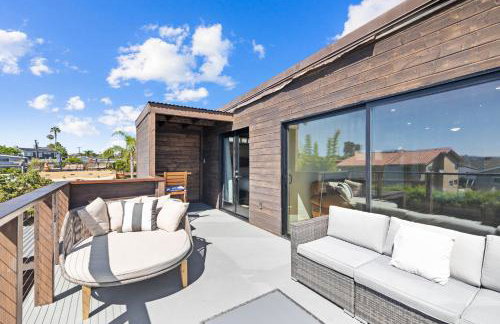
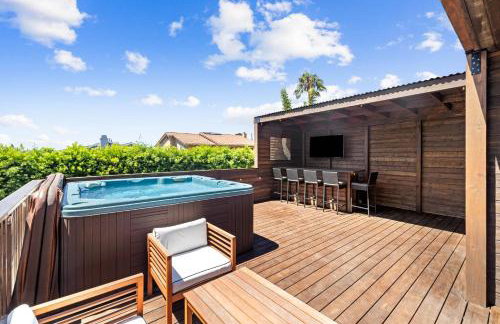
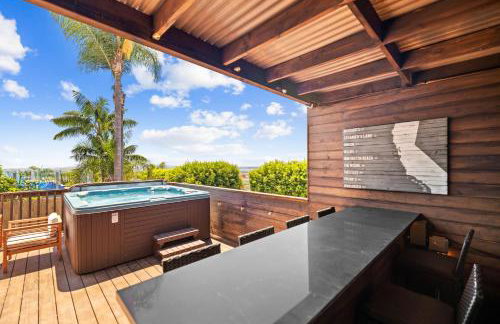
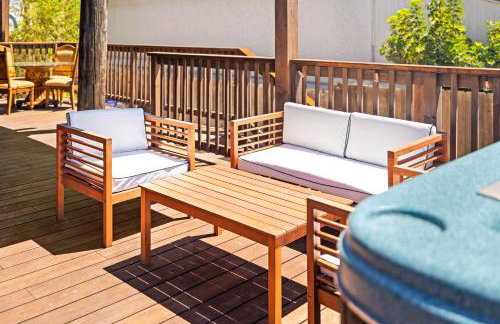
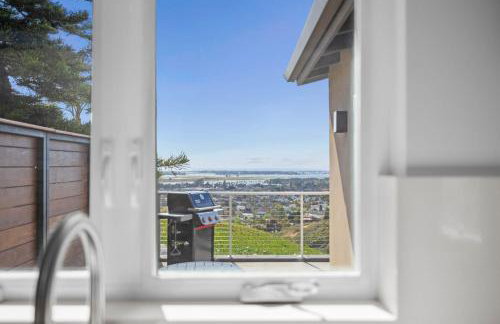
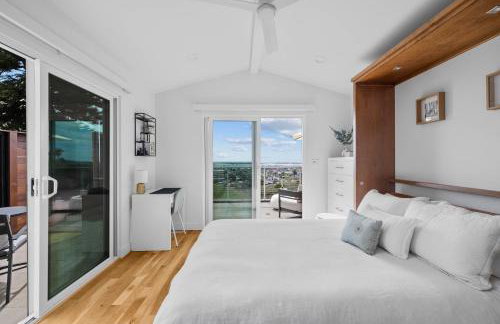
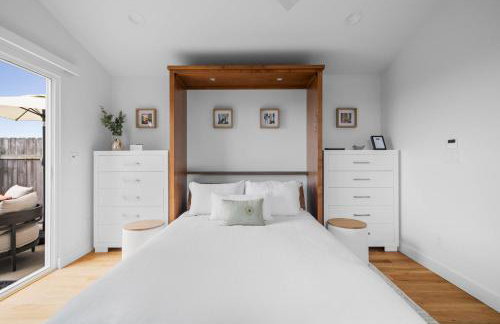
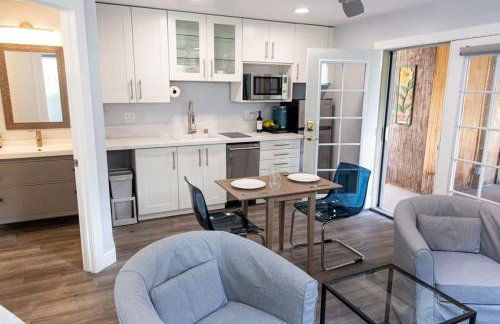
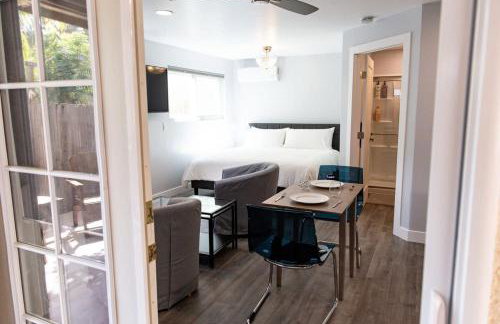
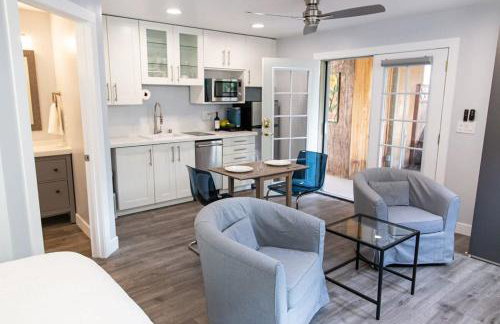
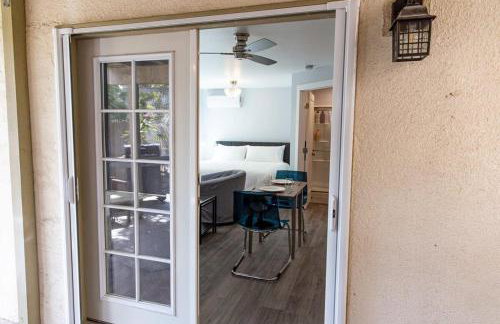
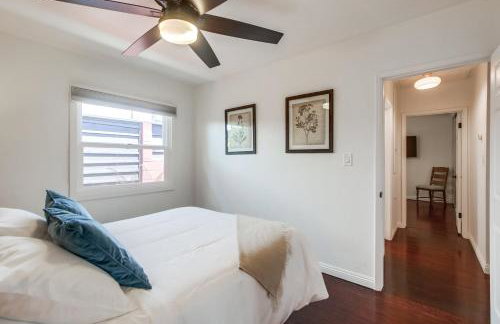
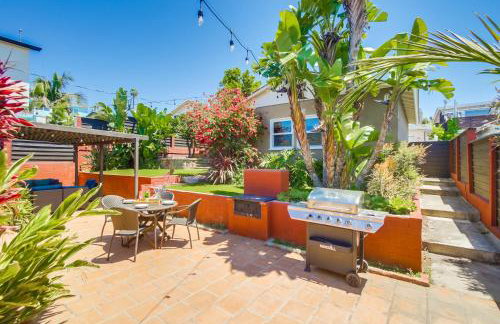
San Diego Home Private Outdoor Pool and Game Room!
San Diego - Bay Park - 8.1 km vom Zentrum
- 125 M2
- 3 Schlafzimmer
- 8 Personen
- Heizung
- Terrasse
- Schwimmbad
- Parkplatz
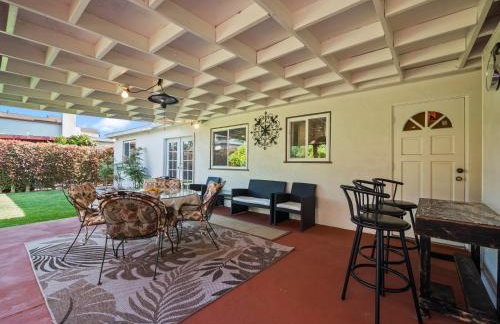

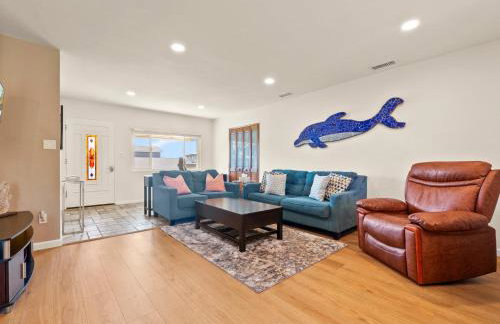


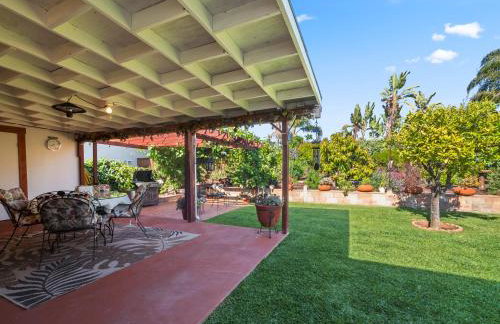
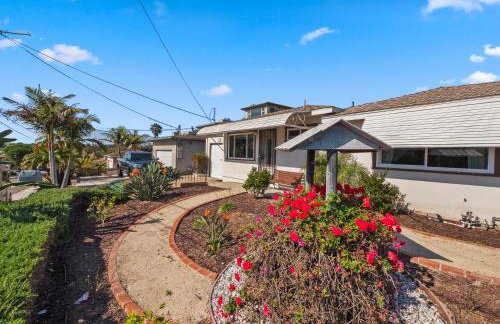
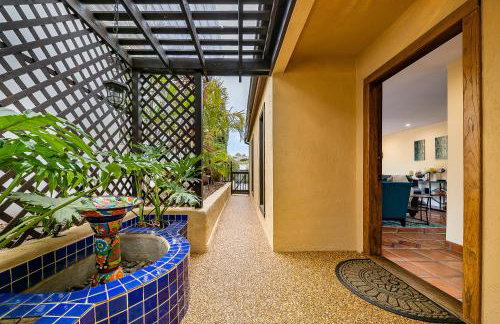
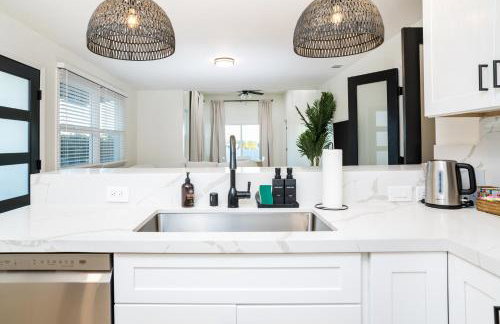
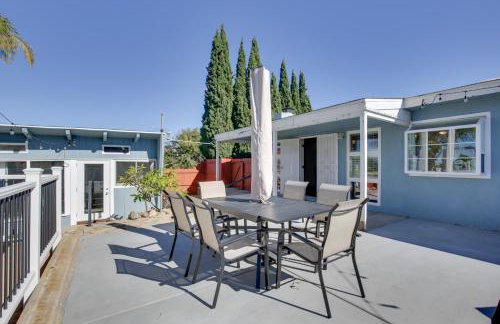
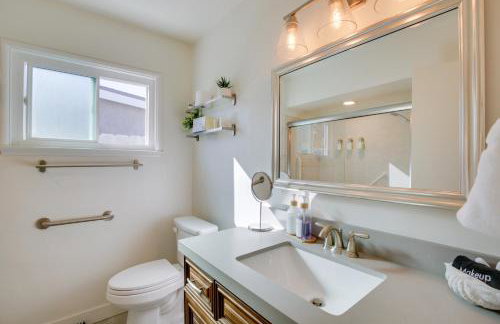
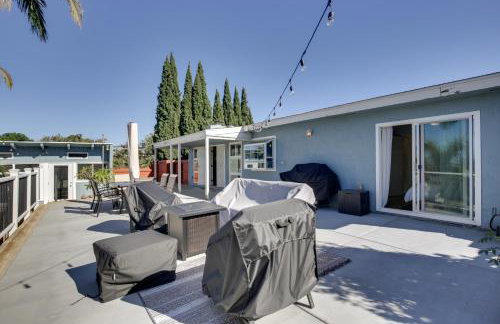
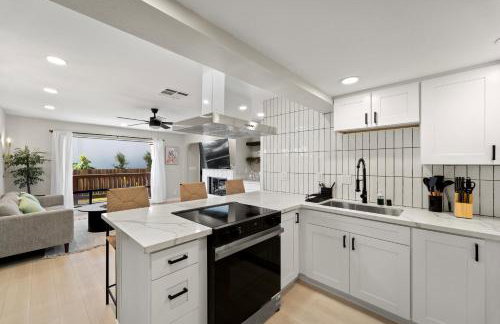
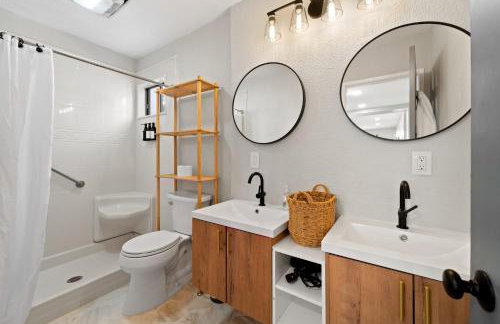
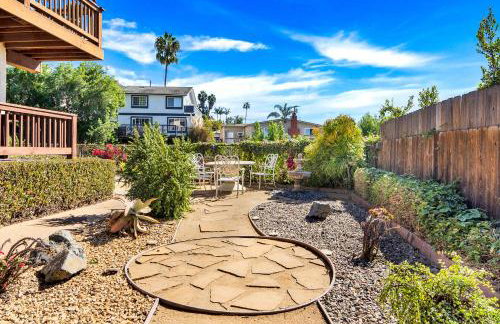
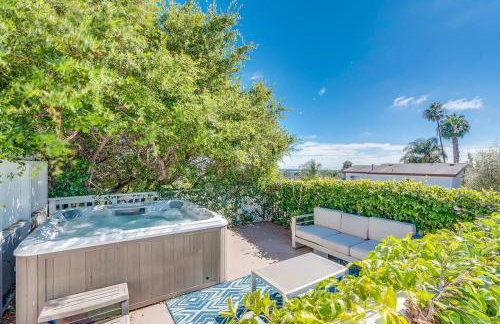
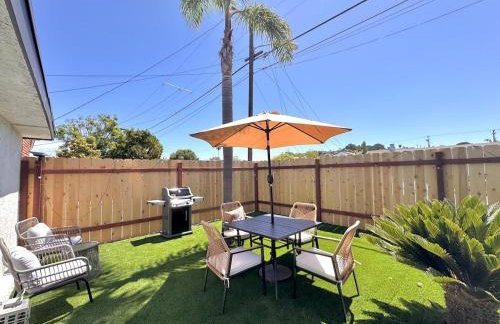
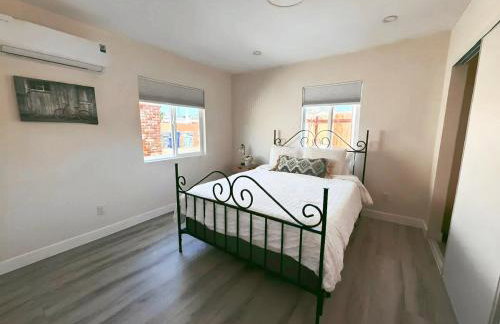
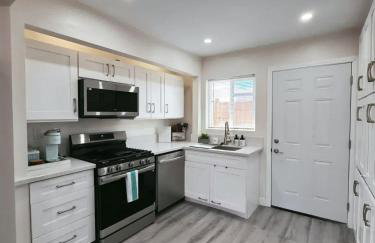
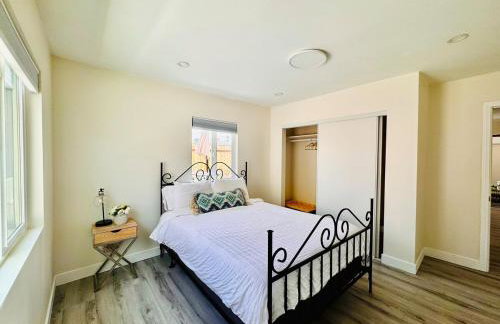
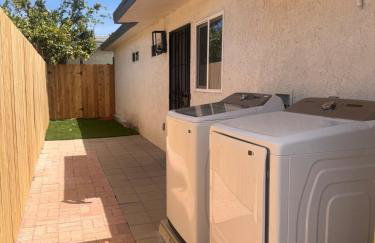
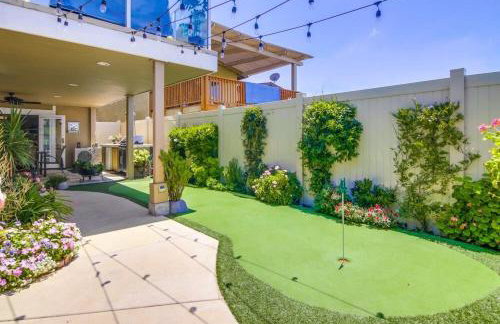
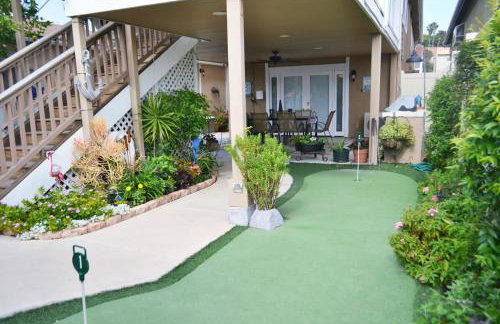
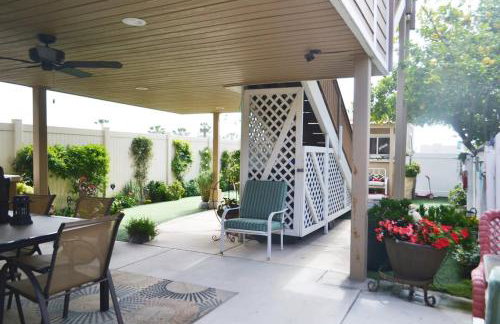
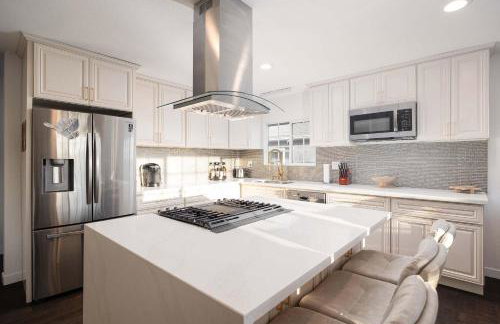
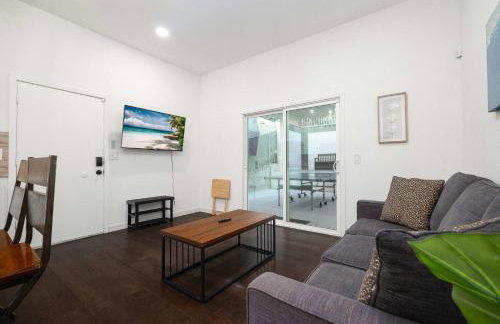
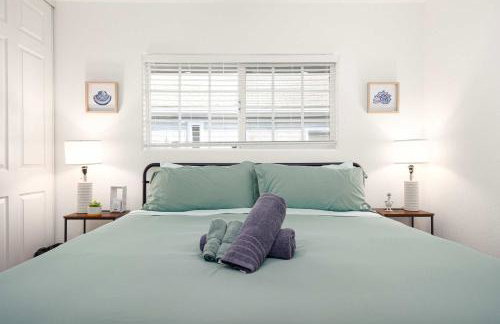
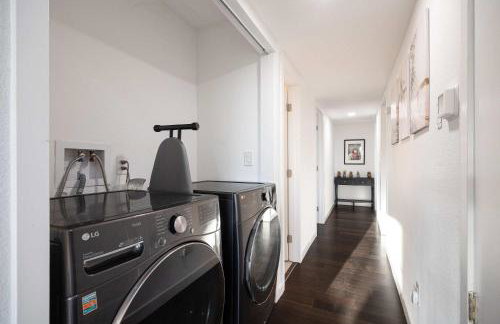
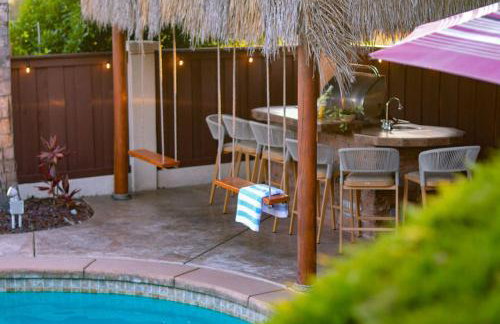
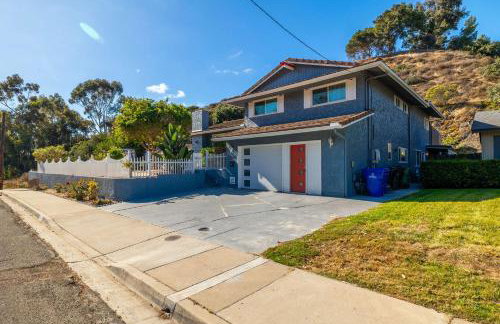
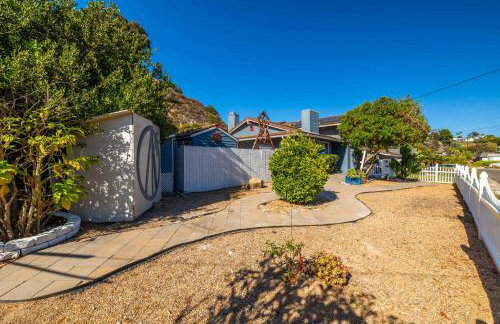
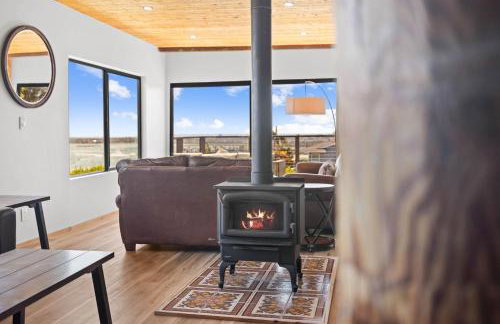
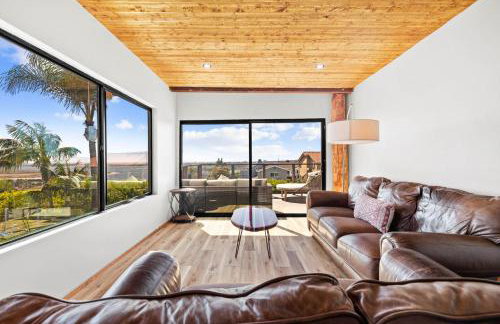
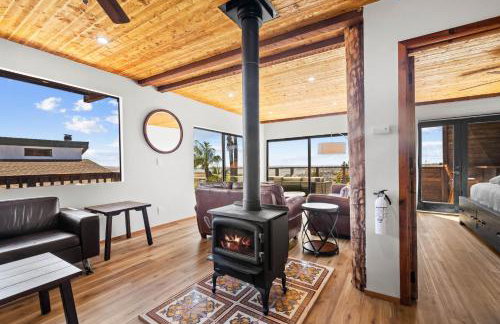
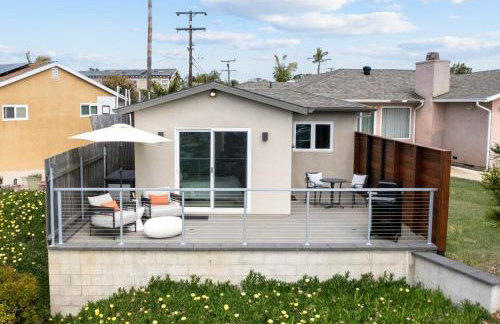
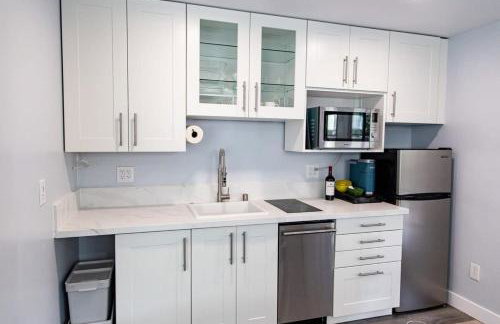
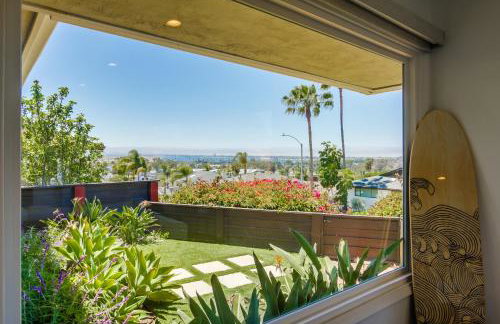
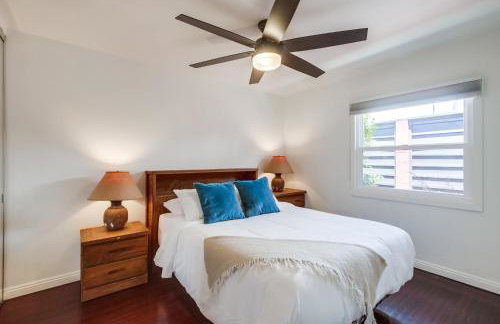
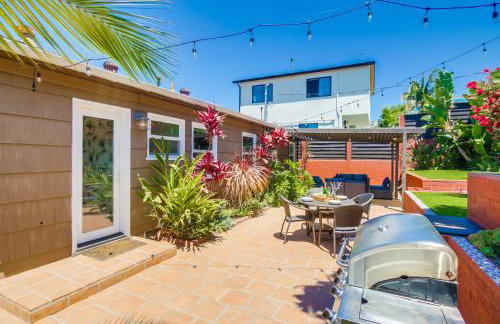
Bay Park Garden Paradise - central Location, AC, Washer Dryer & Private yard!
San Diego - Bay Park - 7.6 km vom Zentrum
- 108 M2
- 2 Schlafzimmer
- 4 Personen
- Klimaanlage
- Heizung
- Parkplatz


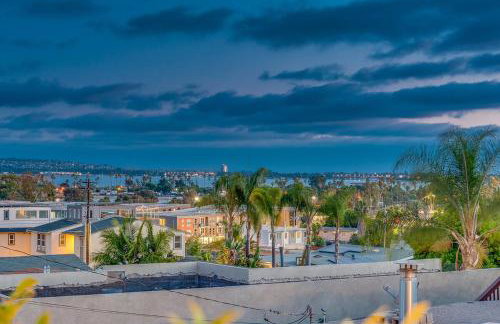
Stylish & Bright 5 Star Location Ocean View Queen Beds
San Diego - Bay Park - 9.9 km vom Zentrum
- 74 M2
- 6 Personen
- Klimaanlage
- Terrasse
- Parkplatz
- Garten


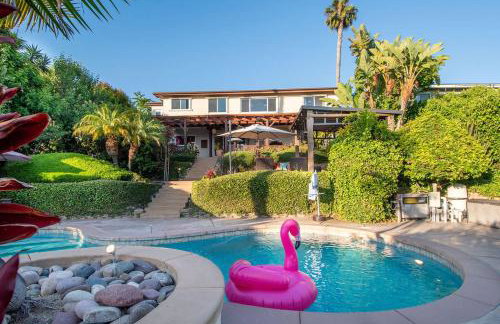
Spacious 5BD Ocean Views Pool Jacuzzi
San Diego - Bay Park - 7.9 km vom Zentrum
- 322 M2
- 5 Schlafzimmer
- 14 Personen
- Klimaanlage
- Terrasse
- Schwimmbad
- Parkplatz

Comfy Bay Park Cottage close to Everything!
San Diego - Bay Park - 10.3 km vom Zentrum
- 56 M2
- 1 Schlafzimmer
- 4 Personen
- Klimaanlage
- Heizung
- Parkplatz
- Garten
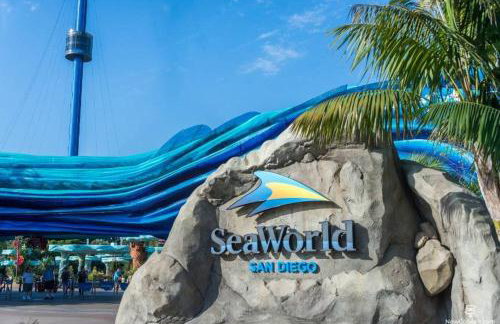


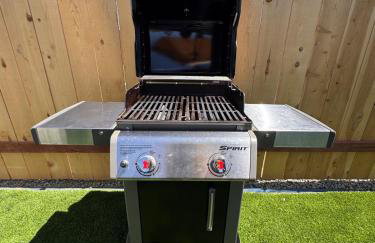
Sea & Sun Getaway near Seaworld
San Diego - Bay Park - 7.2 km vom Zentrum
- 111 M2
- 3 Schlafzimmer
- 8 Personen
- Klimaanlage
- Parkplatz
- Garten
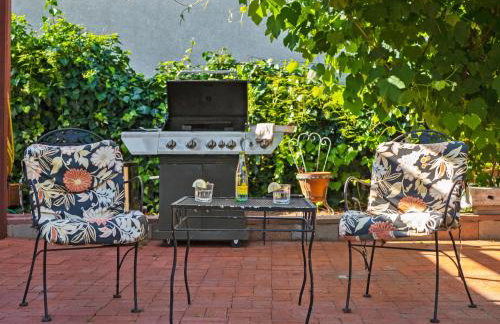
- Barbecue


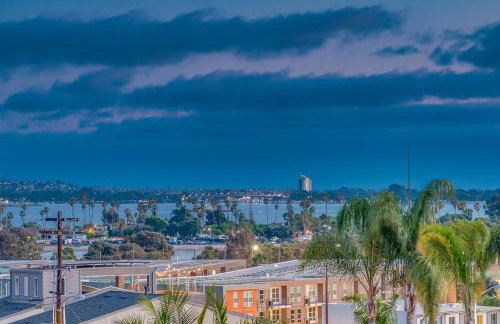
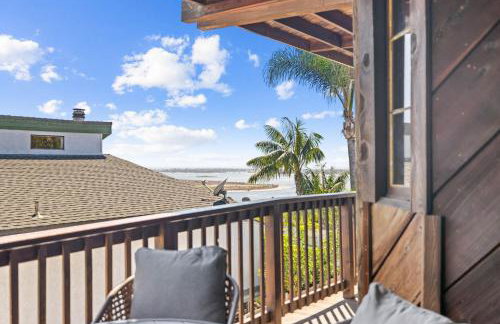
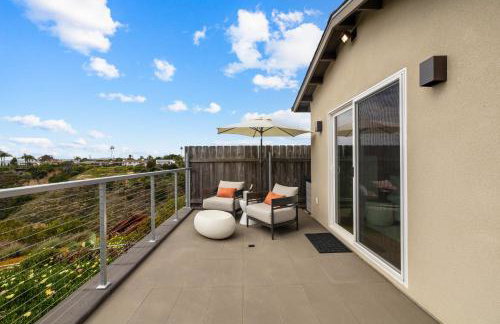
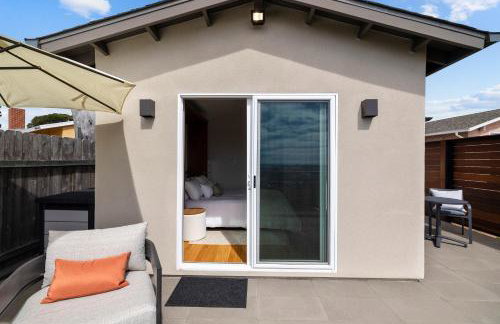
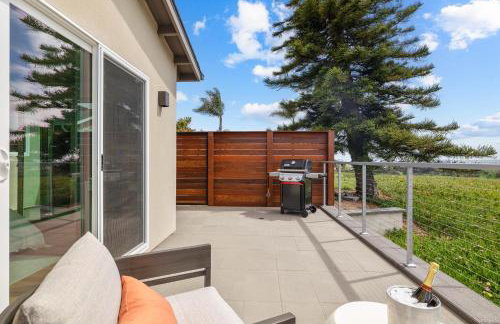
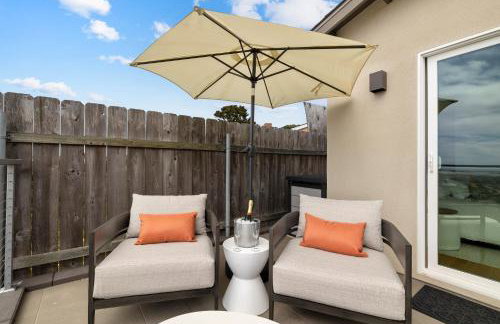
Suite with Rooftop Deck and Ocean Views in Mission Bay
San Diego - Bay Park - 8.8 km vom Zentrum
- 37 M2
- 2 Personen
- Klimaanlage
- Heizung
- Parkplatz
- Garten


Ocean Views 2 Kitchen Living area Villa
San Diego - Bay Park - 10.4 km vom Zentrum
- 223 M2
- 6 Schlafzimmer
- 14 Personen
- Klimaanlage
- Heizung
- Parkplatz
- Garten


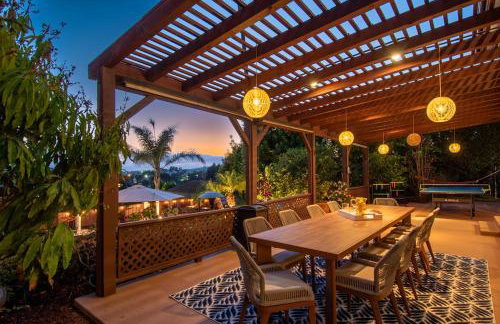


Luxury Bayview Oasis • Pool Spa Games Views
San Diego - Bay Park - 9.7 km vom Zentrum
- 225 M2
- 5 Schlafzimmer
- 10 Personen
- Klimaanlage
- Heizung
- Terrasse
- Schwimmbad
- Parkplatz
- Barbecue


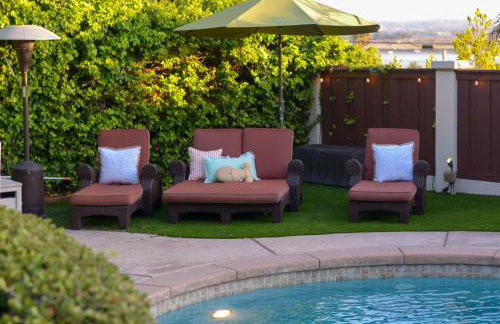
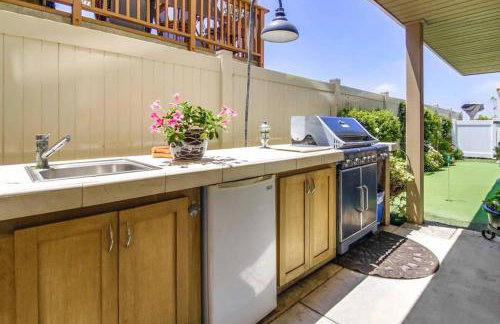
Huge House with Pool! Sleeps 16 - BBQ - Shuffleboard
San Diego - Bay Park - 7.9 km vom Zentrum
- 280 M2
- 5 Schlafzimmer
- 16 Personen
- Klimaanlage
- Heizung
- Schwimmbad
- Parkplatz
- Garten


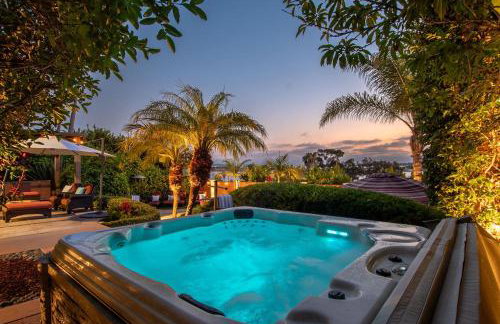
Panoramic Ocean sunset Views with Heated Pool & Spa best location
San Diego - Bay Park - 8.2 km vom Zentrum
- 260 M2
- 3 Schlafzimmer
- 8 Personen
- Klimaanlage
- Heizung
- Schwimmbad
- Parkplatz
- Garten


Stunning View Mission Bay Luxury Home Private Pool
San Diego - Bay Park - 8.9 km vom Zentrum
- 232 M2
- 3 Schlafzimmer
- 6 Personen
- Klimaanlage
- Heizung
- Schwimmbad
- Parkplatz
- Garten
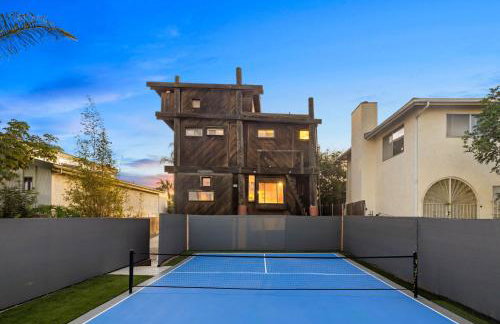

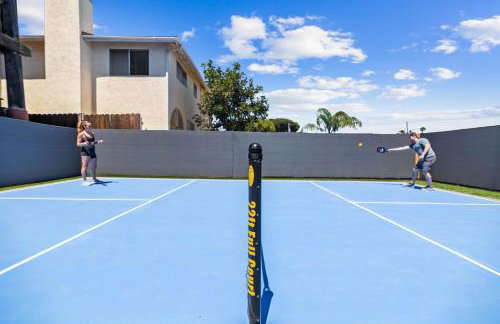
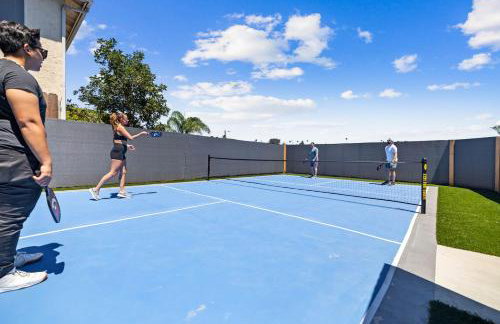
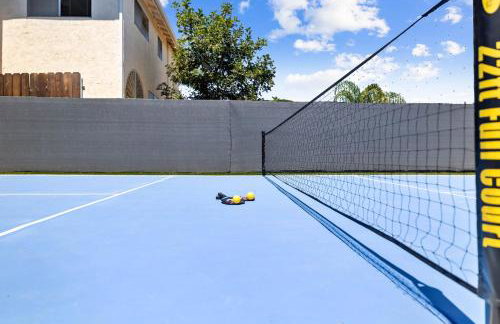
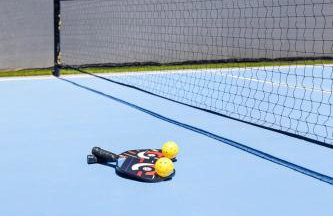


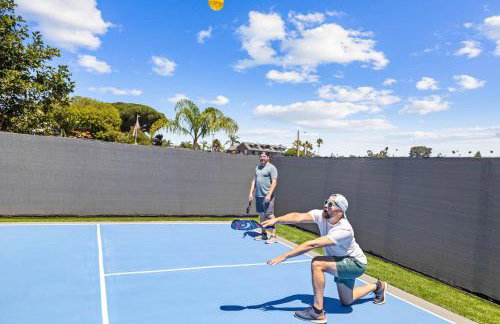
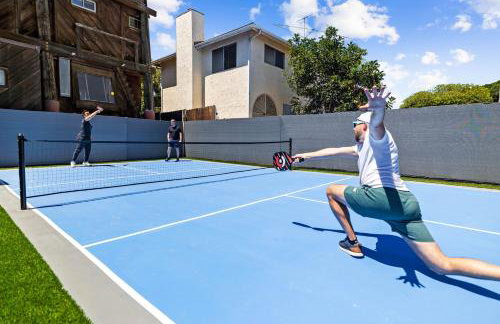
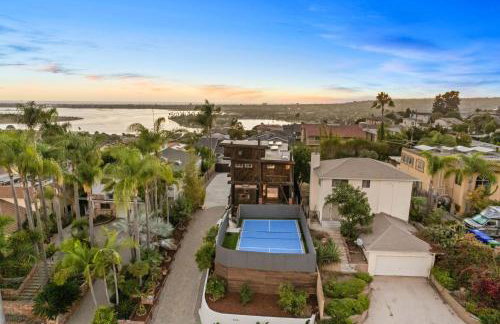
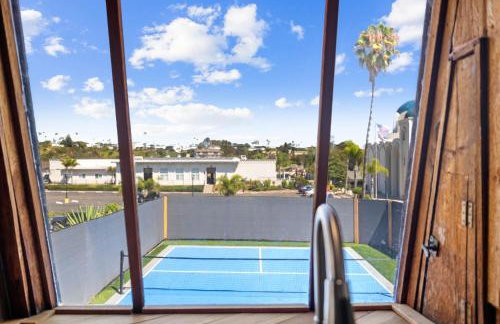
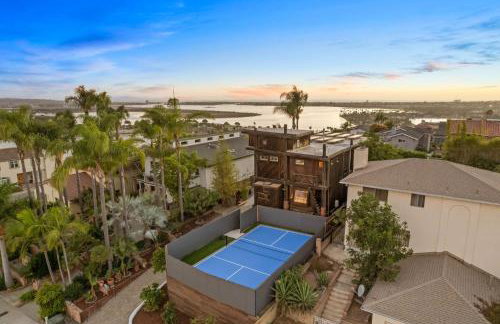
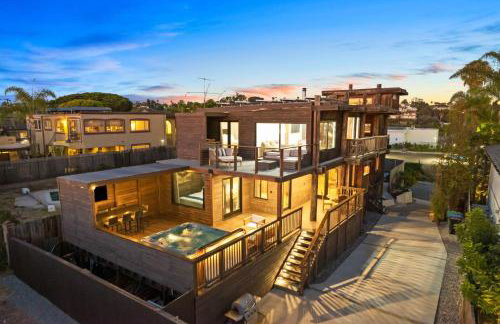
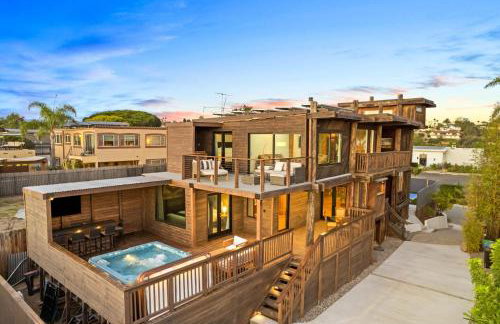
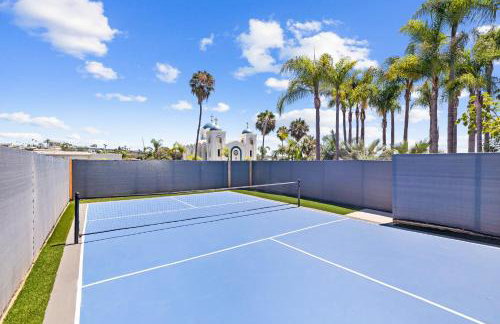
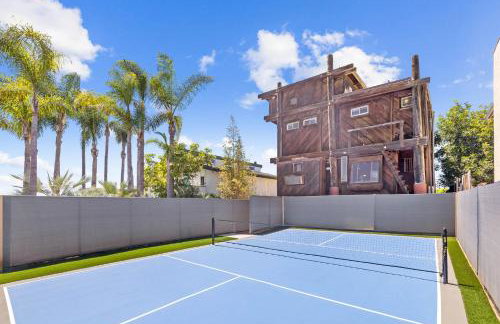
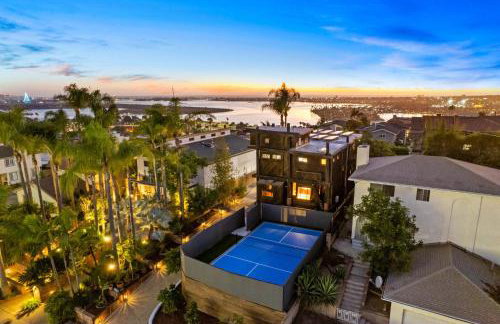

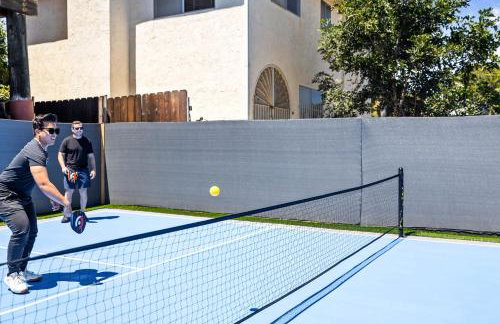
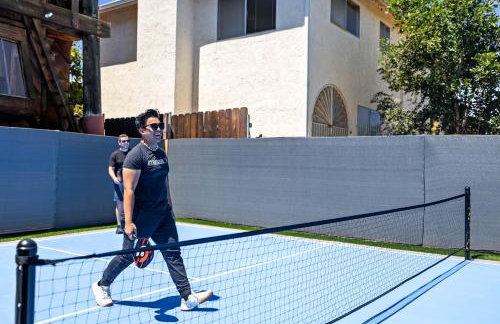

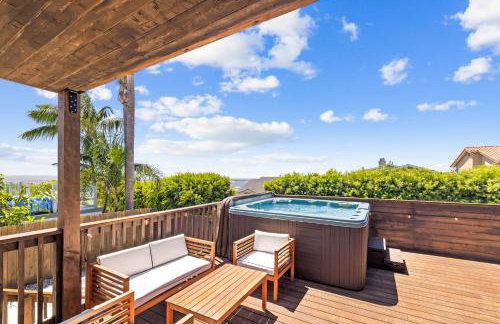
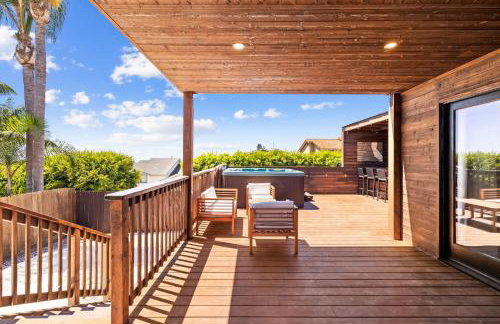

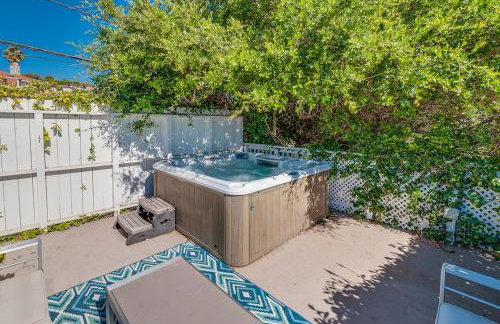
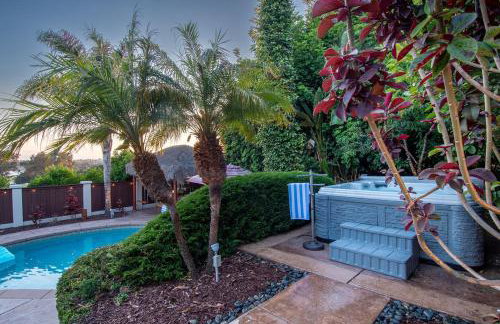
Stunning Bay Views with Pickleball and Hot Tub
San Diego - Bay Park - 9.1 km vom Zentrum
- 250 M2
- 5 Schlafzimmer
- 16 Personen
- Klimaanlage
- Heizung
- Terrasse
- Parkplatz
- Garten
- Barbecue


Bay View Bungalow
San Diego - Bay Park - 7 km vom Zentrum
- 85 M2
- 2 Personen
- Klimaanlage
- Terrasse
- Parkplatz
- Barbecue


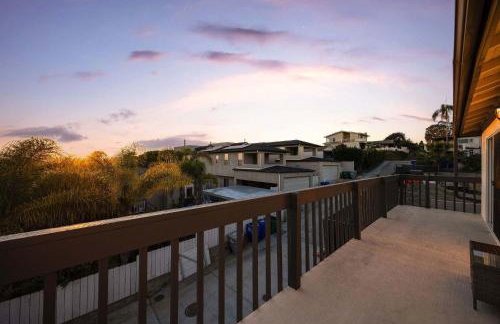
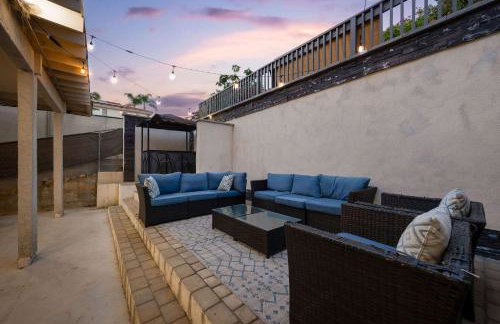
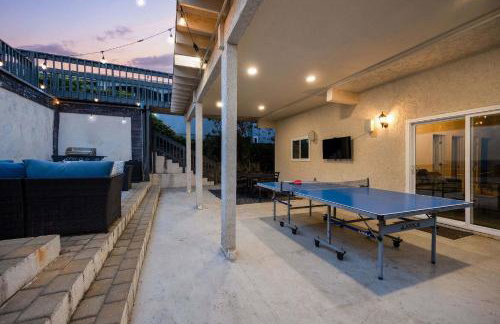
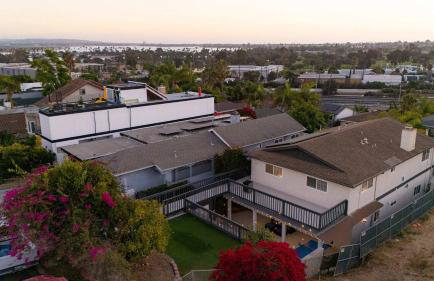
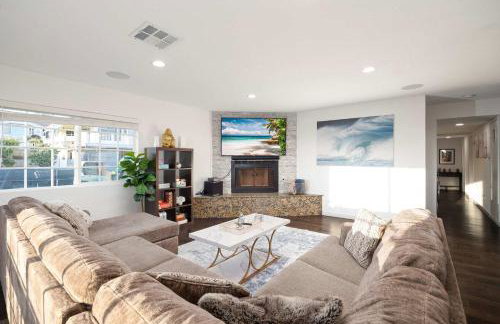
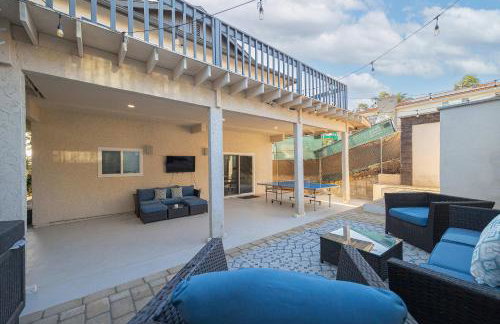
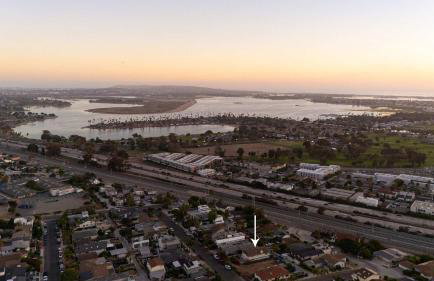
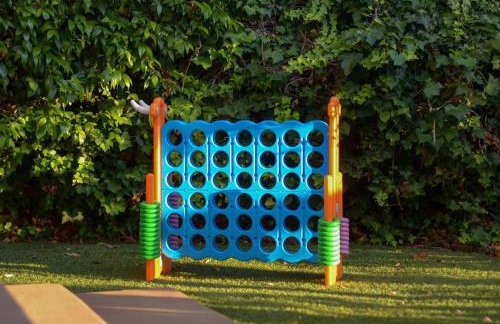
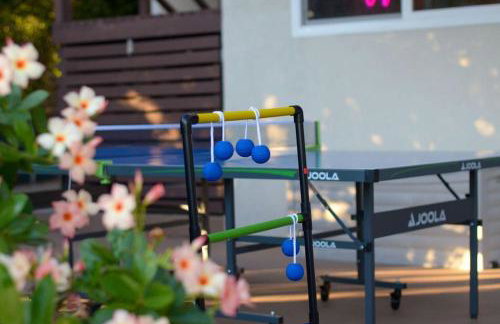
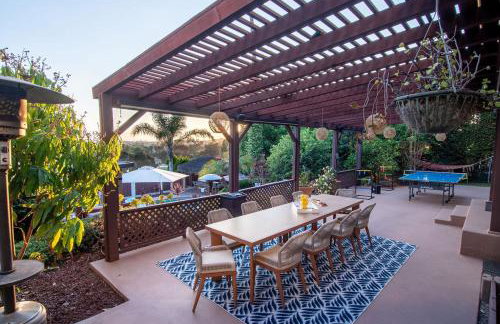
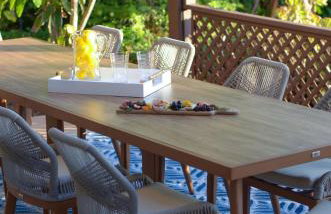
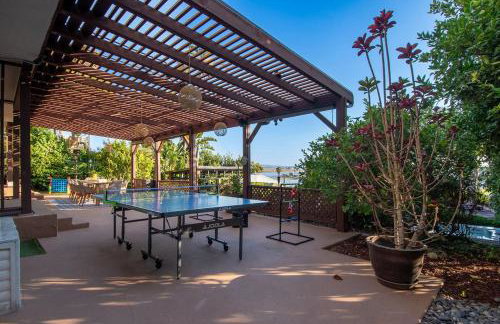
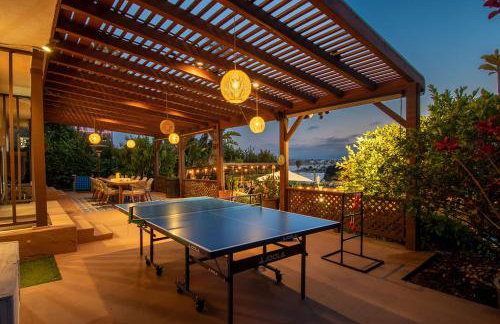
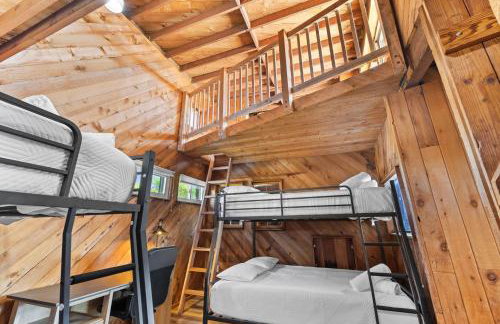
Chic Retreat Ping Pong, Bonfires and Patio Leisure
San Diego - Bay Park - 9.1 km vom Zentrum
- 163 M2
- 4 Schlafzimmer
- 12 Personen
- Klimaanlage
- Terrasse
- Parkplatz
- Garten
- Barbecue


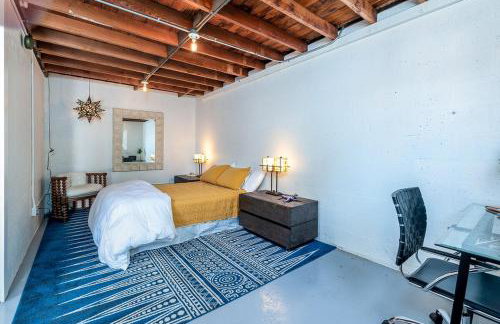
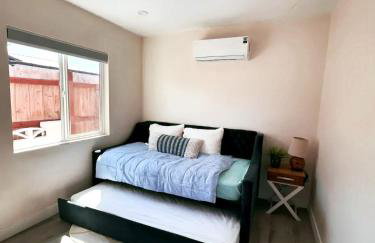
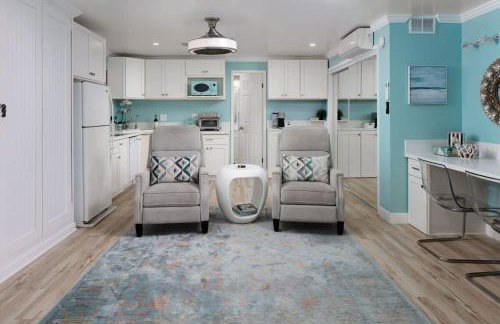
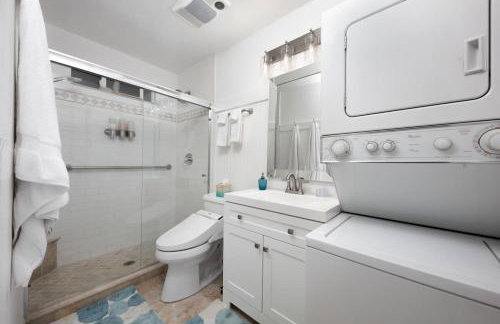
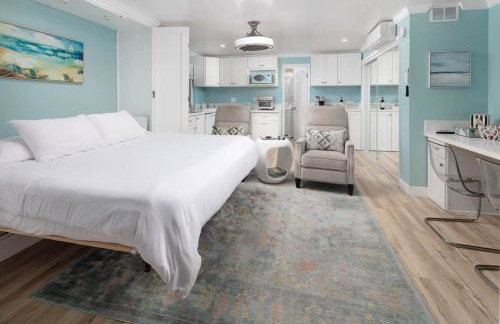
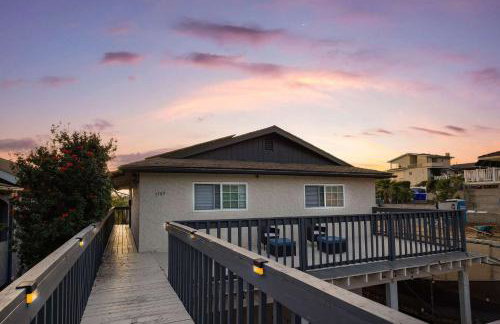
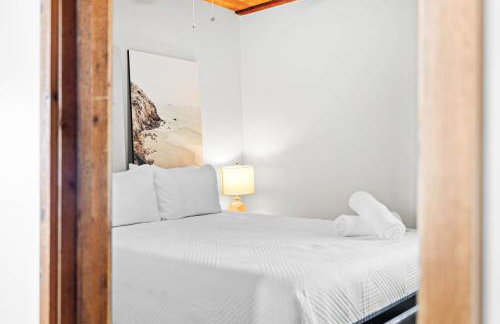
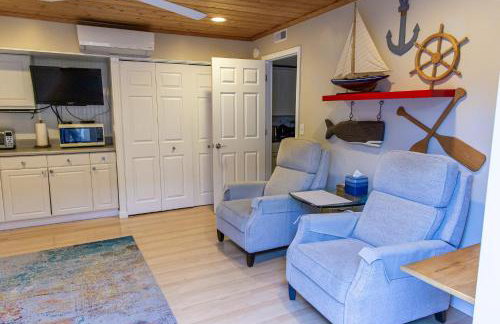
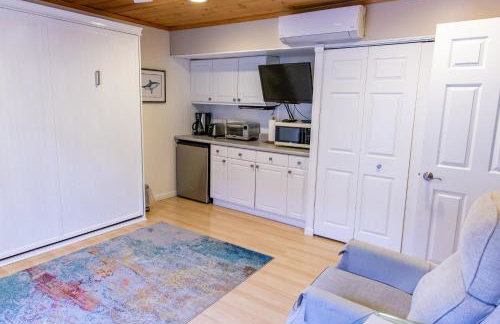
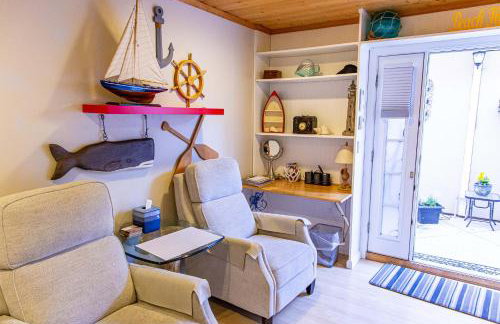
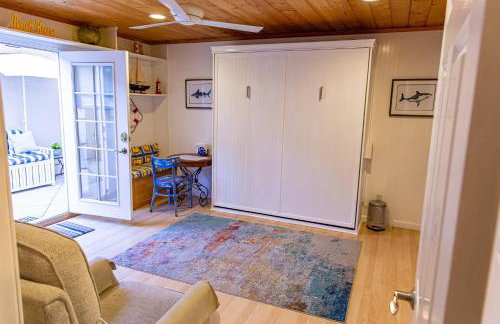
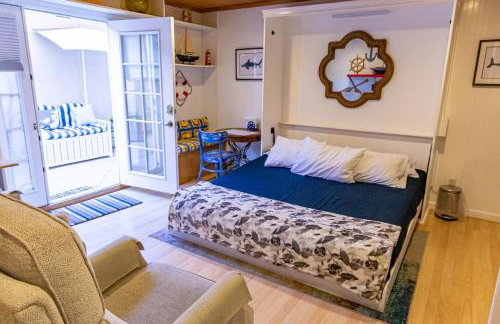
Charming Private Mission Bay Studio 1
San Diego - Bay Park - 8.7 km vom Zentrum
- 88 M2
- 2 Personen
- Klimaanlage
- Heizung
- Parkplatz
- Garten


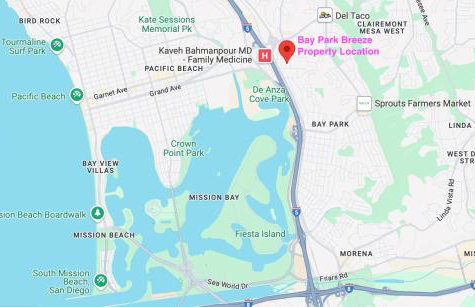
Bay Park Breeze - Minutes to Sea World, The Beach & Downtown
San Diego - Bay Park - 10.3 km vom Zentrum
- 139 M2
- 3 Schlafzimmer
- 6 Personen
- Klimaanlage
- Heizung
- Parkplatz
- Garten
- Barbecue


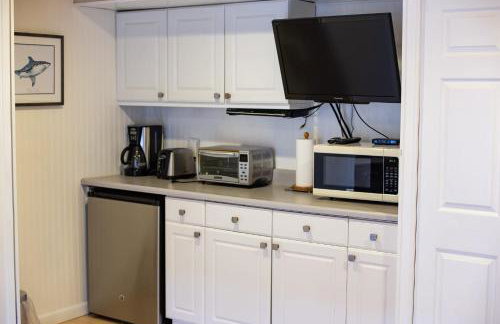


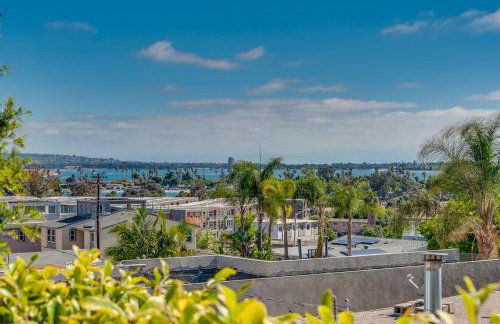
Mission Bay Studio w Ocean Views from Rooftop Deck
San Diego - Bay Park - 8.7 km vom Zentrum
- 23 M2
- 2 Personen
- Klimaanlage
- Heizung
- Parkplatz
- Garten