73 fotos
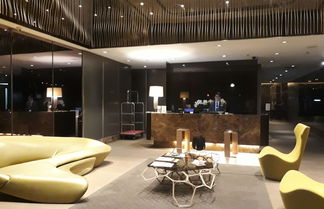
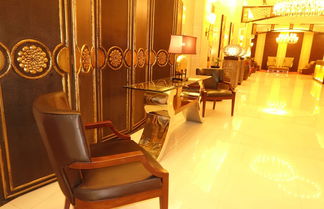
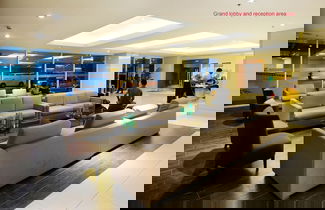
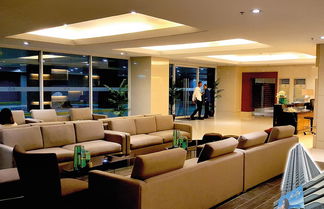
3 Innenpools sorgen für Entspannung; außerdem gehört zu den Freizeiteinrichtungen Folgendes: Sauna und Fitnessmöglichkeiten.
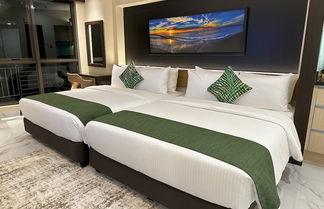
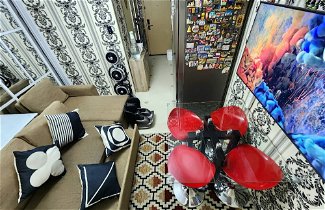
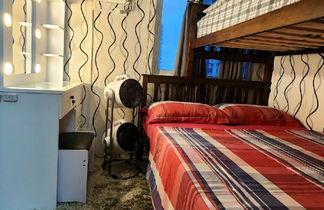
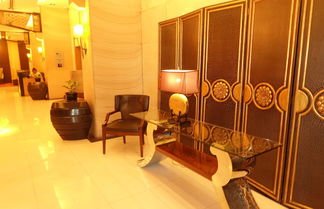
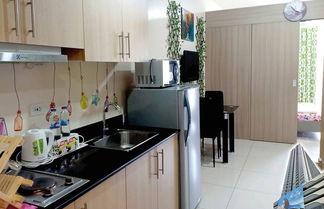
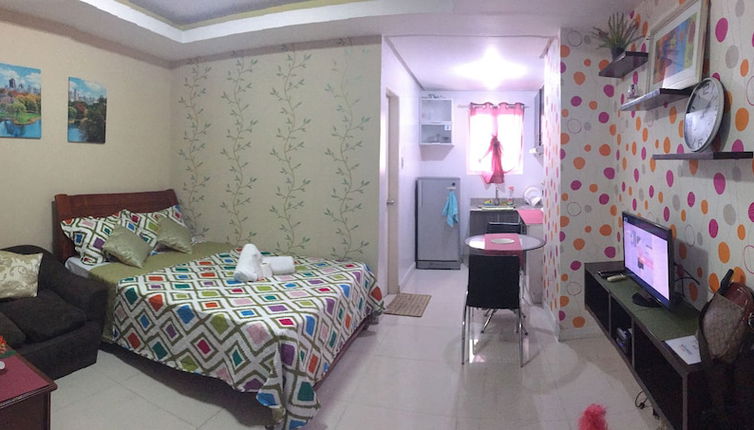
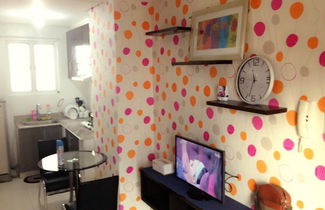
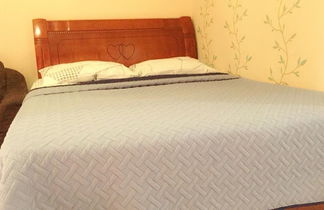
Fühl dich in einem der 6 Zimmer, die individuell eingerichtet sind und Kochnischen bieten, die über große Kühlschränke/Gefrierfächer und Herdplatte verfügen, wie zu Hause. Die Zimmer haben eigene Balkone. LED-Fernseher mit Kabelempfang garantieren Unterhaltung und es gibt außerdem einen WLAN-Internetzugang (kostenlos). Zur Austattung gehören Safes und Mikrowellen; die Zimmer werden auf Anfrage sauber gemacht.
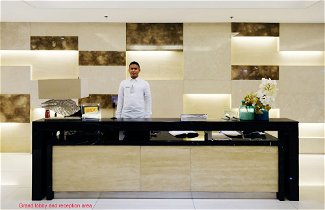
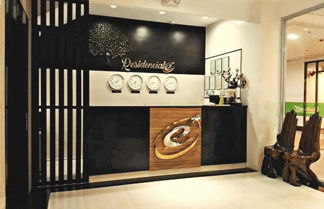
Zum Angebot gehören eine rund um die Uhr besetzte Rezeption und ein Aufzug.
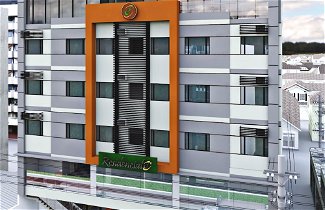
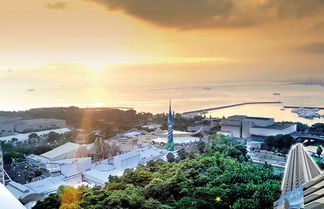
Birch Tower Harbour Escape Deluxe besticht durch eine zentrale Lage in Manila, nur 7 Gehminuten von Baywalk und 15 Gehminuten von Rizal Park entfernt. Diese Ferienwohnung ist 2,5 km von Manila Ocean Park und 2,6 km von Manilabucht entfernt.
Entfernungen werden bis auf 0,1 Kilometer gerundet.
Robinson's Place – 0,1 km
University of the Philippines-Manila – 0,2 km
Baywalk – 0,6 km
Philippine General Hospital – 0,9 km
Manila Zoo – 1 km
Casino Filipino – 1,1 km
Philippinische Nationalbibliothek – 1,2 km
Rizal Park – 1,2 km
Universität De La Salle – 1,4 km
US-Botschaft – 1,4 km
Ninoy Aquino Stadium – 1,4 km
Manilabucht – 1,6 km
Quirino-Tribüne – 1,8 km
National Museum of Fine Arts – 1,9 km
Manila Ocean Park – 1,9 km
Der nächstgelegene größere Flughafen ist Flughafen Ninoy Aquino Intl. (MNL) – 10 km
Partys verboten
Rauchen verboten
Verbotene Haustiere