

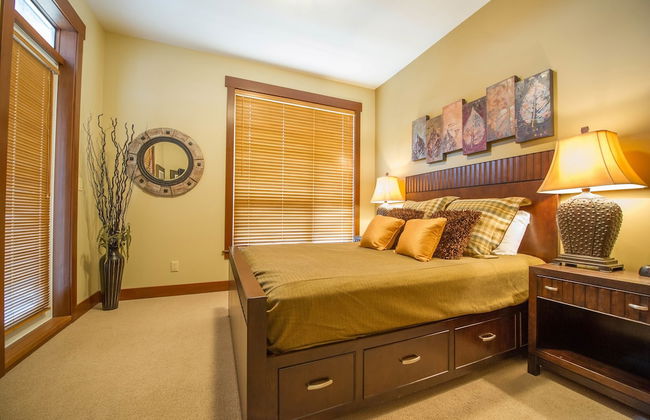


Stonebridge Lodge
Kootenay Boundary - 45.8 km vom Zentrum
- 99 M2
- 6 Personen
- Heizung
- Schwimmbad
- Parkplatz
- Fahrstuhl
- Balkon
- Tv
- Waschmaschine
- Schornstein
- Handtücher
- Bettlaken


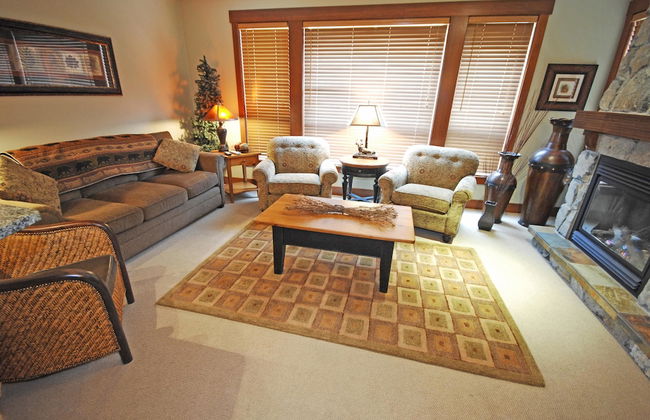
Sundance Resort
Kootenay Boundary - 45.8 km vom Zentrum
- 60 M2
- 4 Personen
- Heizung
- Schwimmbad
- Parkplatz
- Fahrstuhl
- Balkon
- Tv
- Waschmaschine
- Schornstein
- Barbecue
- Handtücher
- Bettlaken


The Crescent
Rossland - 2.8 km vom Zentrum
- 55 M2
- 6 Personen
- Klimaanlage
- Heizung
- Parkplatz
- Tv
- Waschmaschine
- Schornstein
- Barbecue
- Handtücher
- Bettlaken


Raven's Nest - Luxury Pet Friendly Condo w/ Private Hot Tub & Mountain Views
Kootenay Boundary - 45.5 km vom Zentrum
- 121 M2
- 6 Personen
- Heizung
- Terrasse
- Schwimmbad
- Parkplatz
- Fahrstuhl
- Tv
- Waschmaschine
- Schornstein
- Barbecue
- Handtücher
- Bettlaken


I Spy - Cozy Pet Friendly, Ski In/Ski Out Condo with Private Hot Tub
Kootenay Boundary - 45.4 km vom Zentrum
- 84 M2
- 6 Personen
- Heizung
- Terrasse
- Parkplatz
- Fahrstuhl
- Tv
- Waschmaschine
- Schornstein
- Barbecue
- Handtücher
- Bettlaken


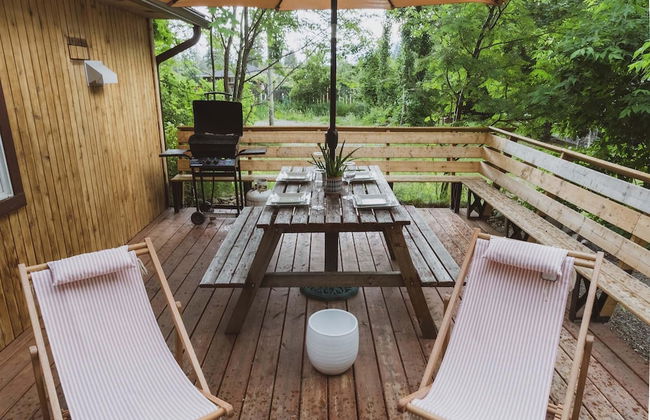
Barefoot Villas Room 1 Redwood
Kootenay Boundary - Christina Lake - 43.7 km vom Zentrum
- 23 M2
- 4 Personen
- Klimaanlage
- Terrasse
- Parkplatz
- Tv
- Barbecue
- Handtücher
- Bettlaken


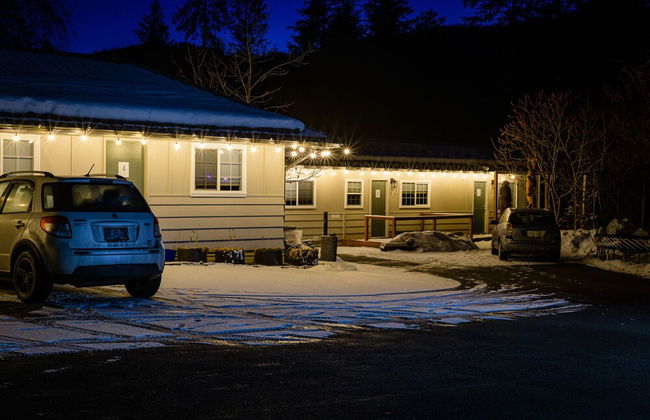
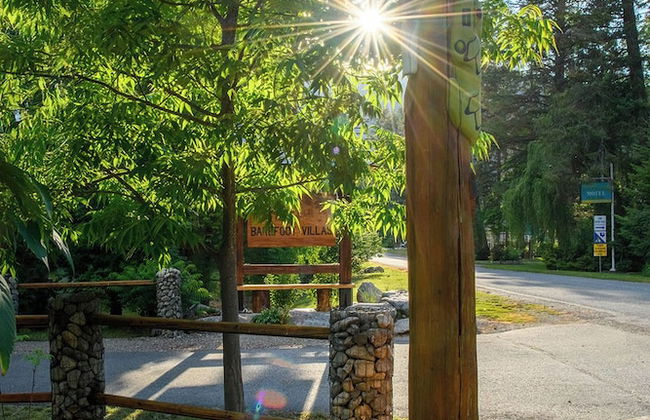

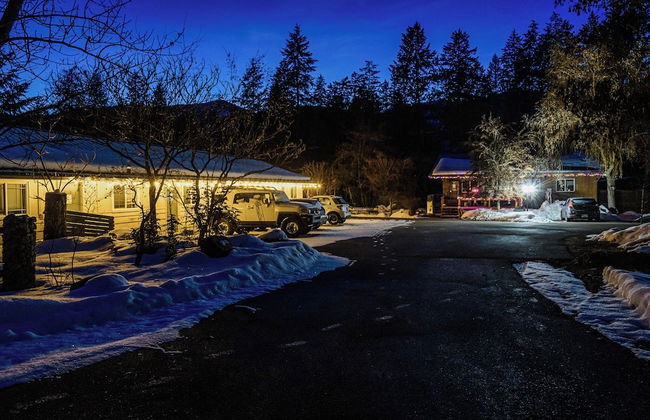


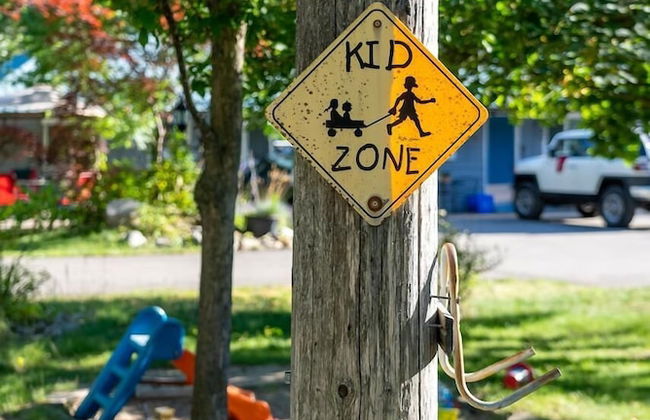


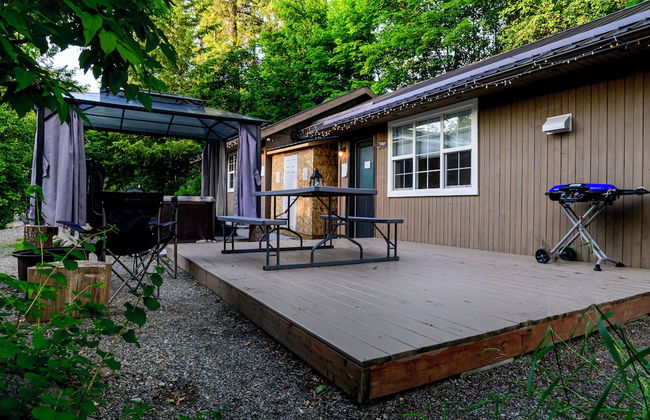
Barefoot Villas Room 6 Oak
Kootenay Boundary - Christina Lake - 43.7 km vom Zentrum
- 23 M2
- 4 Personen
- Kochnische
- Klimaanlage
- Terrasse
- Parkplatz
- Balkon
- Tv
- Barbecue
- Handtücher
- Bettlaken


Barefoot Villas Room 3 Blue Jay
Kootenay Boundary - Christina Lake - 43.7 km vom Zentrum
- 18 M2
- 2 Personen
- Klimaanlage
- Terrasse
- Parkplatz
- Tv
- Handtücher
- Bettlaken


Barefoot Villas Room 2 Owl
Kootenay Boundary - Christina Lake - 43.7 km vom Zentrum
- 18 M2
- 2 Personen
- Klimaanlage
- Terrasse
- Parkplatz
- Tv
- Barbecue
- Handtücher
- Bettlaken


Barefoot Villas Room 5 Eagle
Kootenay Boundary - Christina Lake - 43.7 km vom Zentrum
- 18 M2
- 2 Personen
- Klimaanlage
- Terrasse
- Parkplatz
- Tv
- Barbecue
- Handtücher
- Bettlaken


Barefoot Villas Cabin 2 Moose w/ Hot Tub
Kootenay Boundary - Christina Lake - 43.7 km vom Zentrum
- 32 M2
- 4 Personen
- Klimaanlage
- Heizung
- Terrasse
- Parkplatz
- Balkon
- Tv
- Barbecue
- Handtücher
- Bettlaken


Big White Condos by Big White Accomm.
Kootenay Boundary - 45.9 km vom Zentrum
- 130 M2
- 8 Personen
- Heizung
- Parkplatz
- Fahrstuhl
- Tv
- Waschmaschine
- Schornstein
- Handtücher
- Bettlaken


Barefoot Villas Room 4 Cedar
Kootenay Boundary - Christina Lake - 43.7 km vom Zentrum
- 23 M2
- 4 Personen
- Klimaanlage
- Terrasse
- Parkplatz
- Tv
- Barbecue
- Handtücher
- Bettlaken


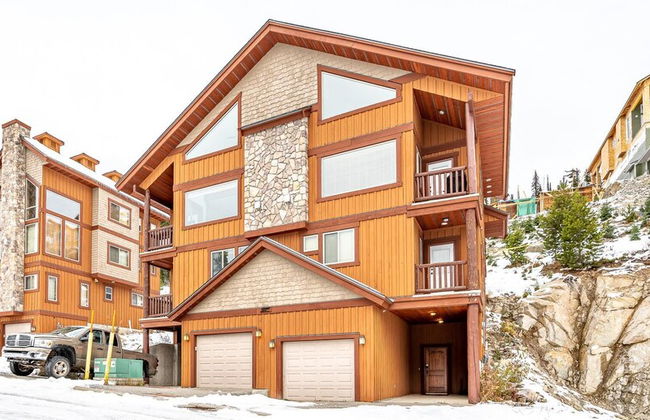


Trapper's Lodge 4 Bd W/great View, Private Hot Tub
Kootenay Boundary - 46 km vom Zentrum
- 130 M2
- 8 Personen
- Heizung
- Terrasse
- Parkplatz
- Tv
- Waschmaschine
- Schornstein
- Barbecue
- Handtücher
- Bettlaken


Mountain Town Properties White Wolf 4
Rossland - Im Zentrum
- 8 Personen
- Klimaanlage
- Heizung
- Parkplatz
- Balkon
- Garten
- Tv
- Schornstein


Mountain Town Properties Mountain Project 1
Rossland - Im Zentrum
- 6 Personen
- Klimaanlage
- Heizung
- Parkplatz
- Balkon
- Tv
- Barbecue


Red Mountain Resort
Rossland - 2.8 km vom Zentrum
- 6 Personen
- Heizung
- Parkplatz
- Balkon
- Tv
- Schornstein
- Handtücher
- Bettlaken


365 Moonshine Crescent by Okanagan Premier
Kootenay Boundary - 45.7 km vom Zentrum
- 10 Personen
- Heizung
- Parkplatz
- Balkon
- Handtücher
- Bettlaken


Ponderosa Inn by Okanagan Premier
Kootenay Boundary - 46 km vom Zentrum
- 120 M2
- 10 Personen
- Heizung
- Parkplatz
- Tv
- Handtücher
- Bettlaken


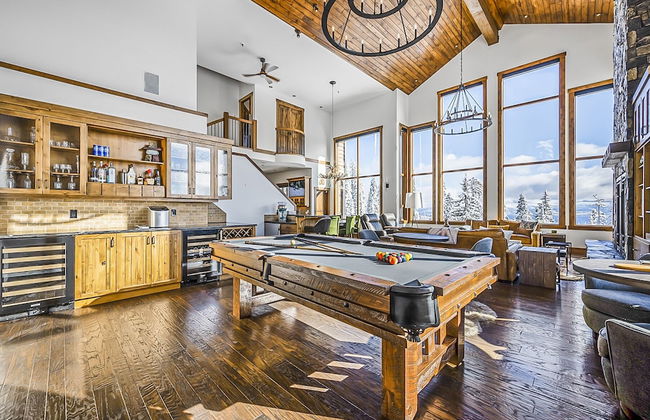


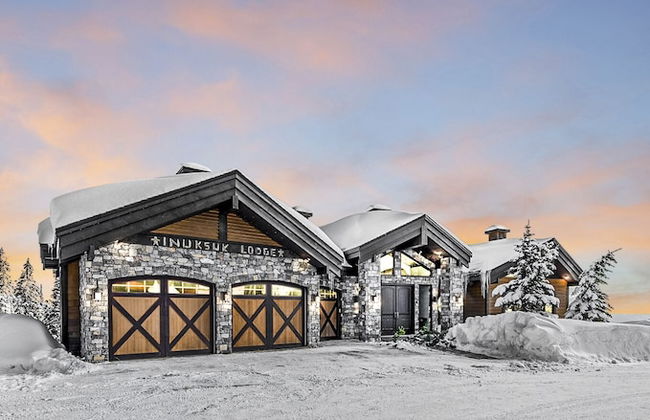
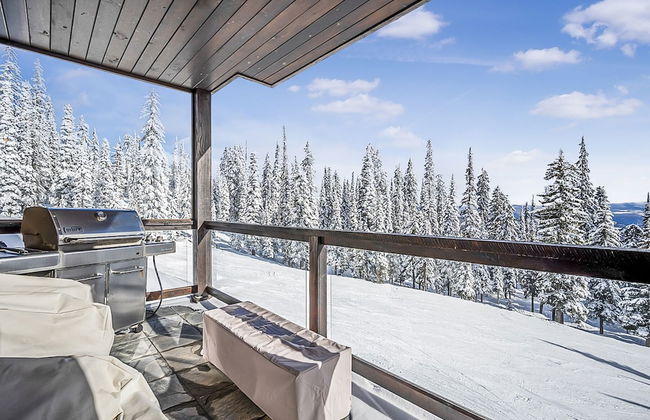

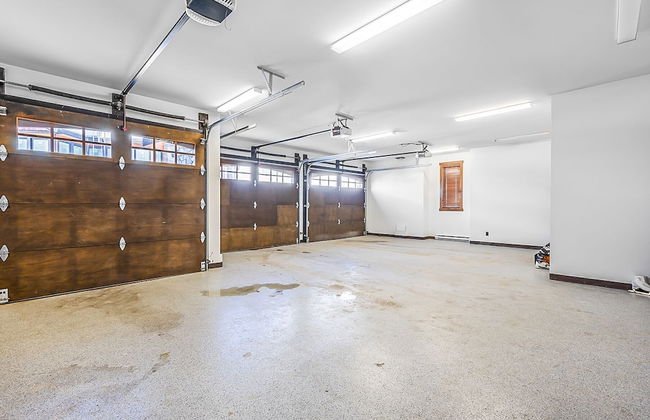


Inuksuk Lodge 4800 sq ft of Excellence
Kootenay Boundary - 46 km vom Zentrum
- 18 Personen
- Heizung
- Parkplatz
- Tv
- Waschmaschine
- Schornstein
- Barbecue
- Handtücher
- Bettlaken