
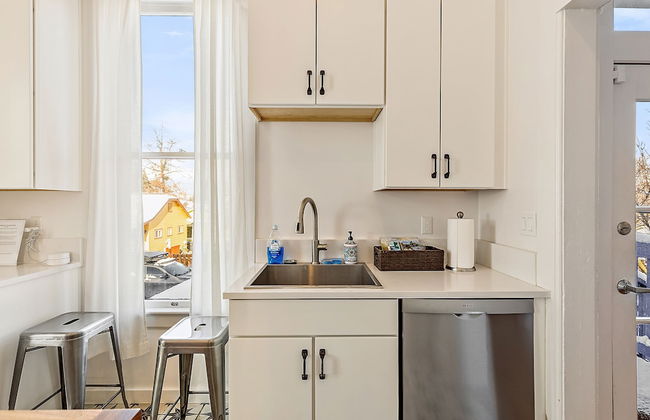
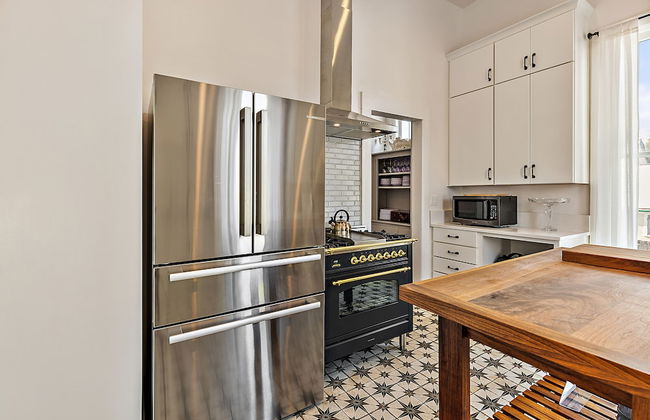
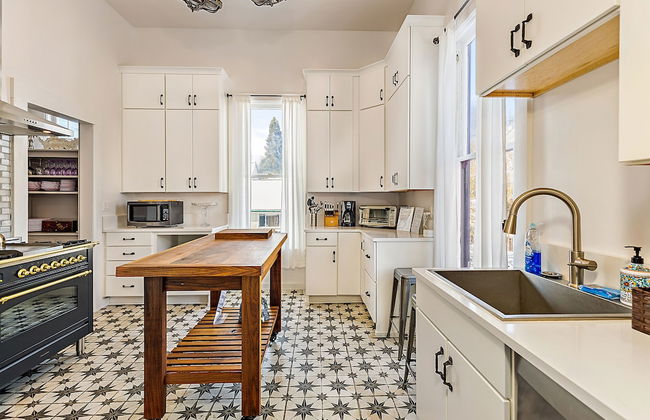
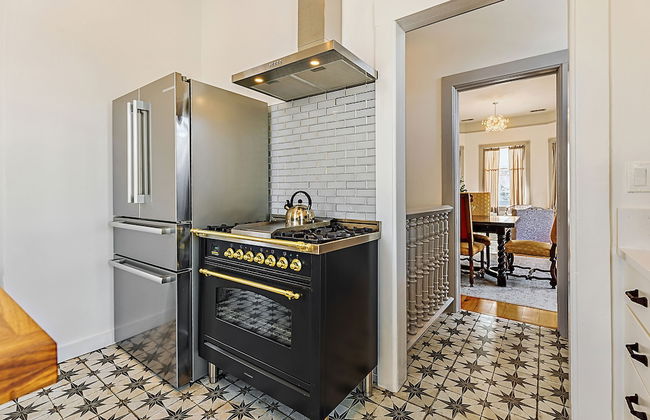
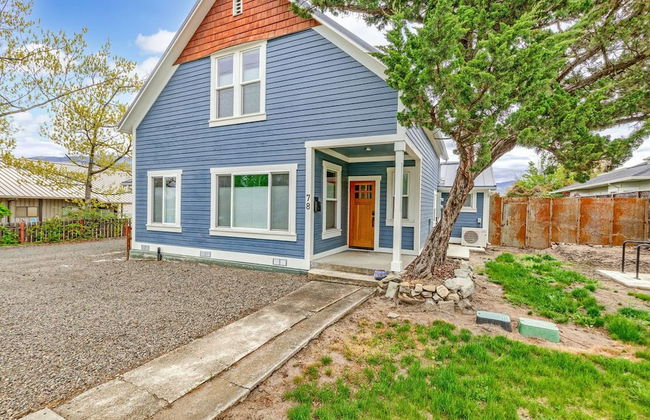
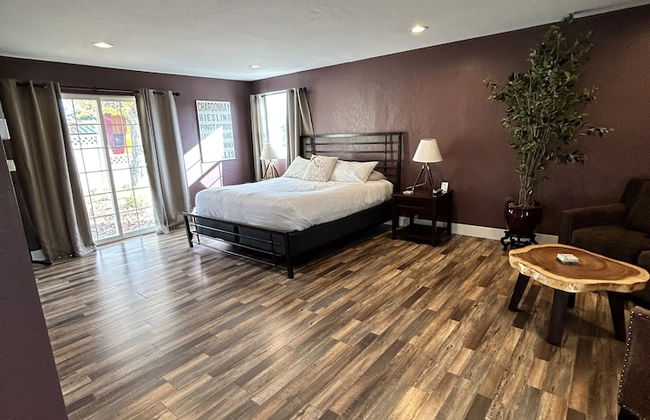
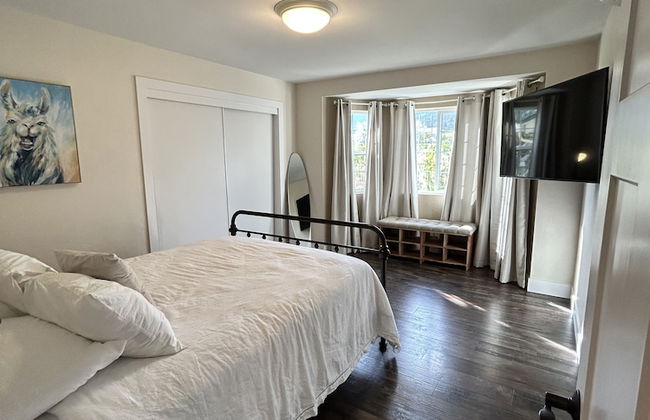
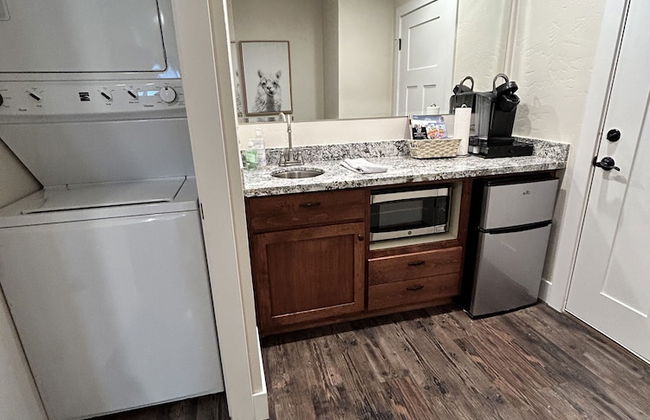
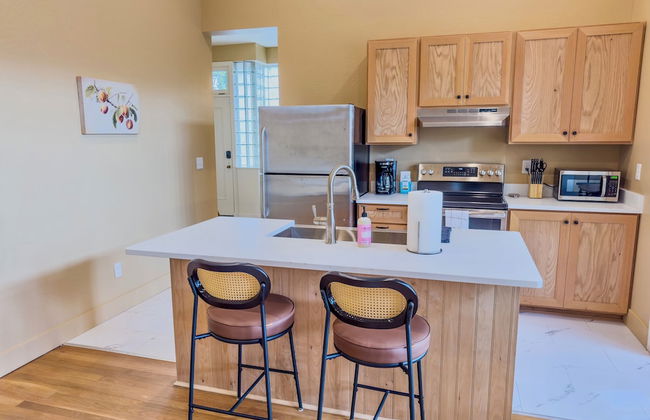
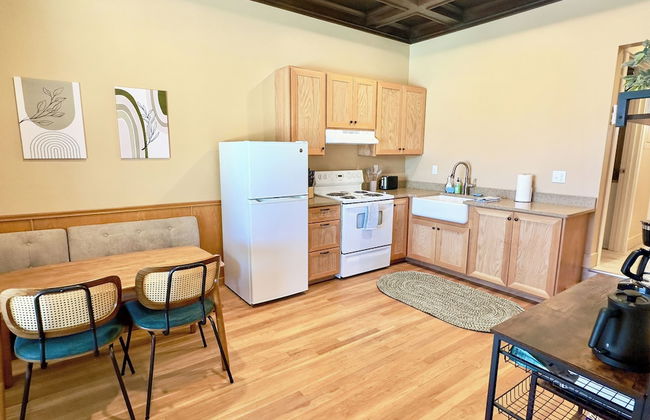
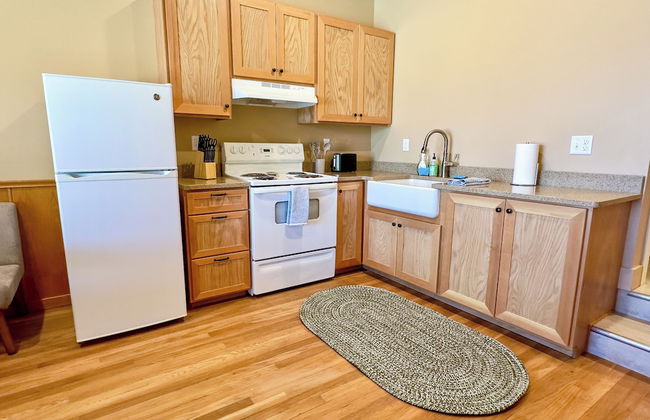
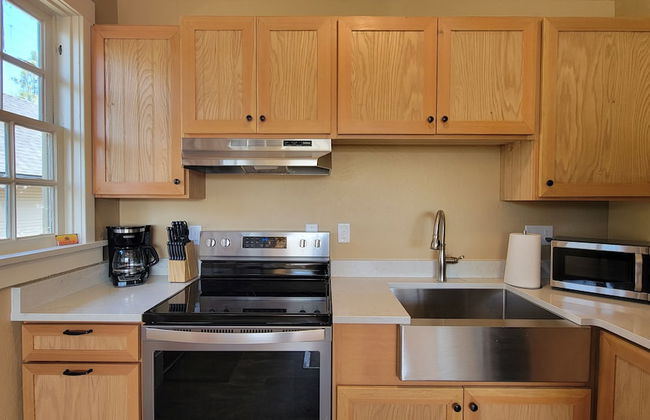
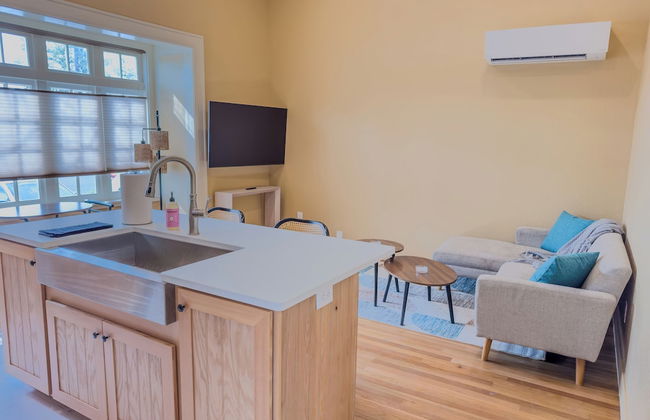
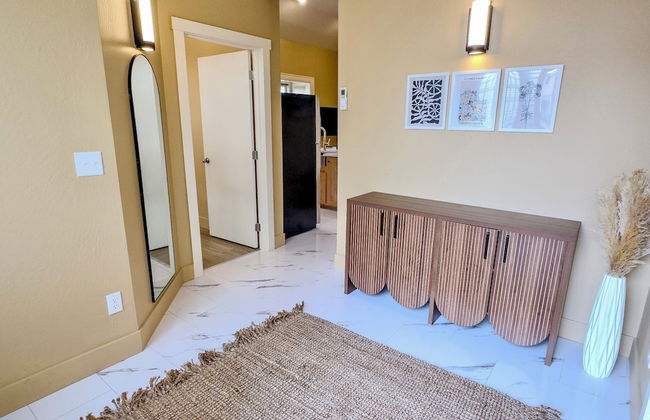
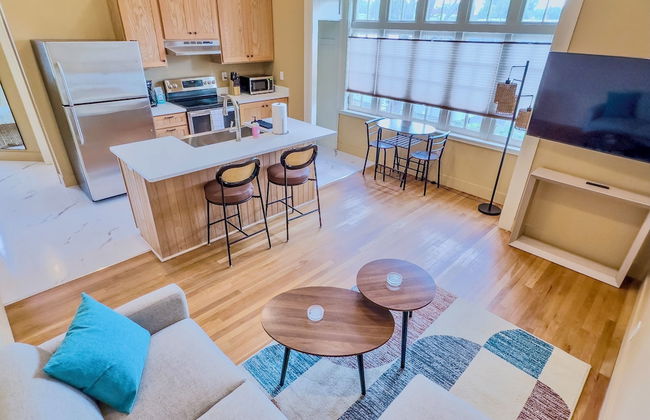
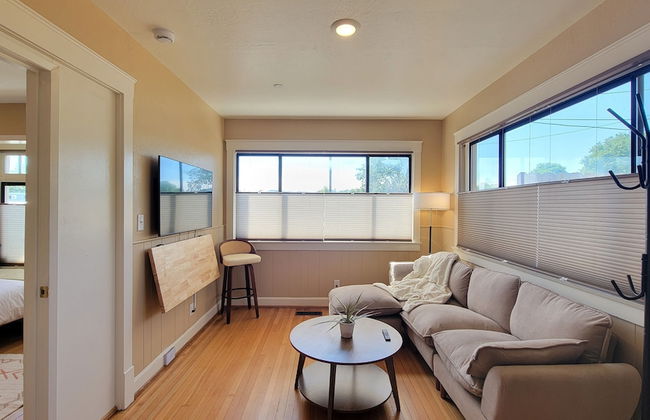
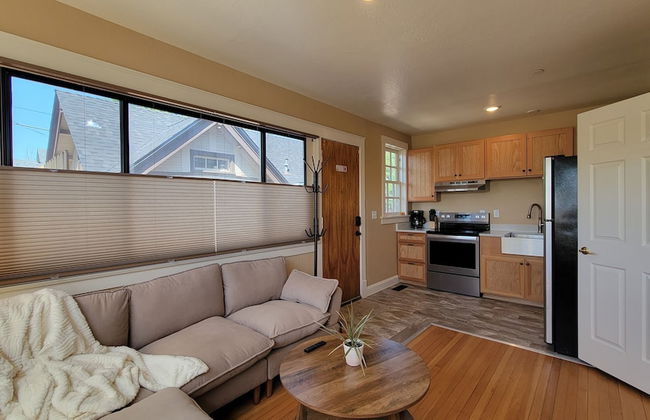
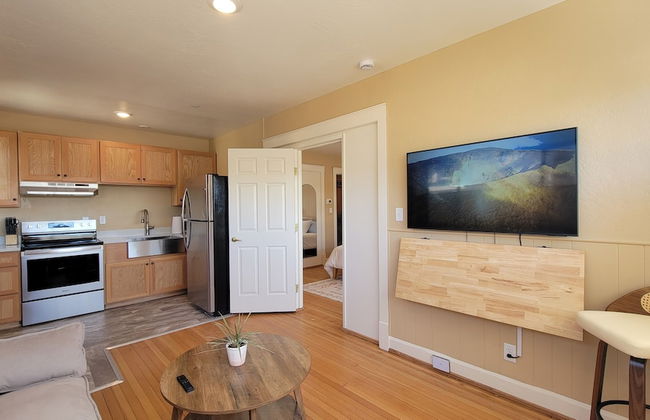
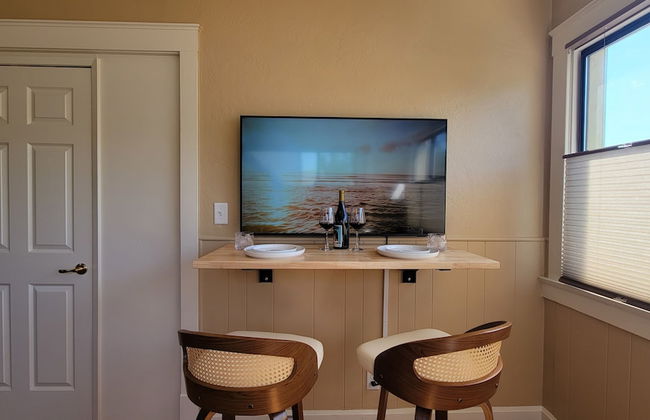
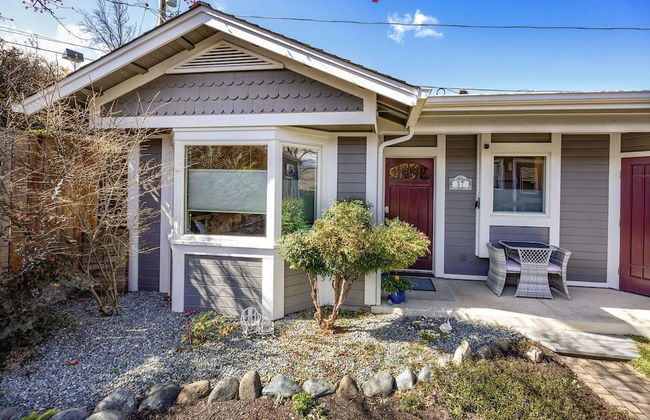
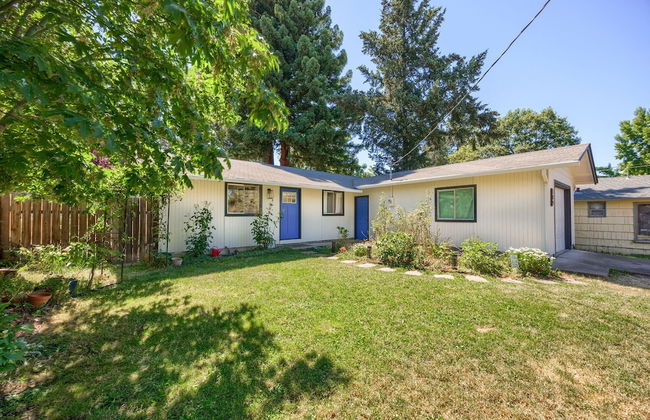
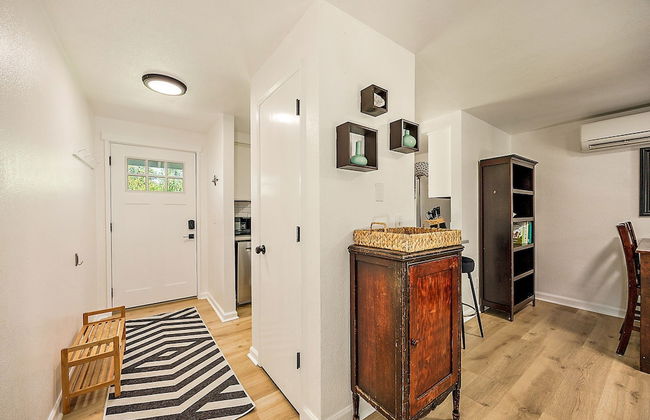
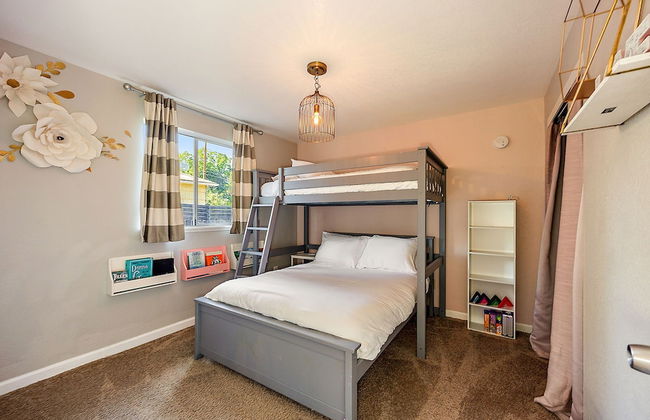
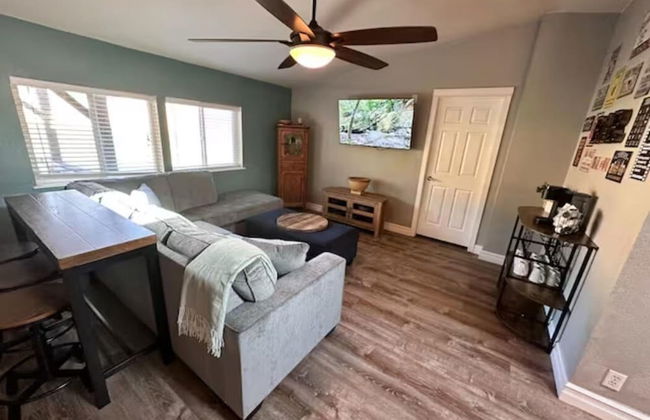
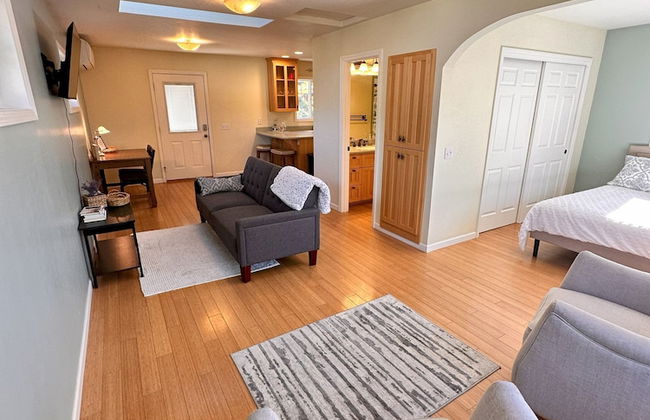
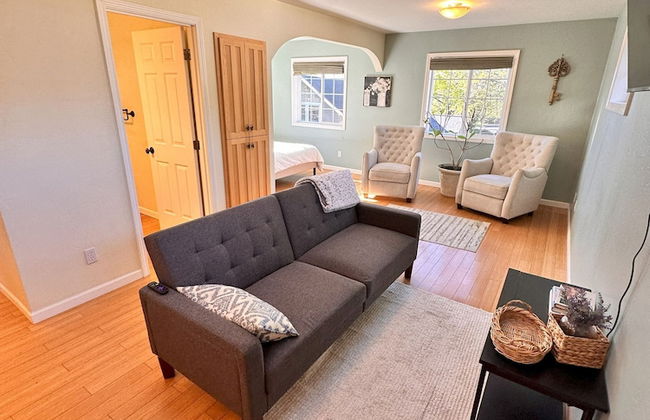
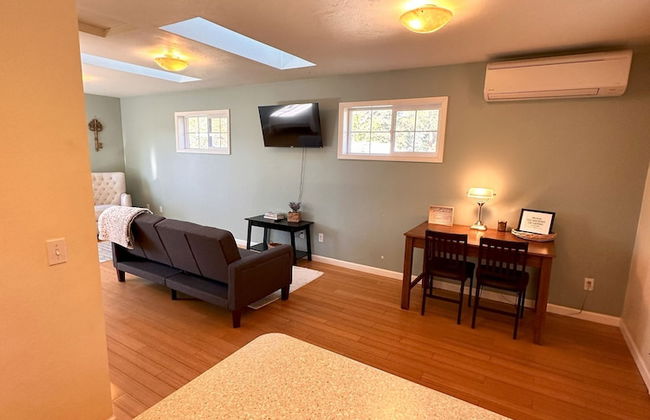
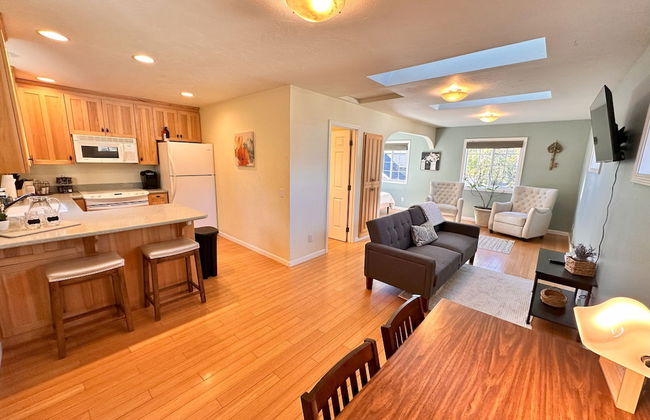
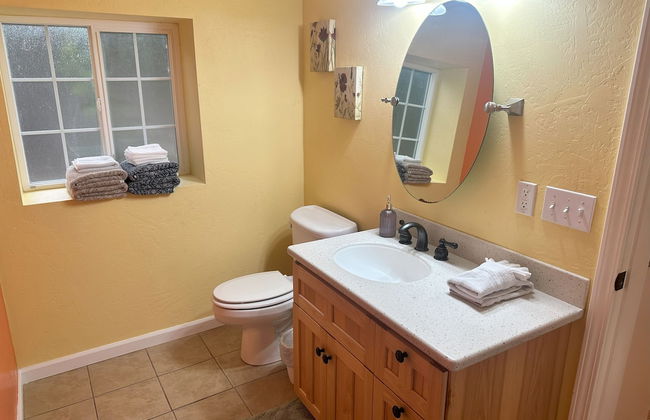
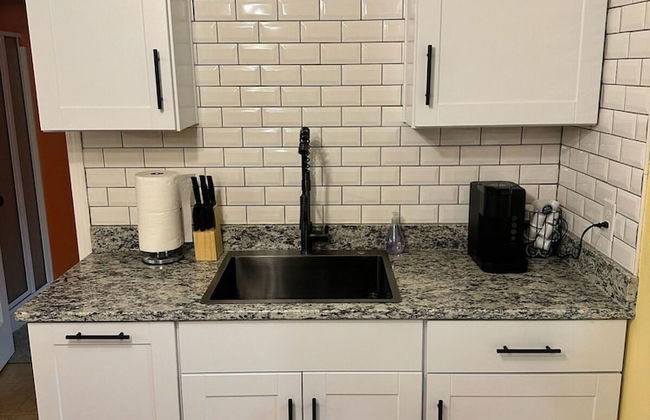
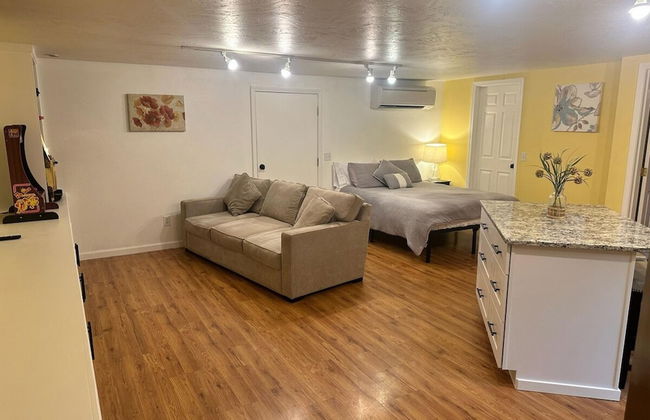
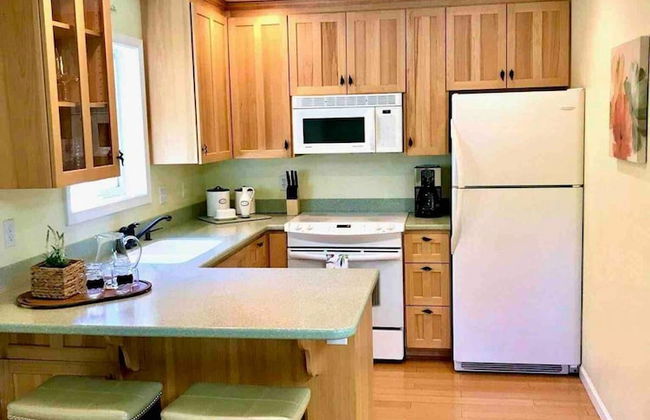
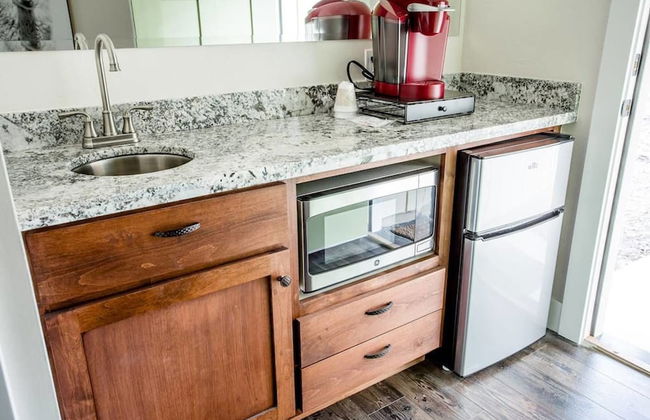
34 Wohnungen in Jackson


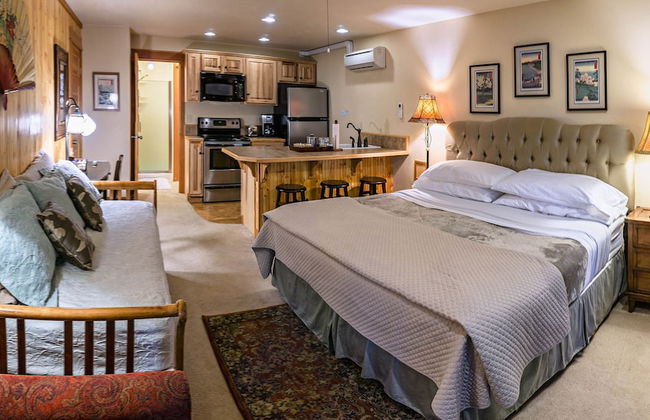
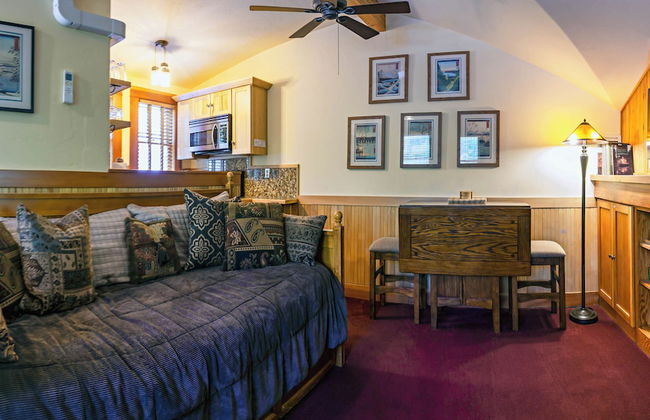
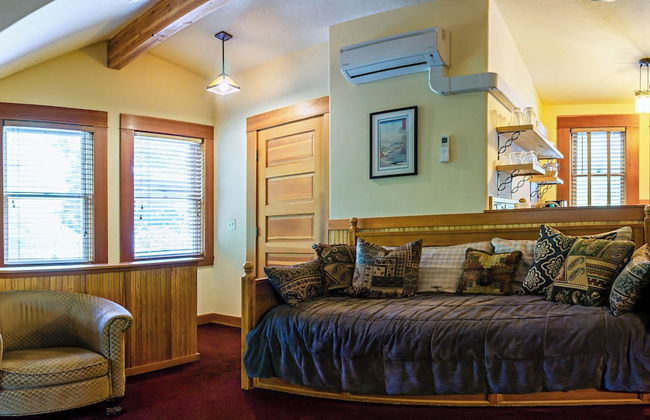
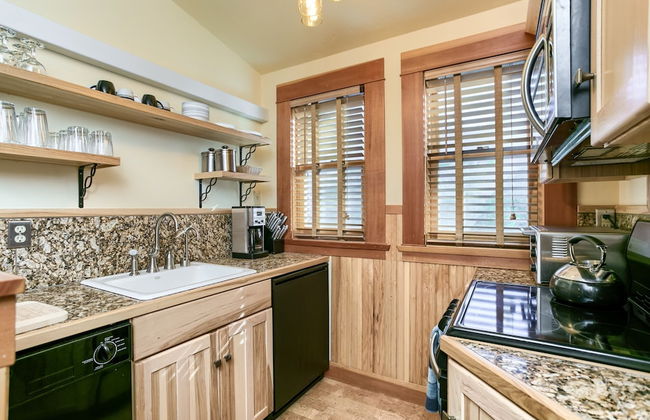
Jacksonville Towne Square.
Jacksonville
- 149 M2
- 7 Personen
- Kochnische
- Klimaanlage
- Heizung
- Parkplatz
- Tv
- Waschmaschine
- Bettlaken
12 Bewertungen
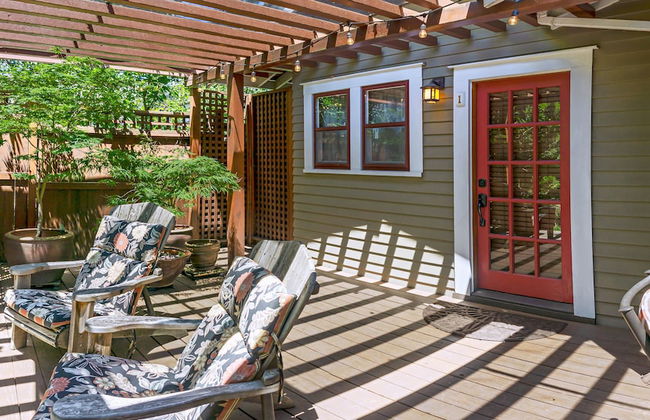


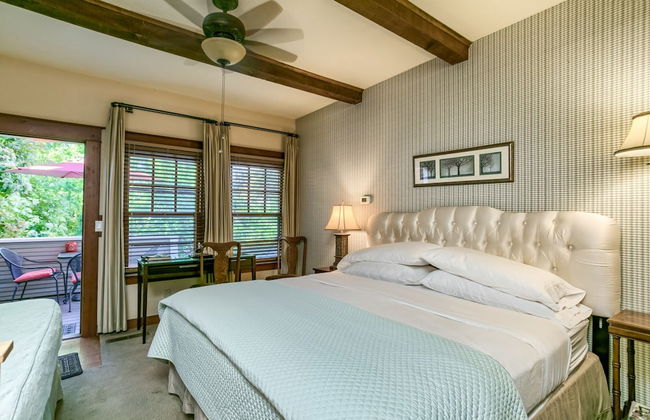


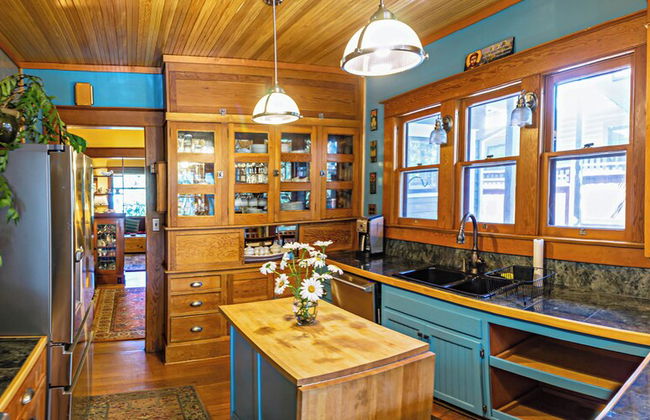
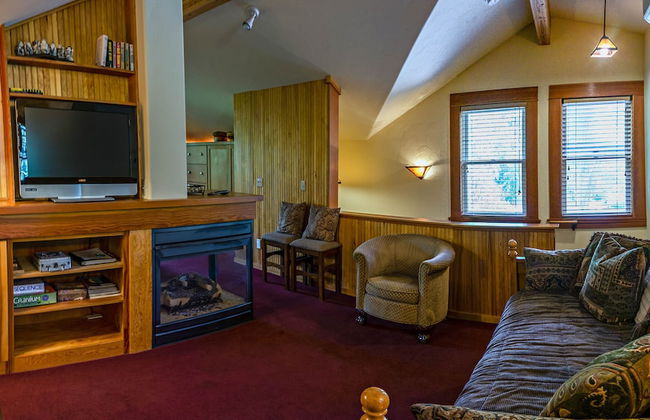
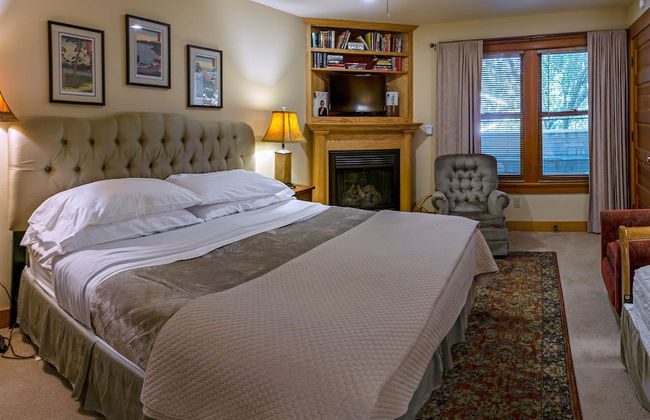


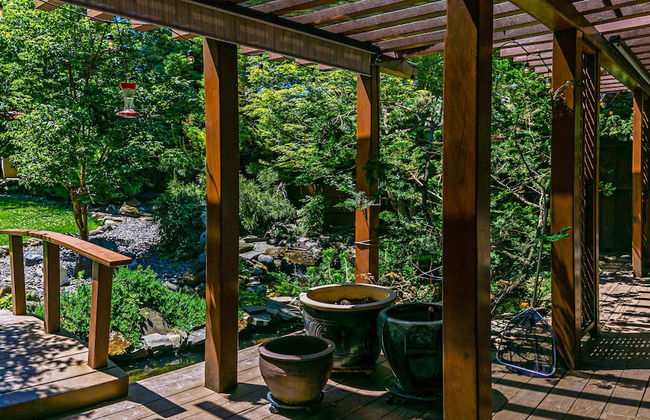


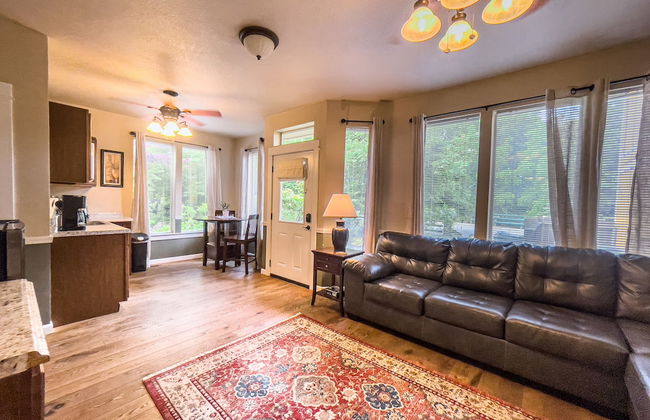
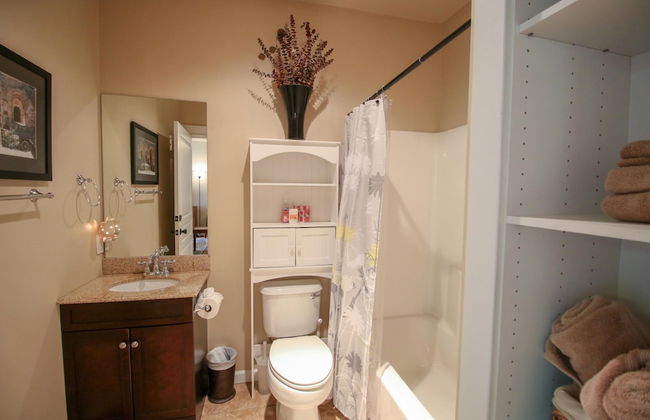
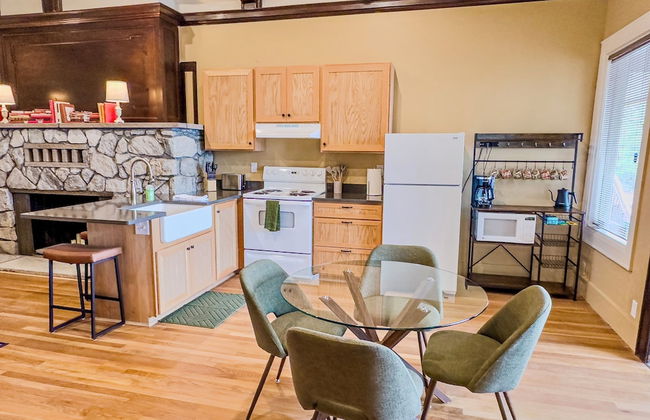
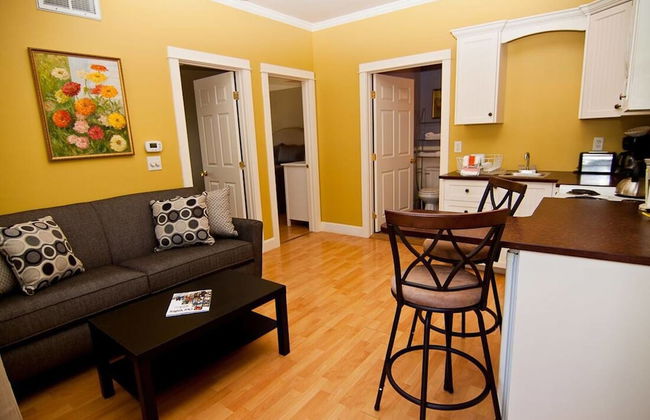
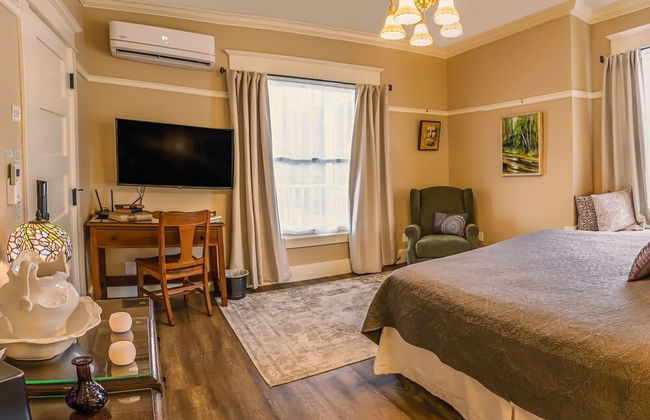
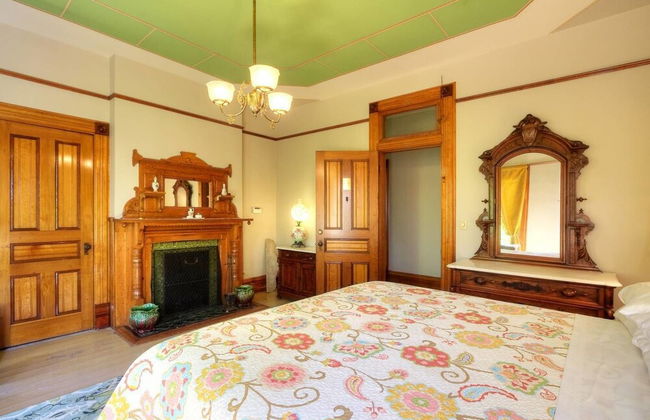
A Cowslip's Belle Inn
Ashland - 4.9 km von Mt. Ashland
- 3 Personen
- Kochnische
- Klimaanlage
- Heizung
- Parkplatz
- Balkon
- Tv
- Schornstein
- Handtücher
- Bettlaken
29 Bewertungen


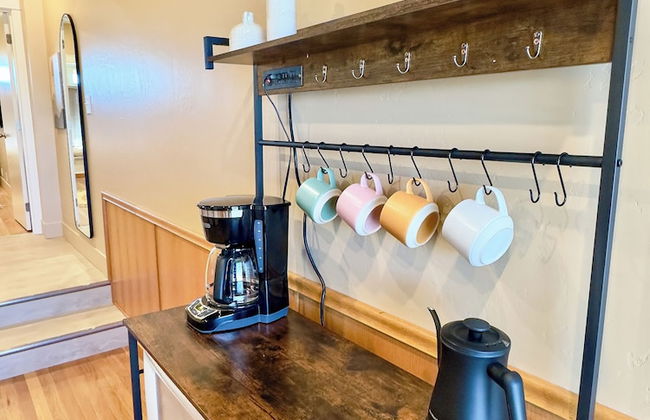
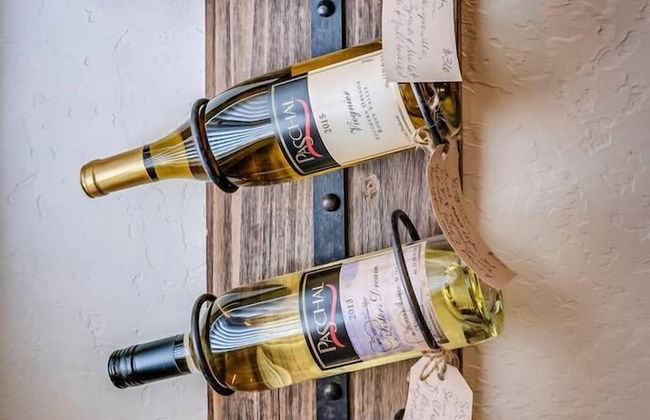
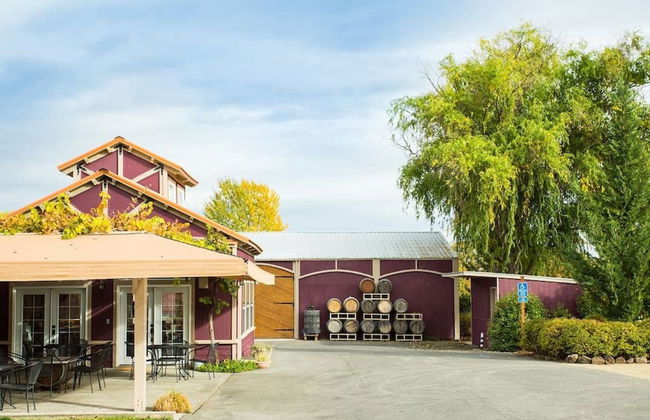
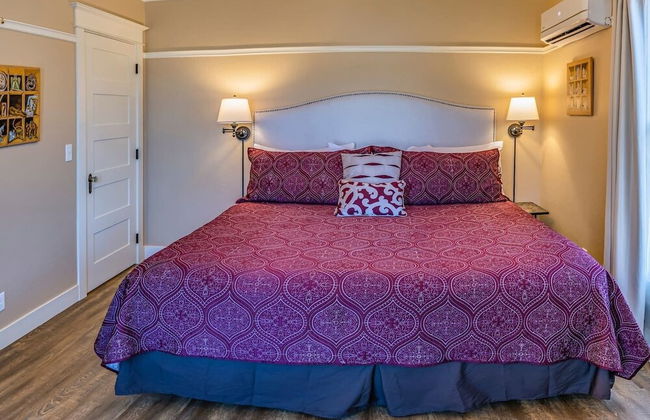
Paschal Winery
Talent
- 4 Personen
- Klimaanlage
- Heizung
- Parkplatz
- Balkon
- Garten
- Tv
- Schornstein
- Barbecue
- Handtücher
6 Bewertungen


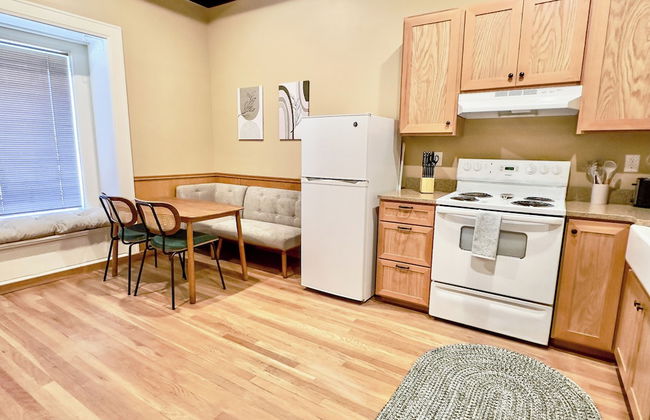
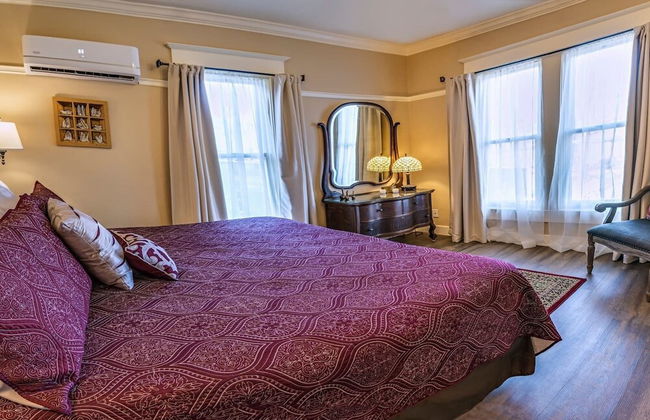
Barclay Klum House by WanderLodges
Ashland - 3.4 km von Mt. Ashland
- 4 Personen
- Klimaanlage
- Heizung
- Parkplatz
- Garten
- Barbecue
- Handtücher
- Bettlaken
4 Bewertungen
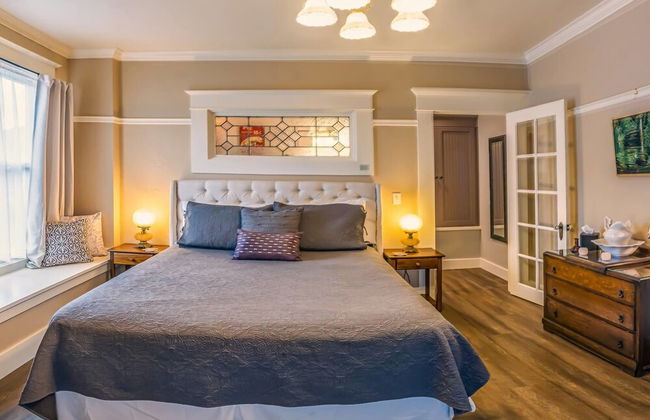
The Mountain Ave House by WanderLodges
Ashland - 3.2 km von Mt. Ashland
- 6 Personen
- Klimaanlage
- Heizung
- Parkplatz
- Garten
- Tv
- Waschmaschine
- Handtücher
- Bettlaken
4 Bewertungen


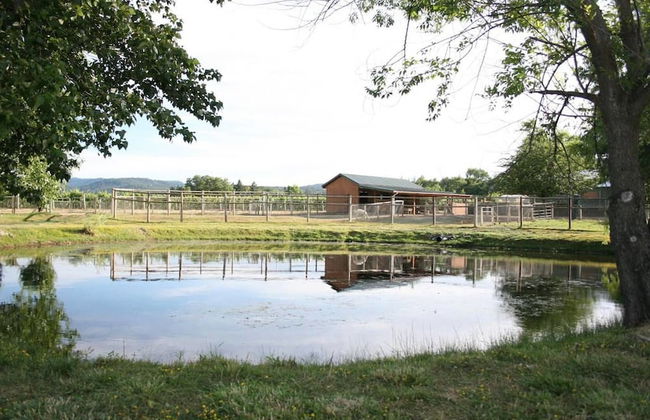
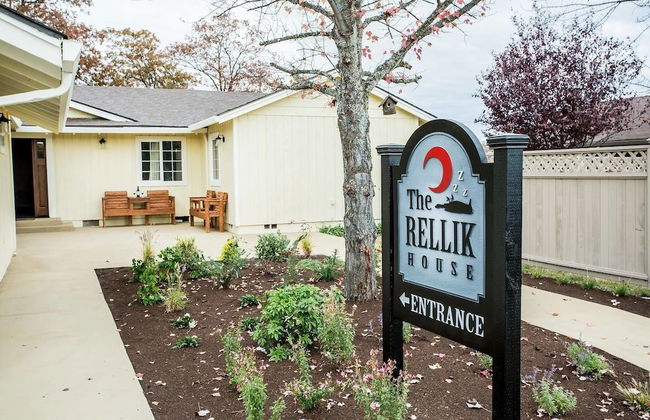
The Rellik House and Winery
Central Point
- 6 Personen
- Kochnische
- Klimaanlage
- Heizung
- Schwimmbad
- Parkplatz
- Balkon
- Garten
- Tv
- Waschmaschine
- Schornstein
- Handtücher
- Bettlaken
3 Bewertungen


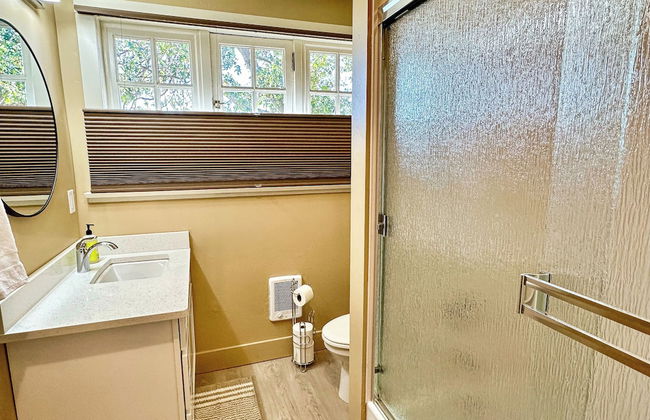
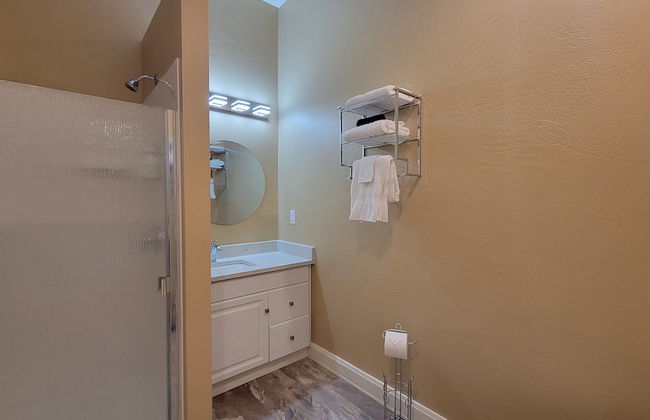
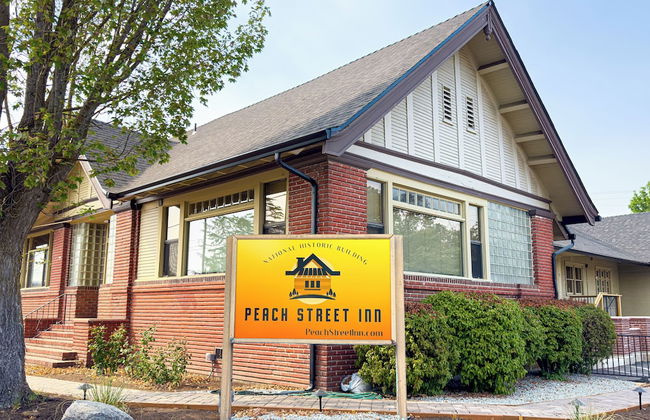
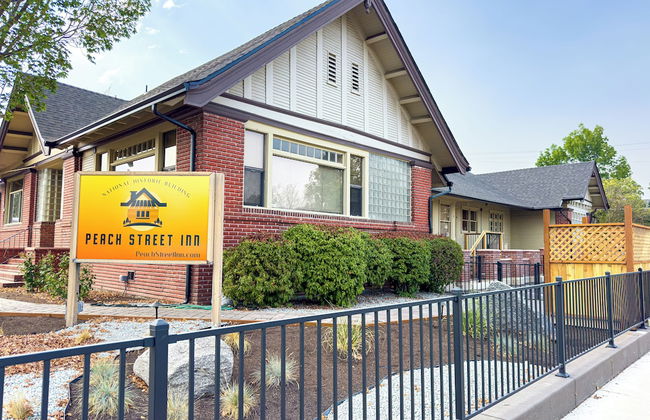
Peach Street Inn by WanderLodges
Medford - Im Zentrum
- 79 M2
- 4 Personen
- Klimaanlage
- Heizung
- Terrasse
- Parkplatz
- Balkon
- Tv
- Handtücher
- Bettlaken
2 Bewertungen
Lori Lanes 'juliet Cottage' ~ 2 Bedroom ~ Downtown
Ashland - 5.2 km von Mt. Ashland
- 4 Personen
- Klimaanlage
- Heizung
- Parkplatz
- Garten
- Tv
- Handtücher
1 Bewertung

Hanna's House by WanderLodges
Ashland - 4 km von Mt. Ashland
- 46 M2
- 4 Personen
- Klimaanlage
- Heizung
- Parkplatz
- Garten
- Tv
- Waschmaschine
- Handtücher
- Bettlaken
1 Bewertung

Lanka Rose House by WanderLodges
Phoenix
- 111 M2
- 6 Personen
- Klimaanlage
- Heizung
- Parkplatz
- Garten
- Tv
- Waschmaschine
- Handtücher
- Bettlaken
1 Bewertung
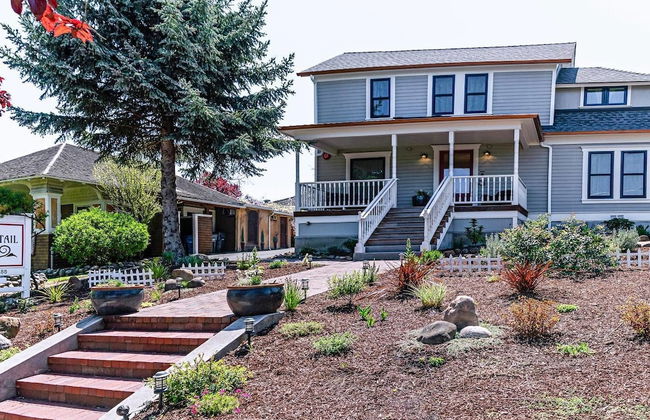


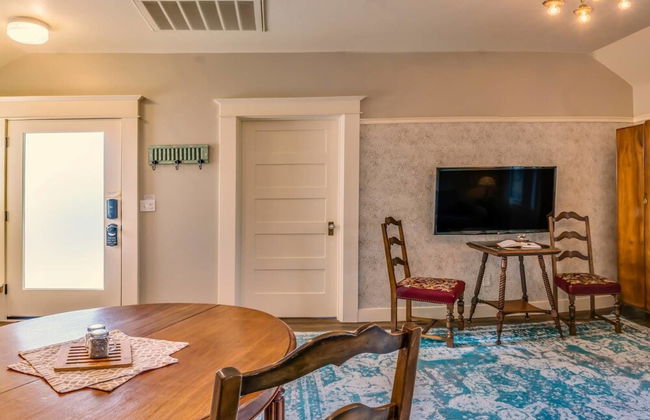


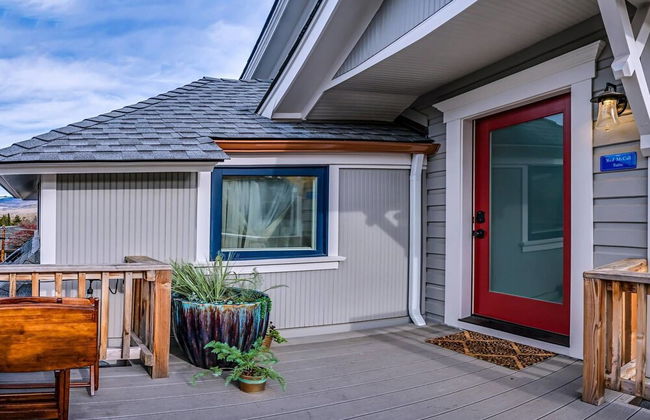

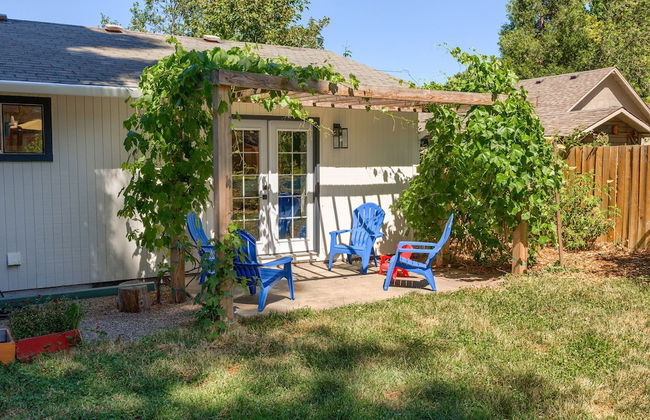
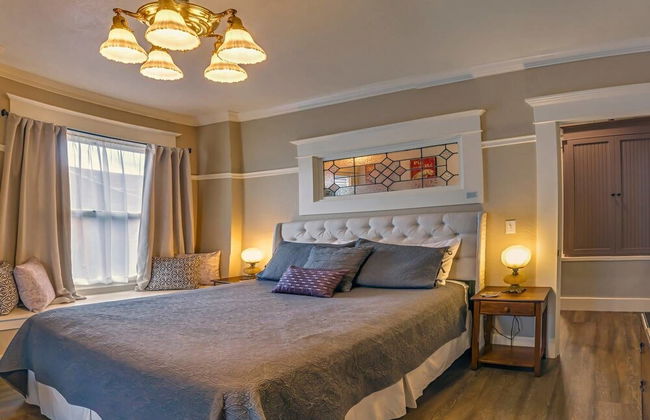
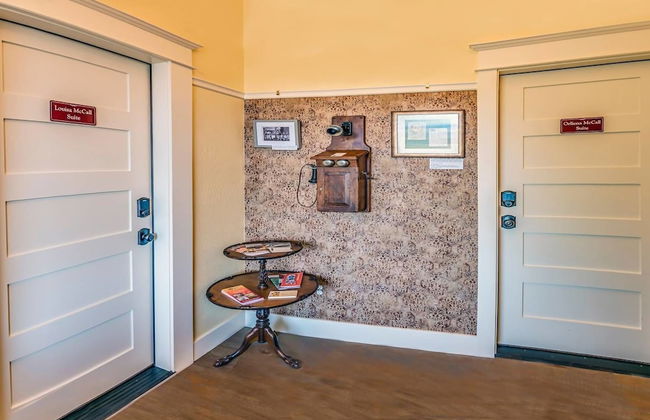
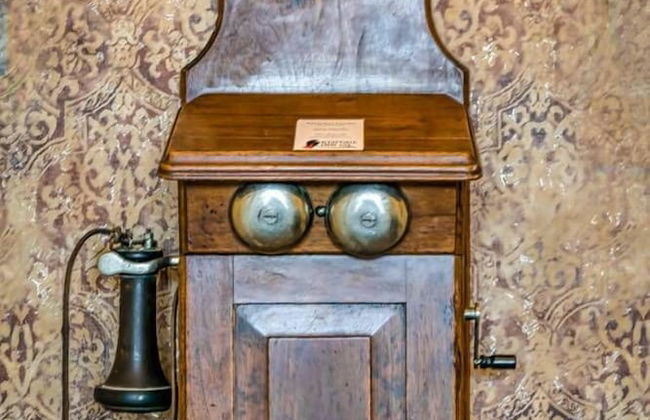
Redtail Suites~'red' Mccall Suite~tesla Station
Ashland - 3.9 km von Mt. Ashland
- 6 Personen
- Kochnische
- Klimaanlage
- Heizung
- Terrasse
- Parkplatz
- Balkon
- Tv
- Handtücher


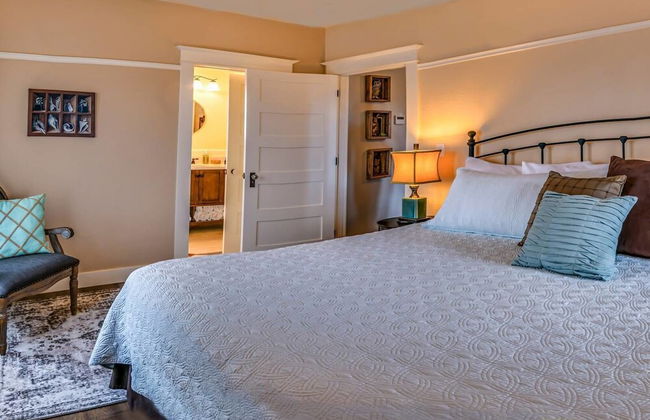


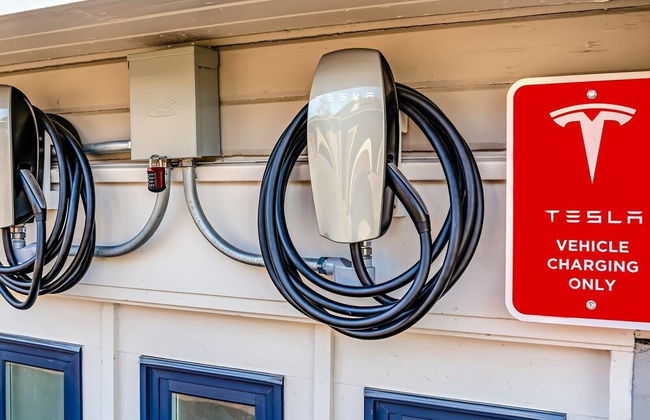
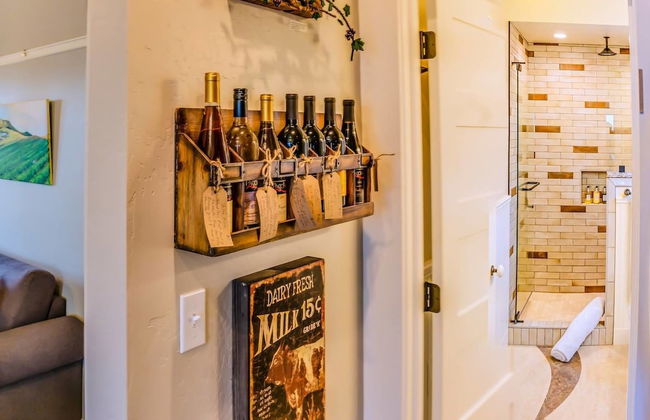
Redtail Suites ~ Entire Home ~ Sleeps 12 ~ Tesla Station
Ashland - 3.9 km von Mt. Ashland
- 12 Personen
- Kochnische
- Klimaanlage
- Heizung
- Terrasse
- Parkplatz
- Tv
- Handtücher


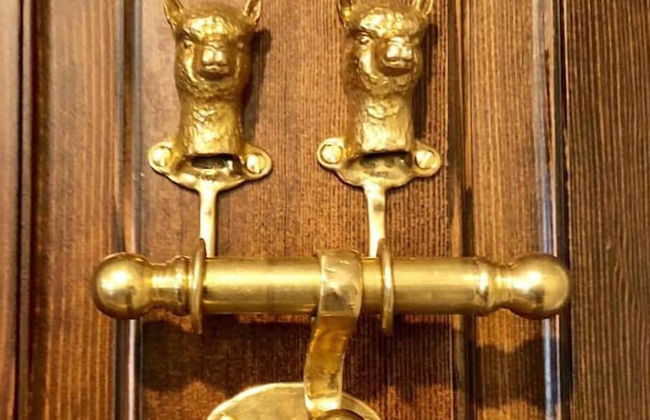
Wine Suite at Rellik House. Winery & Alpaca Farm
Central Point
- 4 Personen
- Kochnische
- Klimaanlage
- Heizung
- Schwimmbad
- Parkplatz
- Garten
- Tv
- Waschmaschine
- Schornstein
- Handtücher
- Bettlaken


Enchanting Getaway: Farmhouse and Tiny House Duo
Jacksonville
- 135 M2
- 10 Personen
- Klimaanlage
- Heizung
- Terrasse
- Balkon
- Garten
- Tv
- Waschmaschine
- Handtücher
- Bettlaken


Raven Suite at Rellik House. Winery & Alpaca Farm
Central Point
- 4 Personen
- Kochnische
- Klimaanlage
- Heizung
- Schwimmbad
- Parkplatz
- Garten
- Tv
- Waschmaschine
- Schornstein
- Handtücher
- Bettlaken


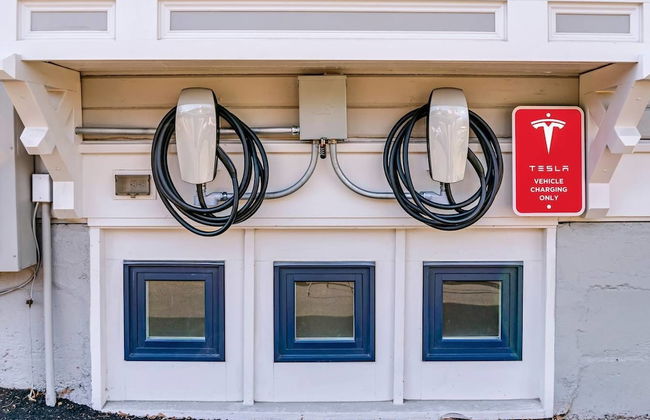
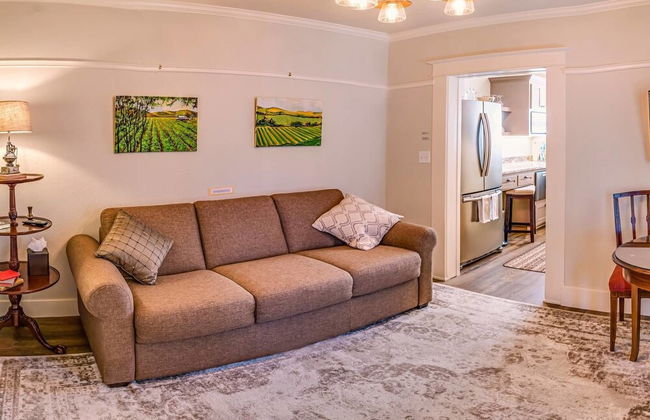
Redtail Suites~orliena Suite ~tesla Station
Ashland - 3.9 km von Mt. Ashland
- 6 Personen
- Kochnische
- Klimaanlage
- Heizung
- Terrasse
- Parkplatz
- Garten
- Tv
- Handtücher


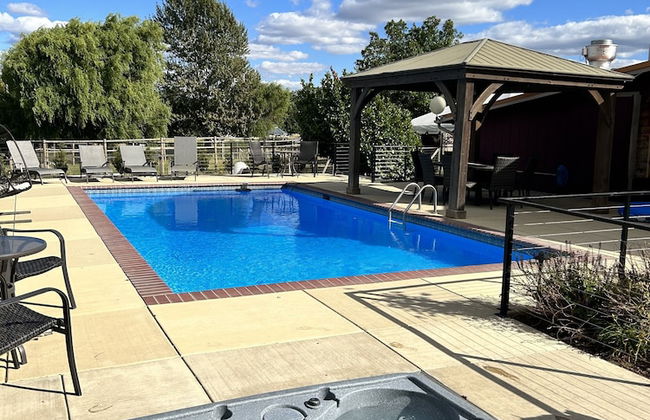
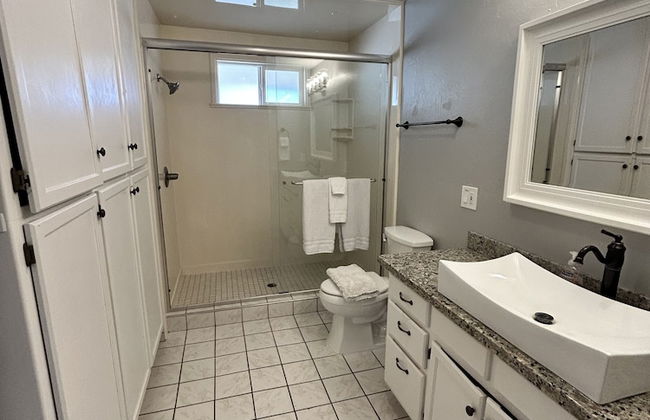
Medford Home and 2 Condos With Pool
Medford - 1.5 km vom Zentrum
- 278 M2
- 20 Personen
- Klimaanlage
- Heizung
- Schwimmbad
- Balkon
- Tv
- Waschmaschine
- Barbecue
- Handtücher
- Bettlaken


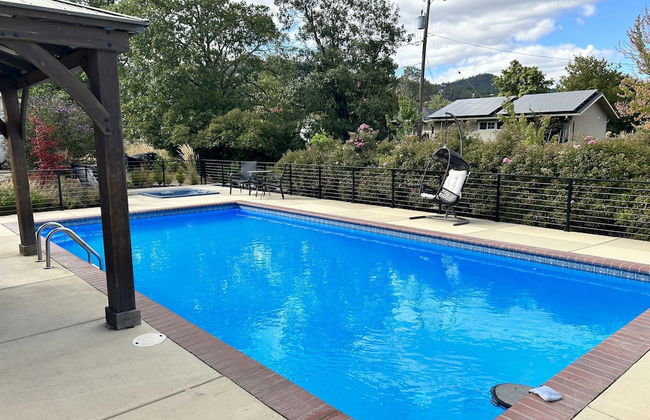
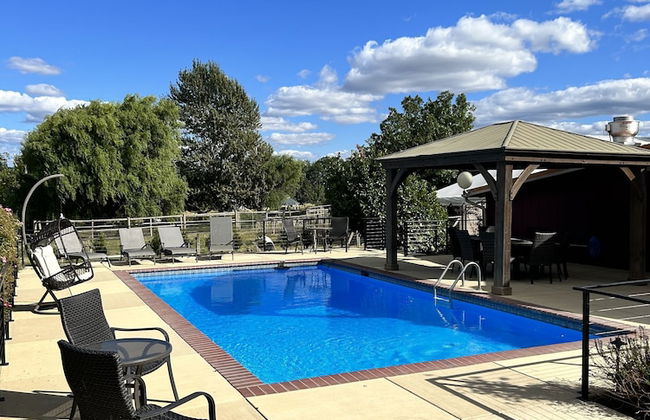
Medford Home and 2 Condos With Pool and Hot tub
Medford - 1.5 km vom Zentrum
- 176 M2
- 12 Personen
- Klimaanlage
- Heizung
- Terrasse
- Balkon
- Tv
- Waschmaschine
- Handtücher
- Bettlaken


Rellik House. Winery and Alpaca Farm
Central Point
- 14 Personen
- Kochnische
- Klimaanlage
- Heizung
- Schwimmbad
- Parkplatz
- Garten
- Tv
- Waschmaschine
- Schornstein
- Handtücher
- Bettlaken
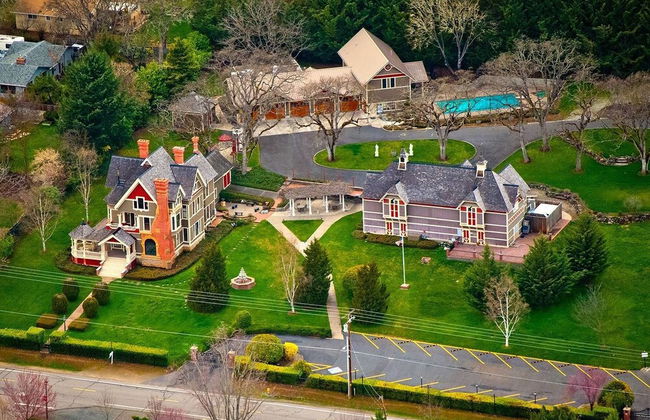
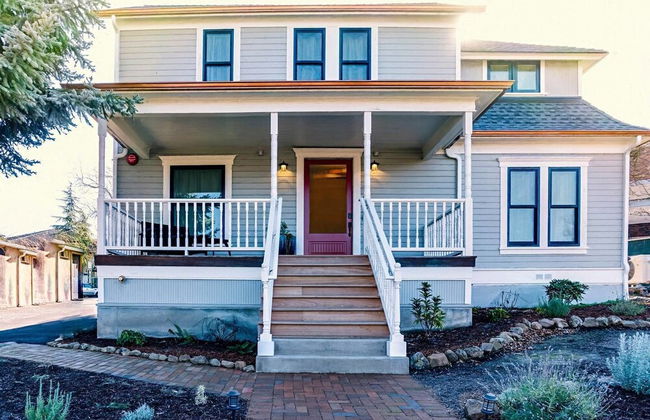
Jacksonville's Historic Nunan House
Jacksonville
- 10 Personen
- Klimaanlage
- Schwimmbad
- Parkplatz
- Garten
- Tv
- Waschmaschine
- Barbecue
- Handtücher
- Bettlaken