
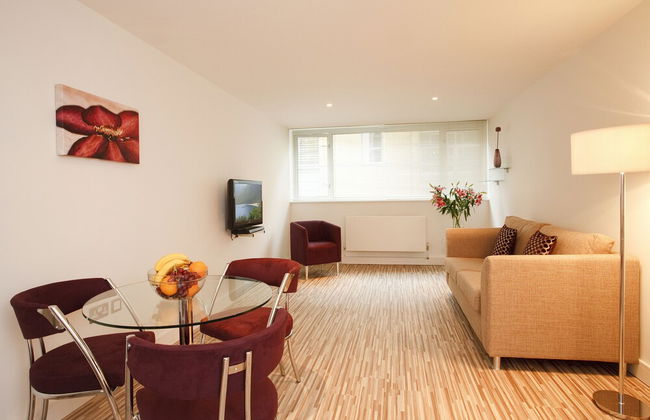
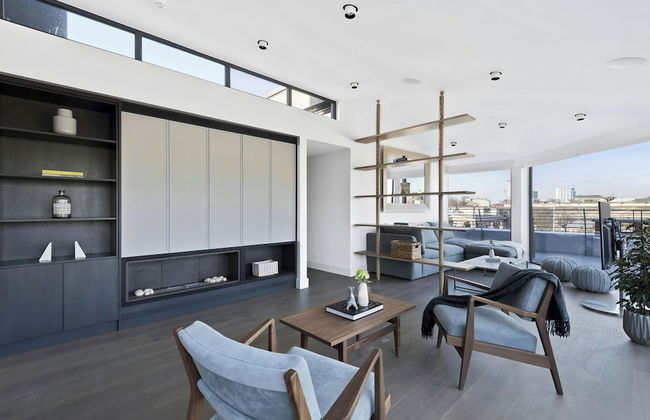
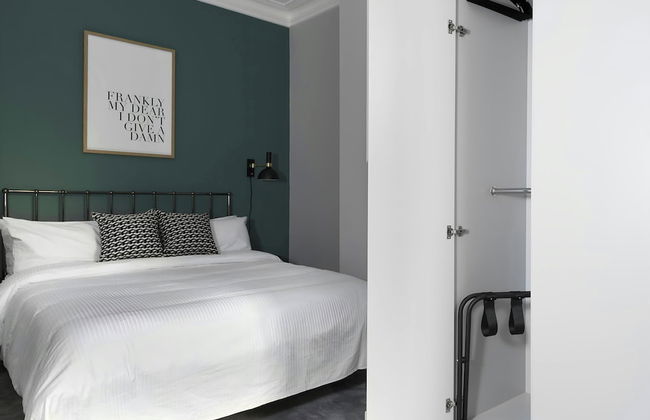
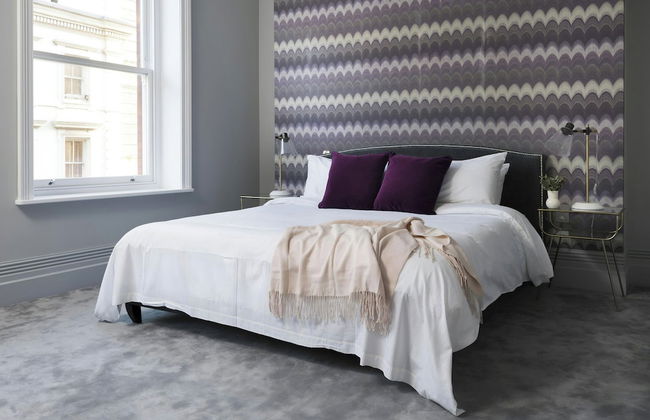
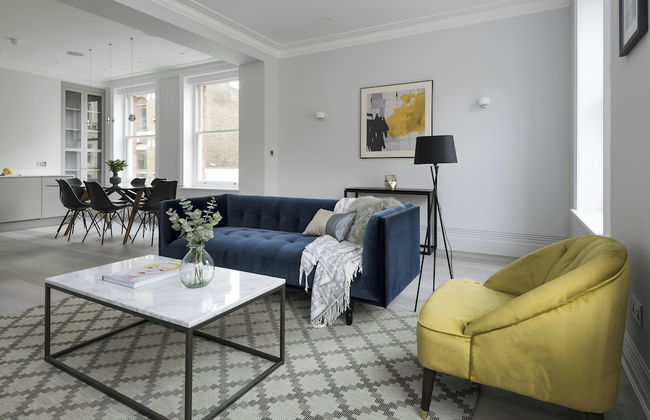
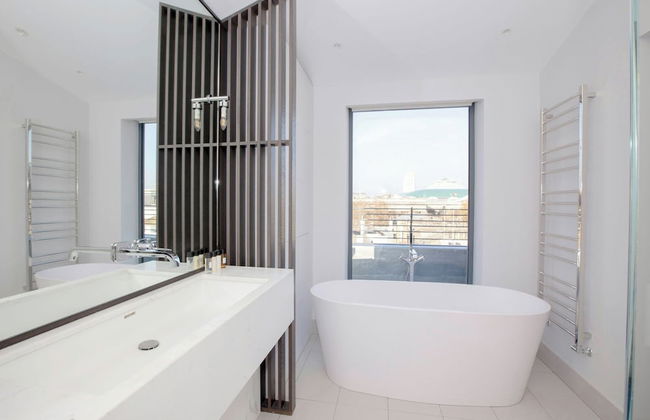
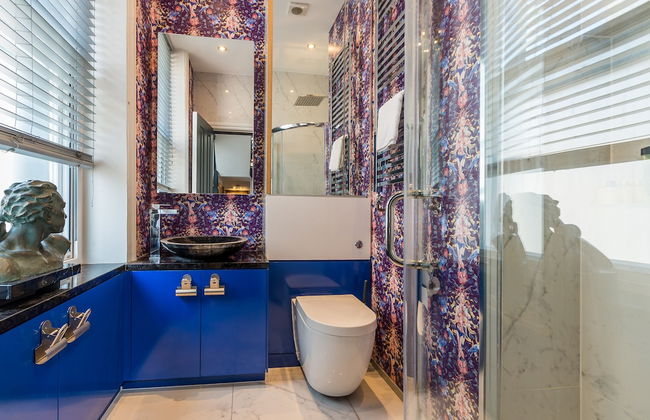
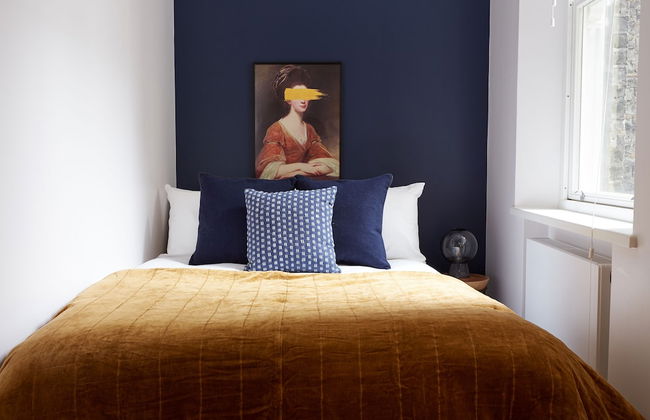
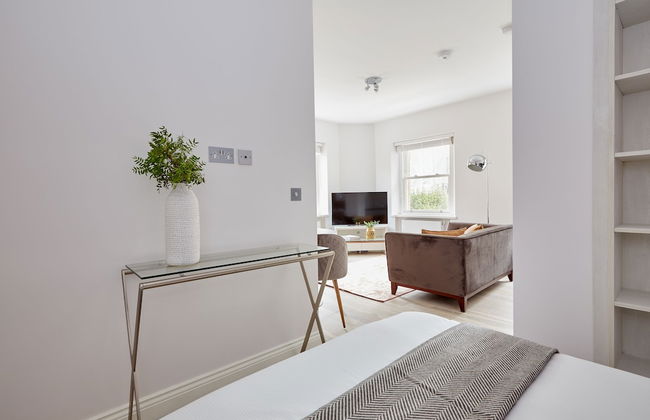
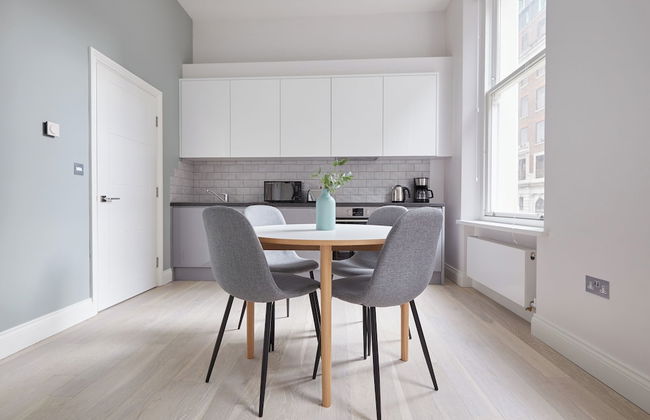
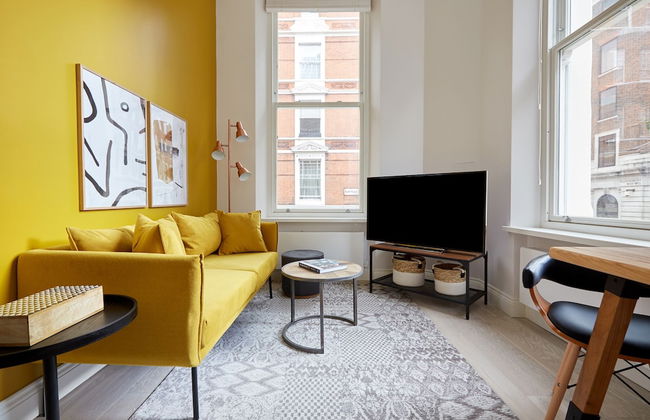
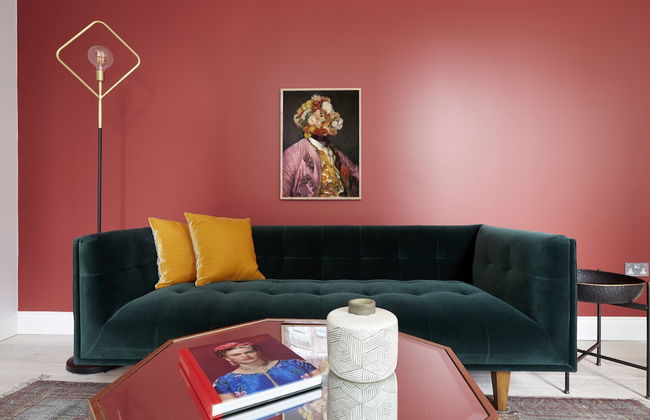
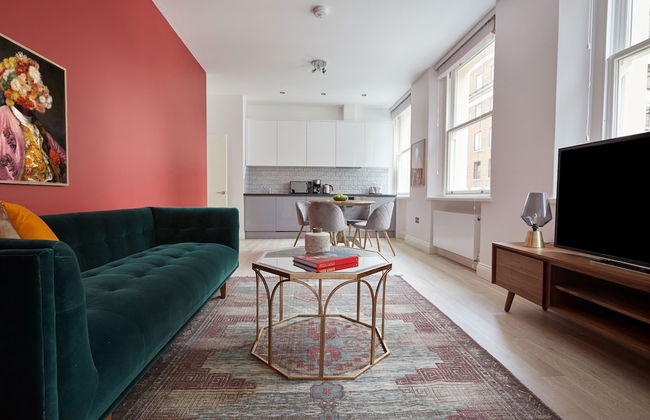
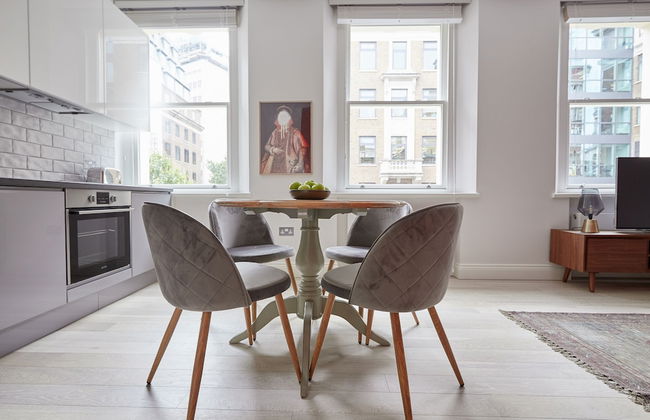
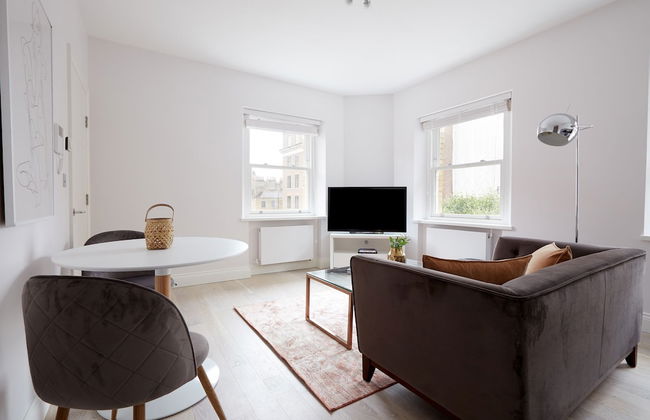
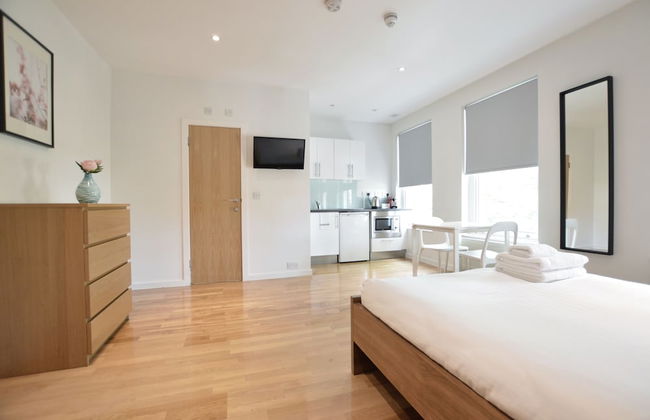
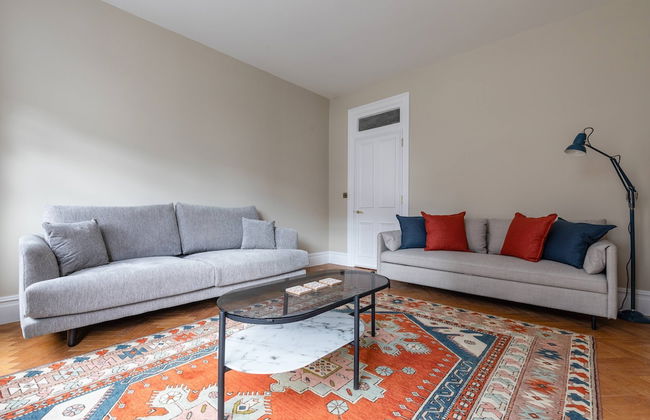
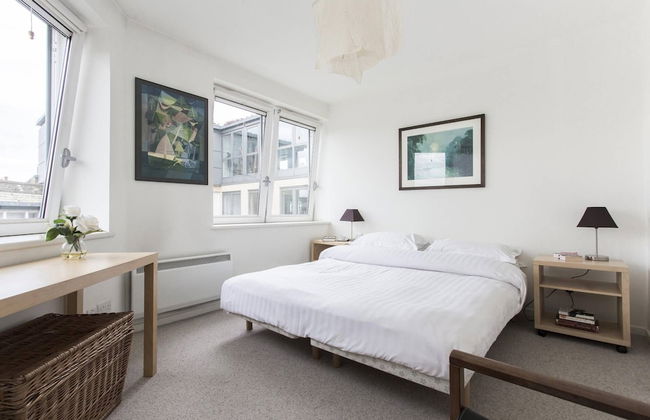
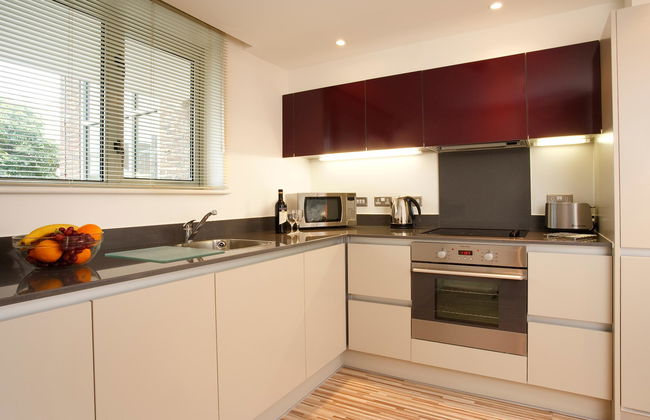
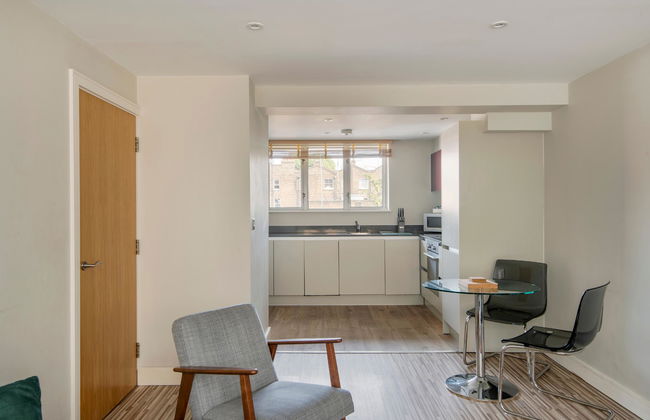
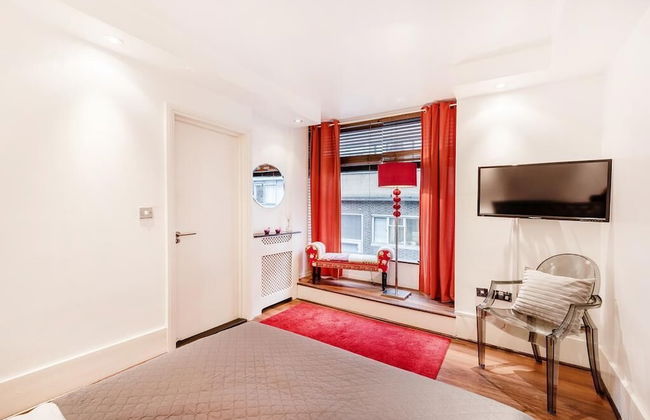
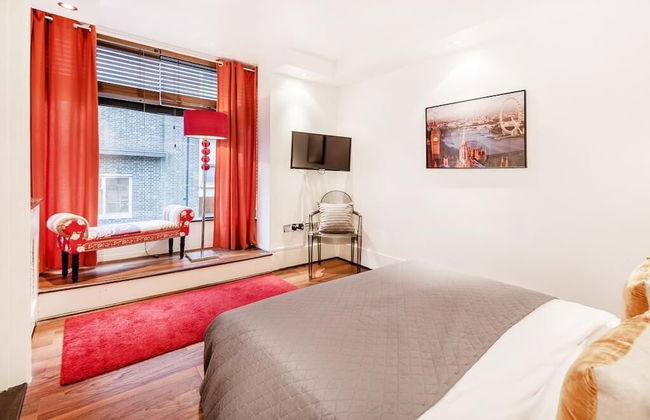
11 Wohnungen in Bloomsbury


Museum View
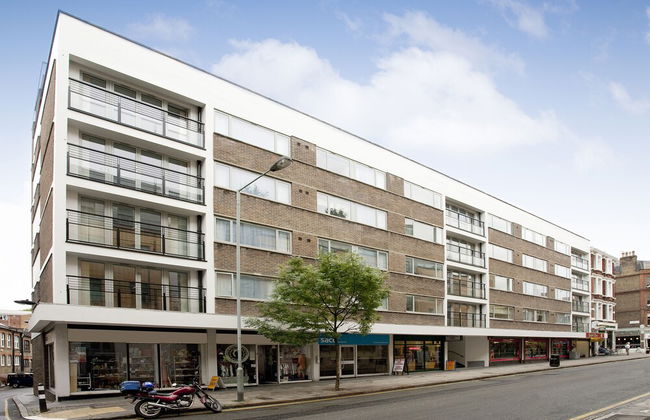
London - Bloomsbury - 770 m vom Zentrum
- 75 M2
- 6 Personen
- Heizung
- Tv
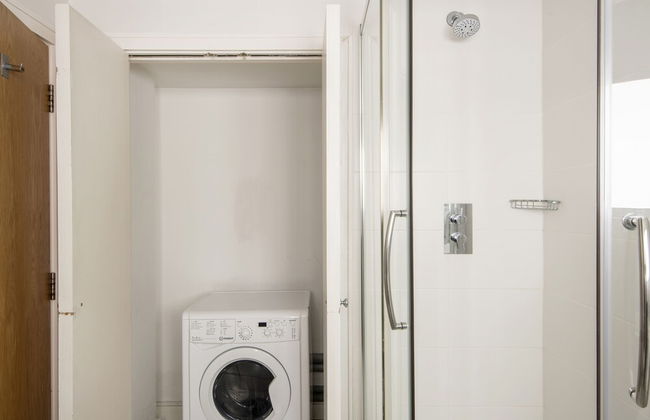
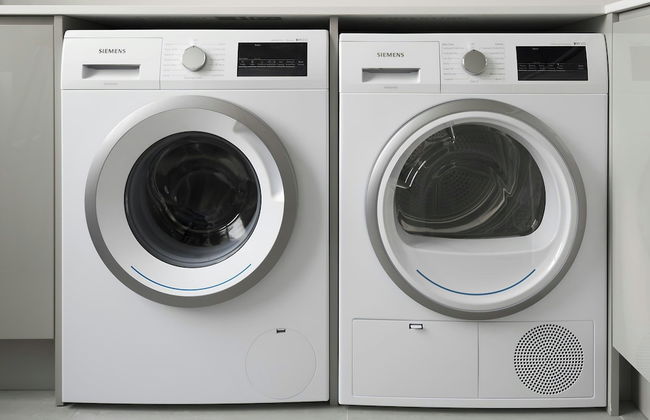
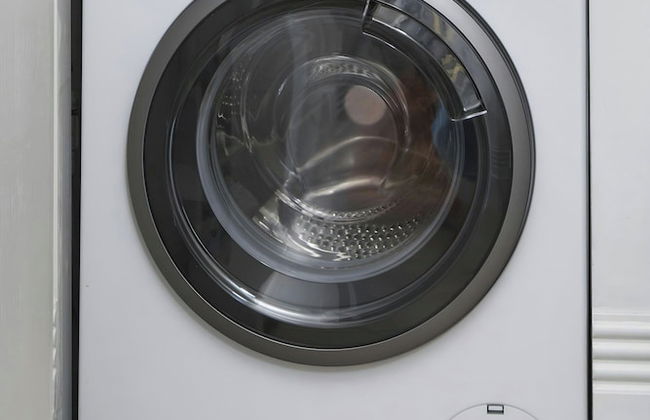
- Waschmaschine
- Schornstein
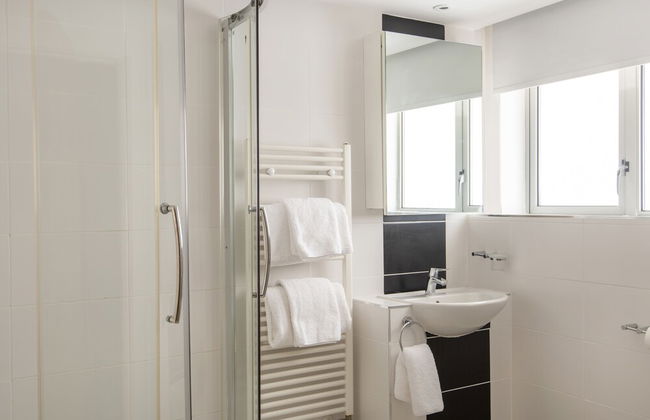
- Handtücher
- Bettlaken
13 Bewertungen


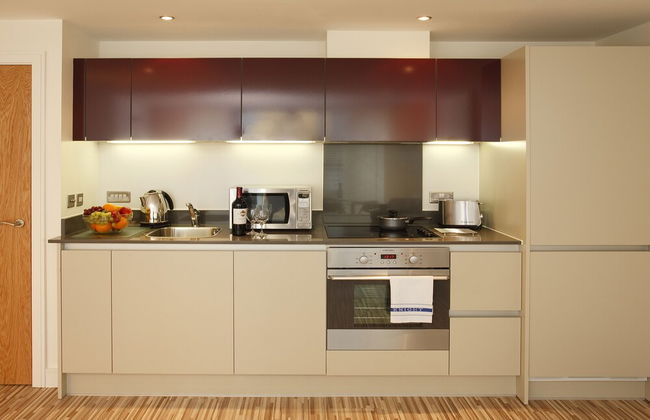


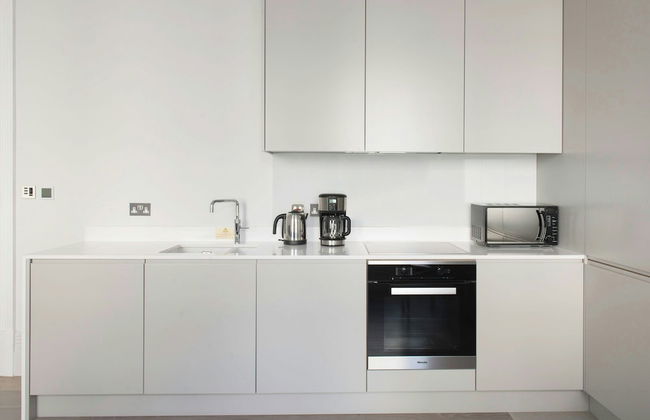
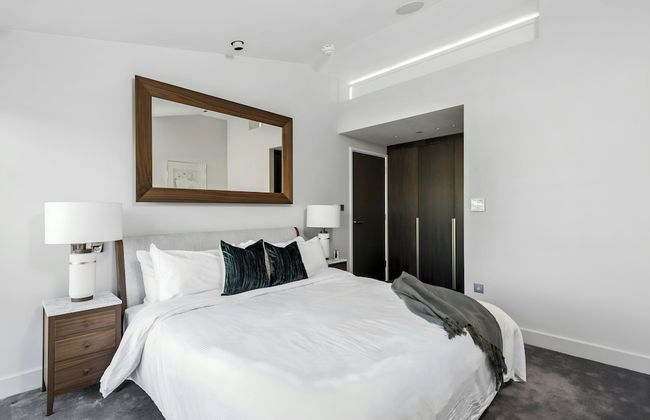
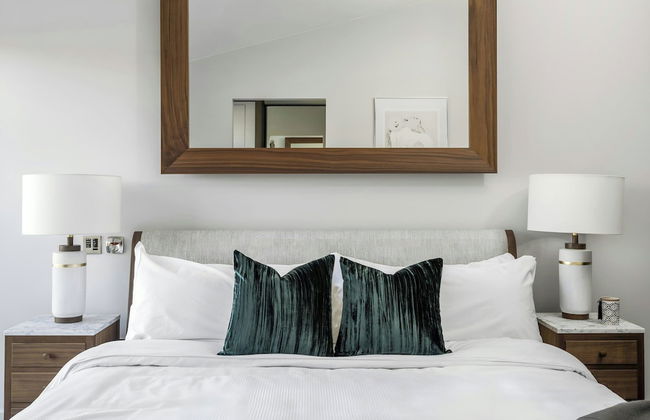
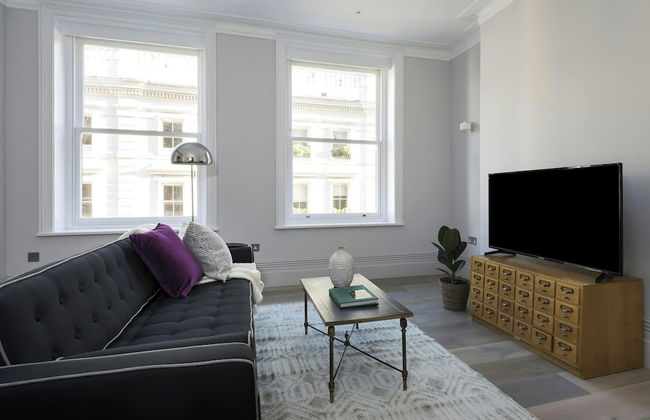
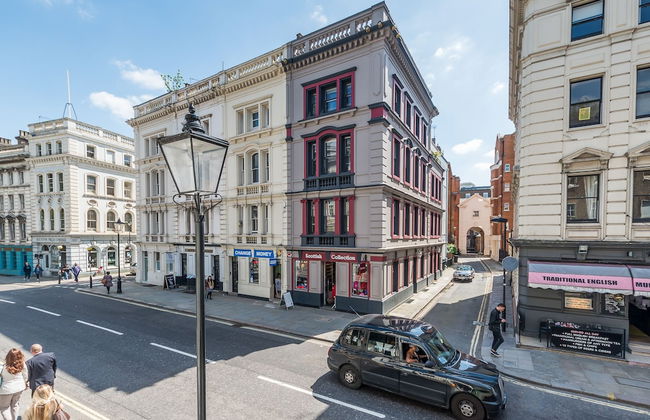
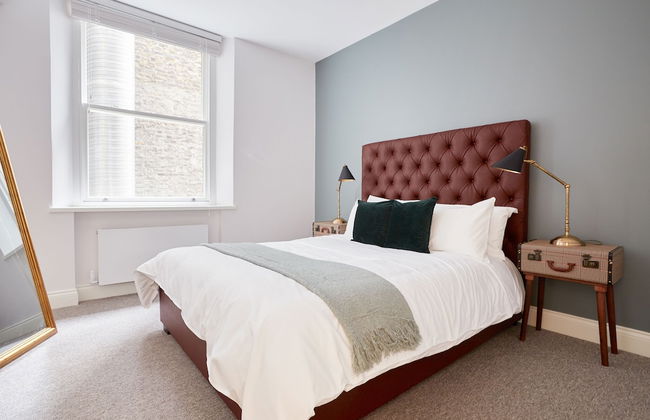
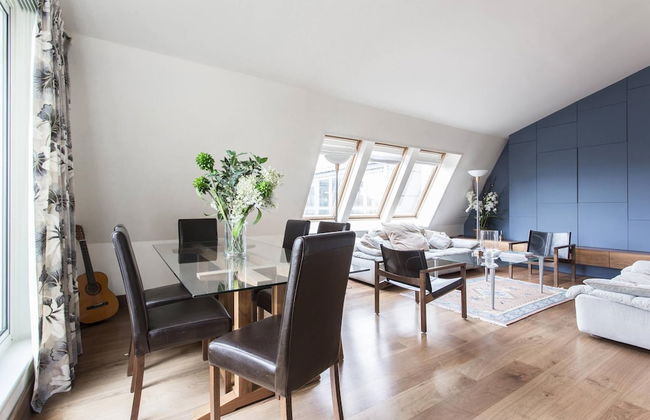
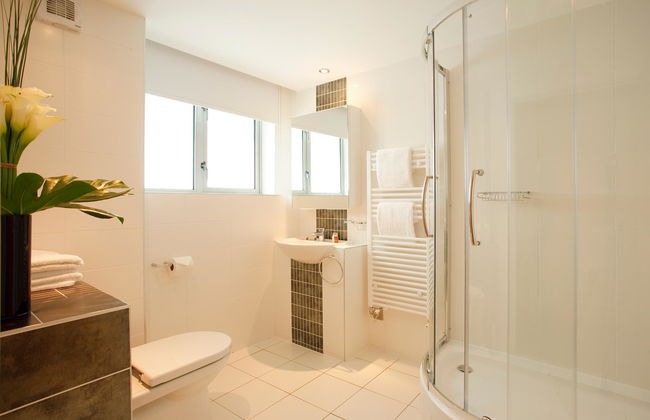
SACO Holborn - Lamb's Conduit Street
London - Bloomsbury - 1.4 km vom Zentrum
- 50 M2
- 5 Personen
- Heizung
- Terrasse
- Parkplatz
- Fahrstuhl
- Balkon
- Tv
- Waschmaschine
- Handtücher
204 Bewertungen
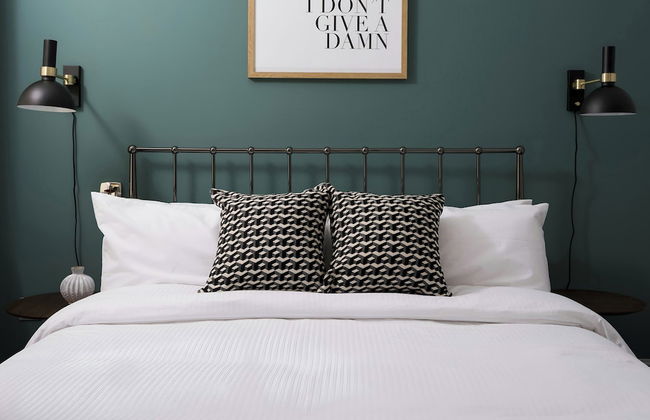


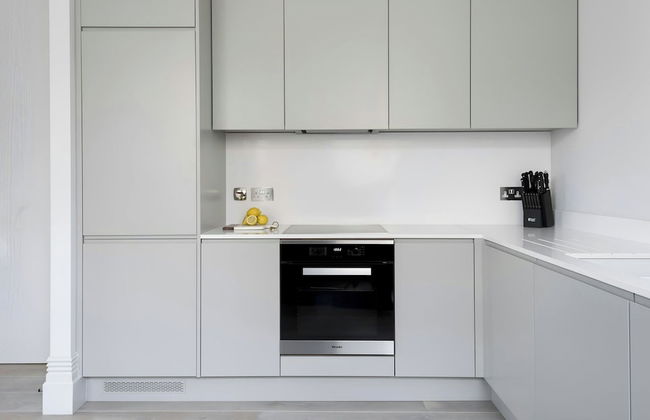


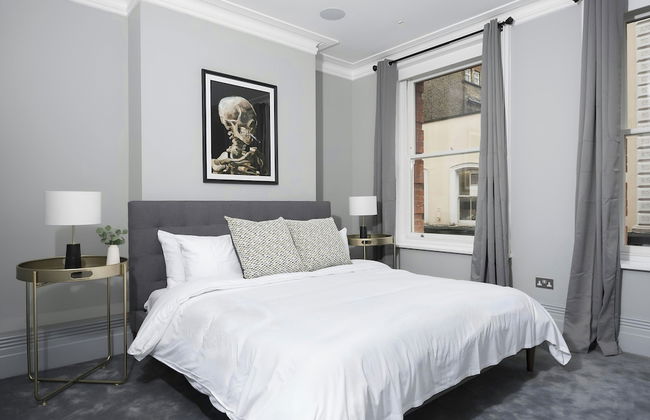


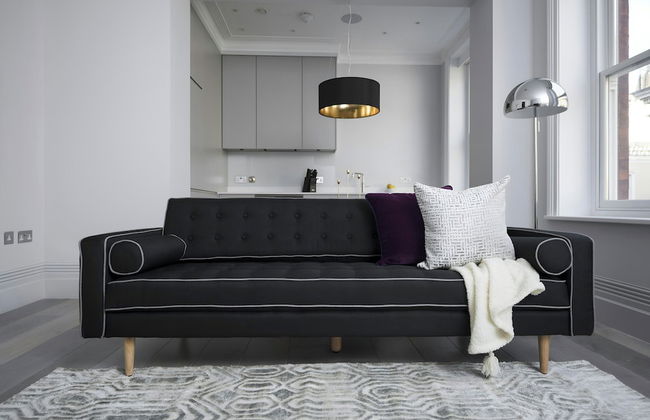


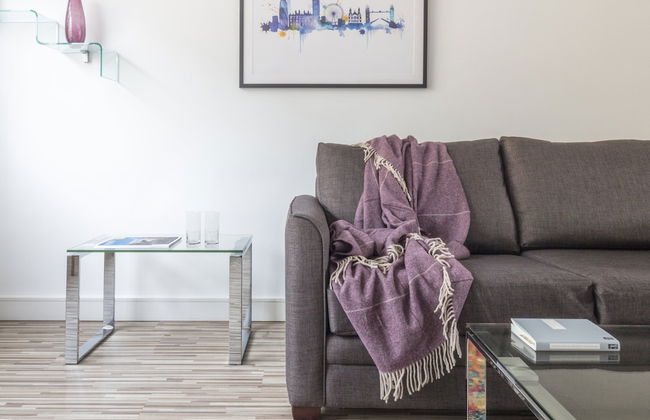
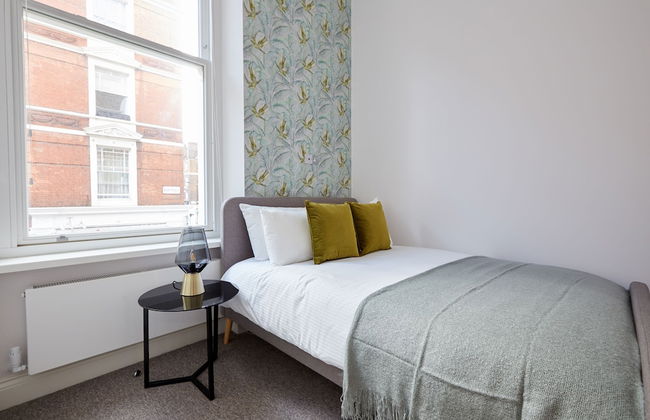
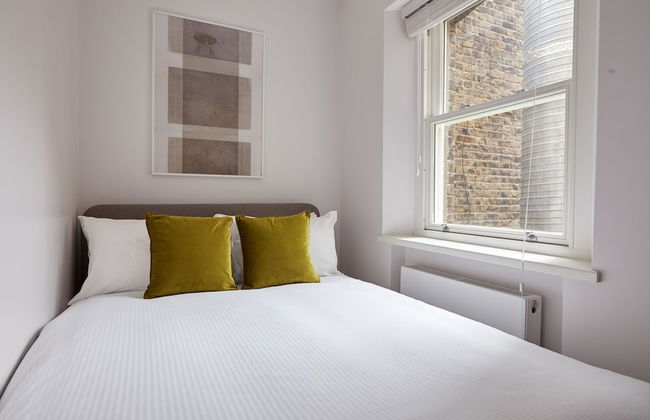
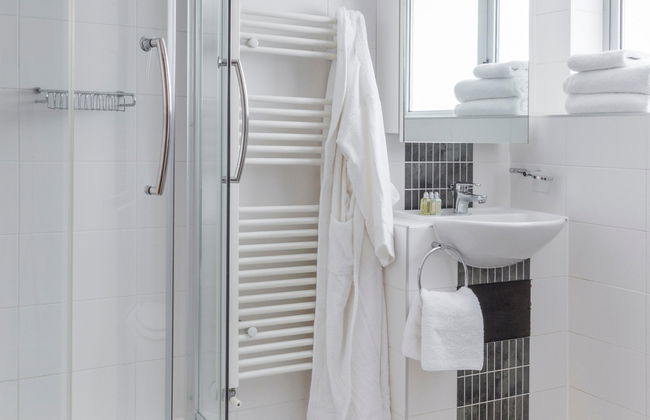
Sonder by Marriott Bonvoy Museum House Apartments British Museum
London - Bloomsbury - 760 m vom Zentrum
- 6 Personen
- Heizung
- Fahrstuhl
- Tv
- Waschmaschine
- Handtücher
- Bettlaken
10 Bewertungen


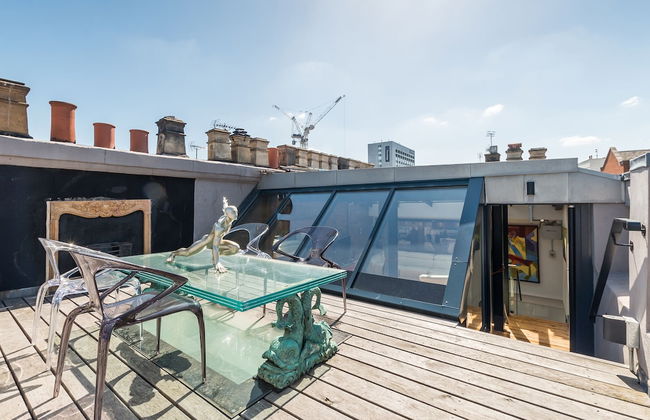

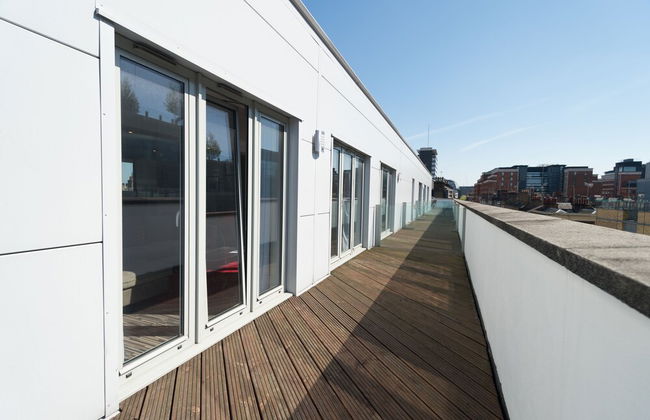
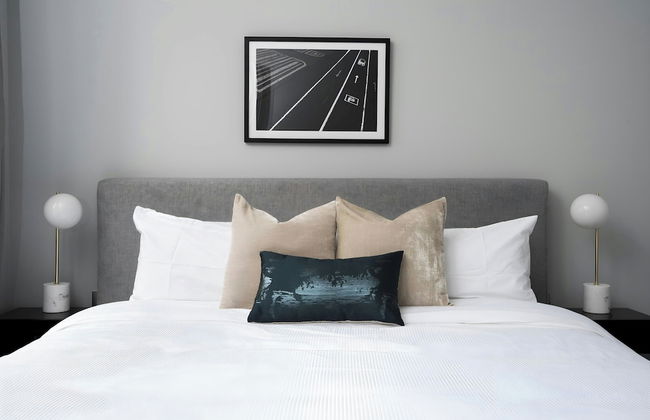
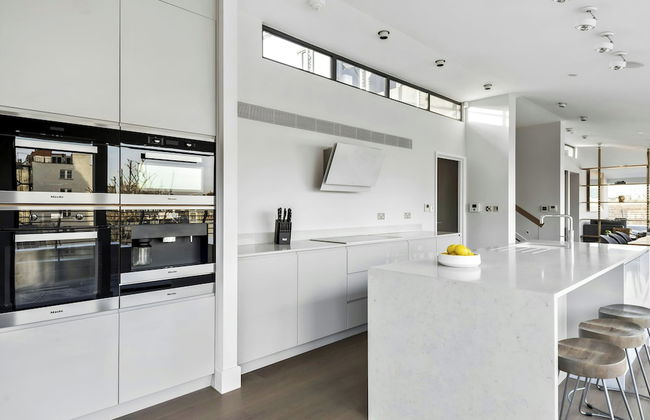
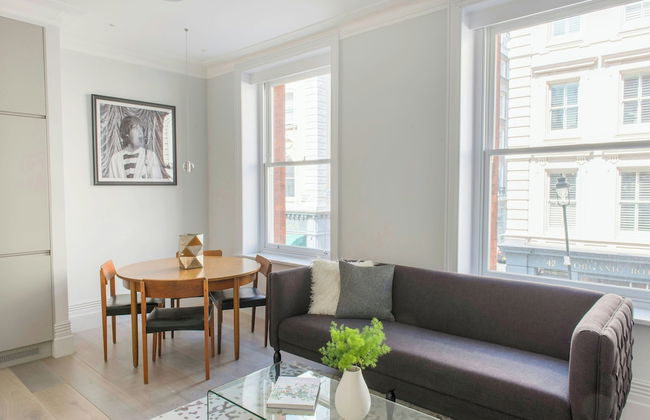
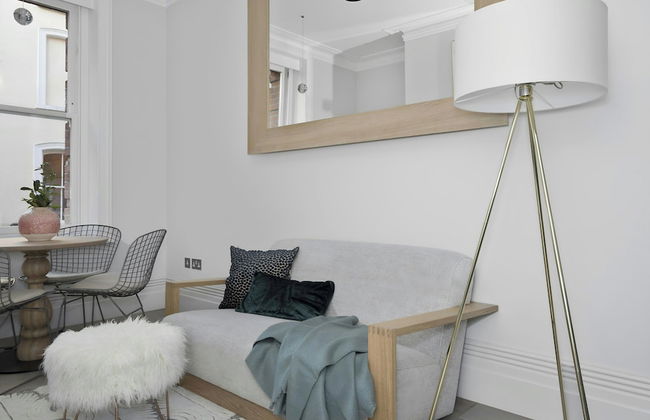
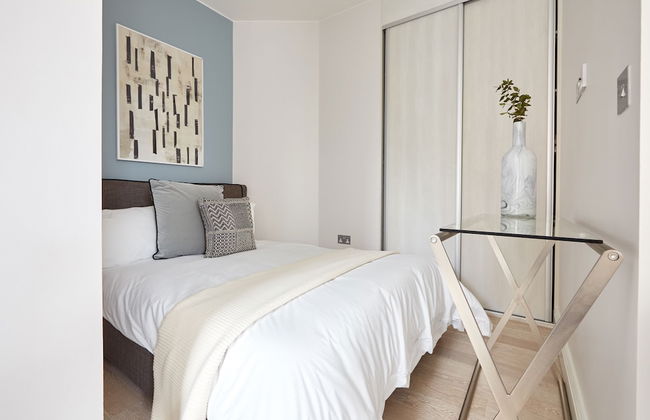
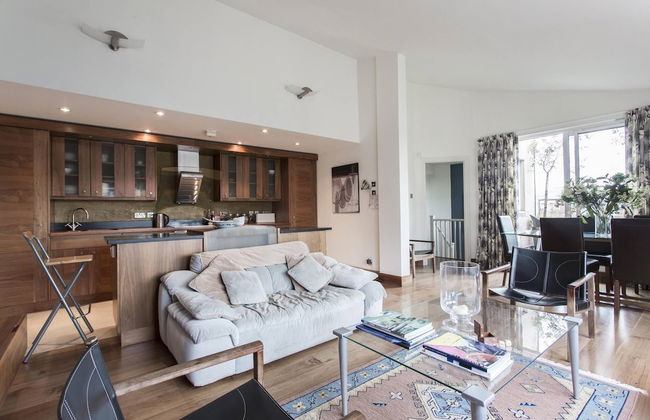
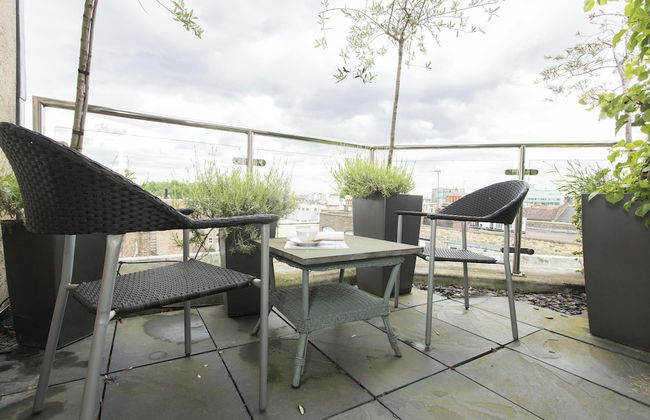
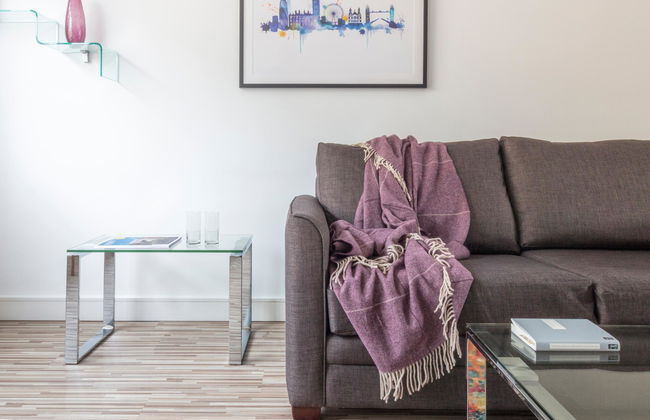
The Museum Penthouse
London - Bloomsbury - 770 m vom Zentrum
- 320 M2
- 10 Personen
- Heizung
- Terrasse
- Balkon
- Garten
- Tv
- Waschmaschine
- Schornstein
- Handtücher
- Bettlaken
4 Bewertungen


Virginia House by City Living London
London - Bloomsbury - 800 m vom Zentrum
- 6 Personen
- Heizung
- Tv
- Handtücher
- Bettlaken
29 Bewertungen


Russell Square Serviced Apartments by Concept Apartments
London - Bloomsbury - 380 m von British Museum
- 19 M2
- 2 Personen
- Kochnische
- Heizung
- Tv
- Handtücher
- Bettlaken
5 Bewertungen


Great Russell Street by Onefinestay
London - Bloomsbury - 840 m vom Zentrum
- 1 M2
- 4 Personen
- Heizung
- Fahrstuhl
- Tv
- Waschmaschine
- Handtücher
- Bettlaken


Lambs Conduit Street by Onefinestay
London - Bloomsbury - 1.3 km vom Zentrum
- 1 M2
- 4 Personen
- Heizung
- Terrasse
- Balkon
- Tv
- Waschmaschine
- Handtücher
- Bettlaken


SACO Holborn - Lamb's Conduit St
London - Bloomsbury - 1.4 km vom Zentrum
- 48 M2
- 2 Schlafzimmer
- 5 Personen
- Parkplatz
- Fahrstuhl
- Handtücher
- Bettlaken


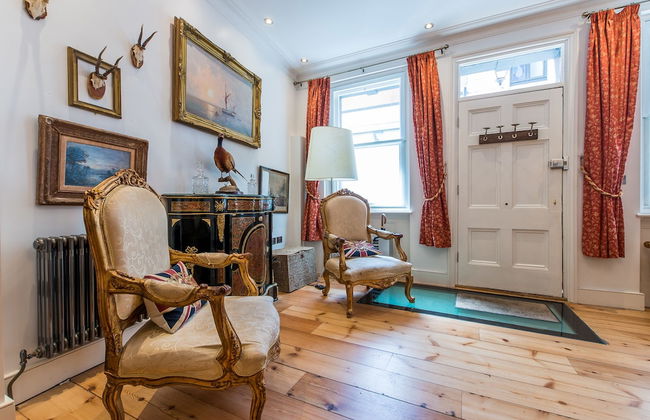
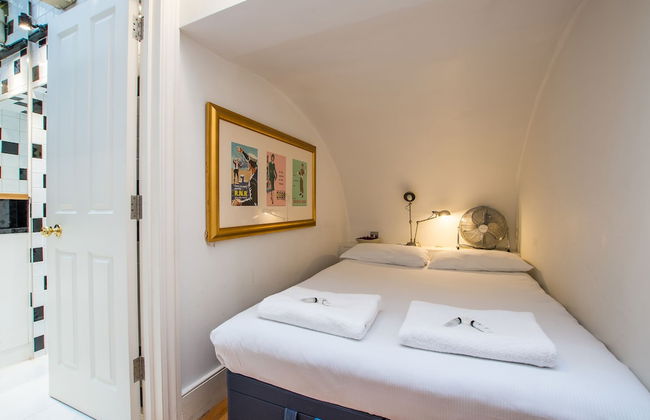
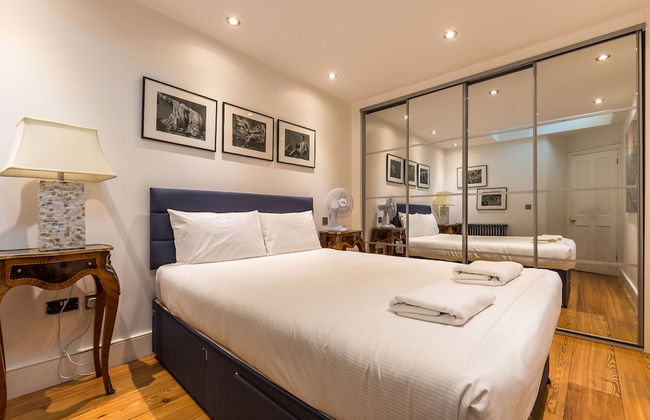
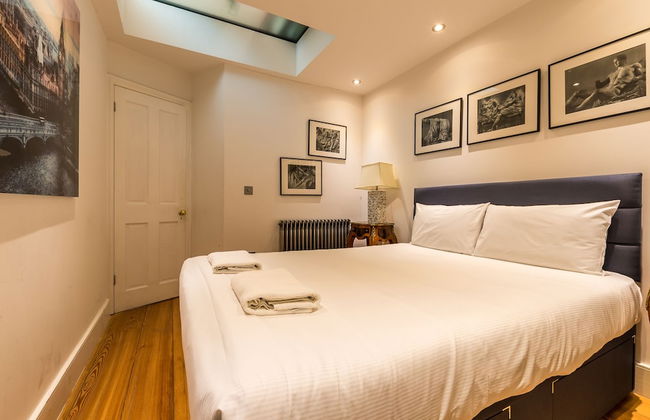


Sherlocks Hidden Home
London - Bloomsbury - 770 m vom Zentrum
- 74 M2
- 8 Personen
- Heizung
- Tv
- Waschmaschine
- Handtücher
- Bettlaken