
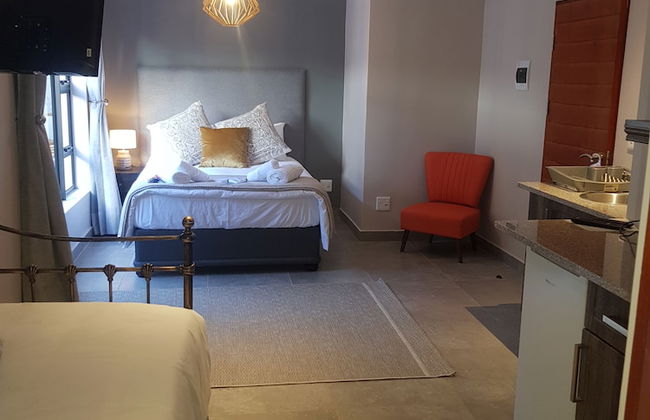
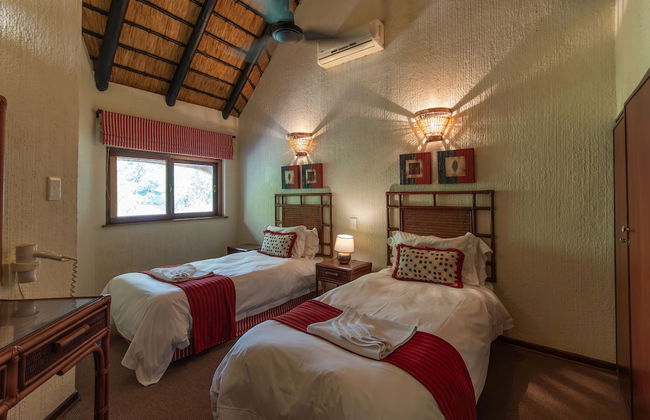
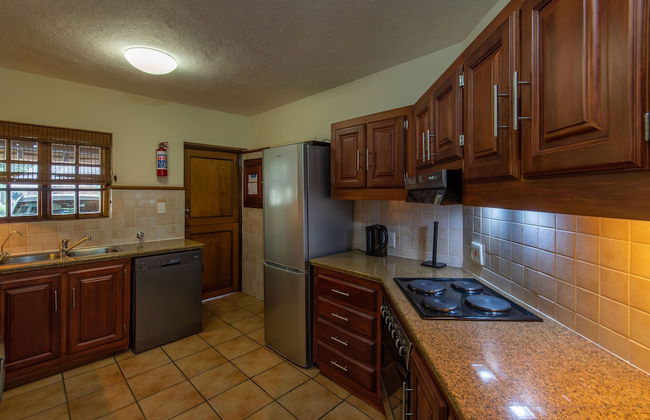
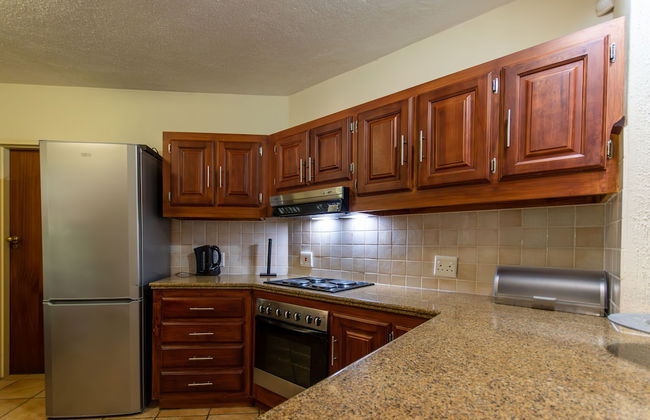
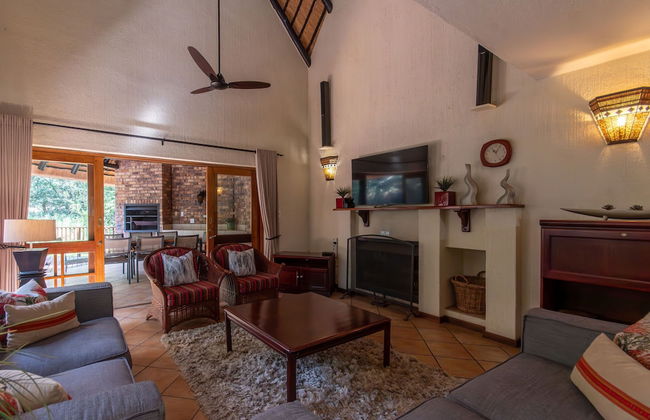
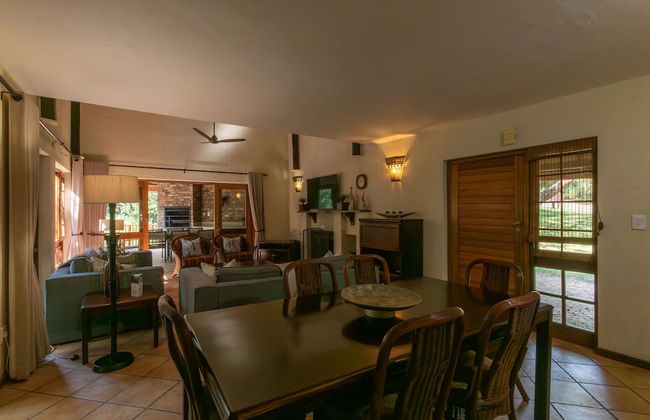
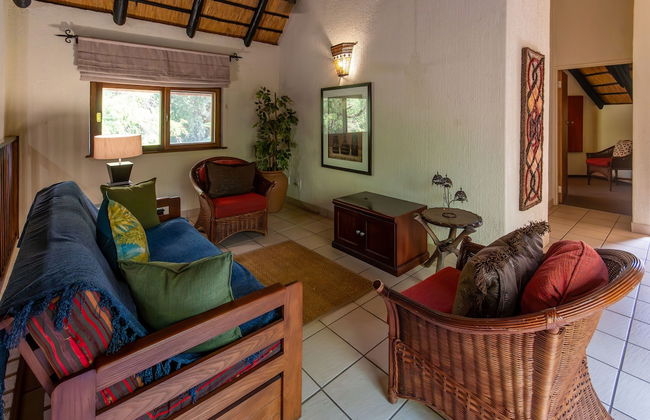
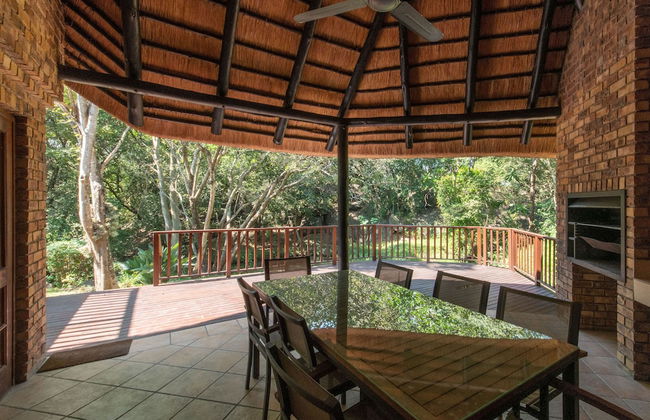
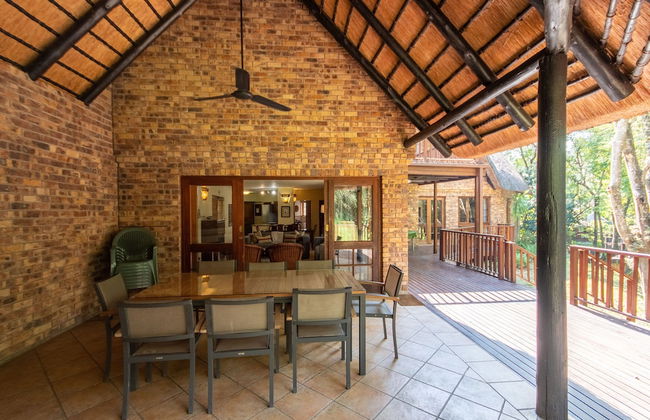
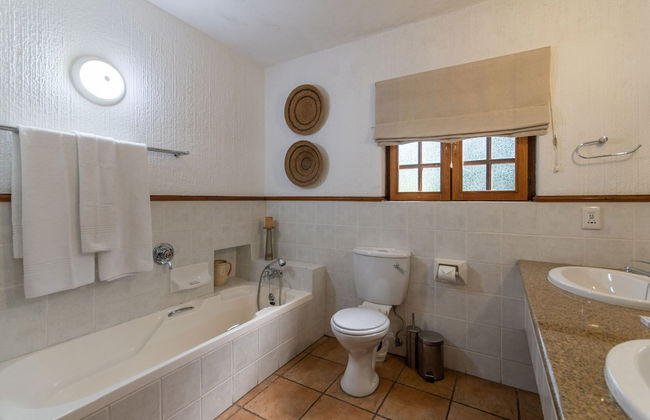
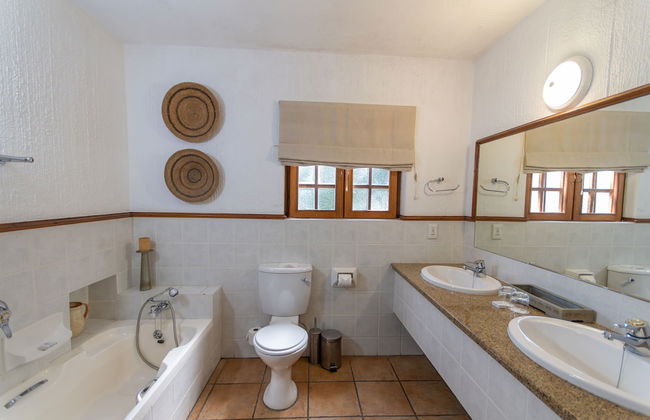
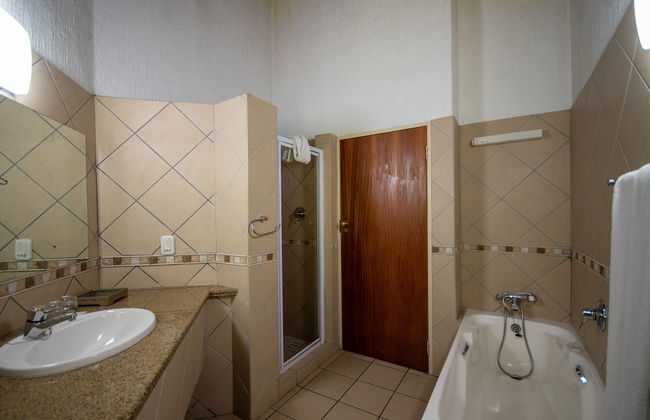
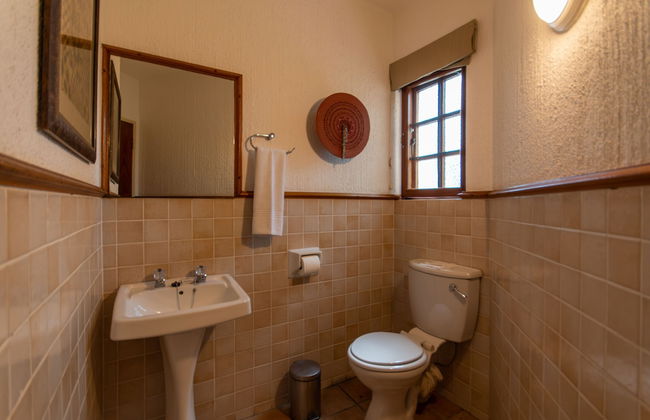
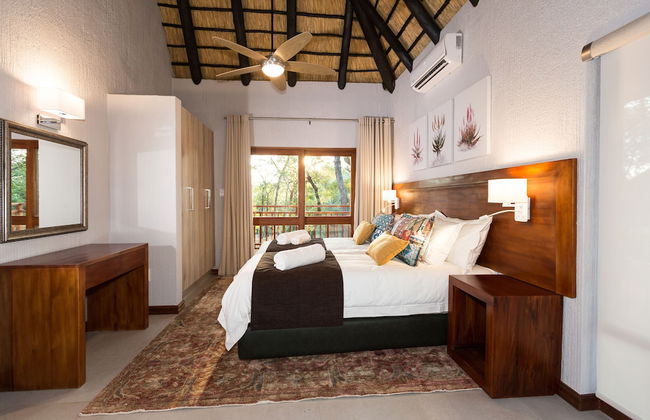
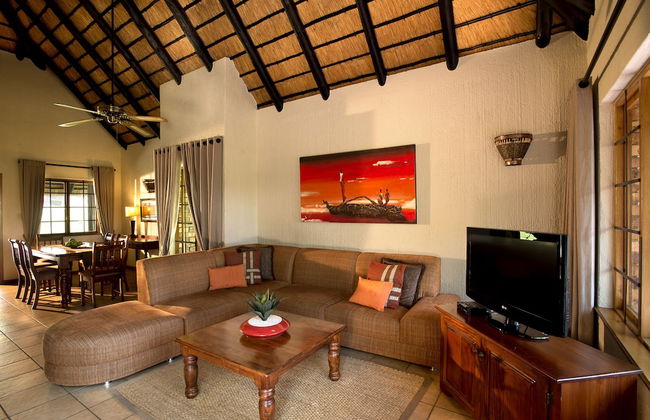
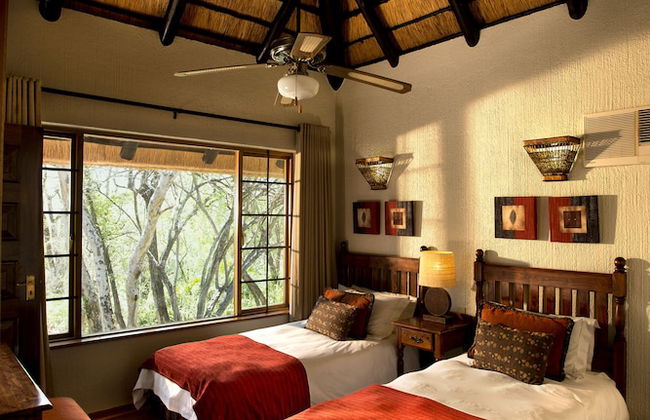
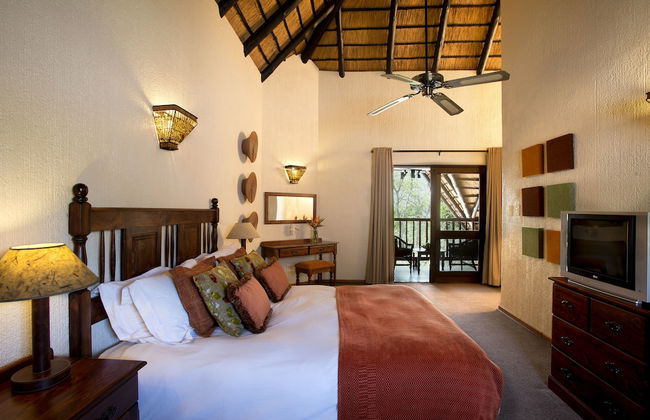
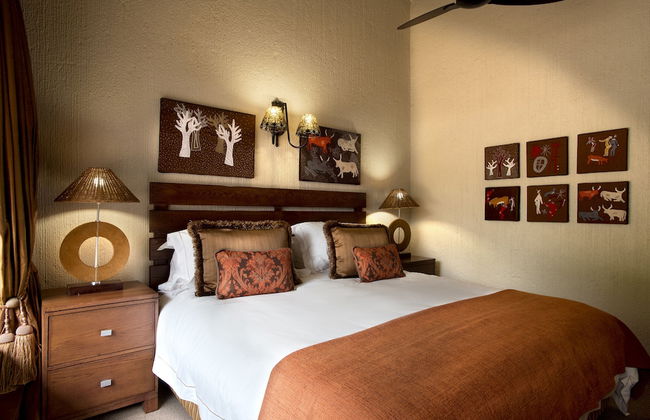
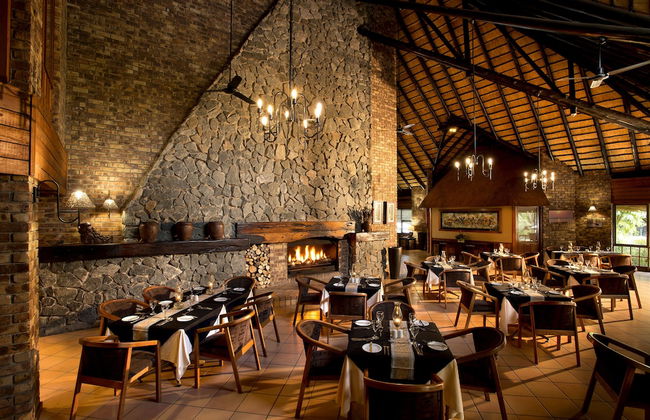
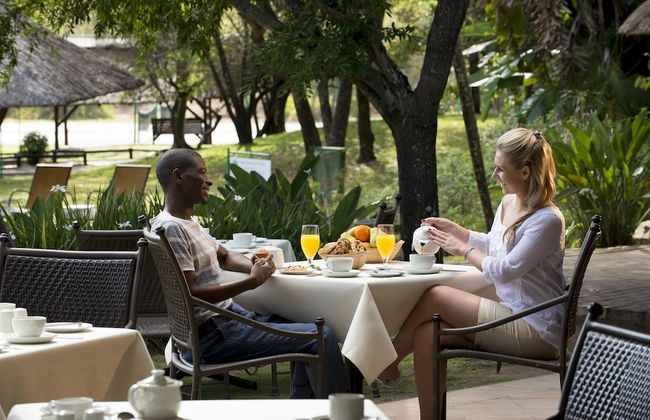
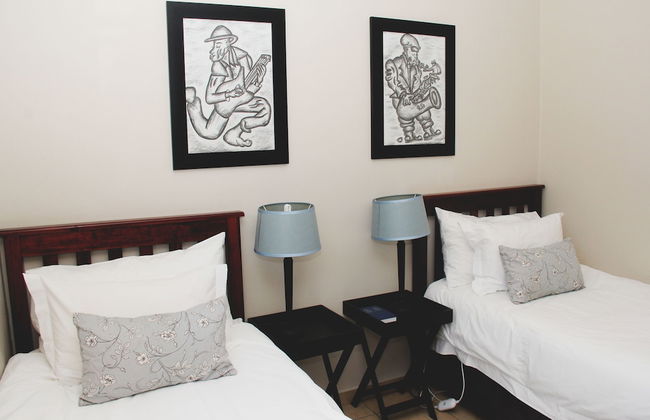
92 Wohnungen in Mpumalanga


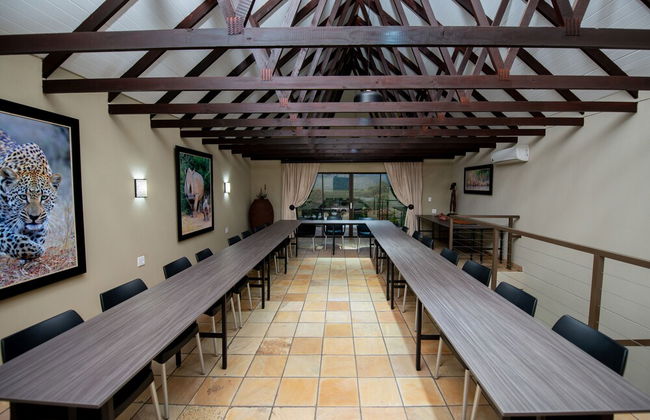
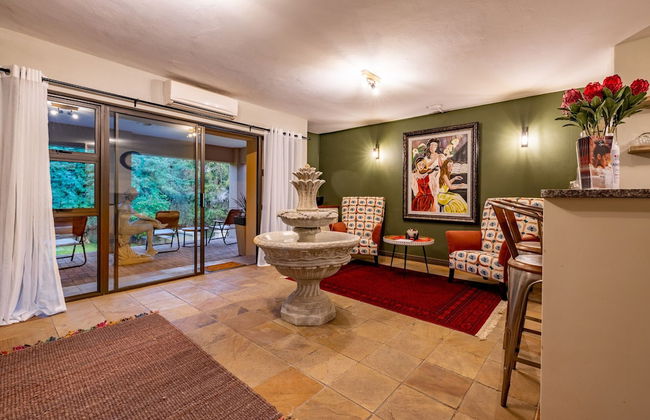
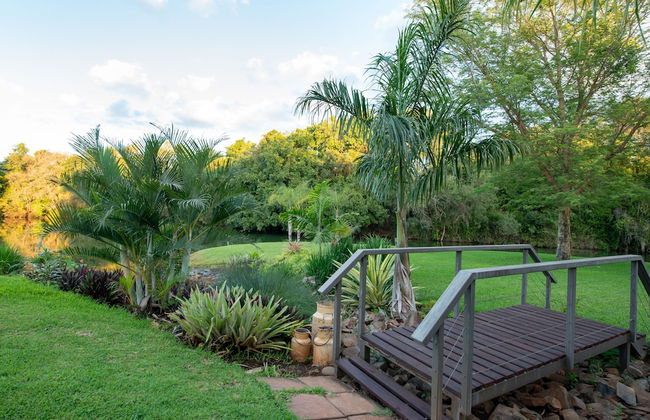
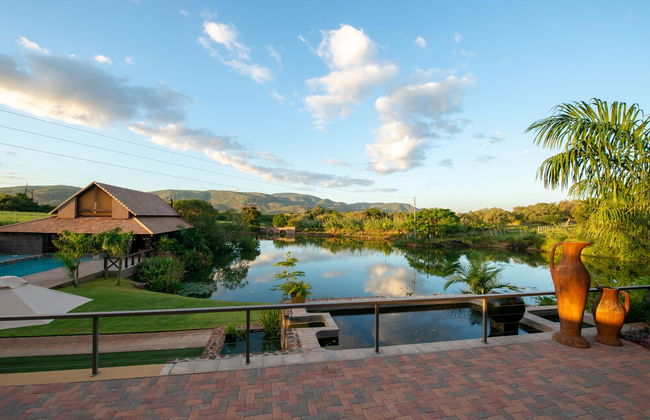
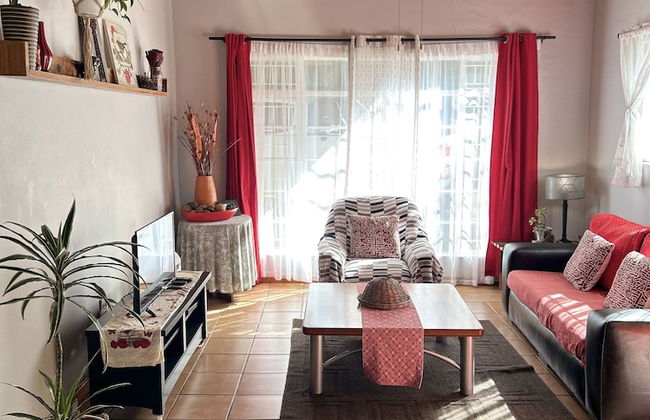
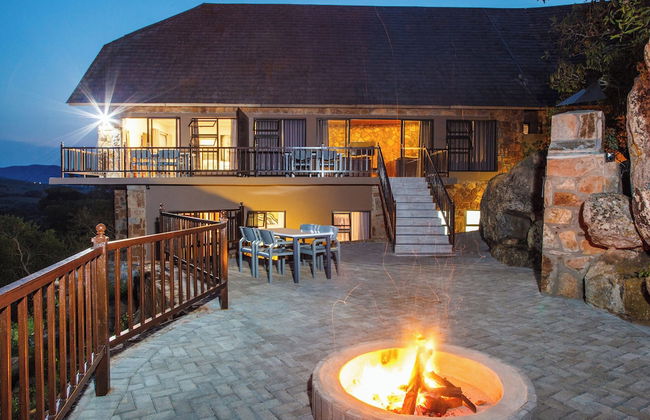
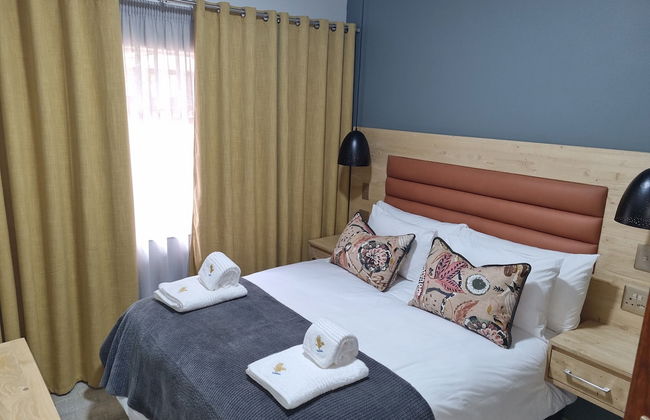
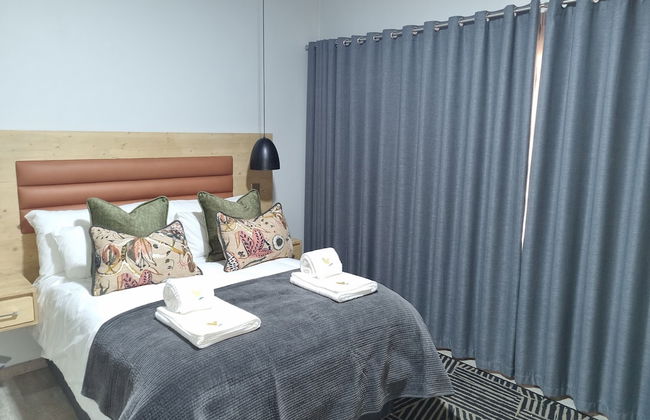
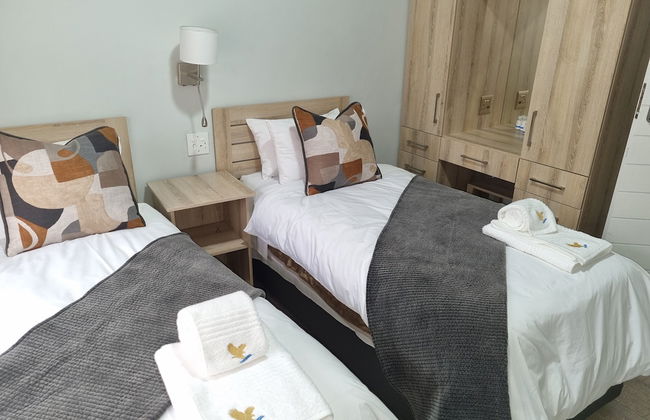
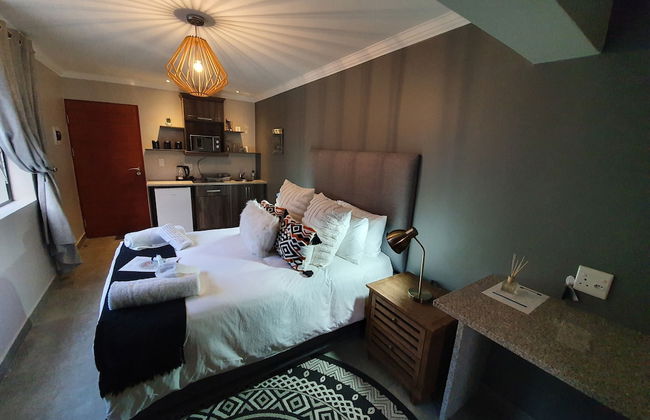
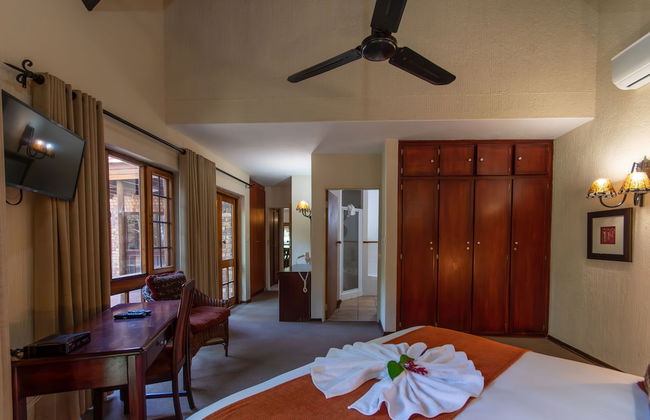
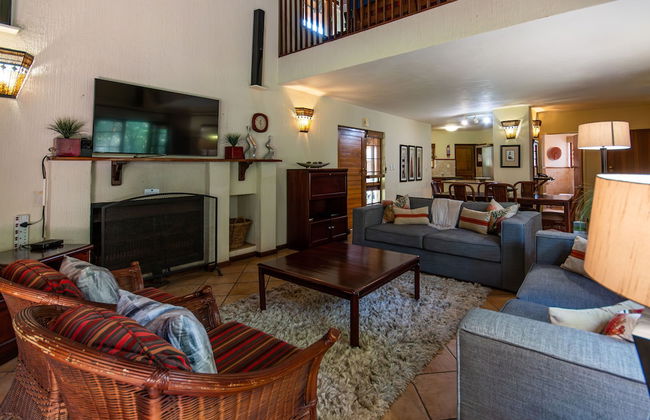
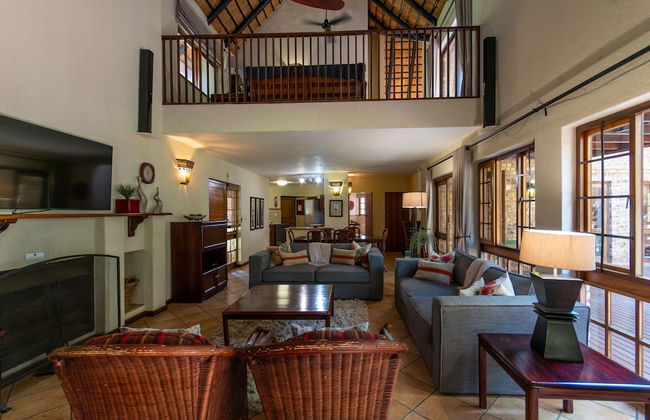
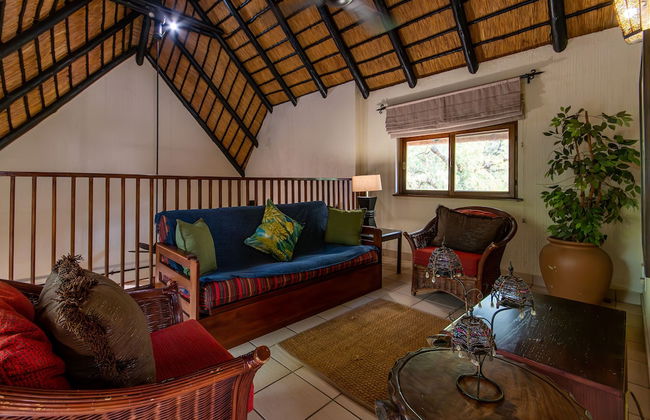
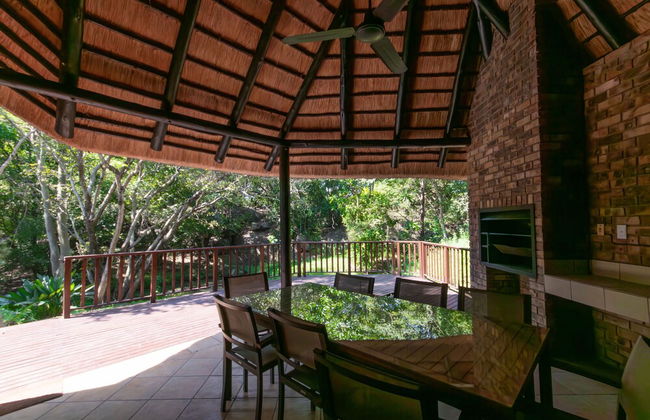
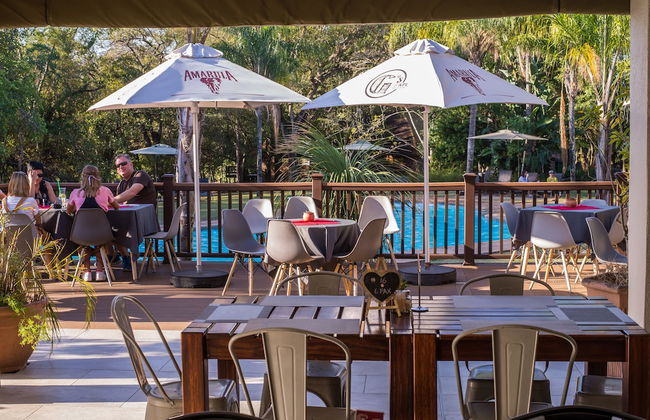
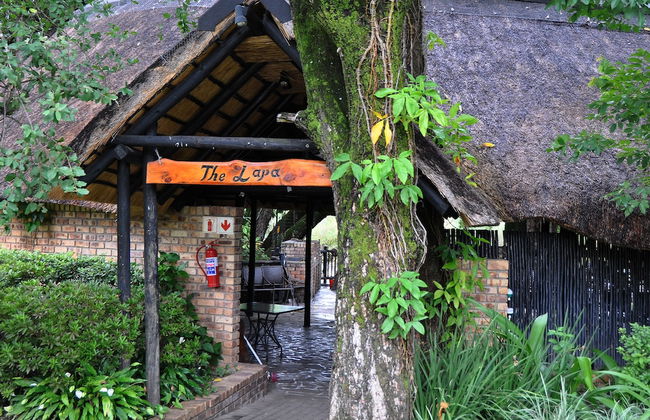
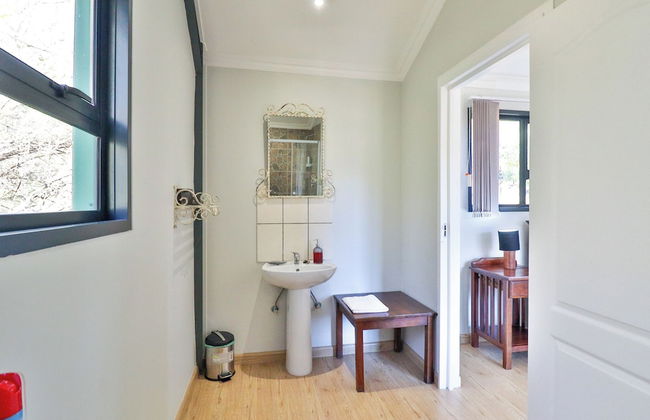
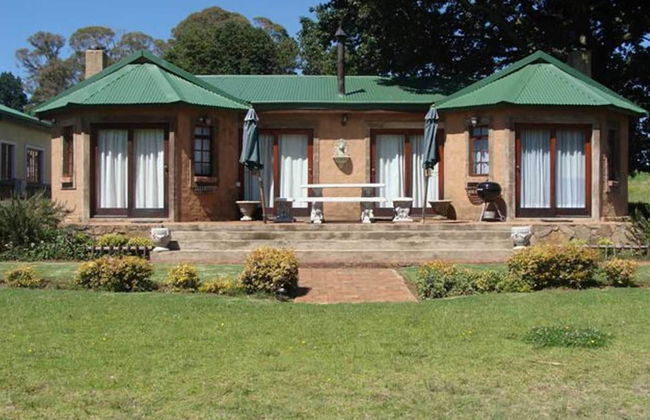
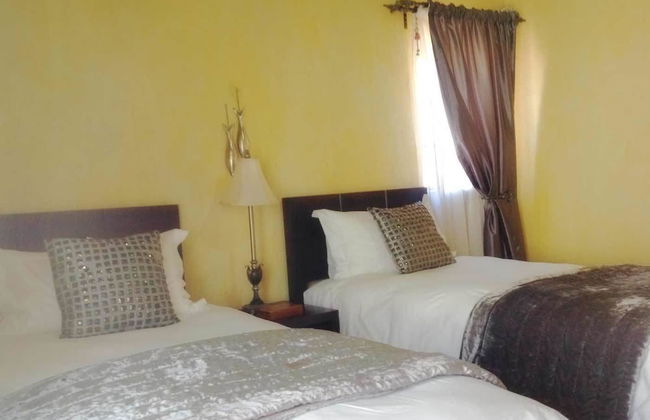
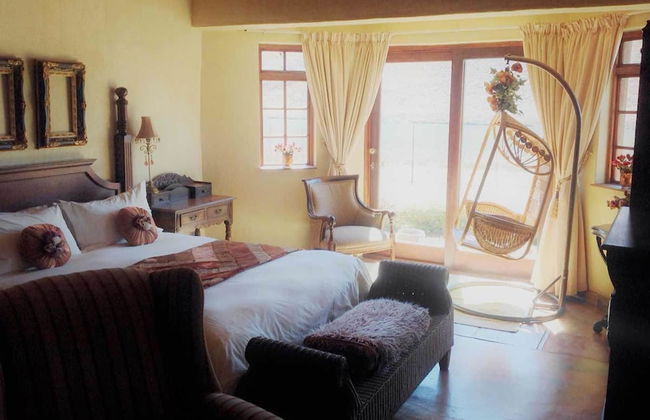
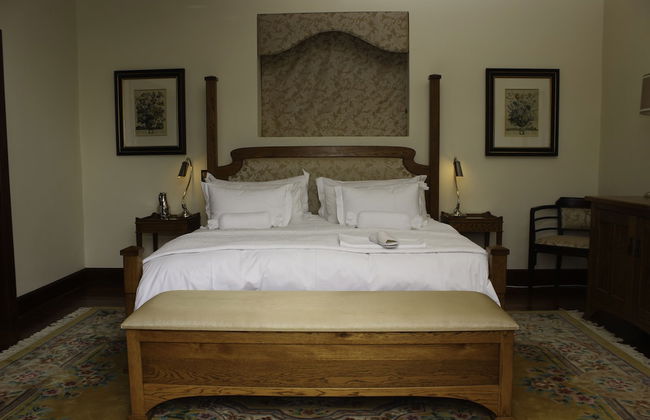
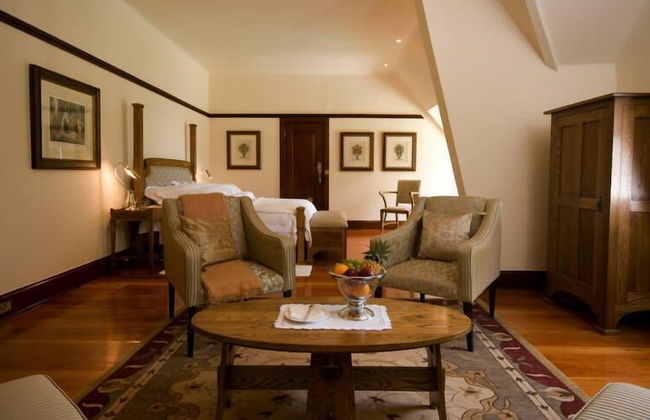
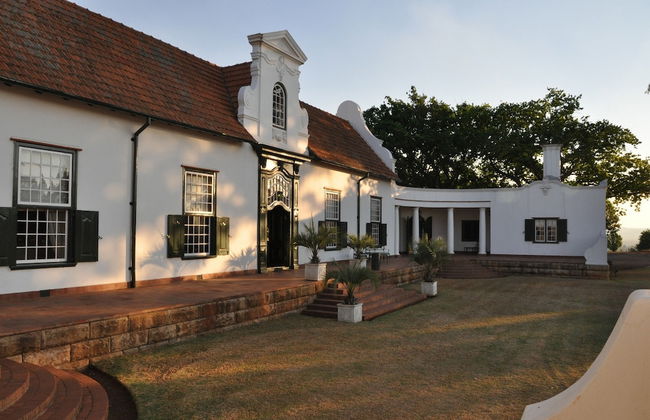
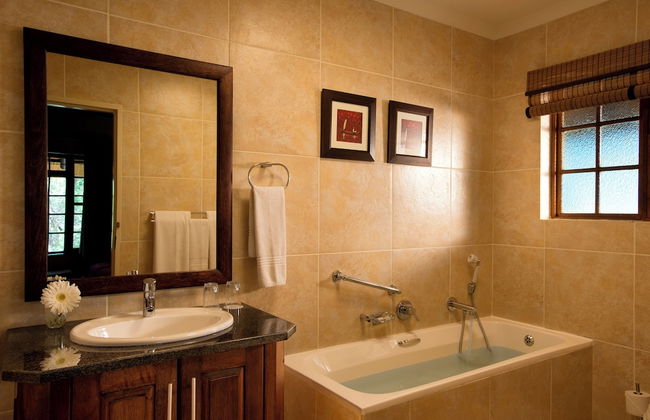
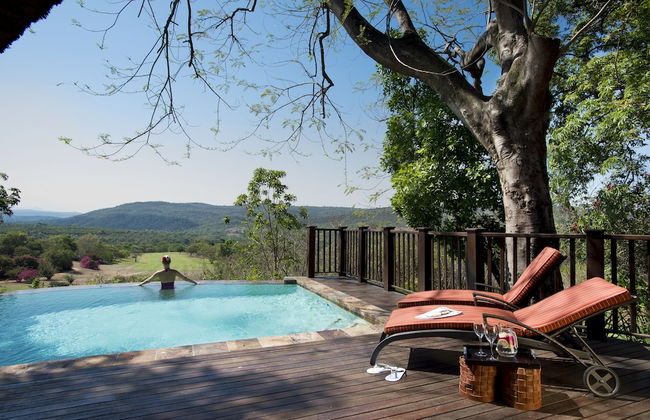
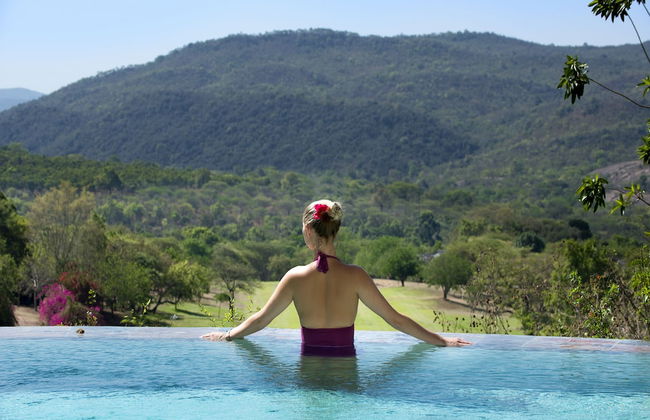
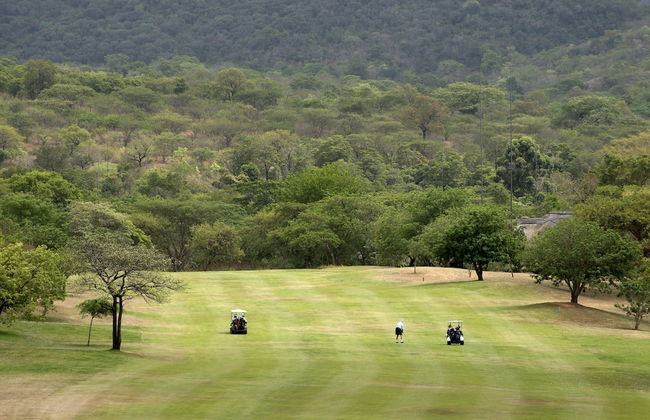
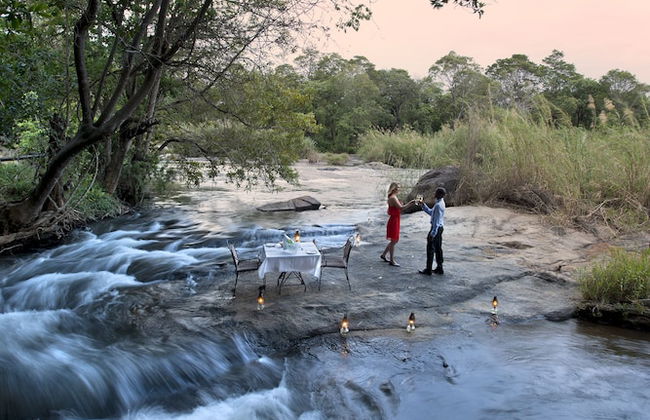
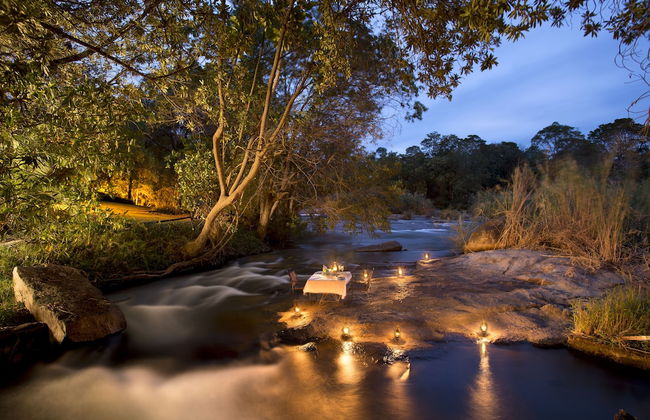
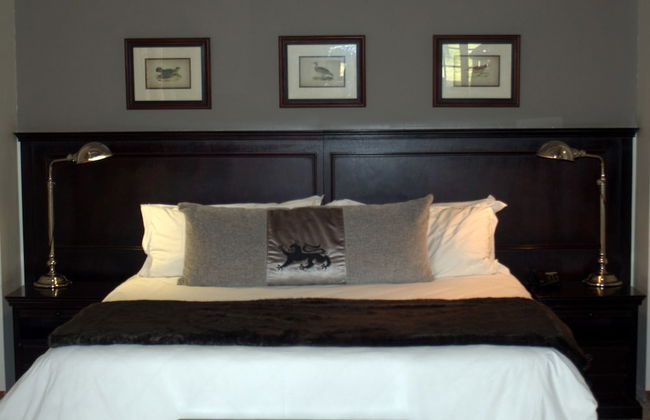
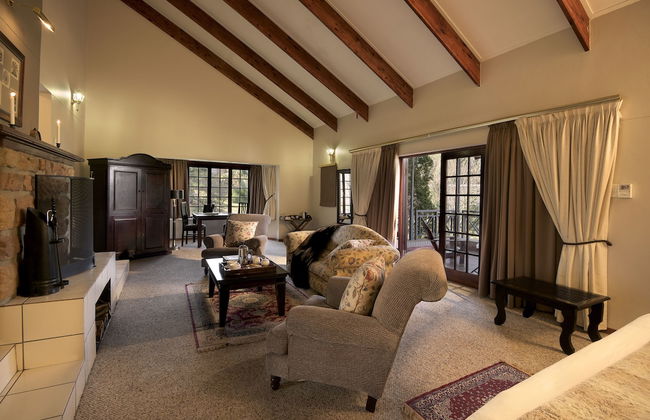
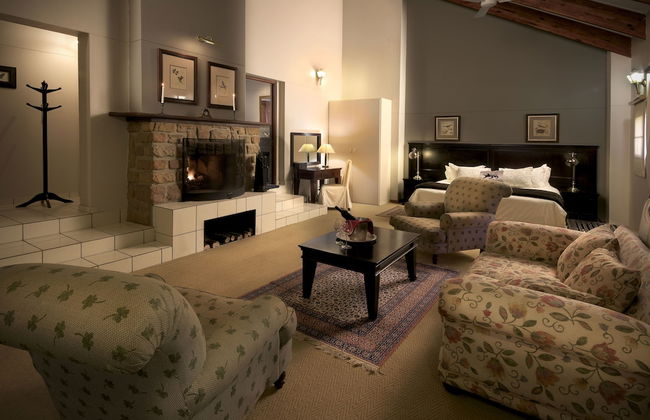
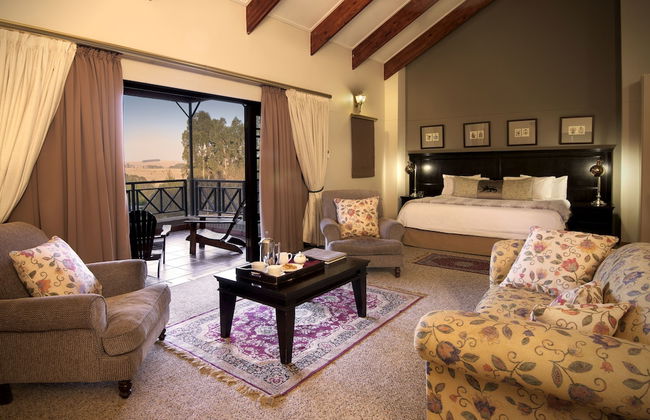
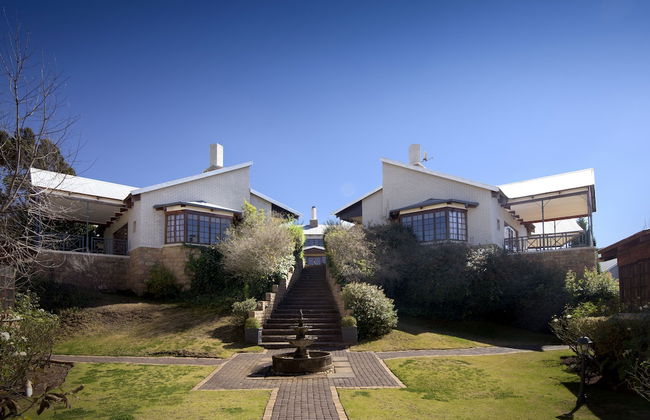
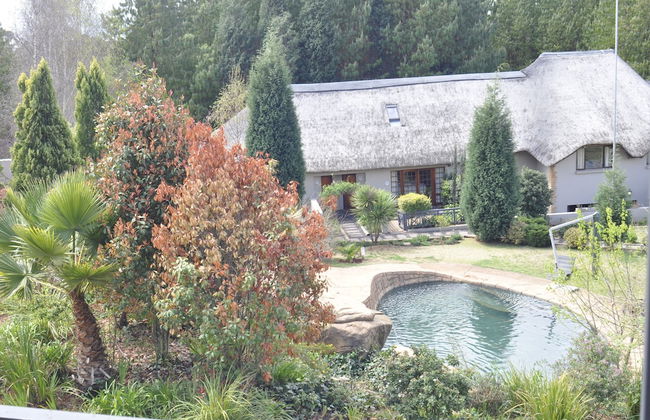
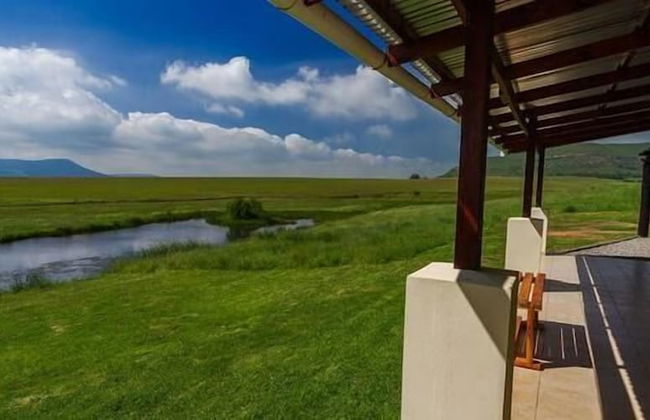
Highgrove House
Mbombela - 37.2 km vom Zentrum
- 45 M2
- 2 Personen
- Klimaanlage
- Terrasse
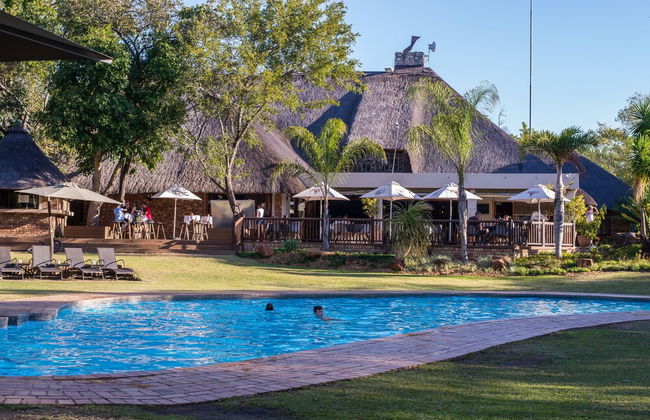
- Schwimmbad
- Parkplatz
- Balkon
- Garten
- Tv
- Schornstein
- Handtücher
- Bettlaken
16 Bewertungen


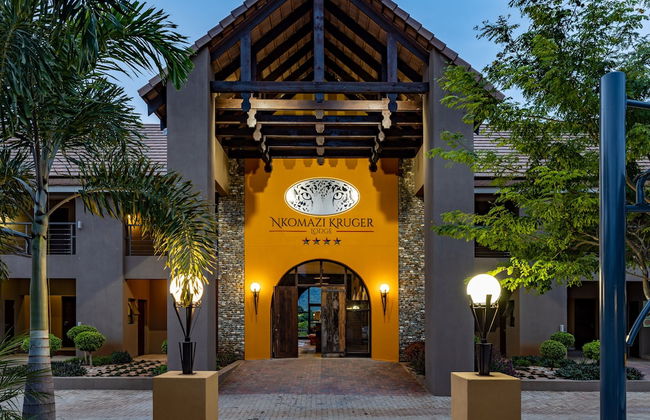


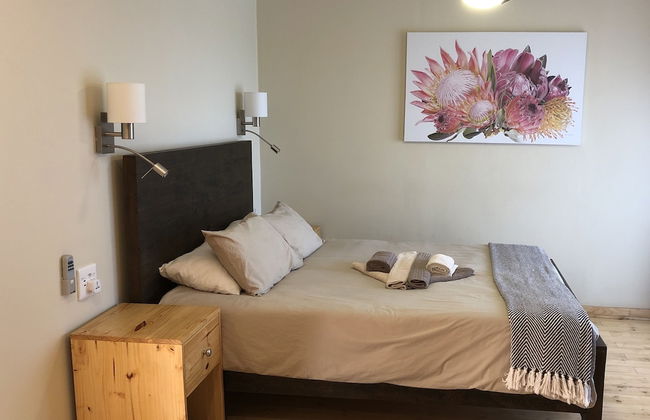
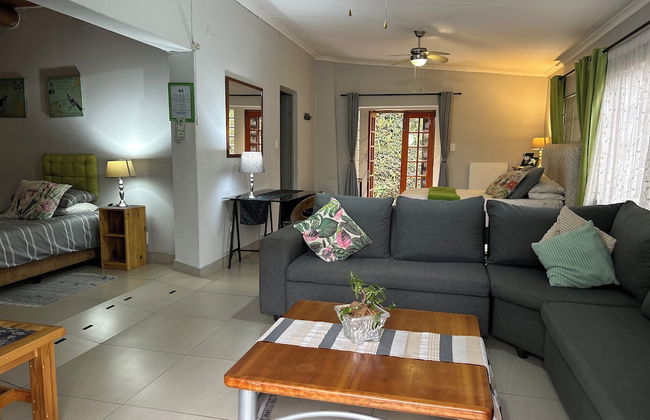
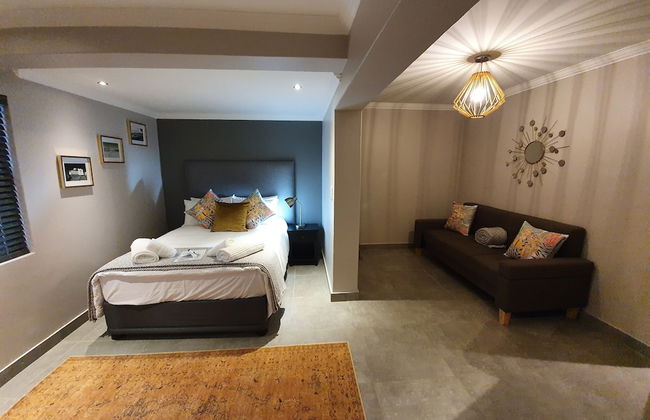
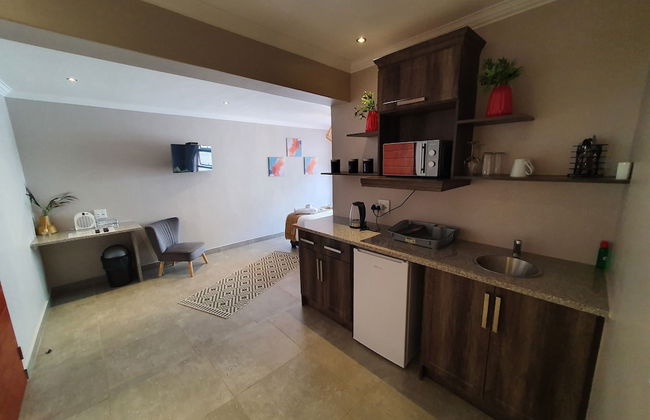
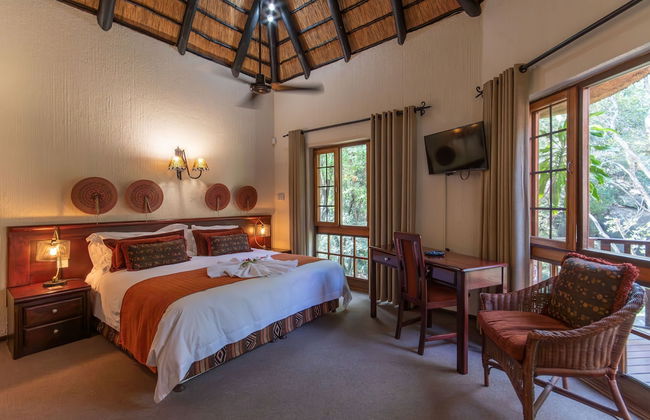
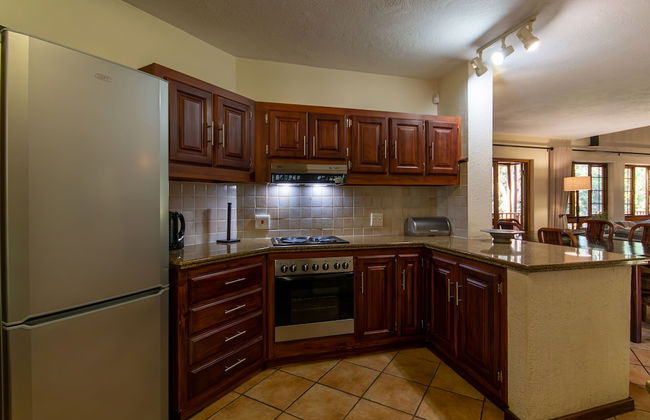
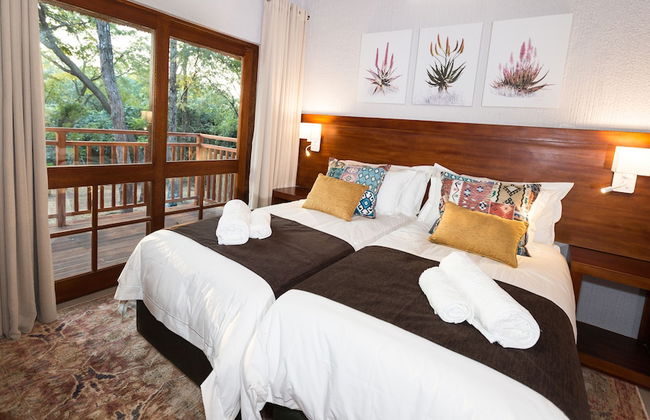
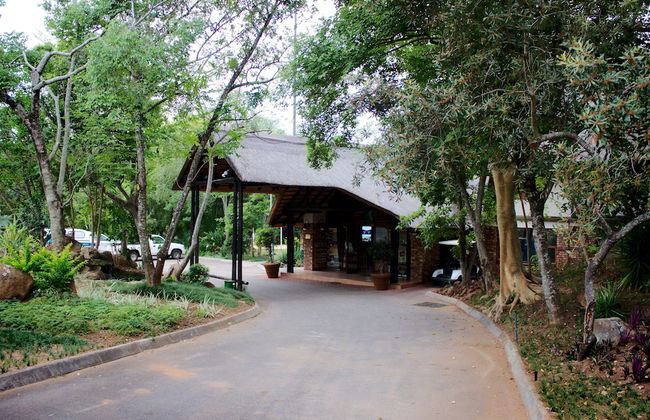
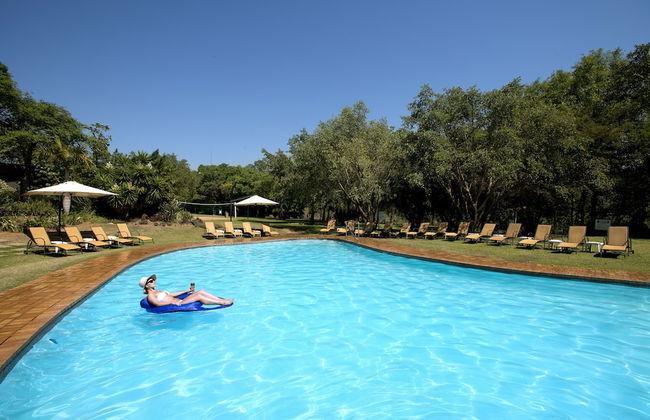
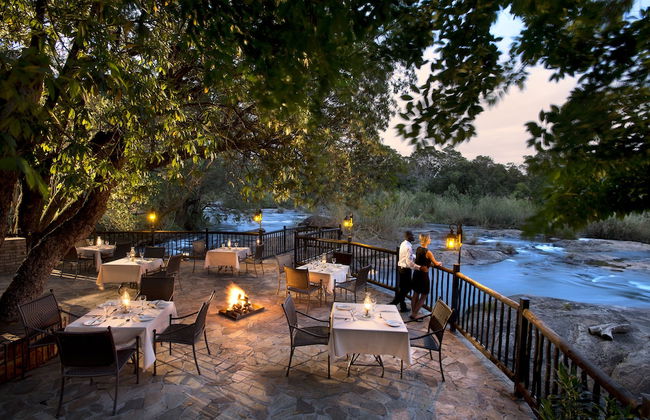
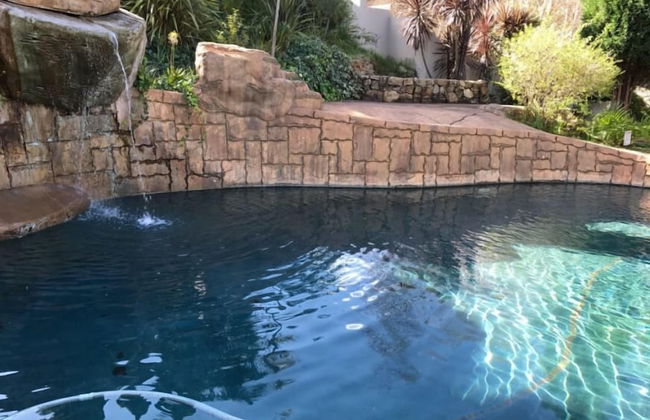
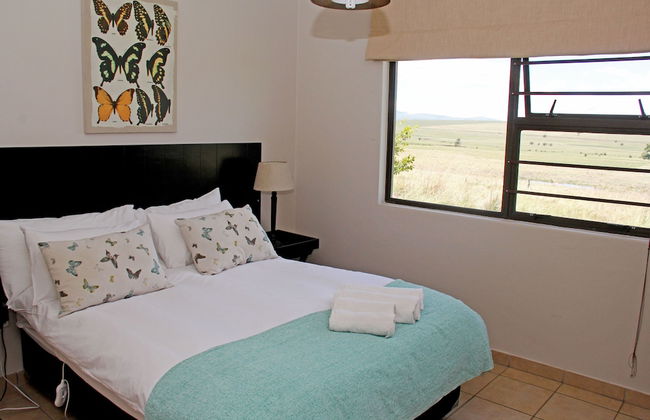
Nkomazi Kruger Lodge
Nkomazi - 20.2 km vom Zentrum
- 120 M2
- 10 Personen
- Kochnische
- Klimaanlage
- Heizung
- Terrasse
- Schwimmbad
- Parkplatz
- Balkon
- Garten
- Tv
- Schornstein
- Barbecue
- Handtücher
- Bettlaken
15 Bewertungen
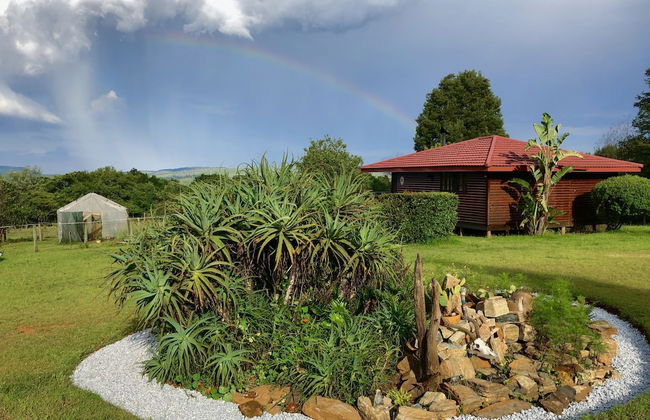


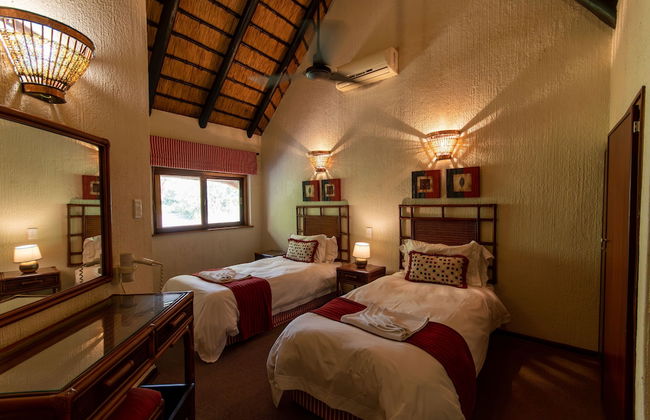
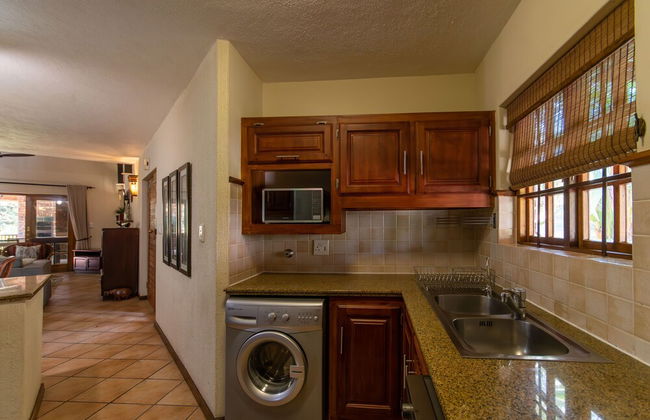
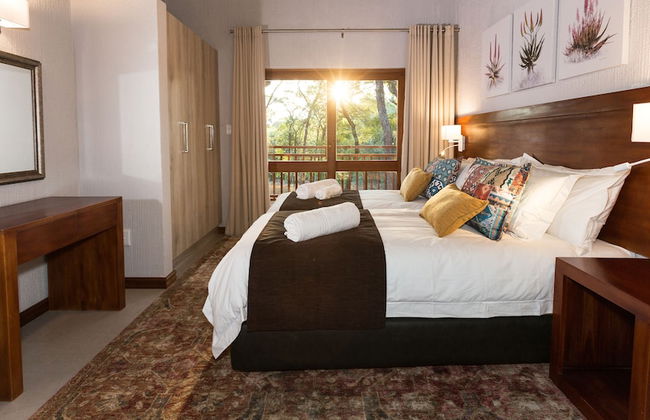
Zur Alten Mine
Thaba Chweu - 39.8 km vom Zentrum
- 80 M2
- 5 Personen
- Kochnische
- Heizung
- Garten
- Schornstein
- Barbecue
- Handtücher
- Bettlaken
46 Bewertungen


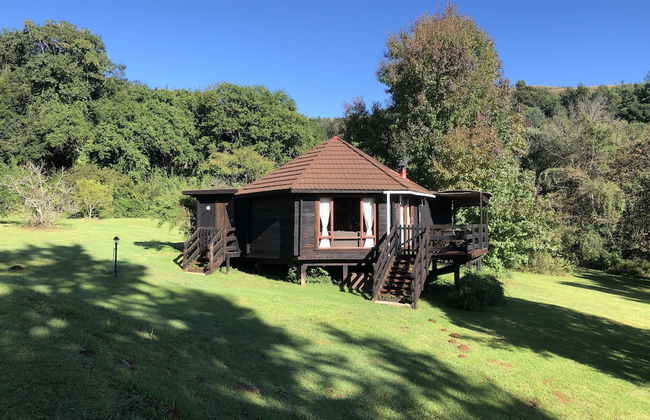
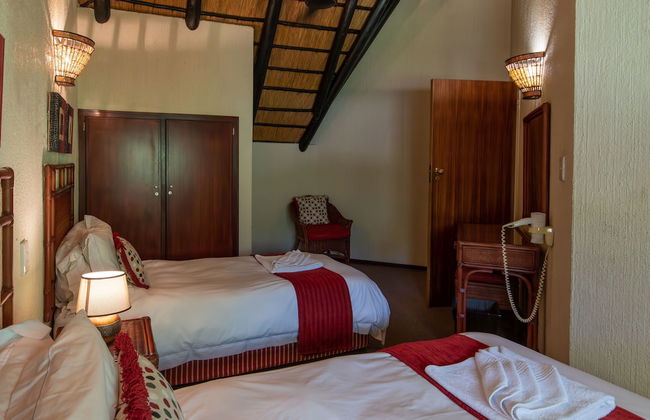
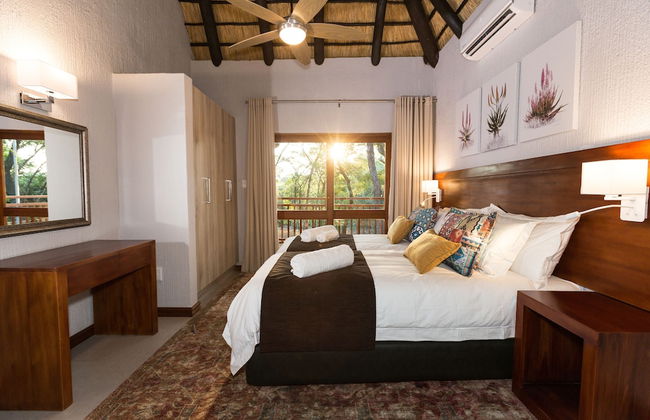
LoerieRoep
Mbombela - 8.2 km vom Zentrum
- 200 M2
- 8 Personen
- Kochnische
- Klimaanlage
- Terrasse
- Schwimmbad
- Parkplatz
- Garten
- Tv
- Schornstein
- Barbecue
- Handtücher
- Bettlaken
11 Bewertungen


Sabie Self-Catering Apartments
Sabie
- 100 M2
- 5 Personen
- Heizung
- Terrasse
- Schwimmbad
- Parkplatz
- Balkon
- Garten
- Tv
- Barbecue
- Handtücher
- Bettlaken
9 Bewertungen


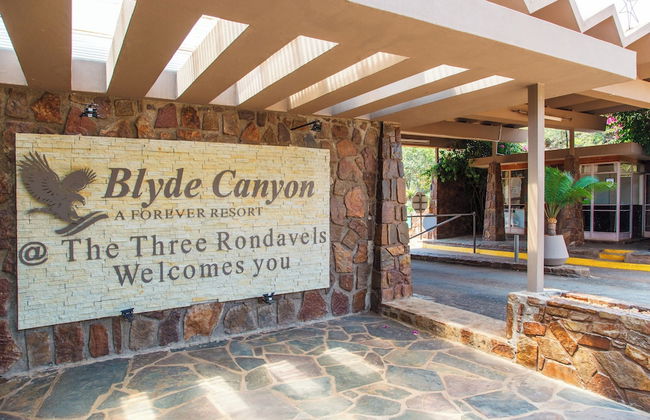

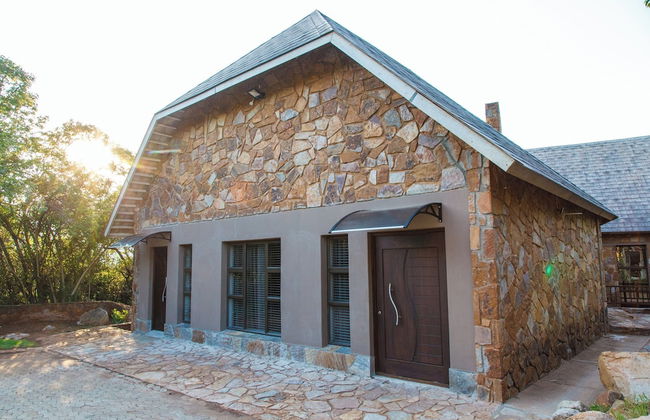

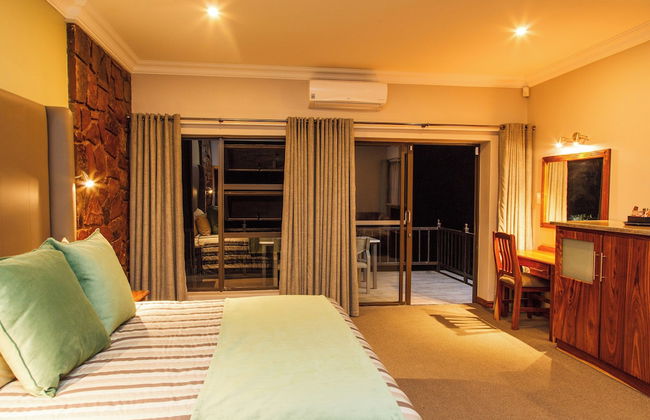


Blyde Canyon, A Forever Resort
Thaba Chweu - 65.2 km vom Zentrum
- 440 M2
- 12 Personen
- Kochnische
- Klimaanlage
- Heizung
- Terrasse
- Schwimmbad
- Parkplatz
- Balkon
- Garten
- Tv
- Waschmaschine
- Schornstein
- Barbecue
- Handtücher
- Bettlaken
198 Bewertungen


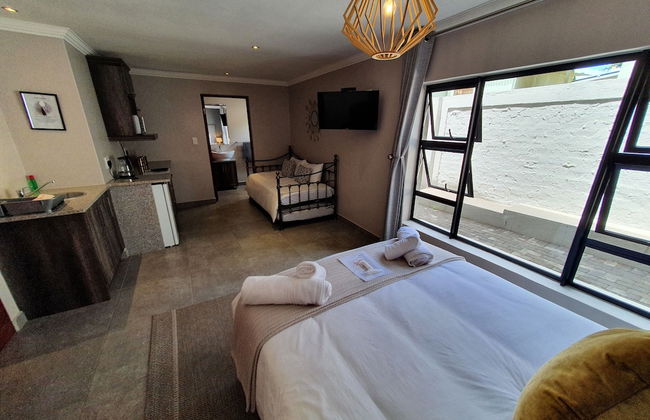


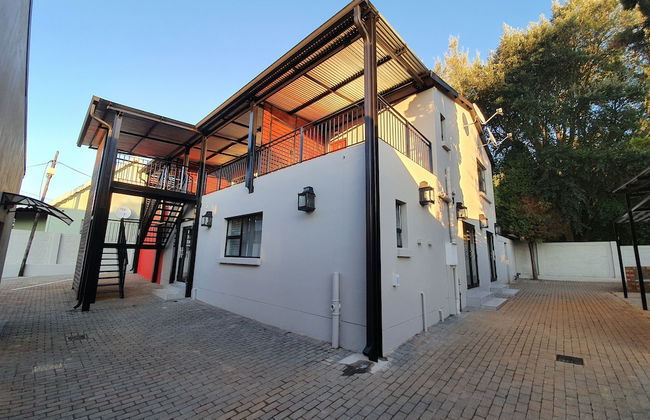
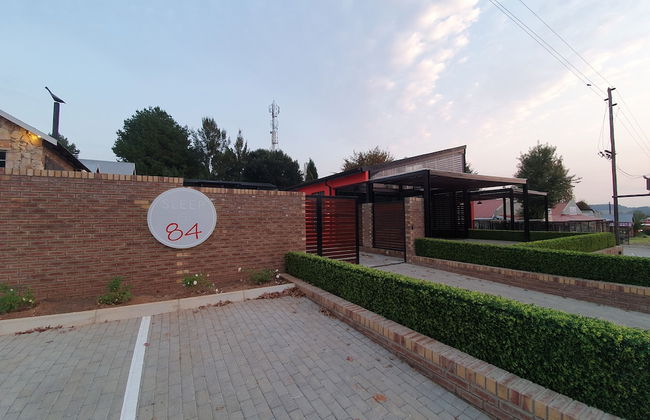
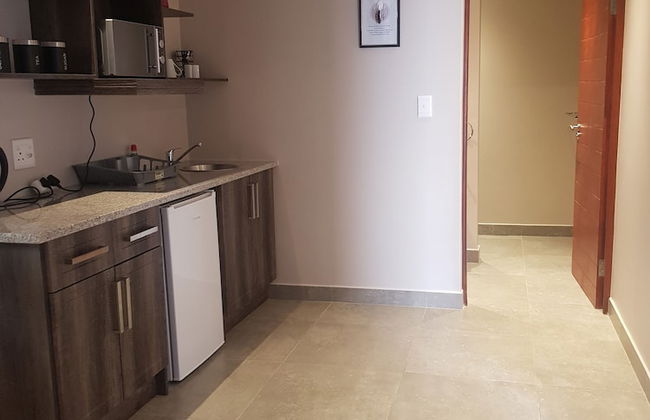

Sleepat84
Dullstroom
- 4 Personen
- Kochnische
- Heizung
- Parkplatz
- Tv
- Schornstein
- Barbecue
- Handtücher
- Bettlaken
25 Bewertungen


Elephant Point
Bushbuckridge
- 640 M2
- 10 Personen
- Klimaanlage
- Terrasse
- Schwimmbad
- Parkplatz
- Tv
- Waschmaschine
- Schornstein
- Barbecue
3 Bewertungen


Birds Babble Self Catering Guest House
Mbombela - 830 m vom Zentrum
- 75 M2
- 4 Personen
- Klimaanlage
- Terrasse
- Schwimmbad
- Parkplatz
- Garten
- Tv
- Barbecue
- Handtücher
- Bettlaken
4 Bewertungen


Kruger Park Lodge Unit No. 265
Hazyview
- 200 M2
- 6 Personen
- Klimaanlage
- Terrasse
- Schwimmbad
- Parkplatz
- Garten
- Tv
- Waschmaschine
- Barbecue
- Handtücher
- Bettlaken
2 Bewertungen


AtNature Luxury Self Catering Cottages
Mbombela - 11.6 km vom Zentrum
- 73 M2
- 6 Personen
- Kochnische
- Terrasse
- Schwimmbad
- Parkplatz
- Balkon
- Garten
- Tv
- Barbecue
- Handtücher
- Bettlaken
9 Bewertungen


Kruger Park Lodge Unit 612
Hazyview
- 230 M2
- 6 Personen
- Klimaanlage
- Heizung
- Terrasse
- Schwimmbad
- Parkplatz
- Garten
- Tv
- Waschmaschine
- Barbecue
- Handtücher
- Bettlaken
4 Bewertungen


Valley of the Rainbow Fly Fishing Estate
Belfast
- 300 M2
- 10 Personen
- Kochnische
- Klimaanlage
- Heizung
- Terrasse
- Parkplatz
- Balkon
- Garten
- Tv
- Schornstein
- Handtücher
- Bettlaken
9 Bewertungen


Log Cabin & Settlers Village
Graskop
- 20 M2
- 6 Personen
- Heizung
- Terrasse
- Schwimmbad
- Parkplatz
- Balkon
- Garten
- Tv
- Barbecue
- Handtücher
- Bettlaken
15 Bewertungen


Fox and Squirrel
Dullstroom
- 8 Personen
- Kochnische
- Heizung
- Terrasse
- Parkplatz
- Garten
- Tv
- Waschmaschine
- Schornstein
- Barbecue
- Handtücher
- Bettlaken
7 Bewertungen


Welgelegen Manor
Balfour
- 44 M2
- 2 Personen
- Klimaanlage
- Terrasse
- Schwimmbad
- Parkplatz
- Garten
- Tv
- Schornstein
- Handtücher
- Bettlaken
3 Bewertungen

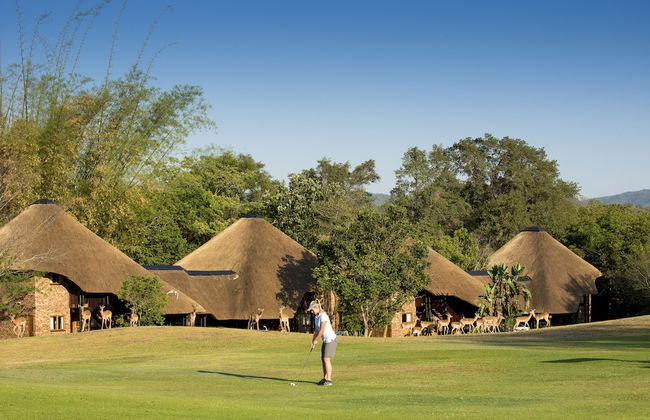
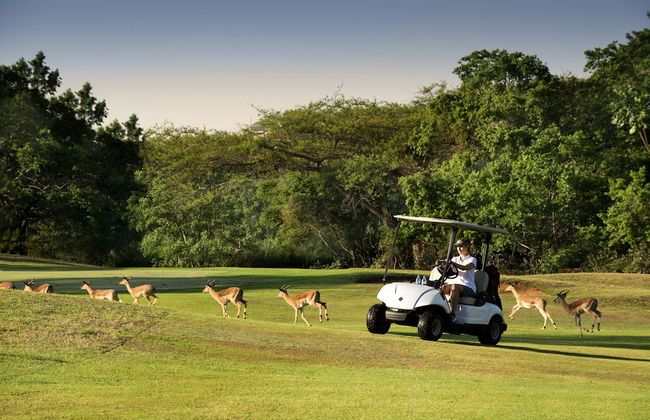
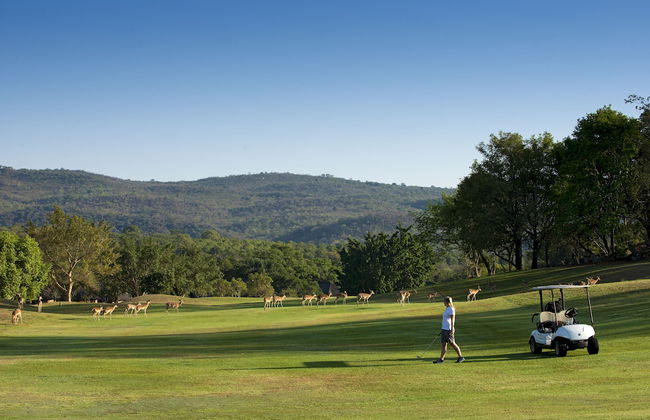
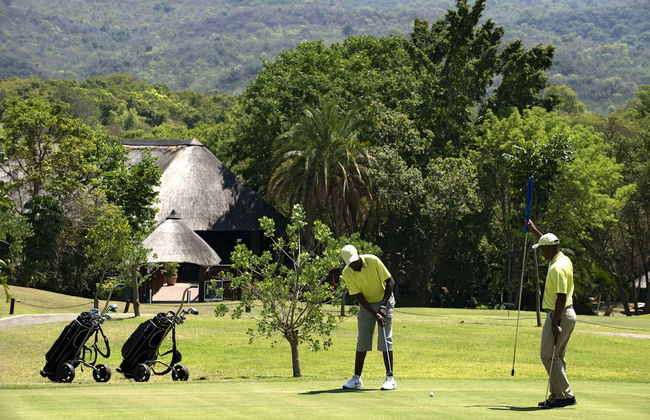


Kruger Park Lodge
Kruger Park Lodge Golf Club
- 8 Personen
- Terrasse
- Schwimmbad
- Parkplatz
- Garten
- Tv
- Barbecue
- Handtücher
- Bettlaken
24 Bewertungen


The Highlander Hotel
Dullstroom
- 4 Personen
- Heizung
- Terrasse
- Schwimmbad
- Parkplatz
- Garten
- Tv
- Schornstein
- Handtücher
- Bettlaken
68 Bewertungen


Sand River Cottages
Tshabalala
- 112 M2
- 5 Personen
- Kochnische
- Klimaanlage
- Schwimmbad
- Parkplatz
- Garten
- Tv
- Barbecue
- Handtücher
4 Bewertungen


Forellenhof Guest Farm
Dr Pixley Ka Isaka Seme - 22.7 km vom Zentrum
- 92 M2
- 6 Personen
- Heizung
- Schwimmbad
- Parkplatz
- Balkon
- Garten
- Tv
- Schornstein
- Barbecue
- Handtücher
- Bettlaken
6 Bewertungen