
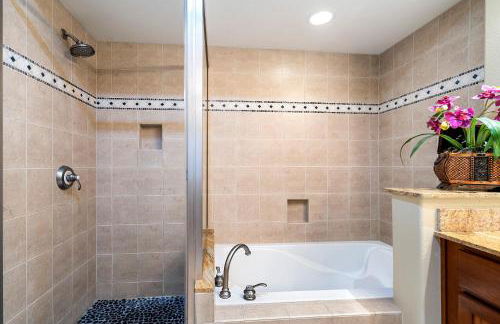
1759 Wohnungen in Hawaii


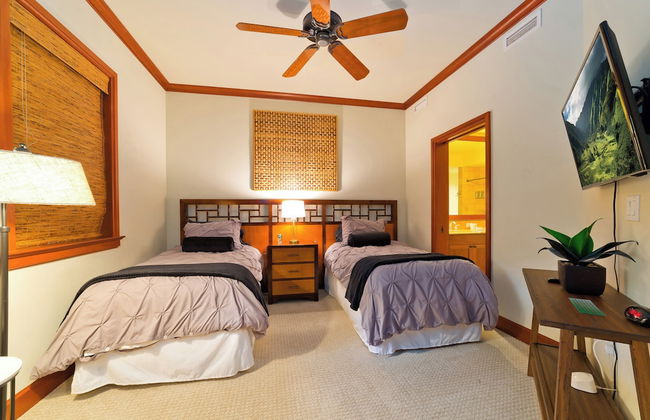
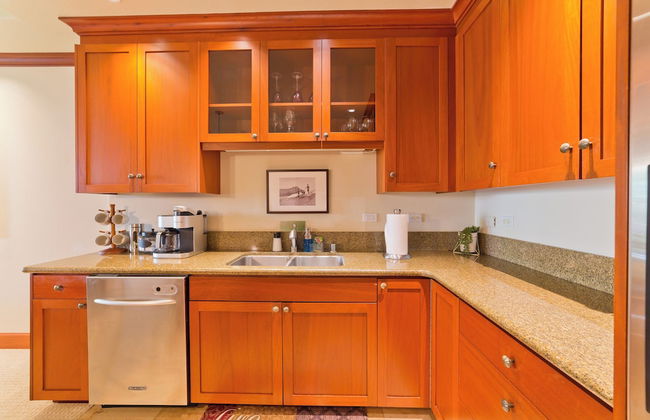
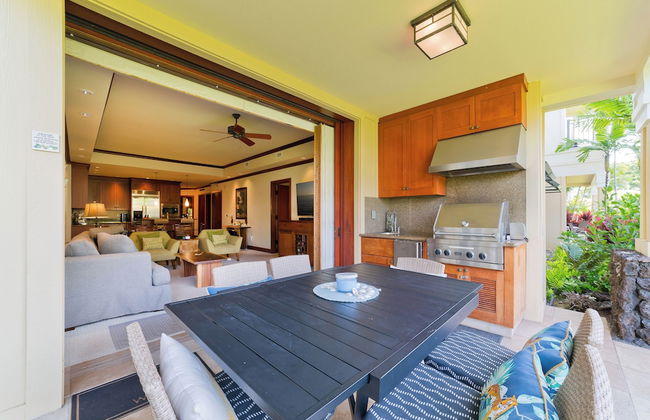
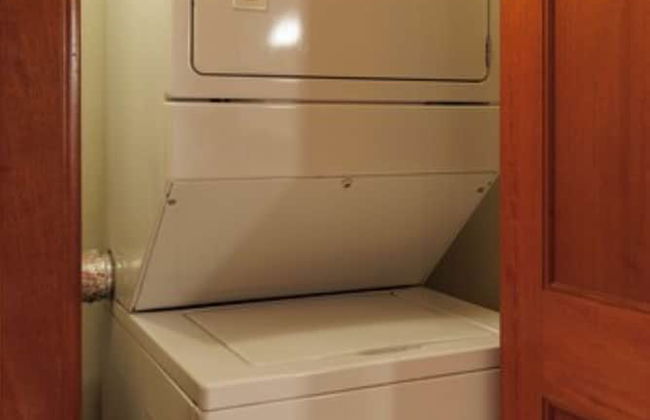
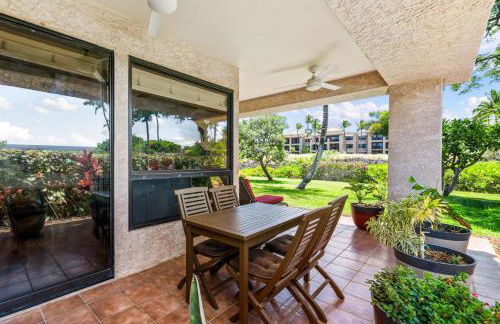
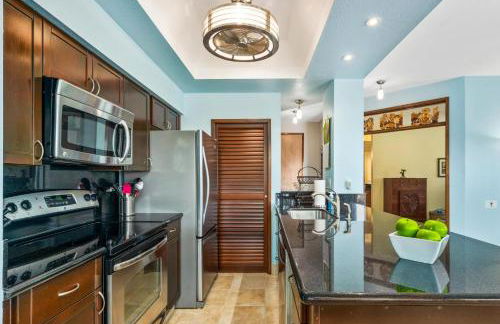
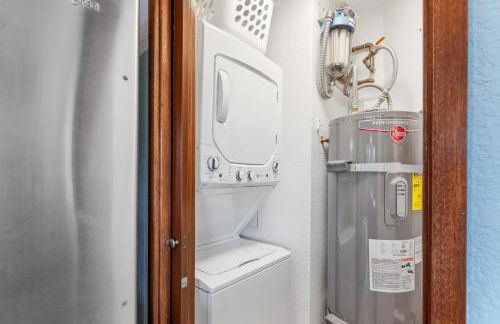
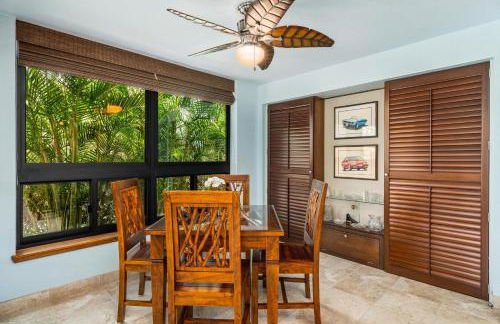
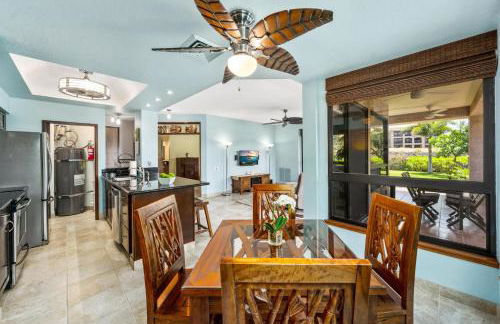
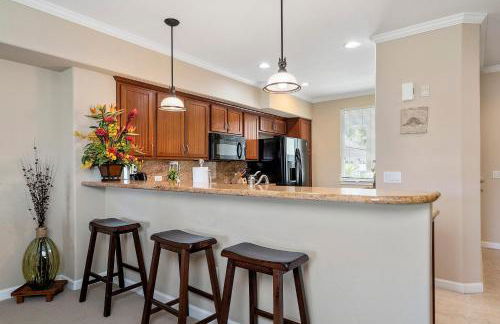
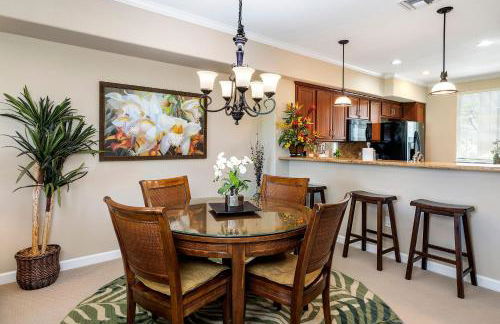
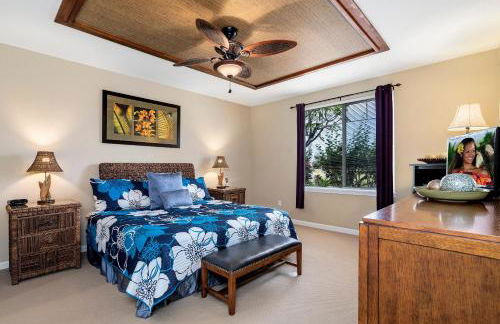
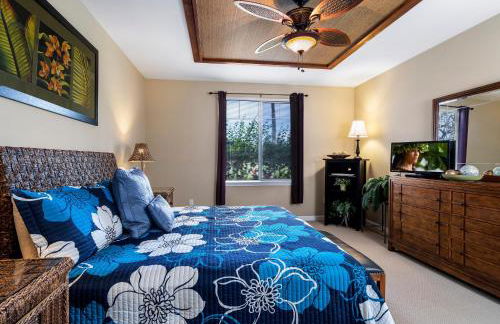
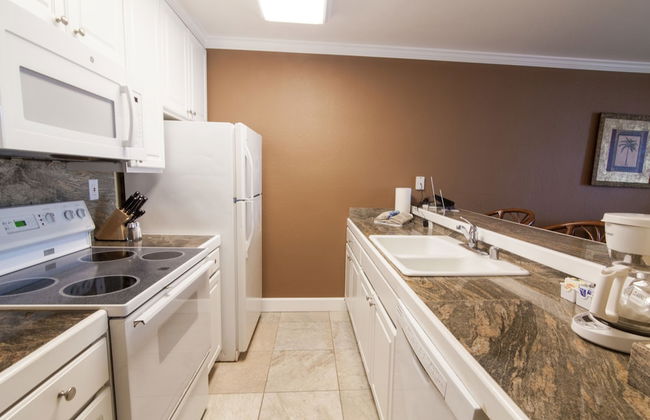
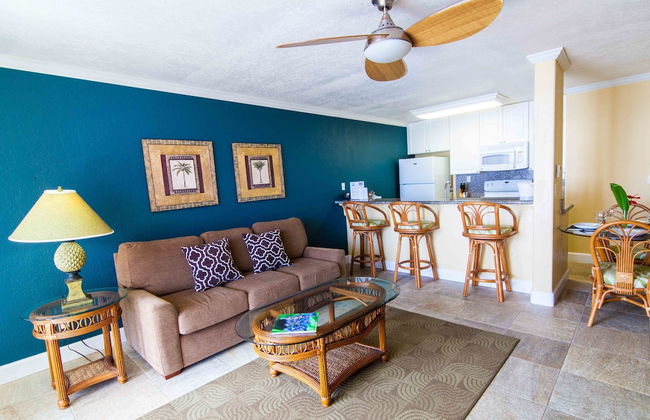
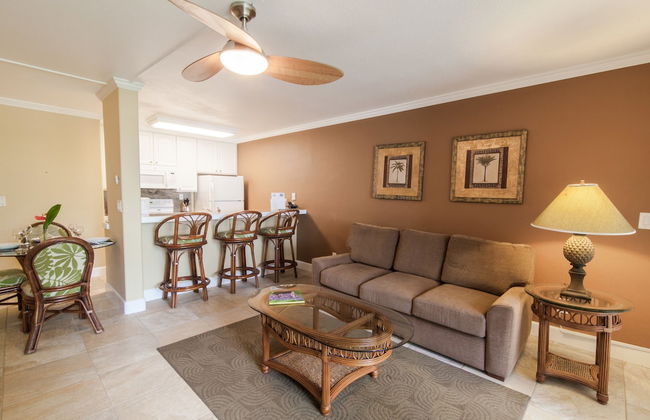
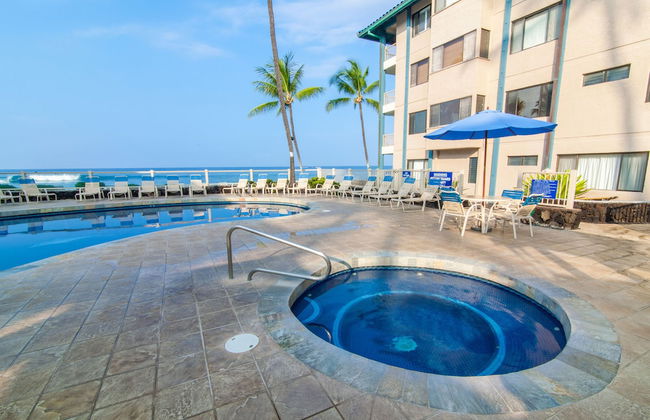
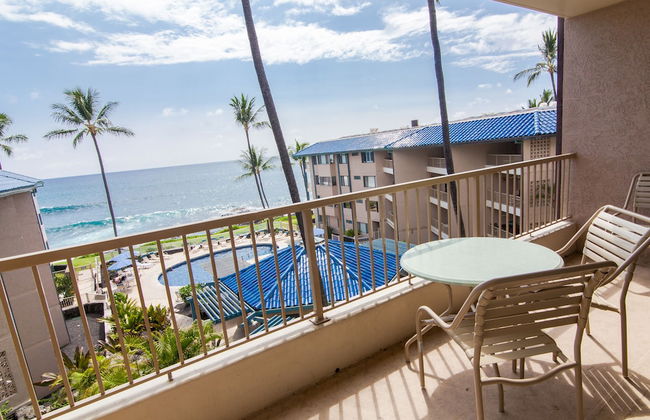
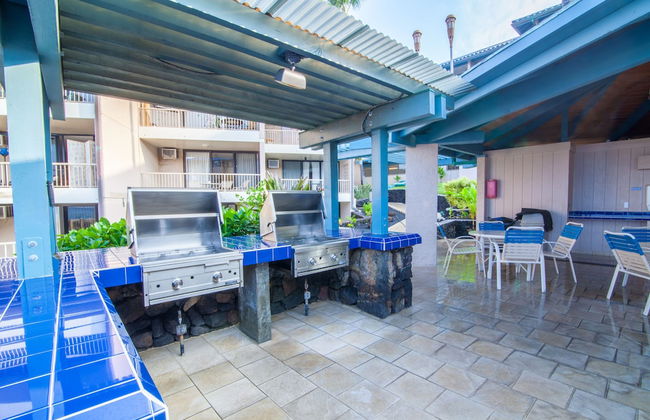
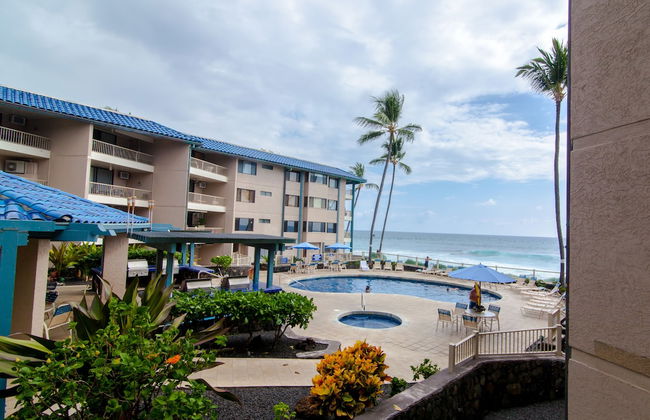
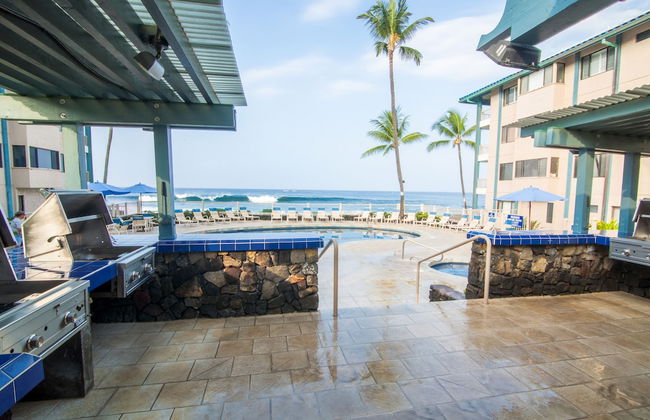
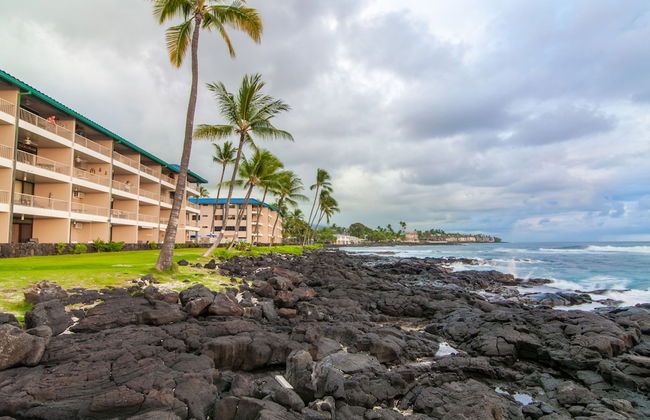
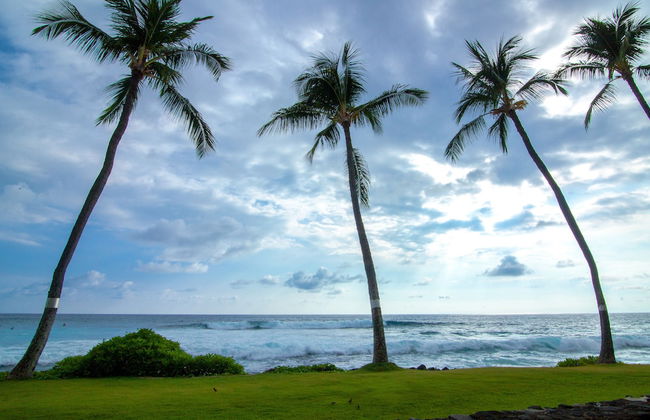
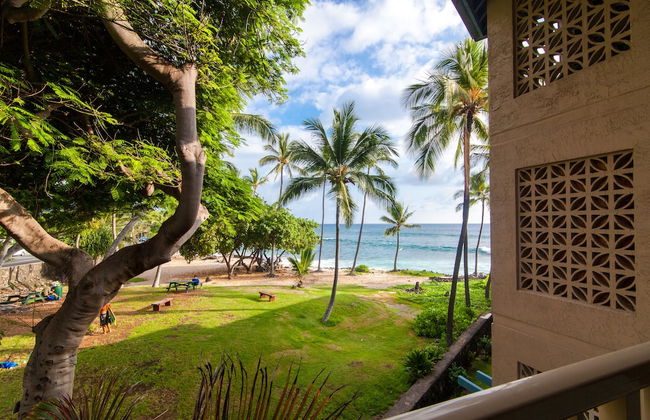
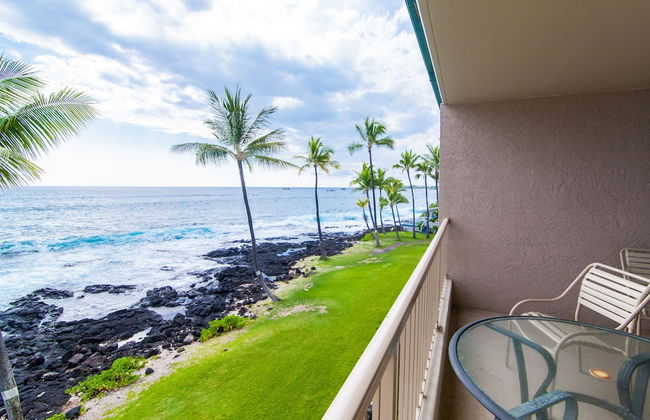
White Sands Village Oceanfront
Kailua-Kona - Holualoa
- 96 M2
- 2 Schlafzimmer
- 6 Personen
- Klimaanlage
- Terrasse
- Parkplatz
- Fahrstuhl
- Tv
- Waschmaschine
- Barbecue
- Handtücher
18 Bewertungen


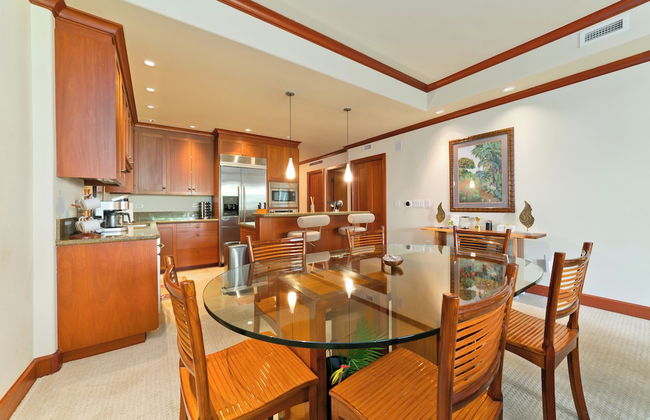


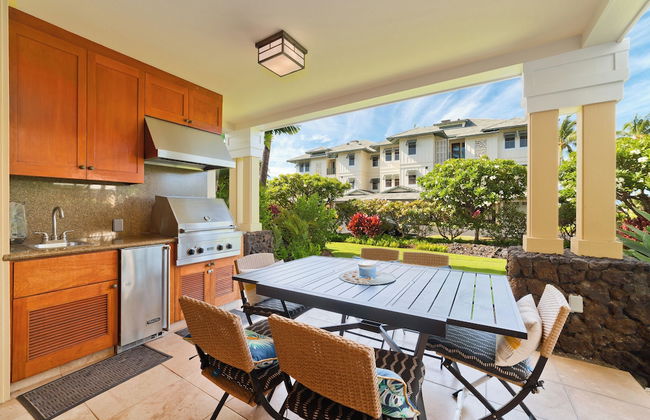


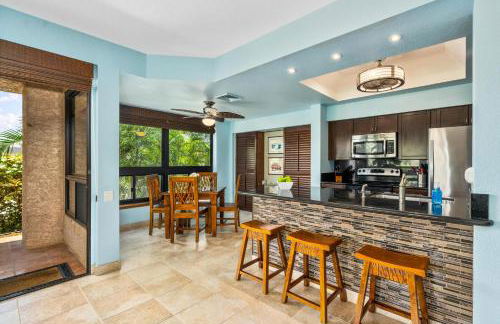
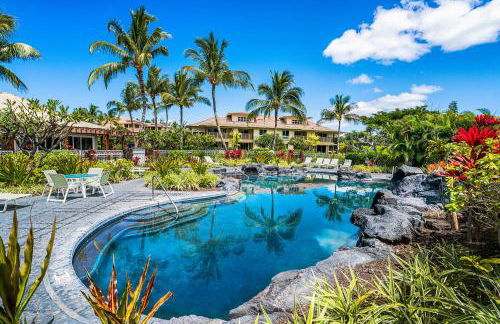
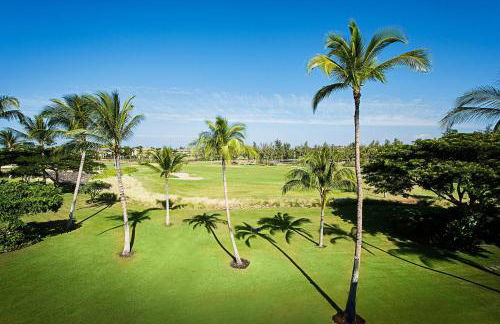
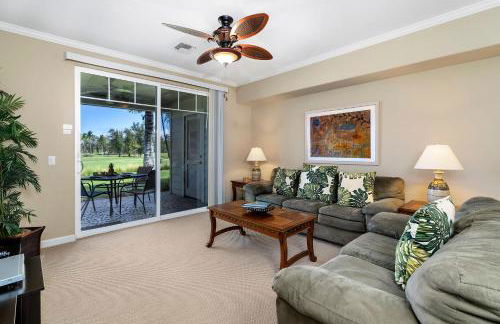
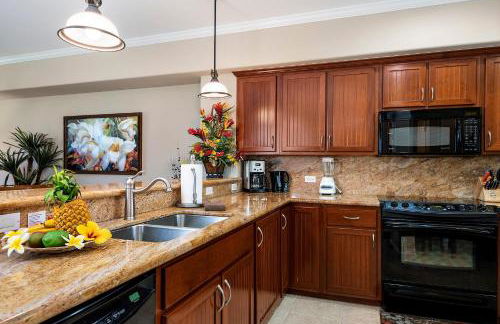
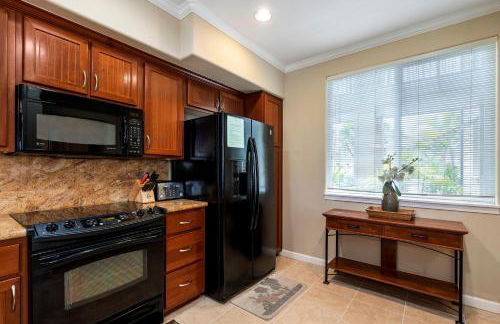
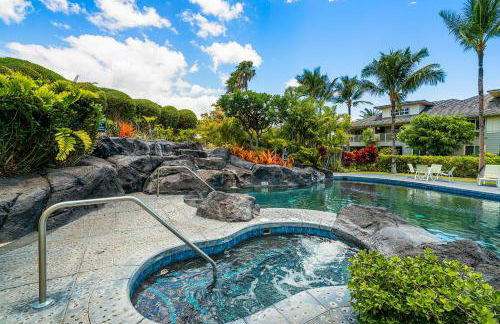
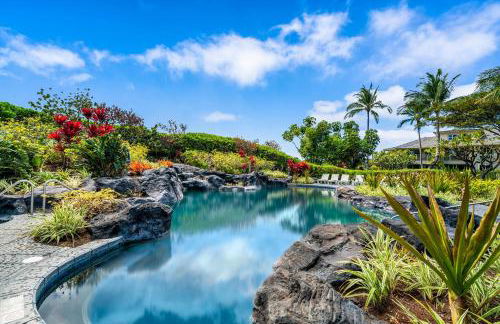
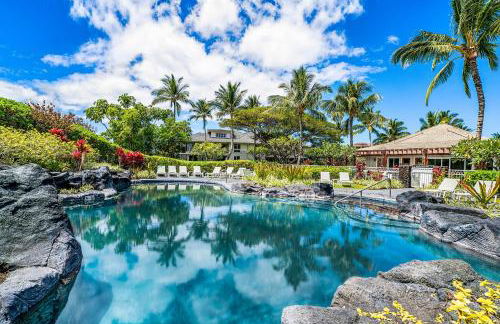
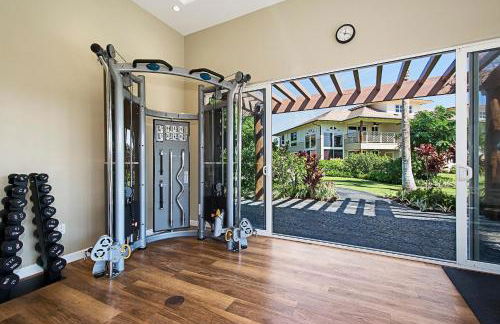
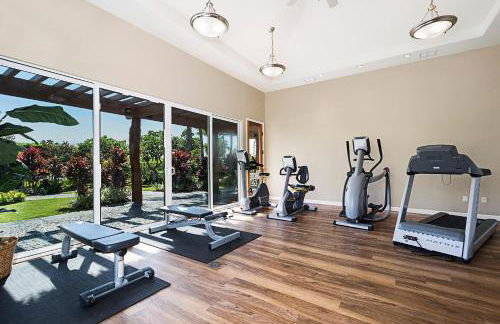
Hilton Pool Pass Included, Kolea - Luxe 2BR Villa Steps to Beach Pool HotTub Gym
Waikoloa - Waikoloa - 9.9 km vom Zentrum
- 118 M2
- 2 Schlafzimmer
- 6 Personen
- Klimaanlage
- Heizung
- Schwimmbad
- Parkplatz
- Fahrstuhl
- Garten
- Tv
- Waschmaschine
- Barbecue
- Handtücher
- Bettlaken
6 Bewertungen


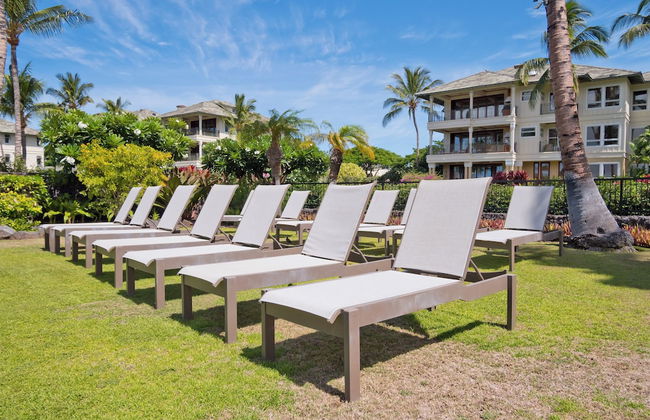
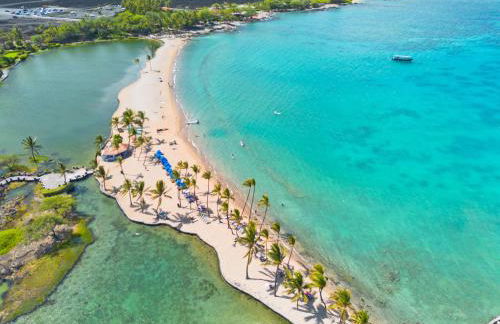
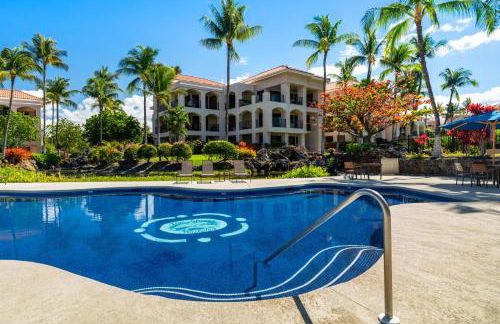
Mauna Kea Residences
Kamuela - Kamuela - 15.8 km vom Zentrum
- Schwimmbad
- Parkplatz
- Barbecue
- Handtücher
34 Bewertungen


Honu Hale Minutes Away From the Beach!
Kailua - Kailua Kona - 5.3 km vom Zentrum
- 95 M2
- 4 Personen
- Klimaanlage
- Heizung
- Parkplatz
- Fahrstuhl
- Tv
- Waschmaschine
- Handtücher
11 Bewertungen


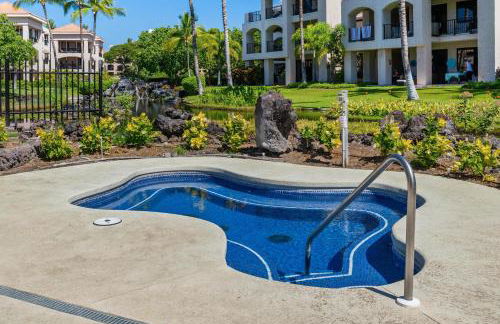
The Islands at Mauna Lani - CoralTree Residence Collection
Kamuela - Waikoloa - 21.5 km vom Zentrum
- 8 Personen
- Klimaanlage
- Terrasse
- Schwimmbad
- Parkplatz
- Tv
- Waschmaschine
- Barbecue
- Handtücher
- Bettlaken
114 Bewertungen


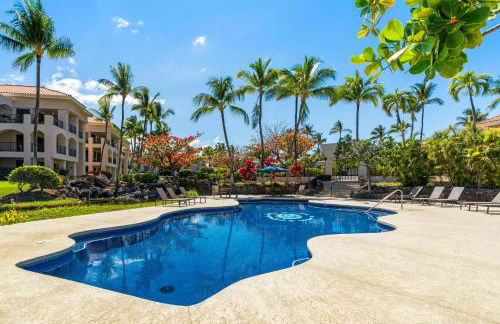
Mauna Lani Point
Kamuela - Waikoloa - 22.9 km vom Zentrum
- 121 M2
- 6 Personen
- Klimaanlage
- Heizung
- Terrasse
- Schwimmbad
- Parkplatz
- Tv
- Waschmaschine
- Barbecue
- Handtücher
- Bettlaken
292 Bewertungen


Lea Casa at Casa de Emdeko
Kailua - Kailua Kona - 2.4 km vom Zentrum
- 4 Personen
- Klimaanlage
- Terrasse
- Schwimmbad
- Parkplatz
- Fahrstuhl
- Balkon
- Tv
- Barbecue
- Handtücher
- Bettlaken
50 Bewertungen


Villa Sea Renity
Waikoloa - Waikoloa - 9.6 km vom Zentrum
- 76 M2
- 1 Schlafzimmer
- 4 Personen
- Klimaanlage
- Heizung
- Schwimmbad
- Parkplatz
- Garten
- Tv
- Waschmaschine
- Barbecue
- Handtücher
- Bettlaken
6 Bewertungen


Waikoloa Fairway Villas
Waikoloa - Waikoloa - 9.4 km vom Zentrum
- 203 M2
- 6 Personen
- Klimaanlage
- Schwimmbad
- Parkplatz
- Fahrstuhl
- Tv
- Waschmaschine
- Barbecue
- Handtücher
39 Bewertungen


White Sands Village #217 Perfect Tropical Escape
Kailua-Kona - Holualoa
- 94 M2
- 2 Schlafzimmer
- 5 Personen
- Klimaanlage
- Schwimmbad
- Parkplatz
- Fahrstuhl
- Tv
- Waschmaschine
- Barbecue
- Handtücher
10 Bewertungen


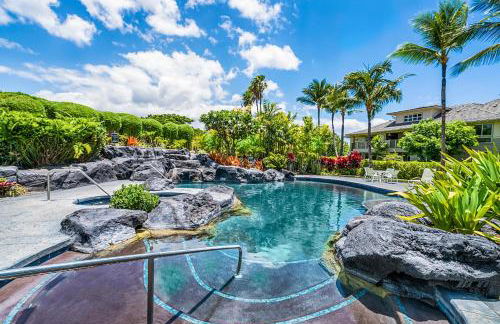
Hilton Pool Pass incl - Spacious & Relaxing Resort Gem ~ View ~ Pool ~ Gym
Waikoloa - Waikoloa - 9.6 km vom Zentrum
- 104 M2
- 2 Schlafzimmer
- 6 Personen
- Klimaanlage
- Heizung
- Terrasse
- Schwimmbad
- Parkplatz
- Fahrstuhl
- Garten
- Tv
- Waschmaschine
- Barbecue
- Handtücher
- Bettlaken
2 Bewertungen


Aston Kona by the Sea
Kailua - Kailua Kona - 2.6 km vom Zentrum
- 117 M2
- 6 Personen
- Klimaanlage
- Heizung
- Terrasse
- Schwimmbad
- Parkplatz
- Fahrstuhl
- Balkon
- Garten
- Tv
- Waschmaschine
- Barbecue
- Handtücher
- Bettlaken
1078 Bewertungen


Waikoloa Beach Villas M2
Waikoloa - Waikoloa - 9.2 km vom Zentrum
- 112 M2
- 2 Schlafzimmer
- 4 Personen
- Klimaanlage
- Terrasse
- Schwimmbad
- Parkplatz
- Fahrstuhl
- Balkon
- Garten
- Tv
- Waschmaschine
- Bettlaken
2 Bewertungen


Vista Waikoloa
Waikoloa - Waikoloa - 10 km vom Zentrum
- 149 M2
- 4 Personen
- Klimaanlage
- Schwimmbad
- Parkplatz
- Fahrstuhl
- Tv
- Waschmaschine
- Barbecue
- Handtücher
- Bettlaken
64 Bewertungen


Kona Reef, A Raintree Vacation Club Resort
Kailua - Kailua Kona - 950 m vom Zentrum
- 4 Personen
- Klimaanlage
- Terrasse
- Schwimmbad
- Parkplatz
- Fahrstuhl
- Balkon
- Garten
- Tv
- Waschmaschine
- Barbecue
- Handtücher
- Bettlaken
417 Bewertungen


Royal Sea Cliff Kona by OUTRIGGER - Select Your Unit
Kailua-Kona - Holualoa
- 237 M2
- 2 Schlafzimmer
- 6 Personen
- Klimaanlage
- Terrasse
- Schwimmbad
- Parkplatz
- Fahrstuhl
- Garten
- Tv
- Waschmaschine
- Barbecue
- Handtücher
- Bettlaken
522 Bewertungen


Castle Hali'i Kai at Waikoloa
Waikoloa - Waikoloa - 9.4 km vom Zentrum
- 130 M2
- 8 Personen
- Klimaanlage
- Schwimmbad
- Parkplatz
- Balkon
- Tv
- Waschmaschine
- Barbecue
- Handtücher
- Bettlaken
681 Bewertungen


Kona Reef Resort by Latour Group
Kailua-Kona - Holualoa
- 59 M2
- 1 Schlafzimmer
- 4 Personen
- Klimaanlage
- Schwimmbad
- Parkplatz
- Fahrstuhl
- Garten
- Tv
- Barbecue
- Handtücher
169 Bewertungen


Hale Ho'okipa
Volcano - Volcano - 2.5 km vom Zentrum
- 102 M2
- 3 Schlafzimmer
- 6 Personen
- Heizung
- Terrasse
- Parkplatz
- Garten
24 Bewertungen


Casa De Emdeko 330
Kailua - Kailua Kona - Im Zentrum
- 4 Personen
- Klimaanlage
- Schwimmbad
- Parkplatz
- Fahrstuhl
- Balkon
- Tv
- Waschmaschine
3 Bewertungen