
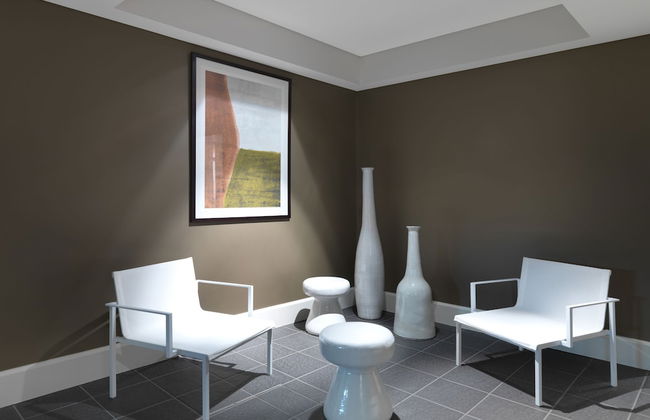
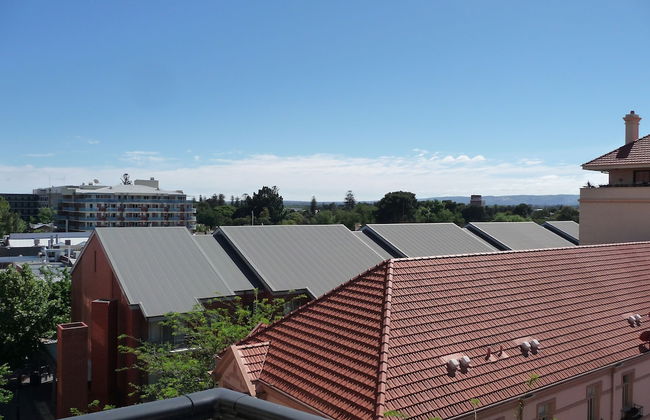
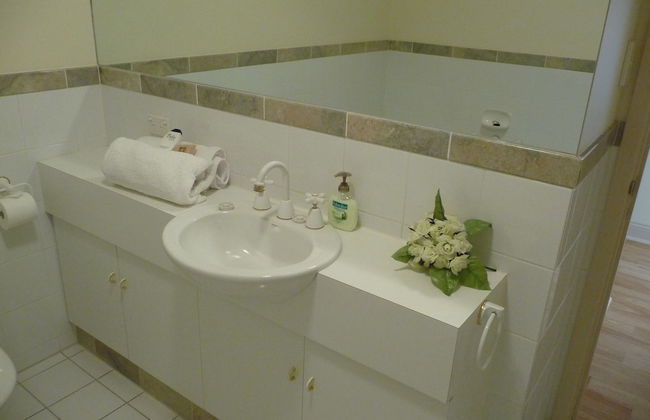
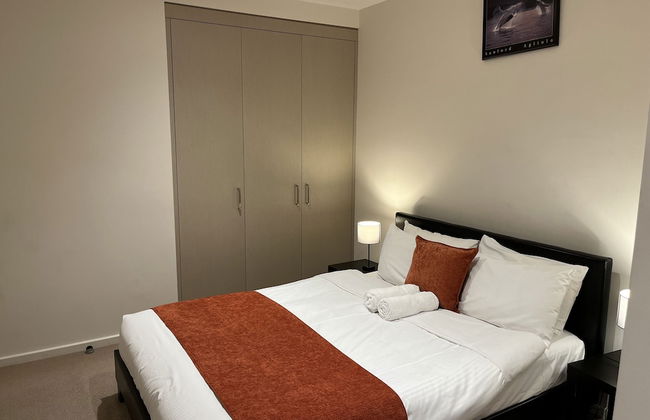
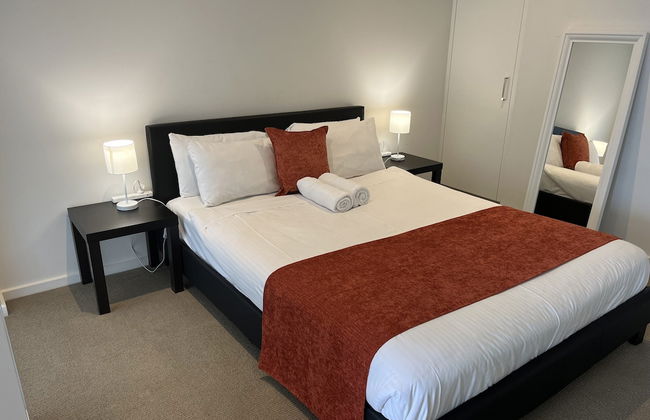
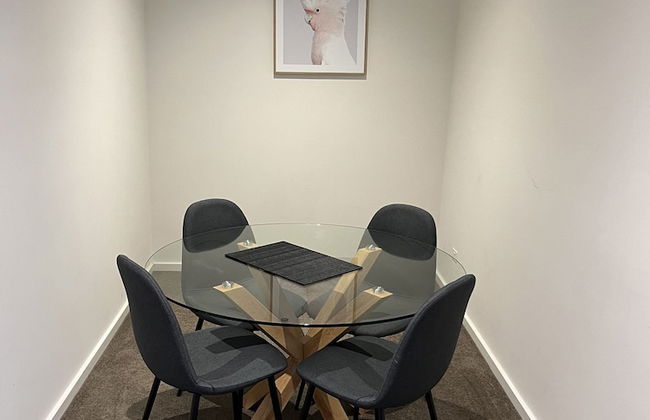
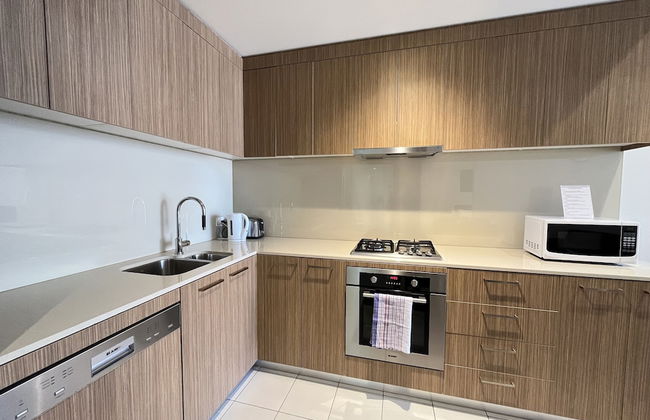
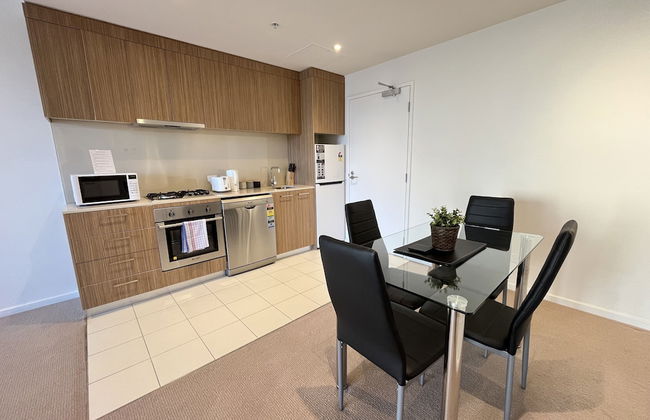
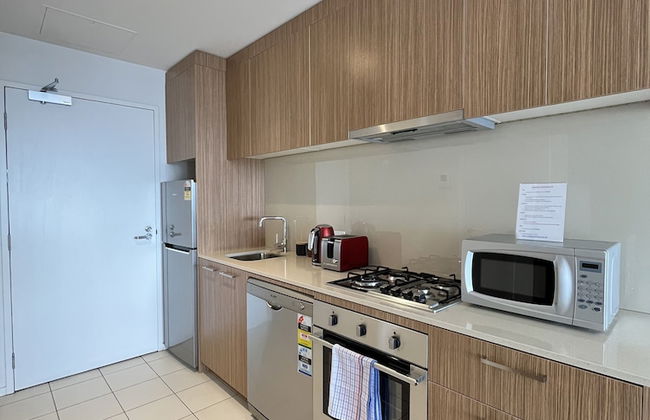
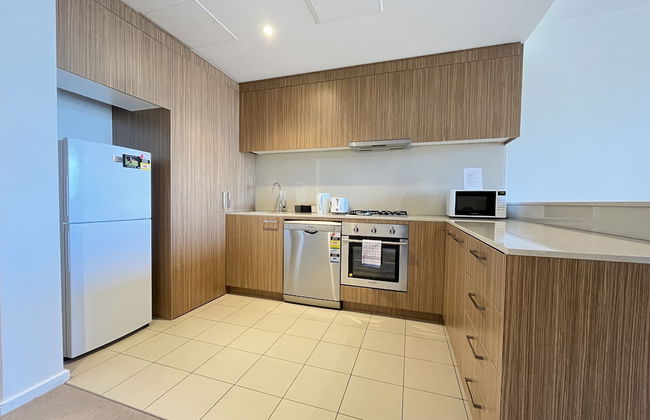
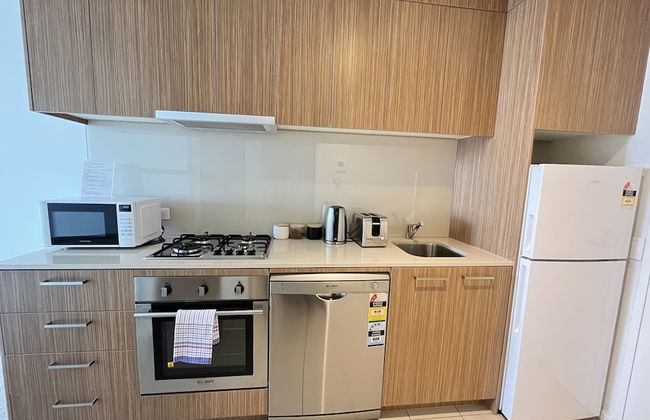
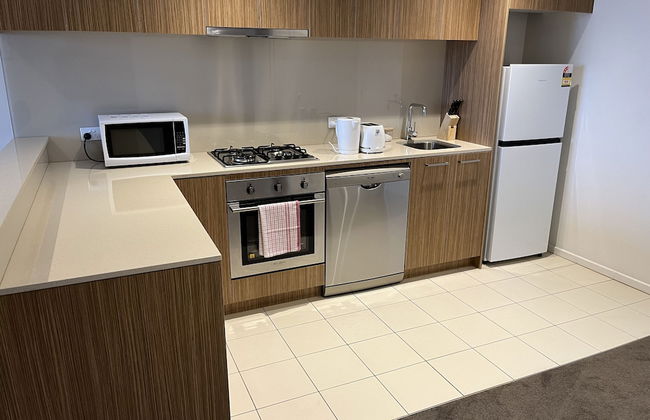
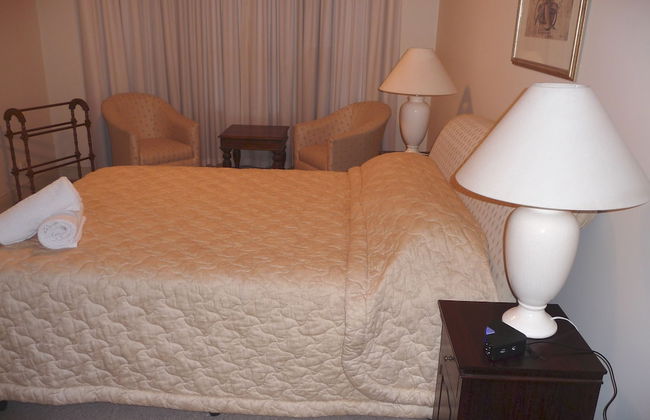
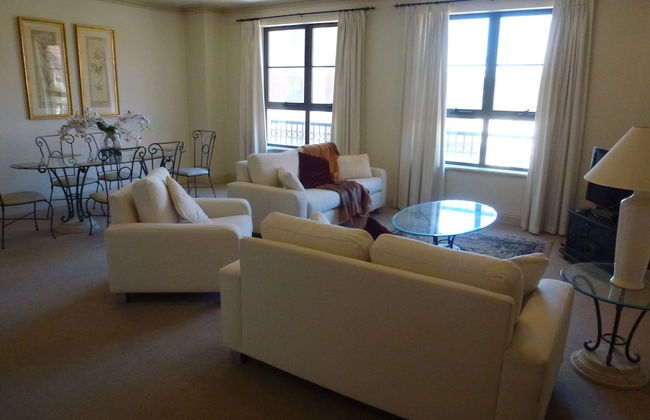
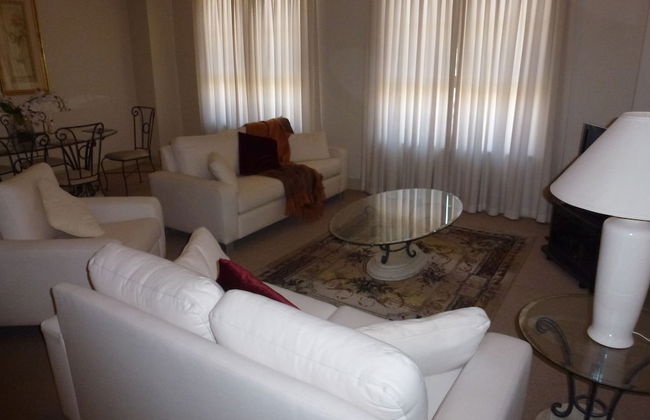
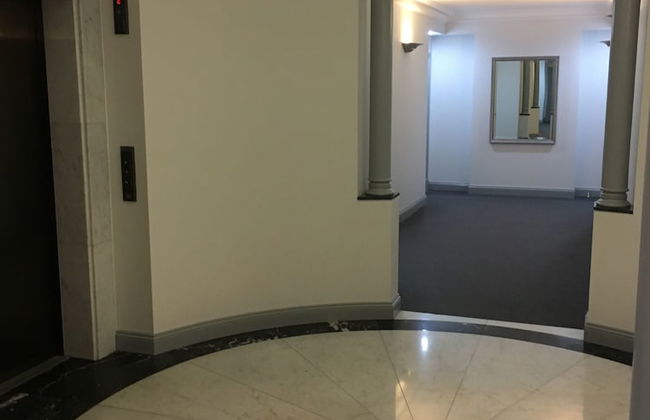
31 Wohnungen in Adelaide


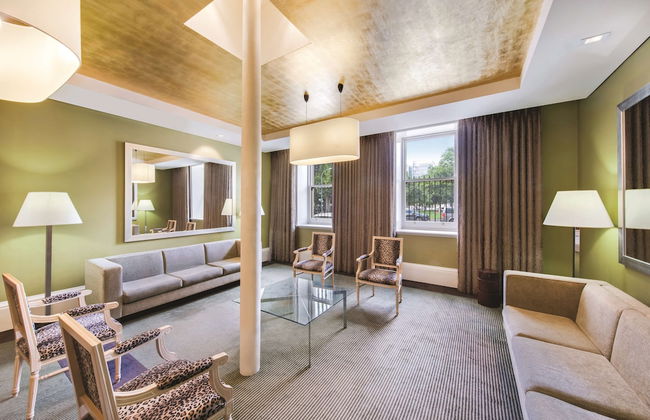


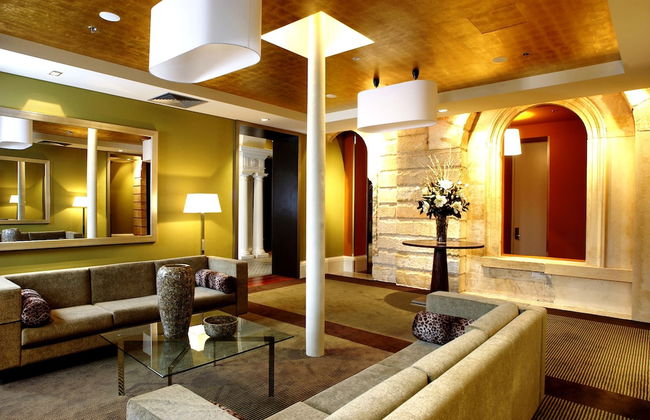


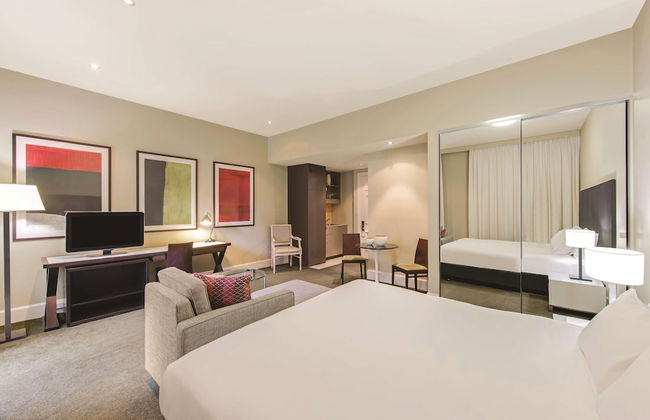


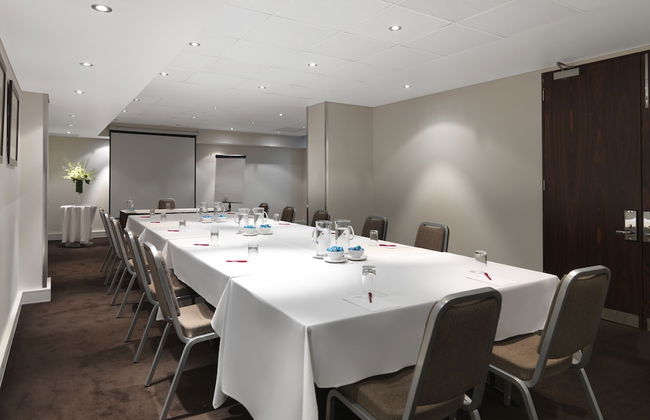

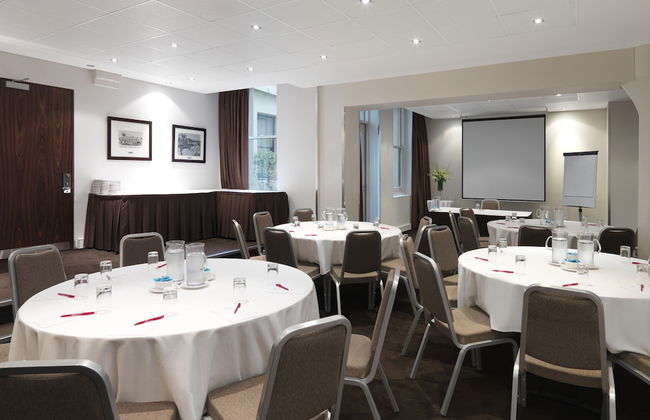


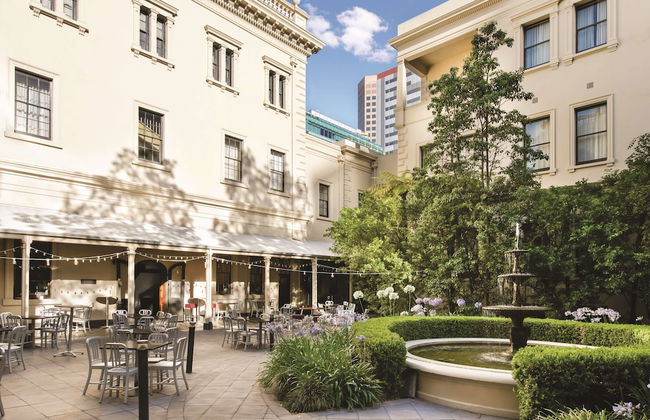


Adina Apartment Hotel Adelaide Treasury
Adelaide - Adelaide - Im Zentrum
- 82 M2
- 5 Personen
- Kochnische
- Klimaanlage
- Terrasse
- Schwimmbad
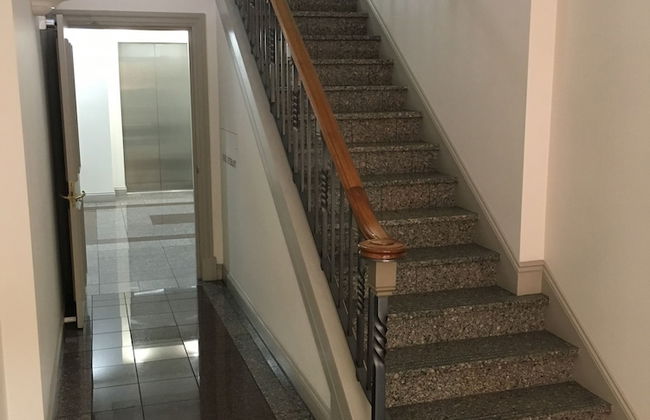
- Fahrstuhl
- Garten
- Tv
- Waschmaschine
- Handtücher
- Bettlaken
1451 Bewertungen


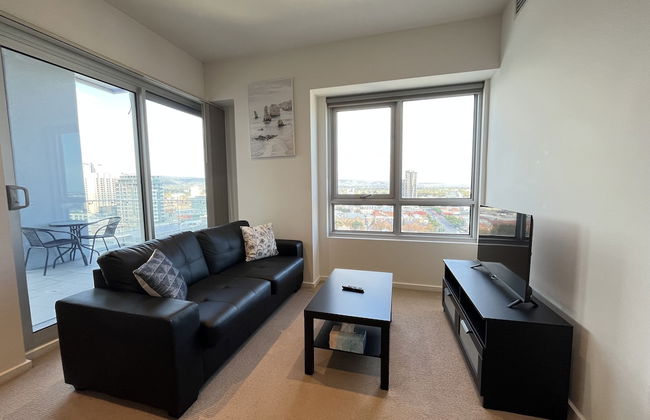
City Escape 3BD in Adelaides East End 5
Adelaide - Adelaide - 440 m vom Zentrum
- 120 M2
- 7 Personen
- Klimaanlage
- Heizung
- Parkplatz
- Balkon
- Tv
- Waschmaschine
- Handtücher
- Bettlaken
12 Bewertungen


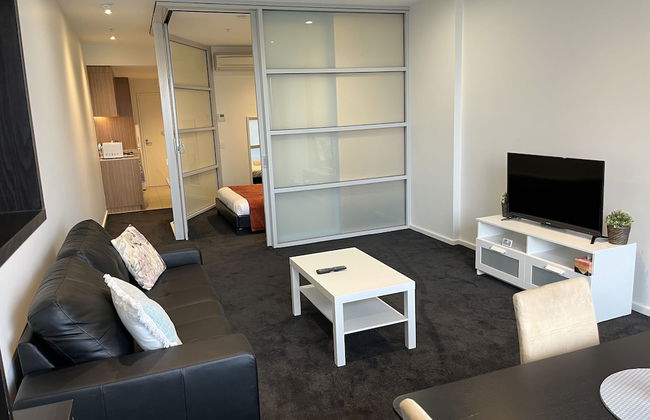
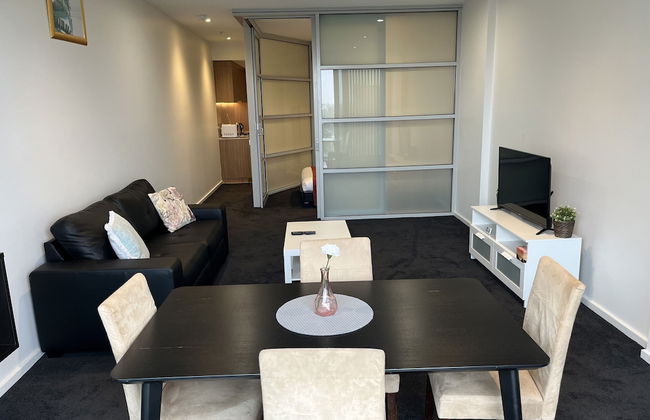
Horizons 1402
Adelaide - Adelaide - Im Zentrum
- 76 M2
- 4 Personen
- Klimaanlage
- Heizung
- Schwimmbad
- Parkplatz
- Fahrstuhl
- Tv
- Waschmaschine
- Handtücher
- Bettlaken
9 Bewertungen


Avani Adelaide Residences
Adelaide - Adelaide - 210 m vom Zentrum
- 65 M2
- 5 Personen
- Klimaanlage
- Schwimmbad
- Parkplatz
- Fahrstuhl
- Garten
- Tv
- Waschmaschine
- Barbecue
- Handtücher
- Bettlaken
214 Bewertungen


Oaks Adelaide Horizons Suites
Adelaide - Adelaide - Im Zentrum
- 63 M2
- 5 Personen
- Klimaanlage
- Heizung
- Terrasse
- Schwimmbad
- Parkplatz
- Fahrstuhl
- Balkon
- Tv
- Waschmaschine
- Handtücher
- Bettlaken
1669 Bewertungen


Quest King William South
Adelaide - Adelaide - 370 m vom Zentrum
- 87 M2
- 4 Personen
- Kochnische
- Klimaanlage
- Parkplatz
- Fahrstuhl
- Tv
- Waschmaschine
- Handtücher
- Bettlaken
241 Bewertungen


Quest on Franklin
Adelaide - Adelaide - Im Zentrum
- 95 M2
- 7 Personen
- Kochnische
- Klimaanlage
- Heizung
- Fahrstuhl
- Balkon
- Tv
- Waschmaschine
- Handtücher
- Bettlaken
648 Bewertungen


Oaks Adelaide Embassy Suites
Adelaide - Adelaide - Im Zentrum
- 76 M2
- 7 Personen
- Klimaanlage
- Heizung
- Schwimmbad
- Parkplatz
- Fahrstuhl
- Balkon
- Waschmaschine
- Handtücher
- Bettlaken
1870 Bewertungen


The East End Apartments by Urban Rest
Adelaide - Adelaide - 490 m vom Zentrum
- 85 M2
- 4 Personen
- Klimaanlage
- Heizung
- Parkplatz
- Fahrstuhl
- Balkon
- Tv
- Waschmaschine
- Handtücher
- Bettlaken
7 Bewertungen


Miller Apartments Adelaide
Adelaide - Adelaide - Im Zentrum
- 135 M2
- 7 Personen
- Klimaanlage
- Heizung
- Parkplatz
- Balkon
- Tv
- Waschmaschine
- Handtücher
- Bettlaken
1936 Bewertungen


Hume Serviced Apartments
Adelaide - Adelaide - 670 m vom Zentrum
- 79 M2
- 5 Personen
- Klimaanlage
- Parkplatz
- Fahrstuhl
- Balkon
- Tv
- Waschmaschine
- Handtücher
- Bettlaken
204 Bewertungen


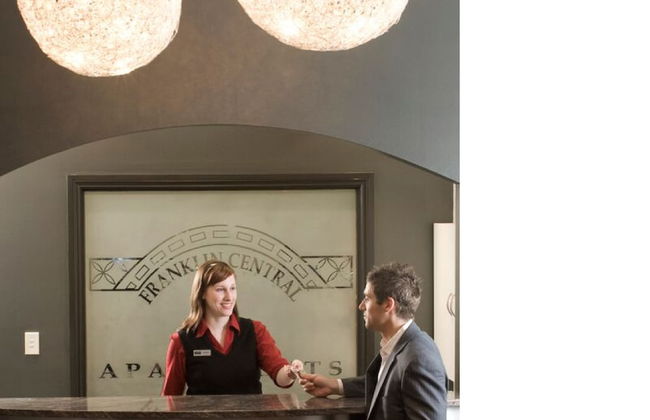


Franklin Apartments
Adelaide - Adelaide - Im Zentrum
- 120 M2
- 6 Personen
- Klimaanlage
- Parkplatz
- Fahrstuhl
- Tv
- Waschmaschine
- Handtücher
- Bettlaken
1266 Bewertungen


Realm Apartments by CLLIX
Adelaide - Adelaide - Im Zentrum
- 150 M2
- 6 Personen
- Klimaanlage
- Heizung
- Parkplatz
- Fahrstuhl
- Balkon
- Tv
- Waschmaschine
- Handtücher
- Bettlaken
90 Bewertungen


BreakFree Adelaide
Adelaide - Adelaide - 440 m vom Zentrum
- 57 M2
- 5 Personen
- Klimaanlage
- Parkplatz
- Fahrstuhl
- Balkon
- Tv
- Handtücher
- Bettlaken
1638 Bewertungen


iStay Precinct Adelaide
Adelaide - Adelaide - Im Zentrum
- 59 M2
- 4 Personen
- Schwimmbad
- Parkplatz
- Fahrstuhl
- Balkon
- Tv
- Waschmaschine
- Handtücher
- Bettlaken
2670 Bewertungen


Adelaide Mansions Serviced Apartments
Adelaide - Adelaide - Im Zentrum
- 67 M2
- 4 Personen
- Klimaanlage
- Heizung
- Parkplatz
- Fahrstuhl
- Balkon
- Tv
- Handtücher
- Bettlaken
490 Bewertungen


RNR Serviced Apartments Adelaide – Grote St
Adelaide - Adelaide - Im Zentrum
- 80 M2
- 4 Personen
- Klimaanlage
- Heizung
- Schwimmbad
- Parkplatz
- Fahrstuhl
- Balkon
- Tv
- Waschmaschine
- Barbecue
- Handtücher
- Bettlaken
17 Bewertungen


Tasha's Apartments on Morphett
Adelaide - Adelaide - Im Zentrum
- 4 Personen
- Klimaanlage
- Heizung
- Parkplatz
- Balkon
- Tv
- Waschmaschine
- Handtücher
55 Bewertungen


City Escape 2BD in Adelaides East End 2
Adelaide - Adelaide - 490 m vom Zentrum
- 110 M2
- 5 Personen
- Klimaanlage
- Heizung
- Parkplatz
- Garten
- Tv
- Waschmaschine
- Handtücher
- Bettlaken
9 Bewertungen


City South Apartments
Adelaide - Adelaide - 400 m vom Zentrum
- 80 M2
- 4 Personen
- Klimaanlage
- Schwimmbad
- Parkplatz
- Fahrstuhl
- Balkon
- Tv
- Waschmaschine
- Handtücher
14 Bewertungen