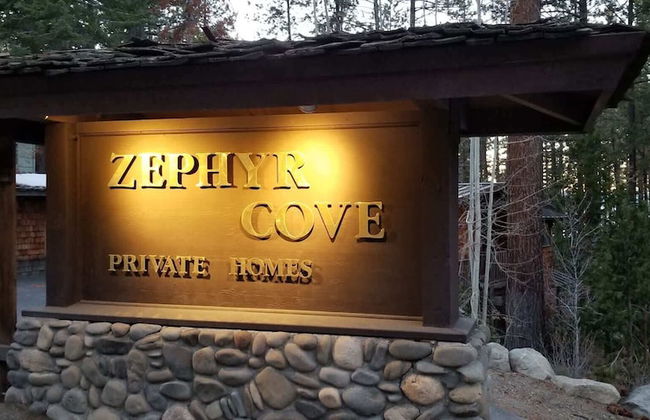
9 Wohnungen in Zephyr Cove
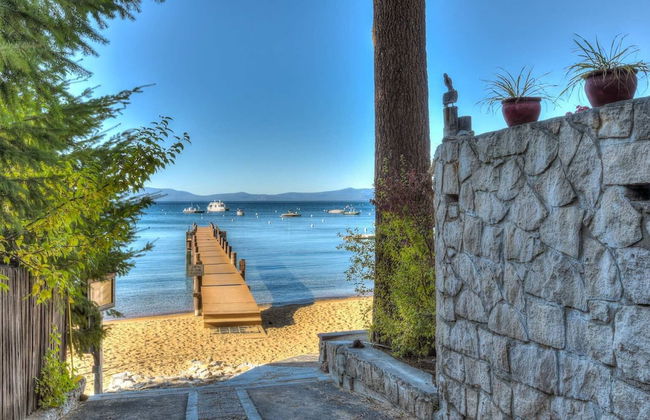
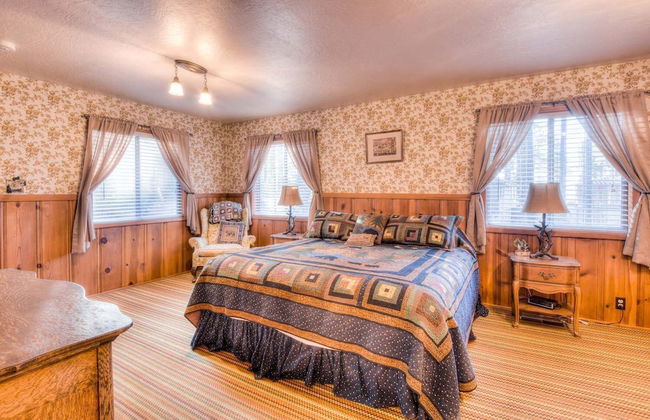
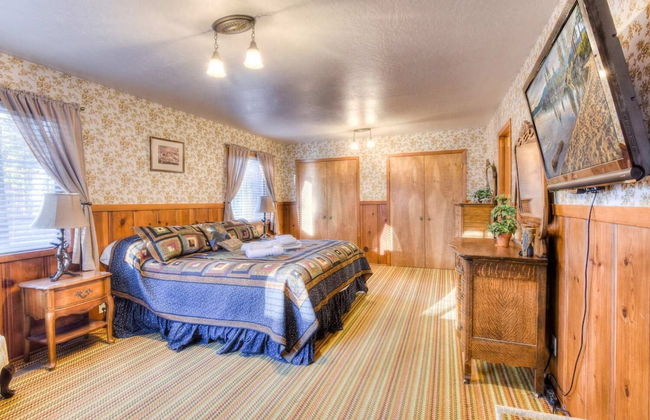
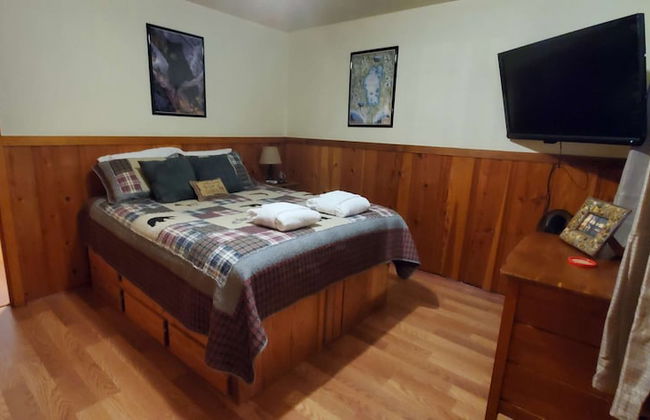
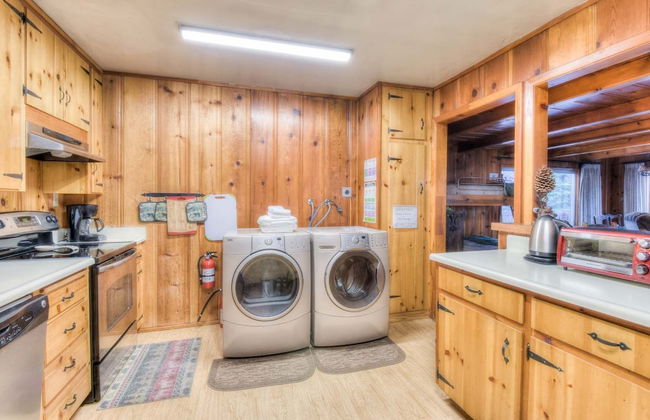
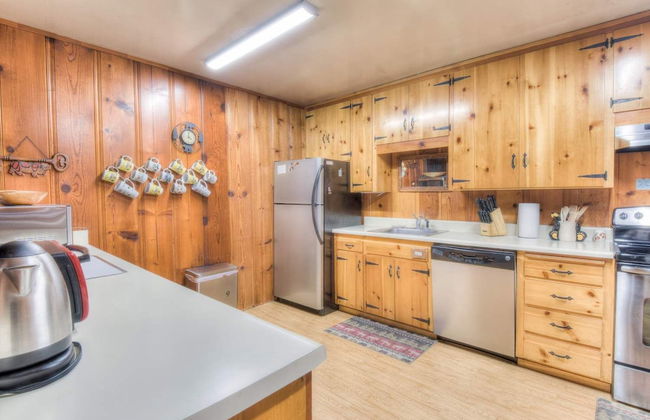
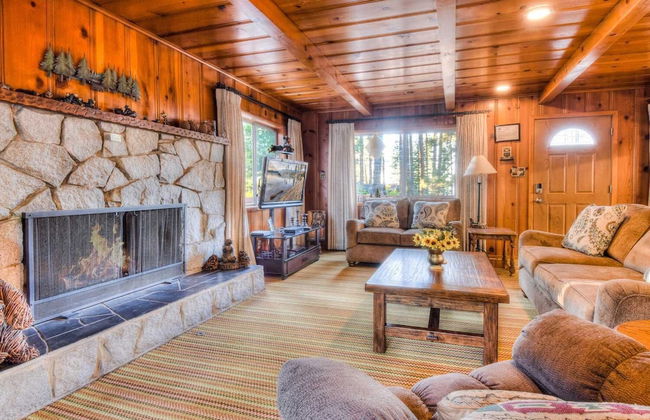
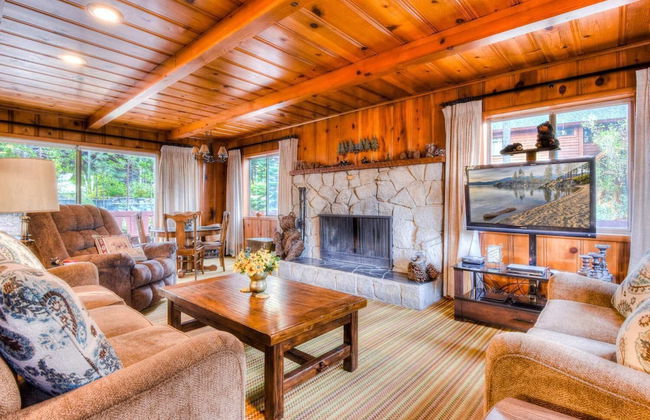


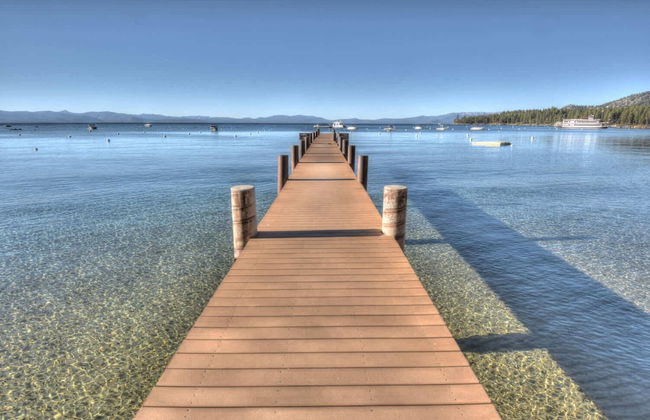
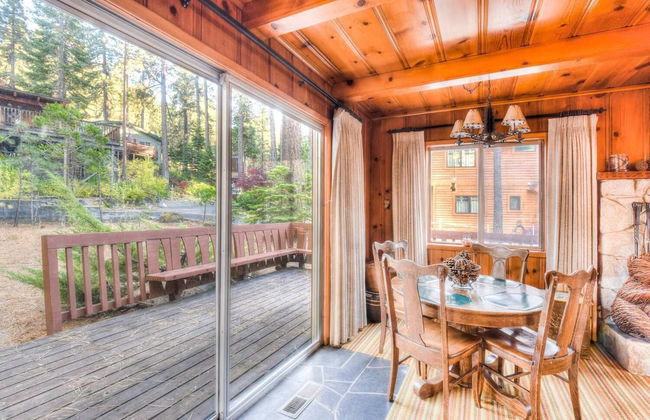


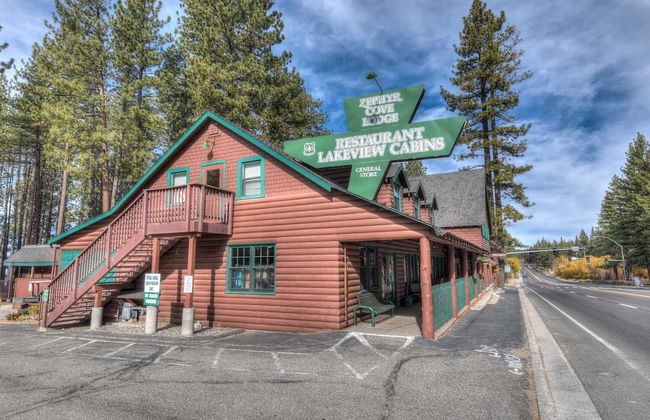
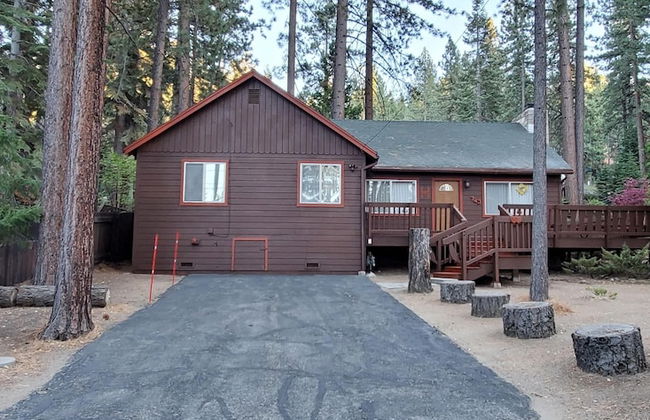
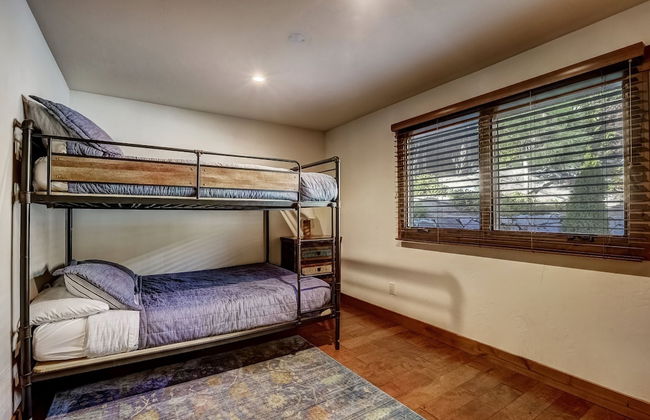
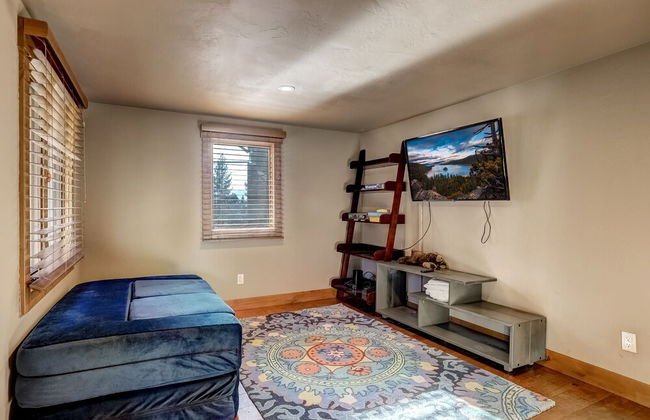
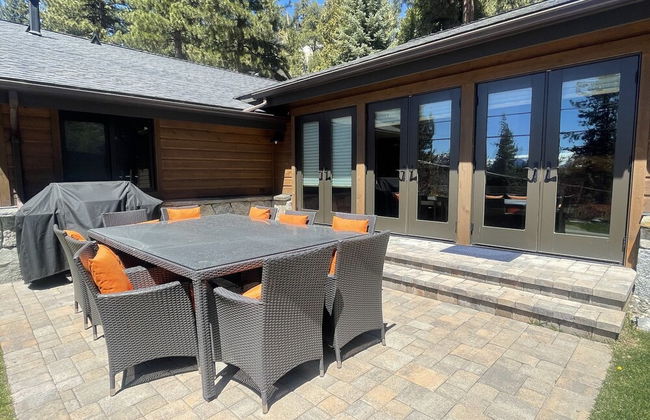
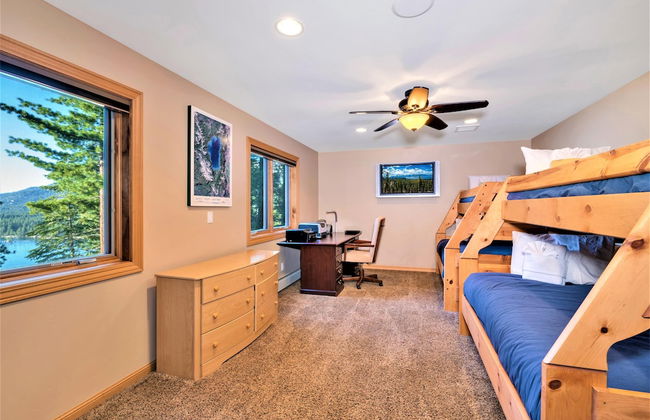
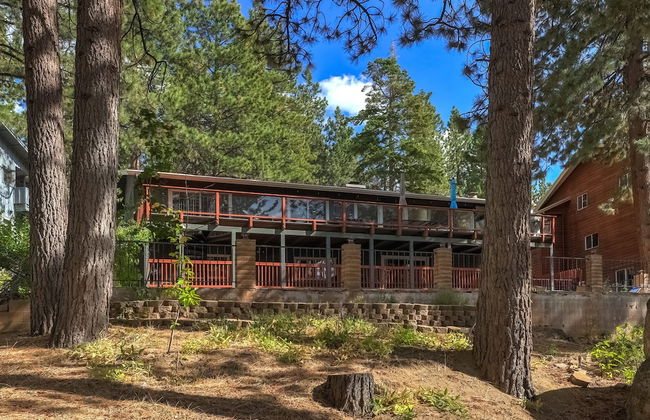
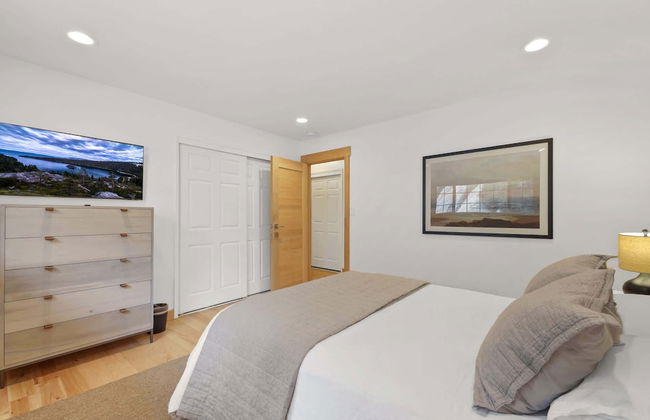
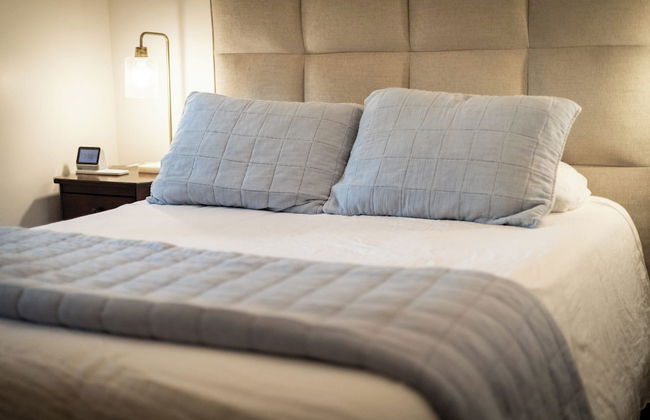
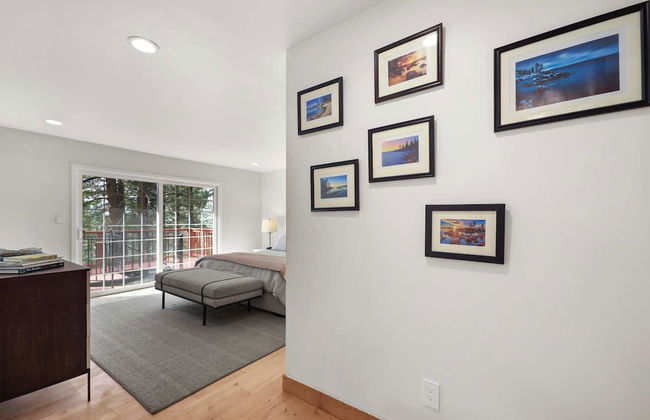
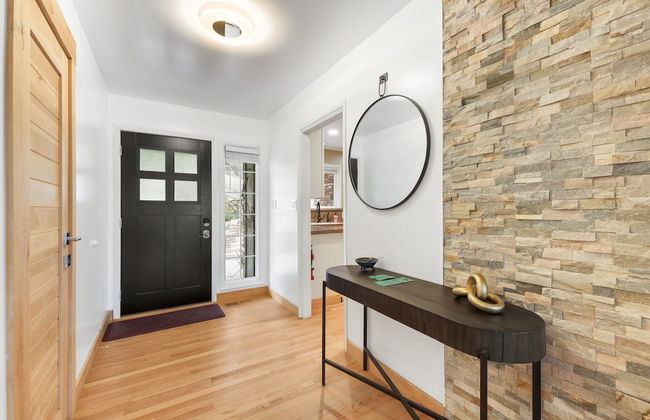
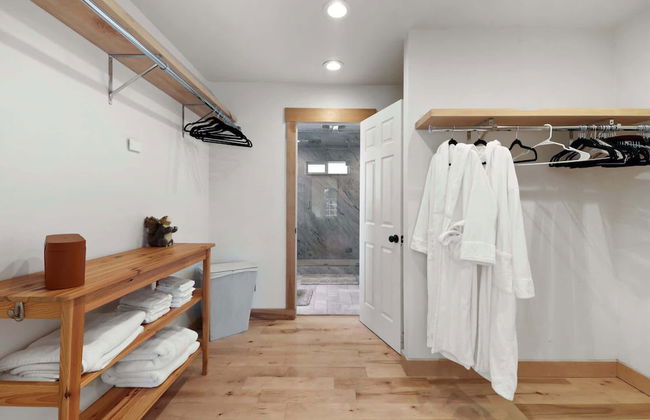
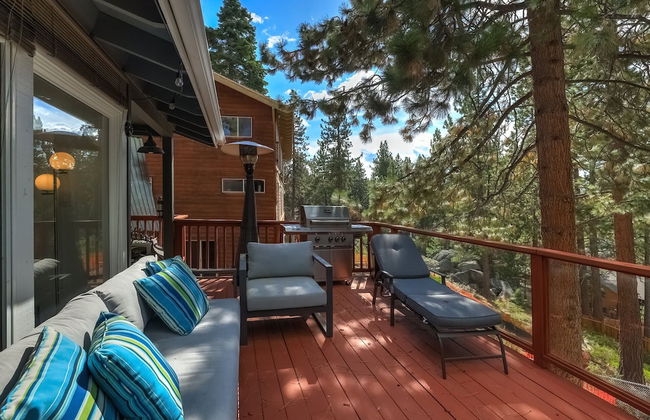
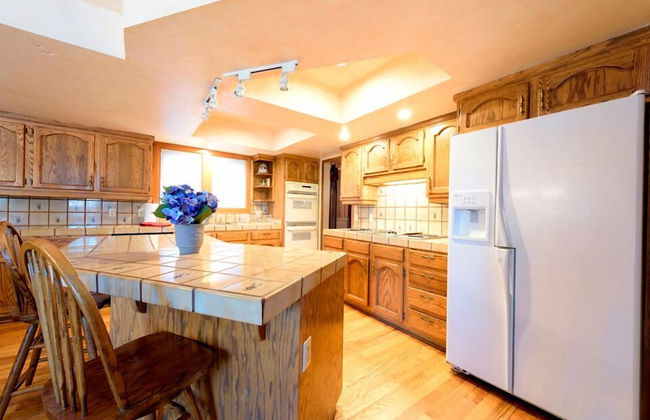
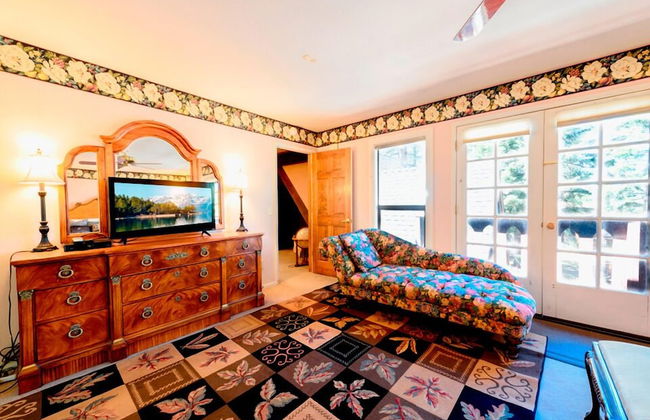
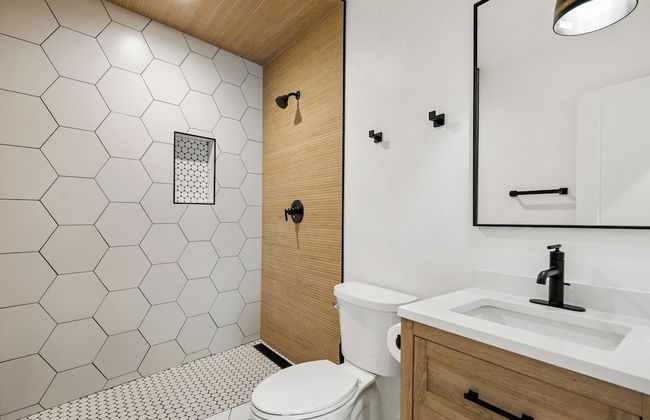
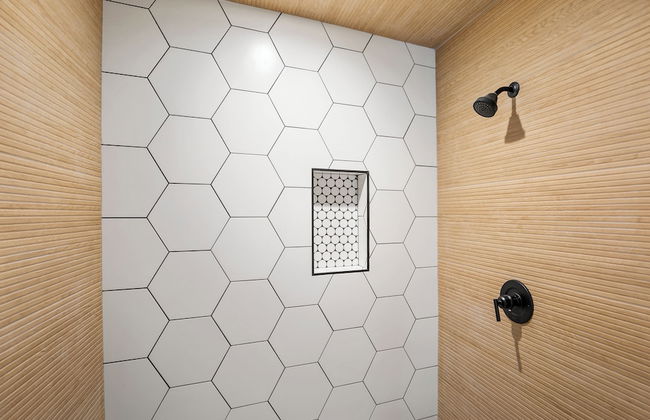
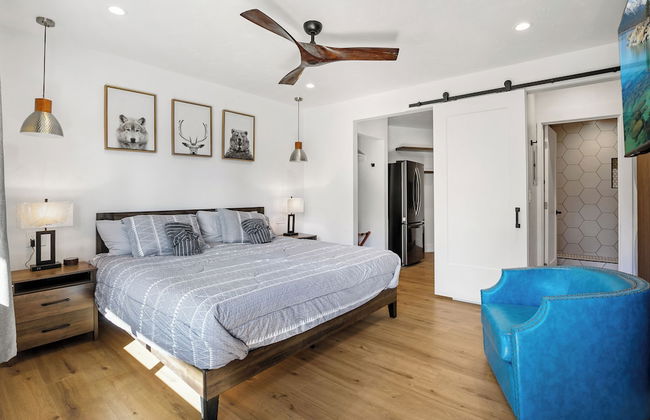
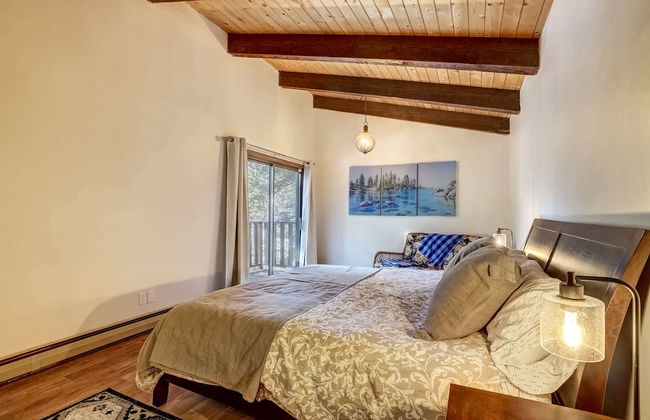
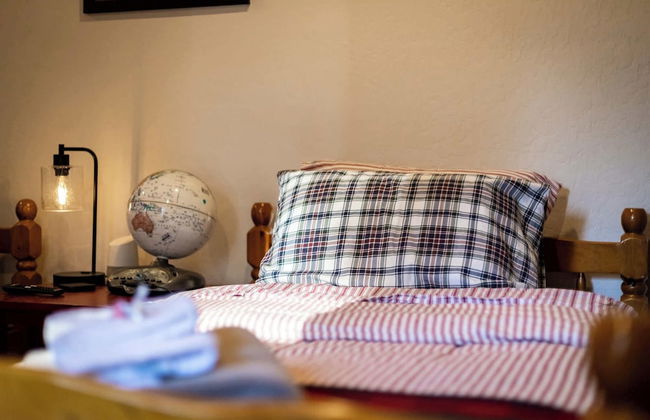
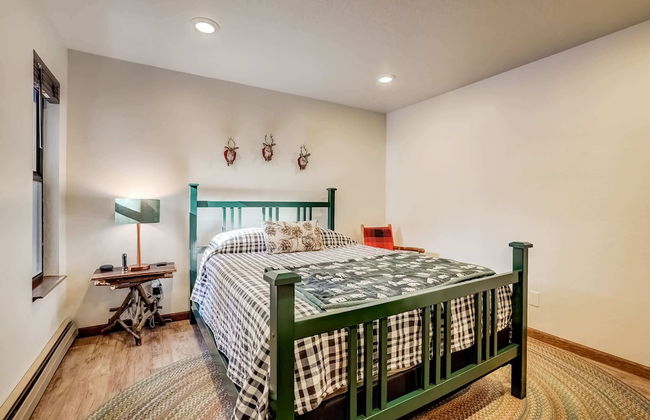
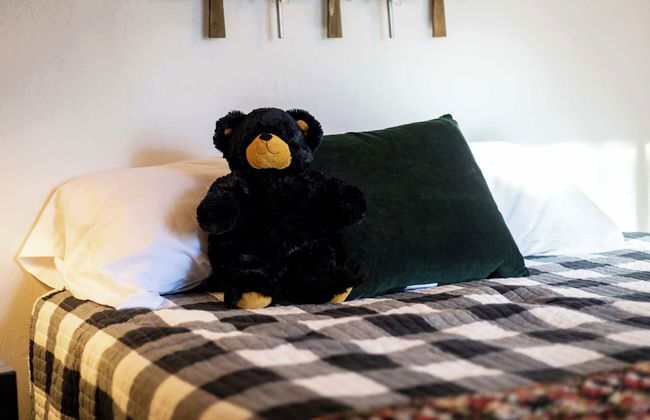
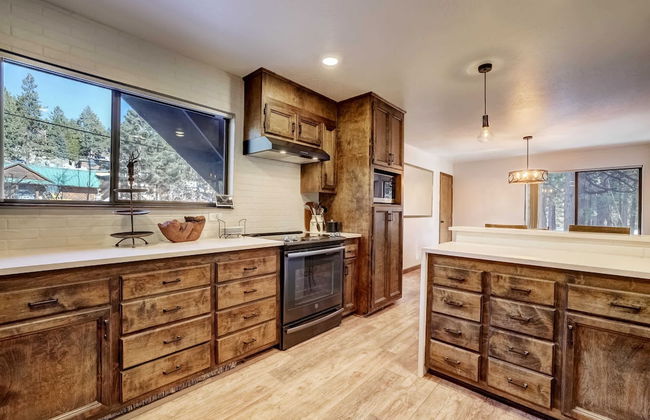
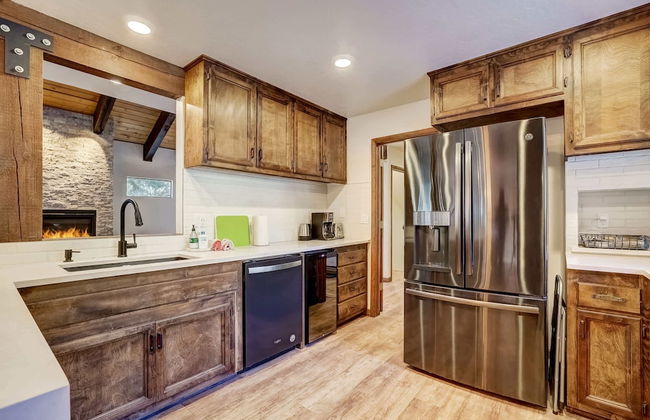
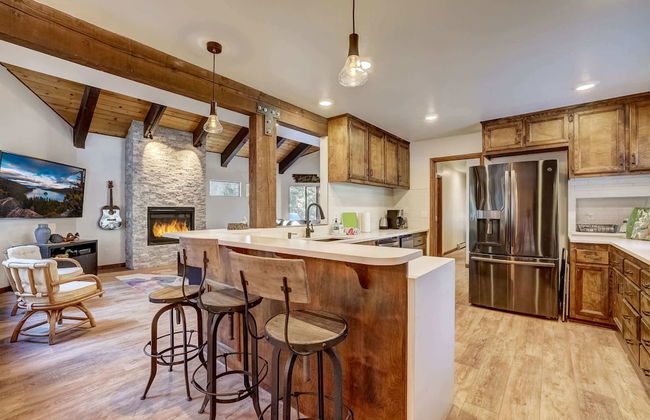
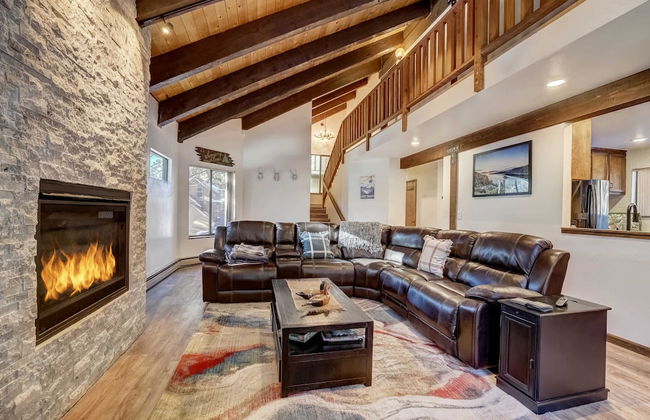
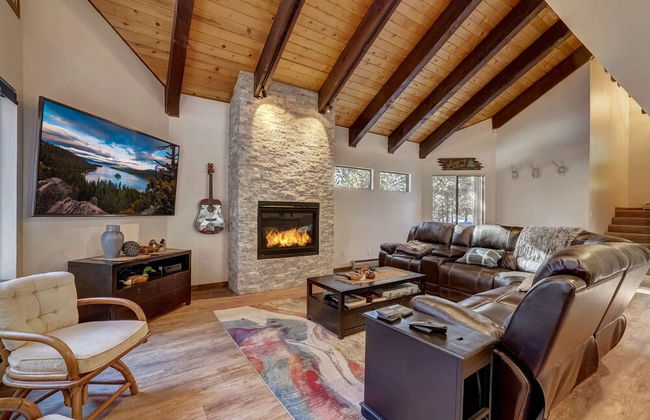
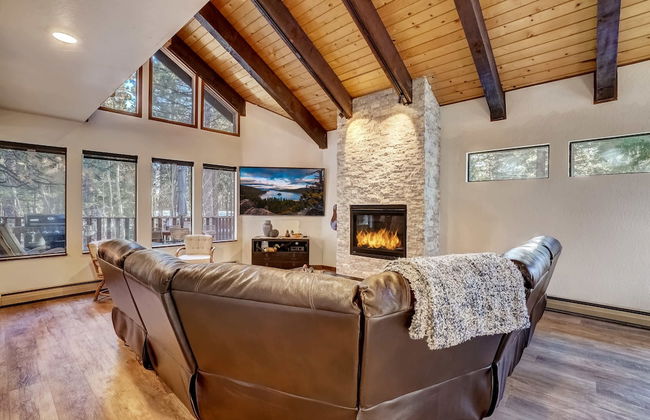
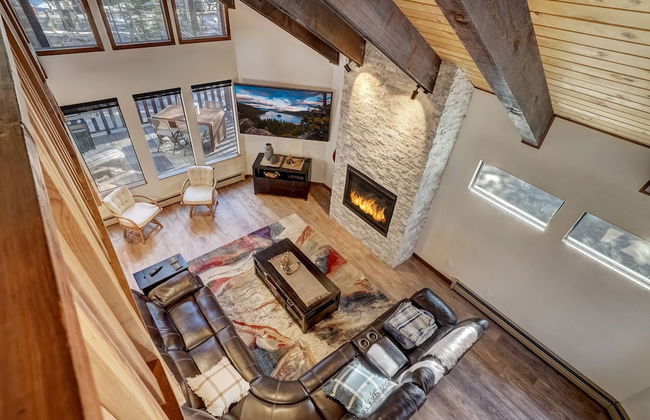
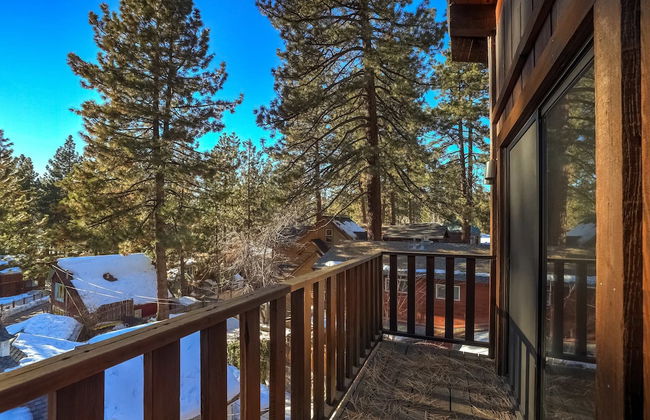
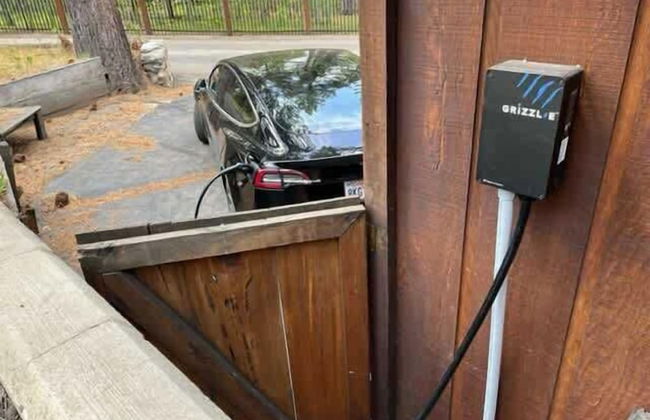
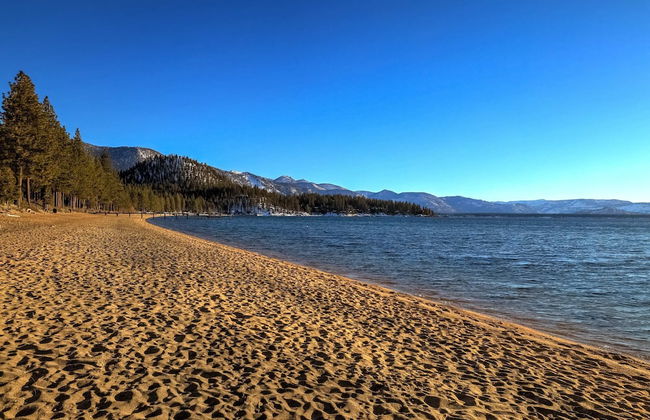
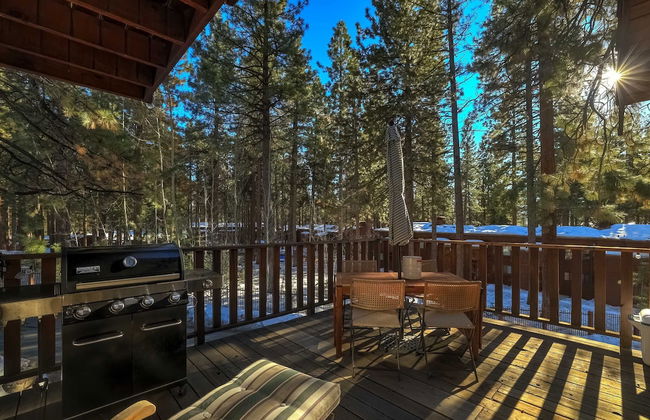
Zephyr Cove Cabin - Walk to Lake and Beach
Zephyr Cove
- 135 M2
- 8 Personen
- Heizung
- Terrasse
- Parkplatz
- Tv
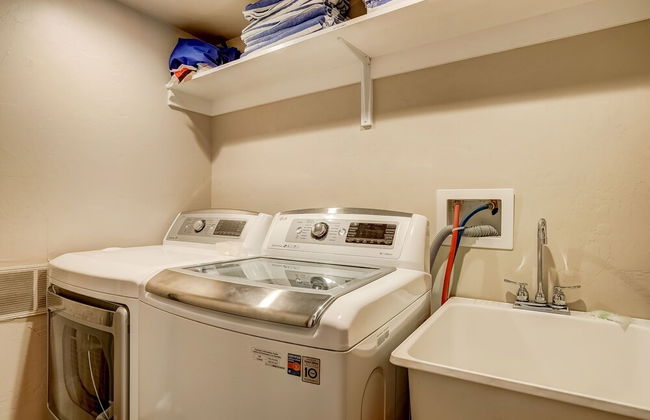
- Waschmaschine
- Schornstein
- Handtücher
- Bettlaken
2 Bewertungen
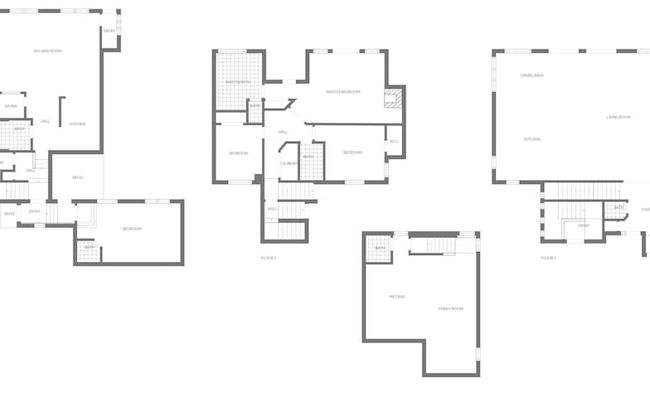


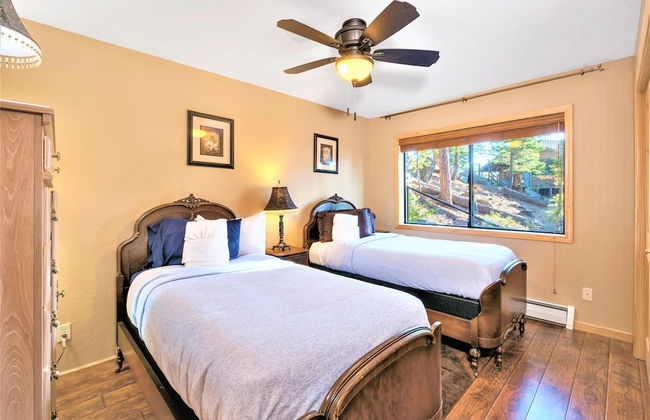


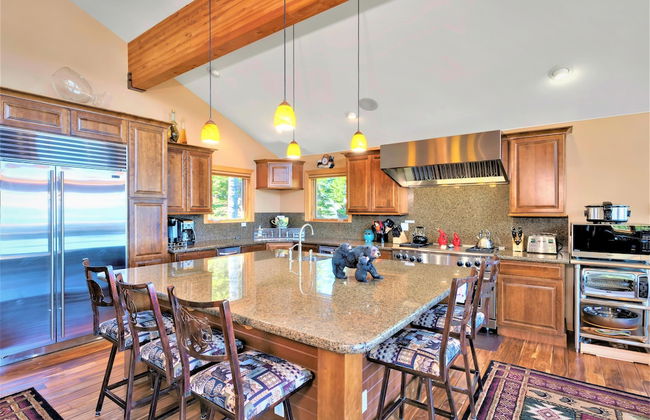
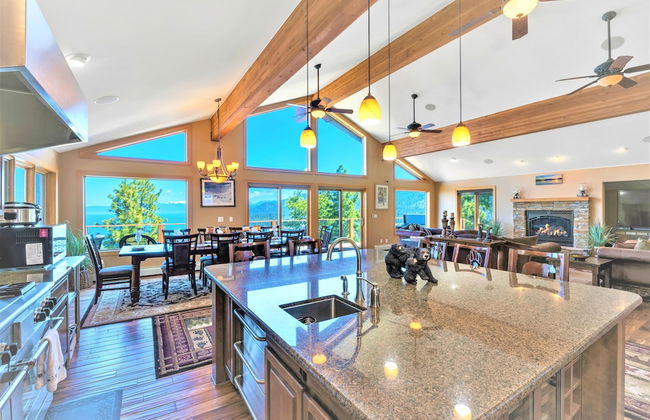
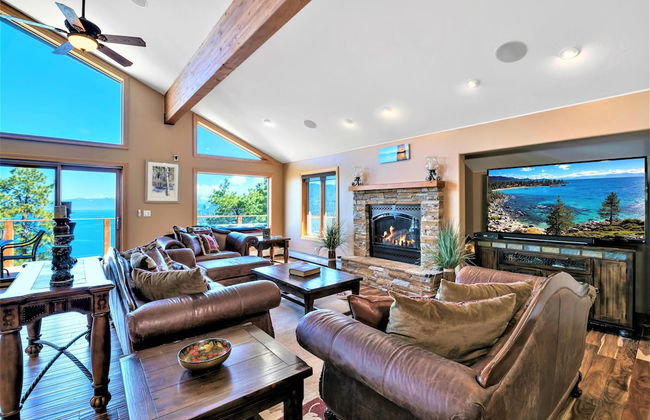
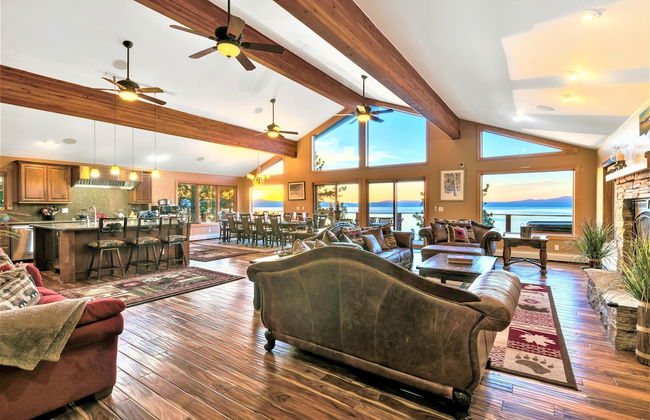

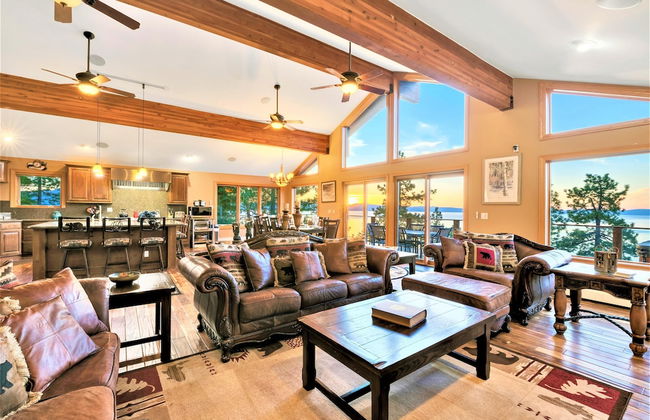

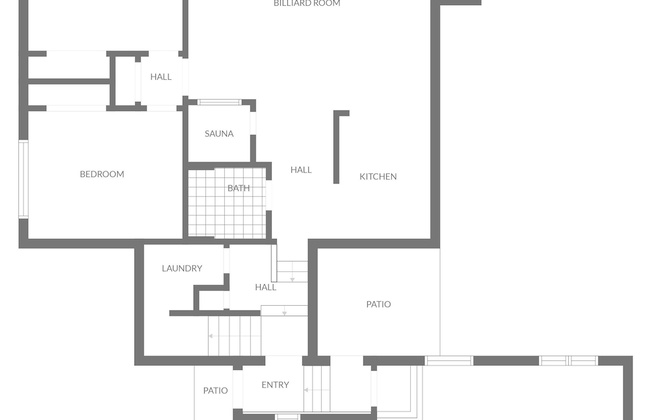
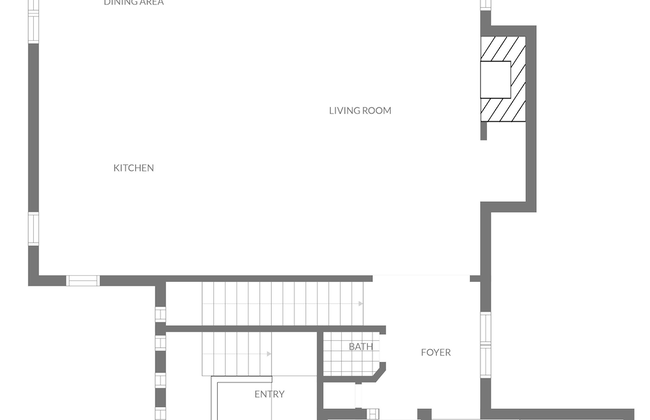

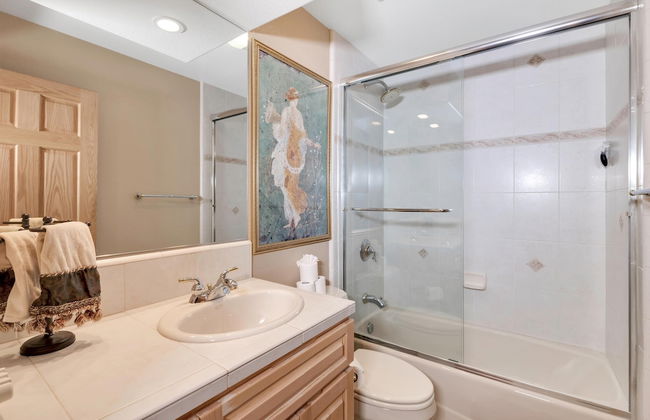


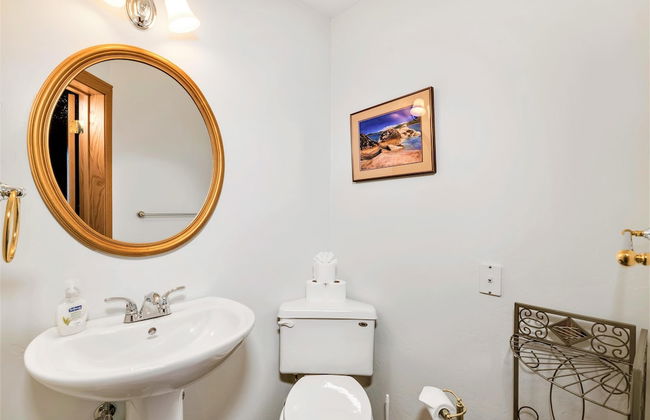


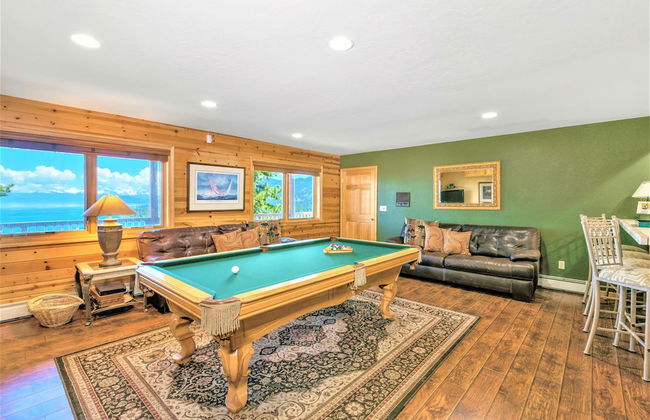
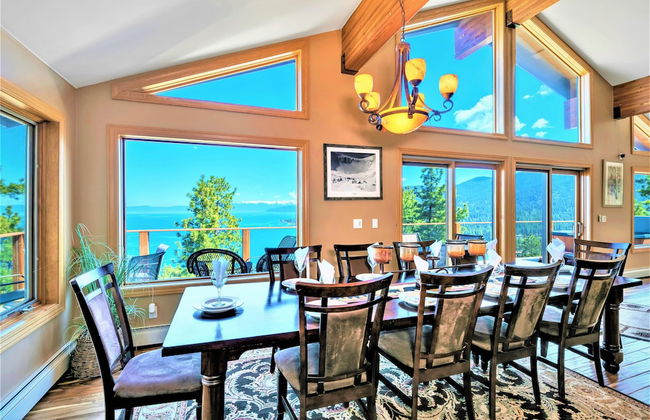
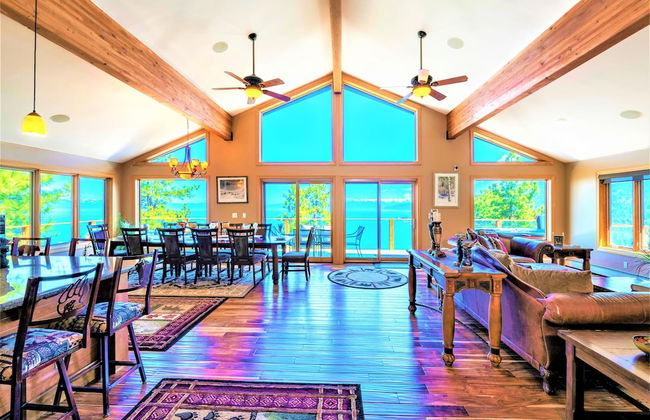
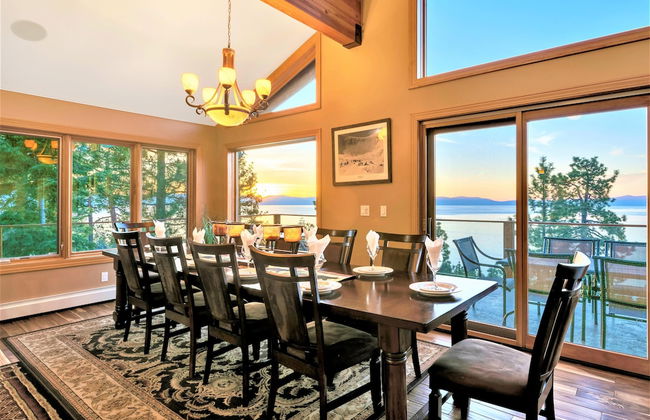

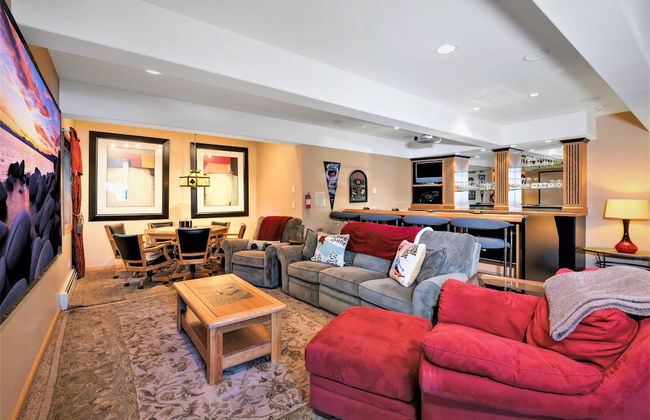
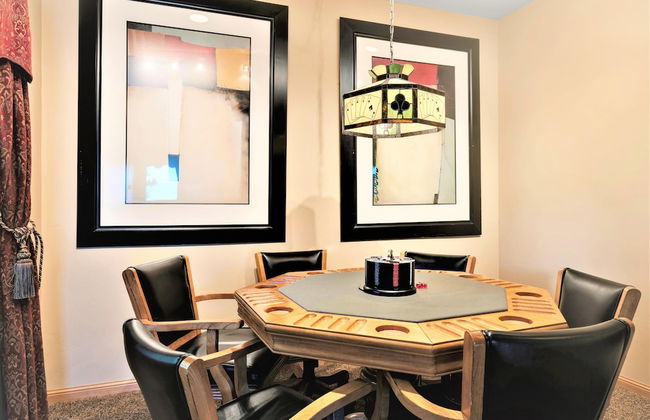


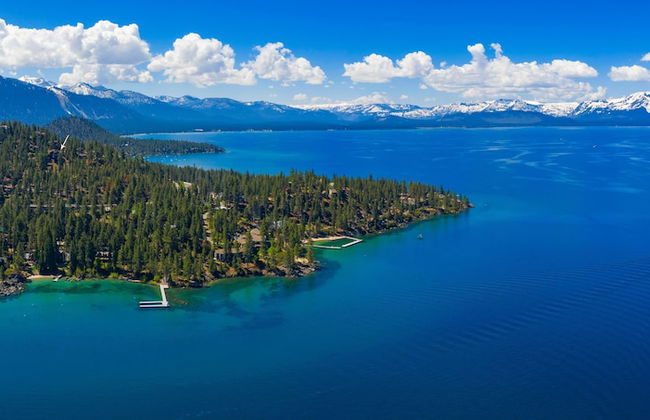
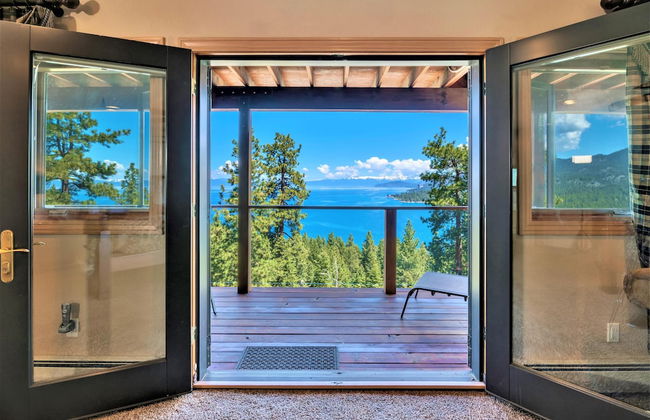
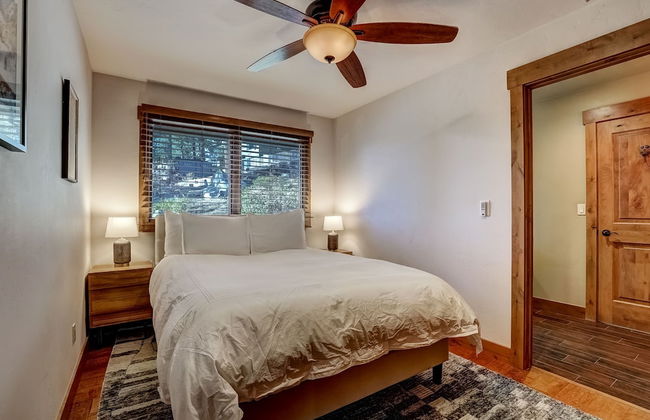
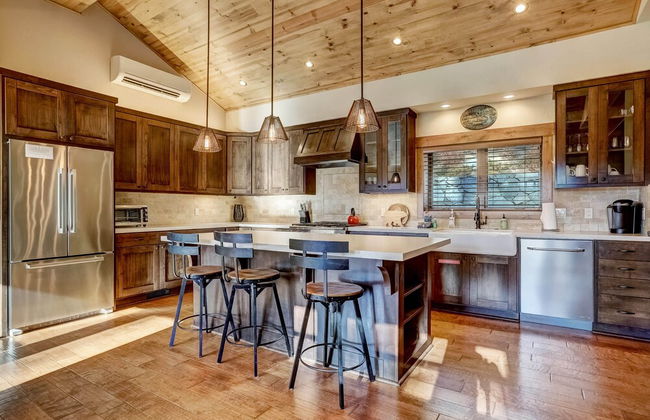
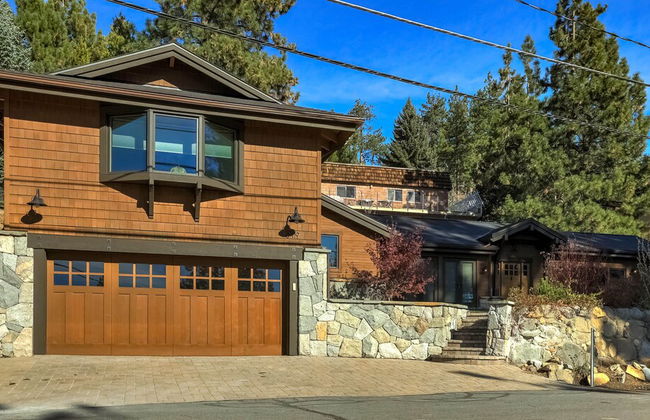
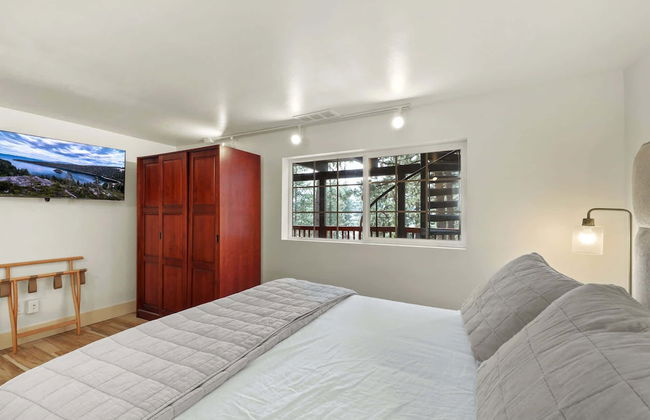
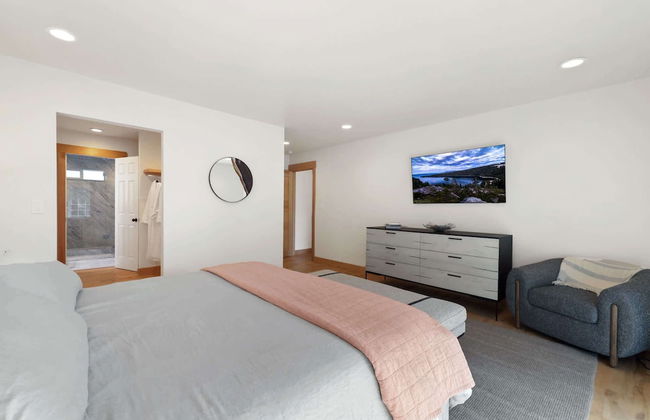
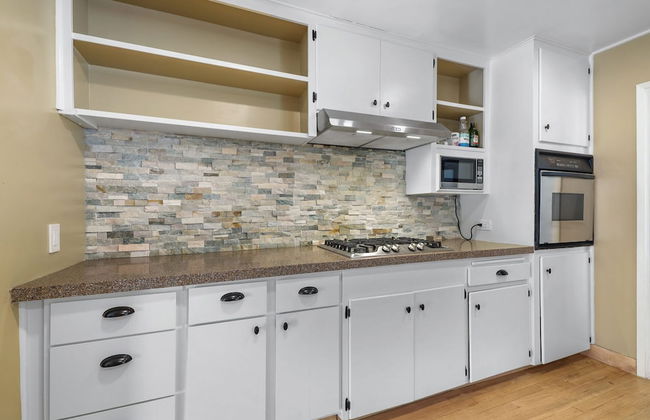
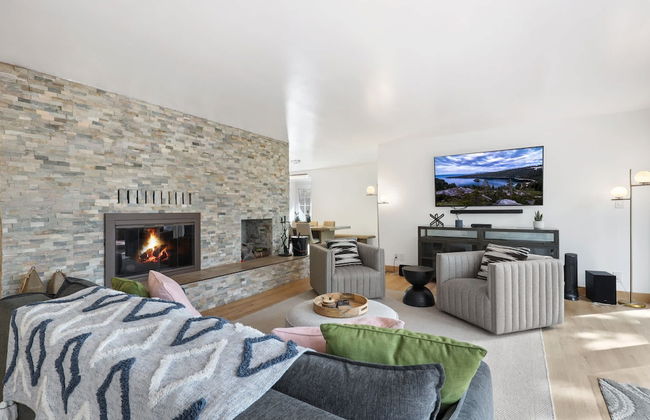
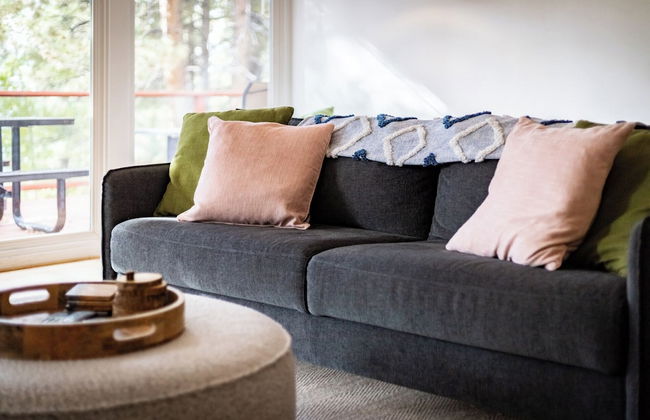
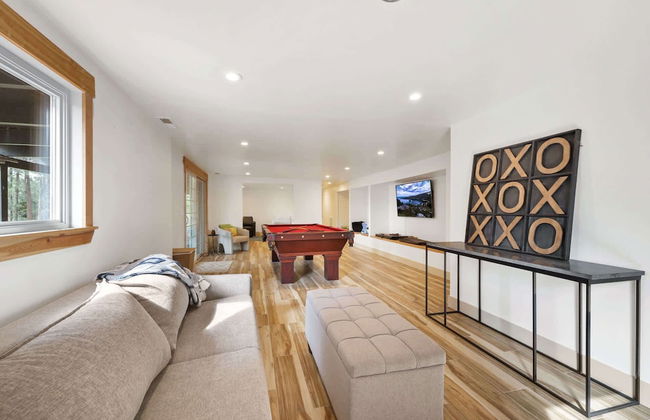
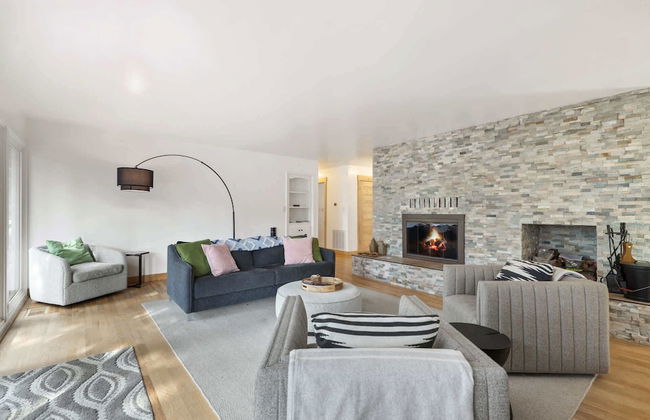
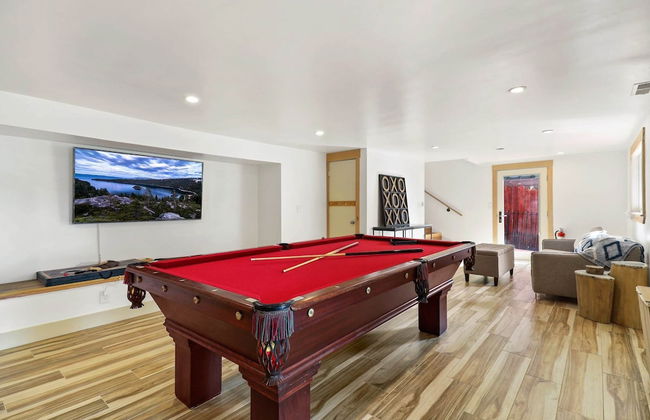
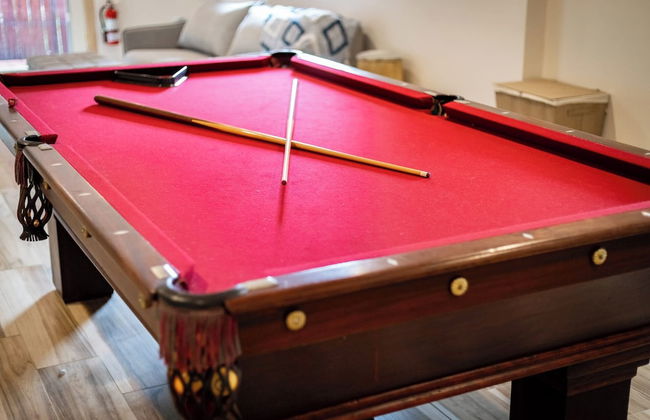
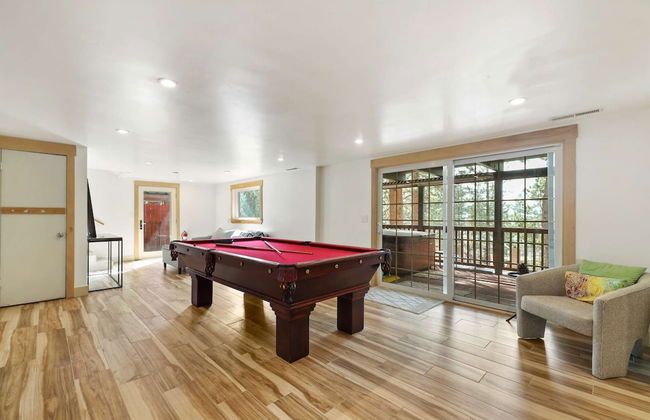
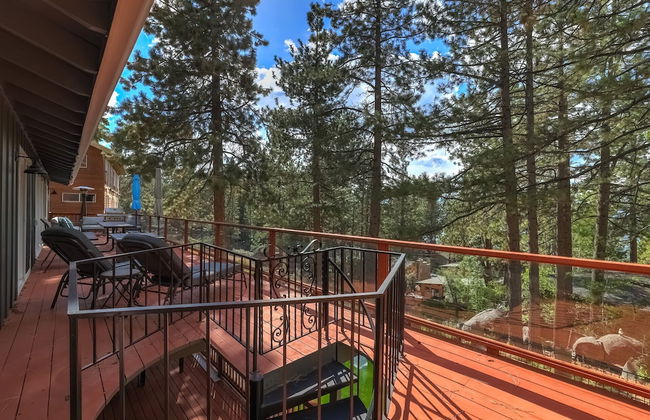
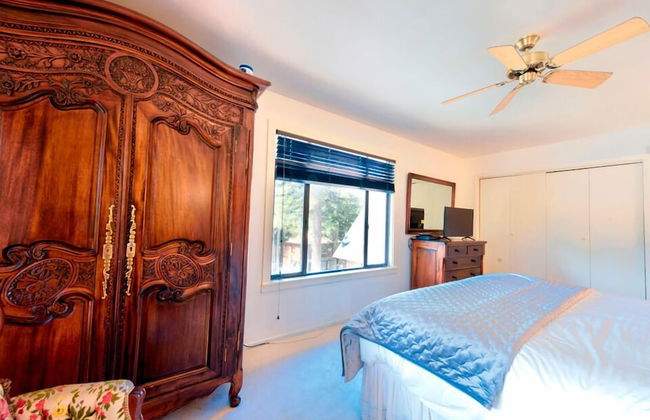
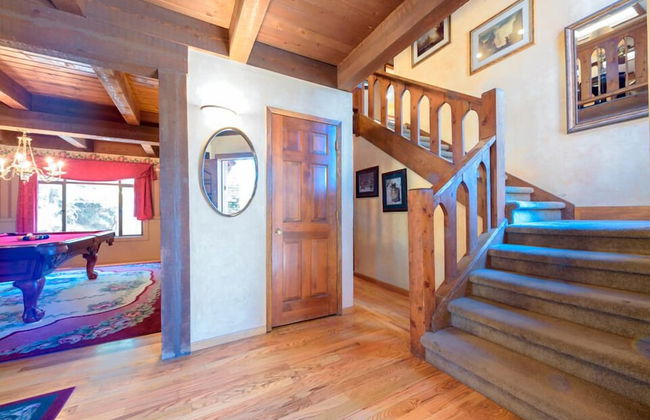
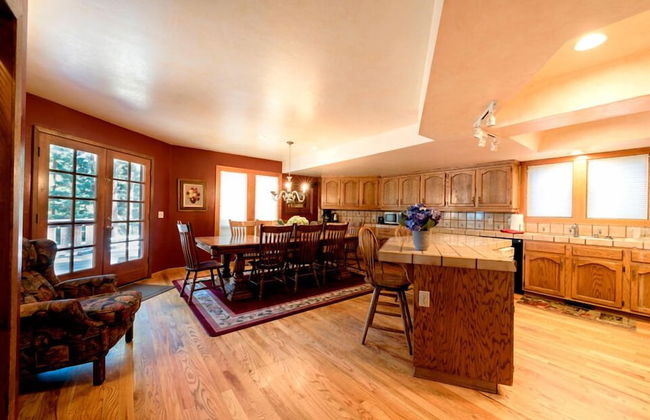
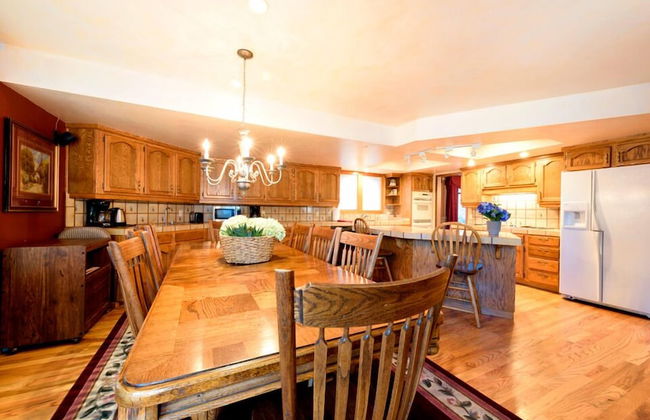
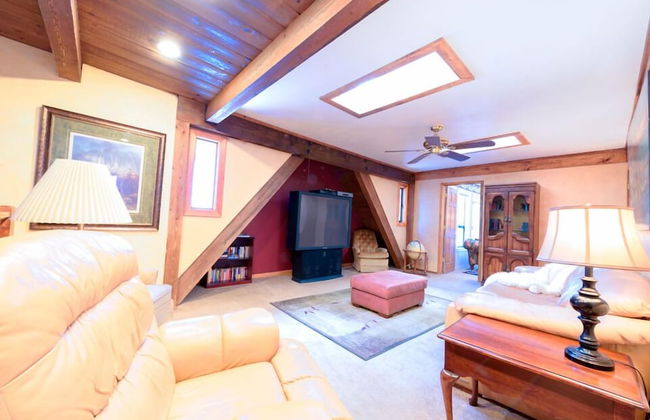
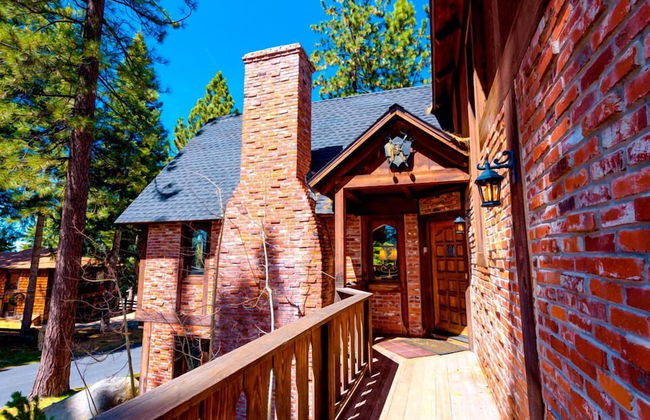
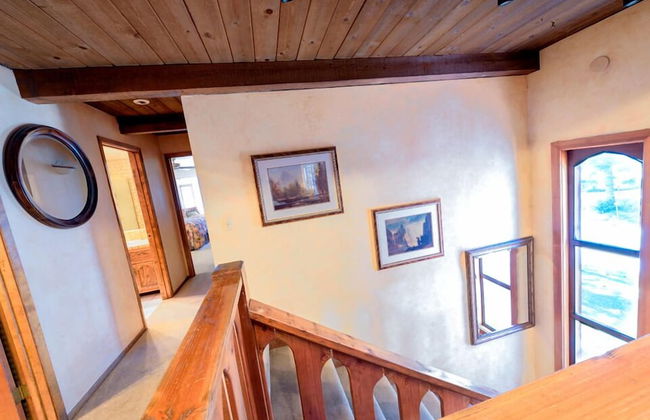
Lx10: Lake View Jewel Estate With Pool Table
Zephyr Cove
- 371 M2
- 10 Personen
- Klimaanlage
- Heizung
- Parkplatz
- Balkon
- Garten
- Tv
- Waschmaschine
- Schornstein
- Bettlaken
1 Bewertung
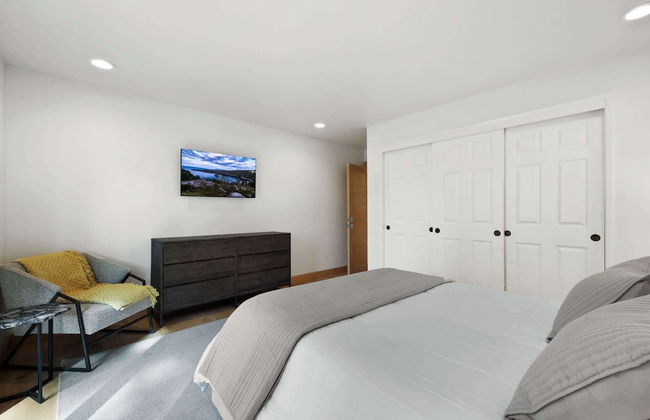

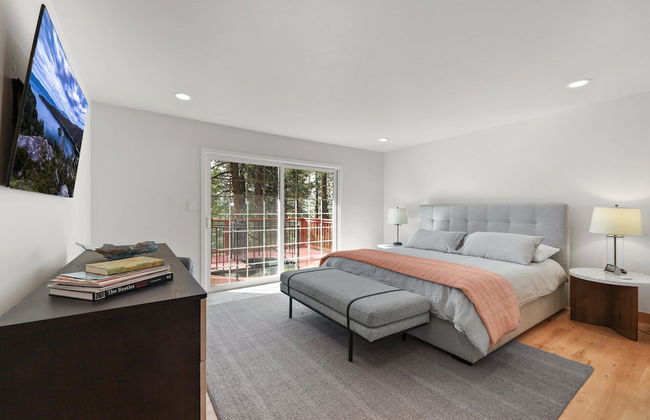


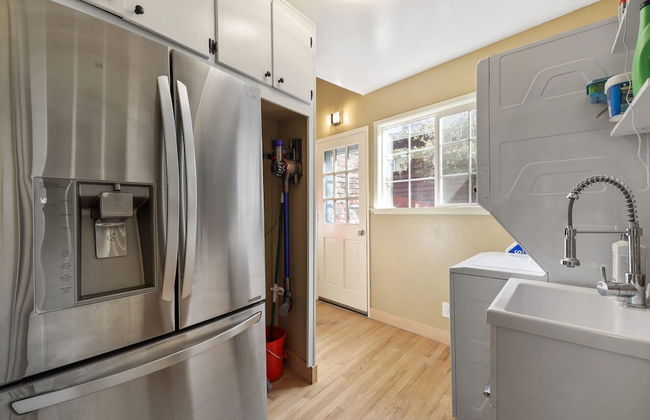


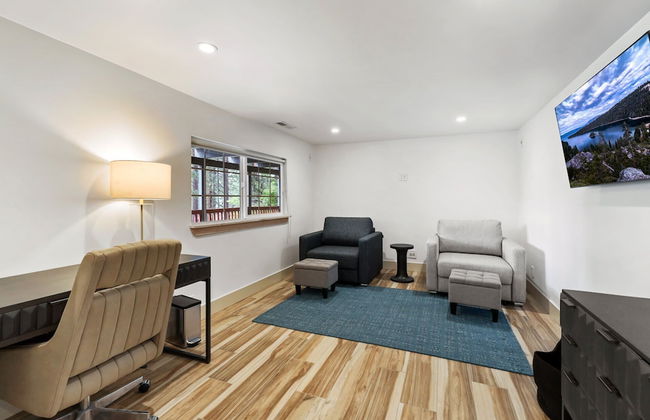


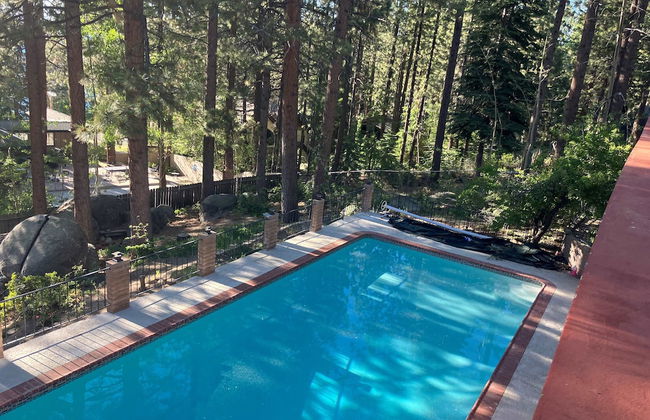

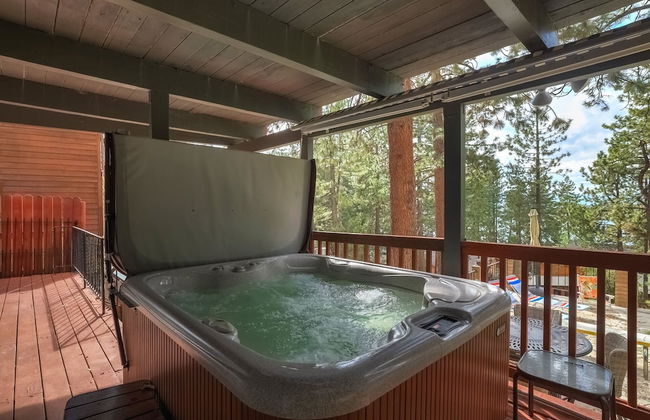


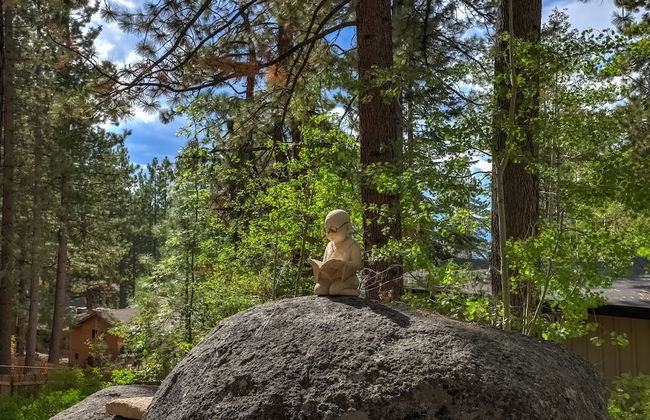


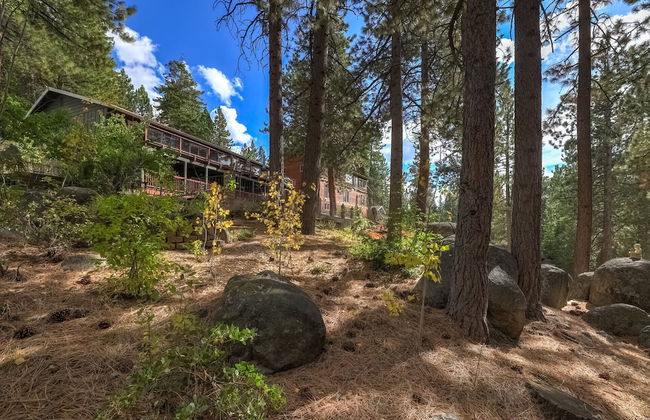
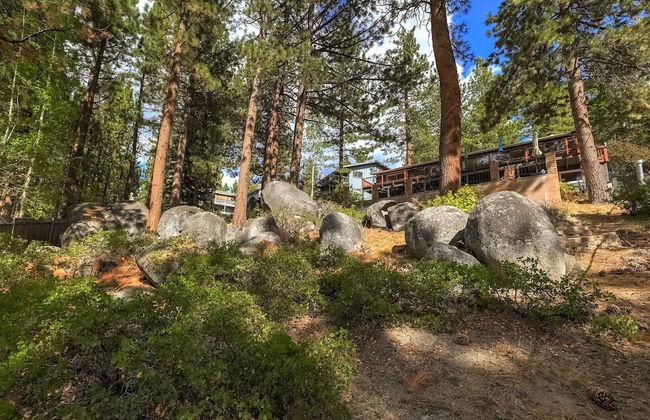
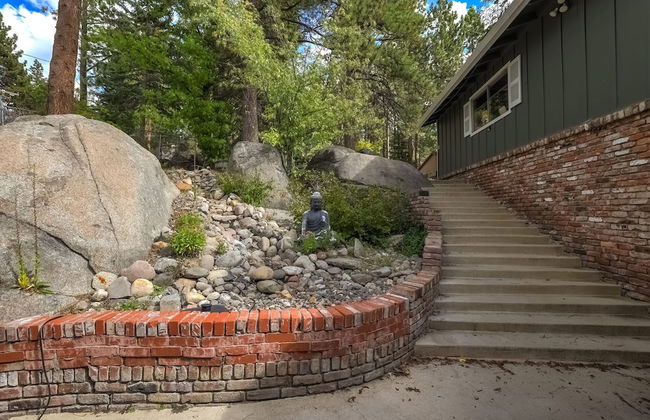

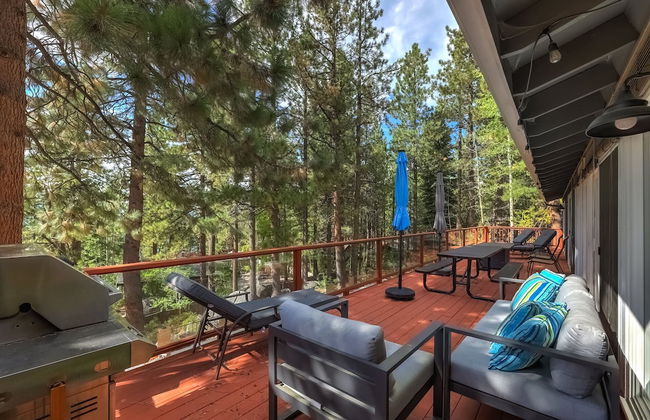


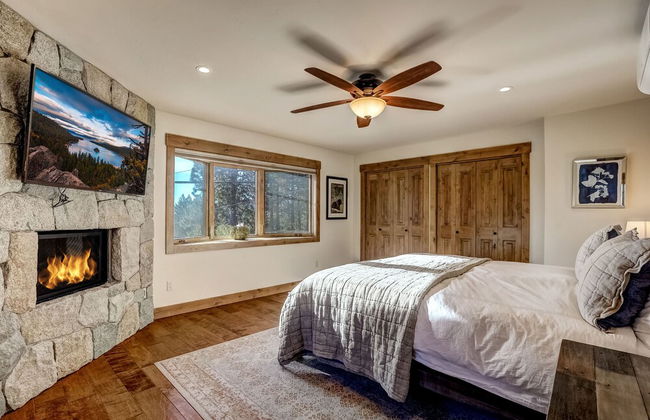
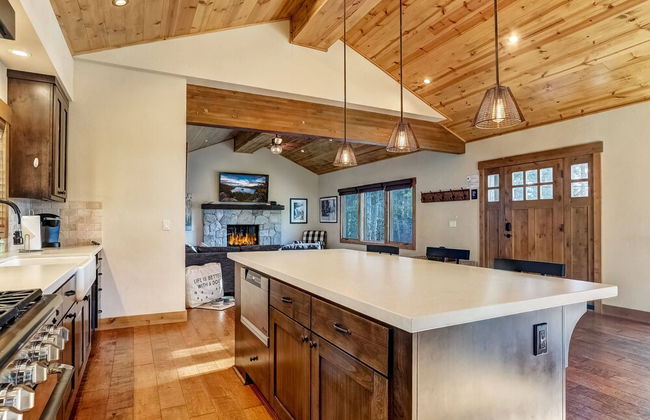
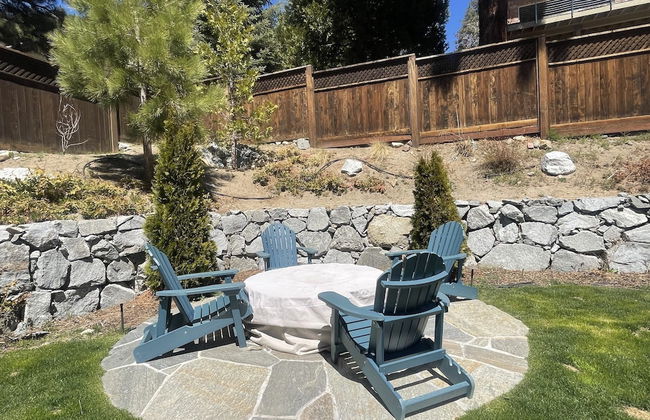
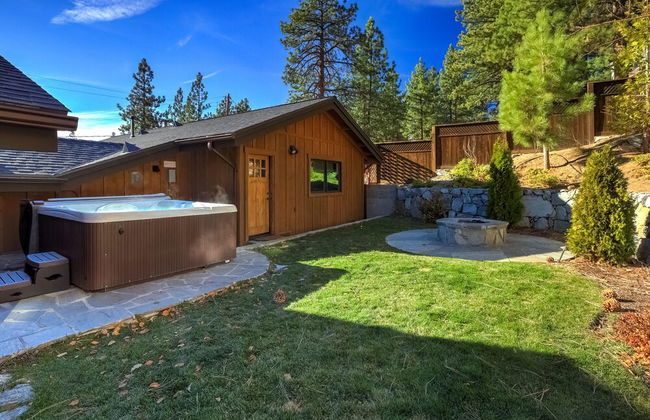
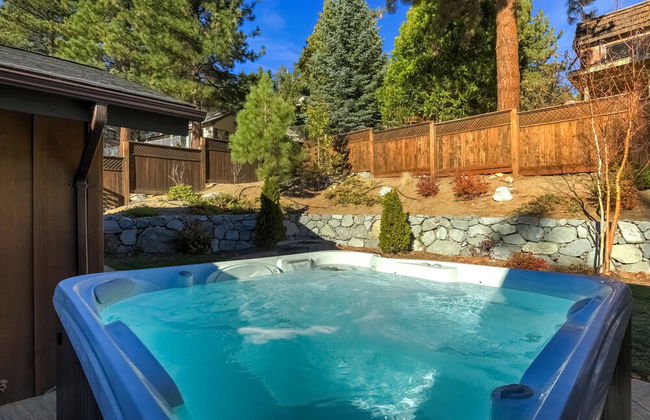
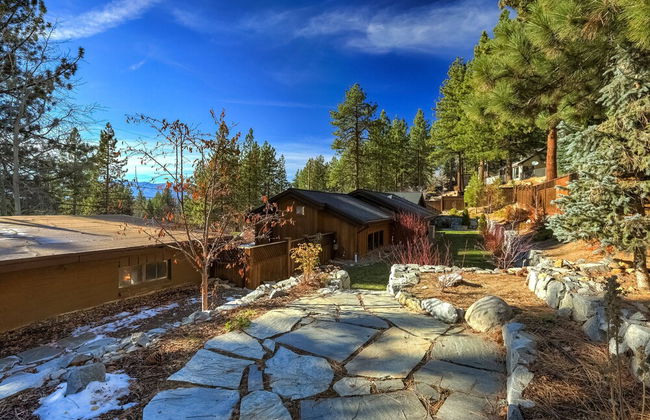
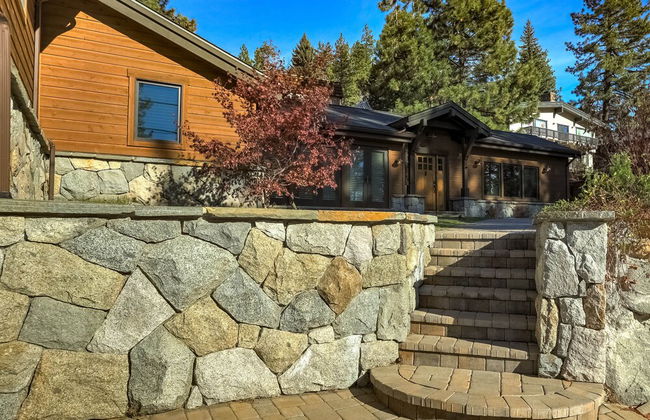
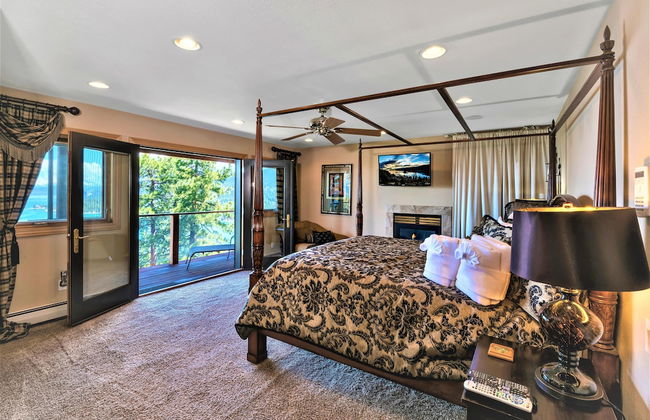
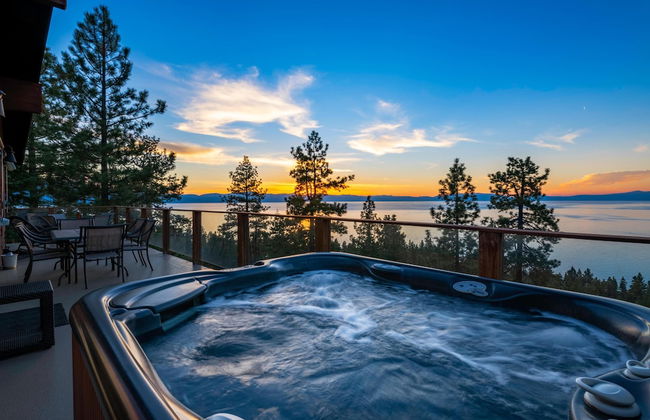
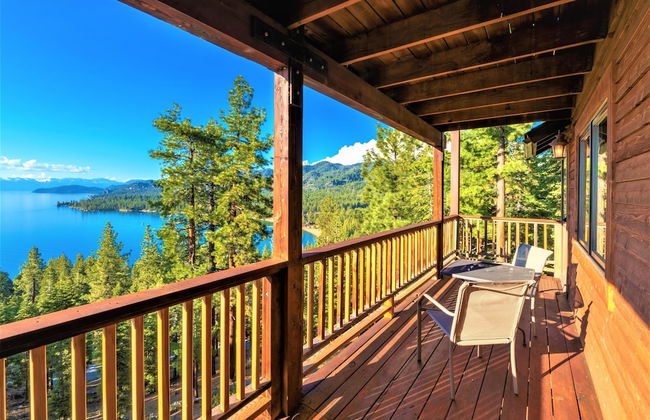
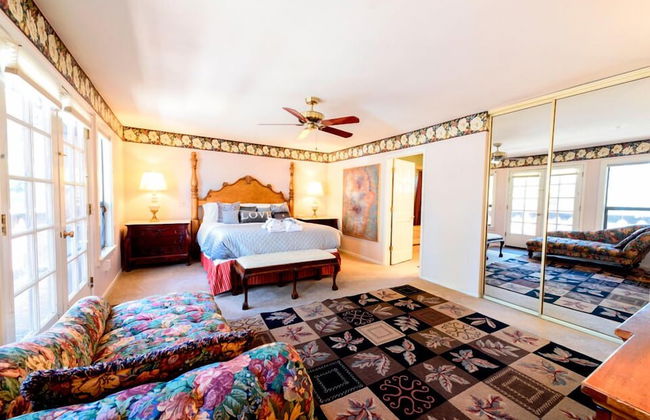
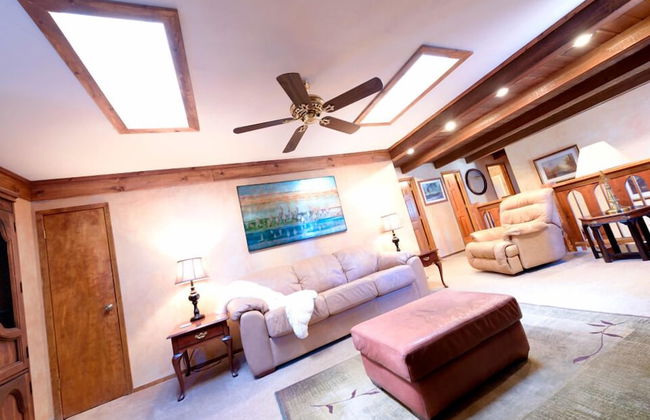
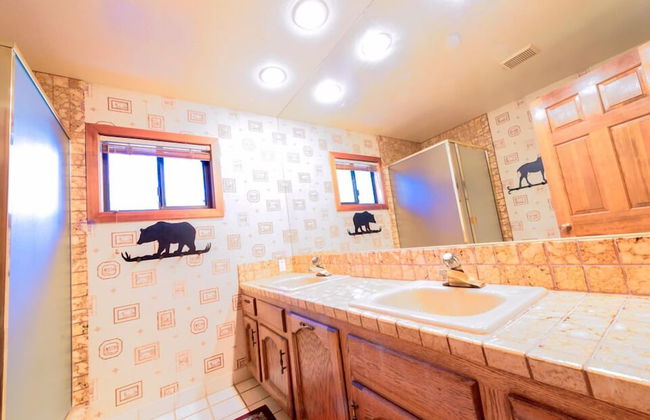
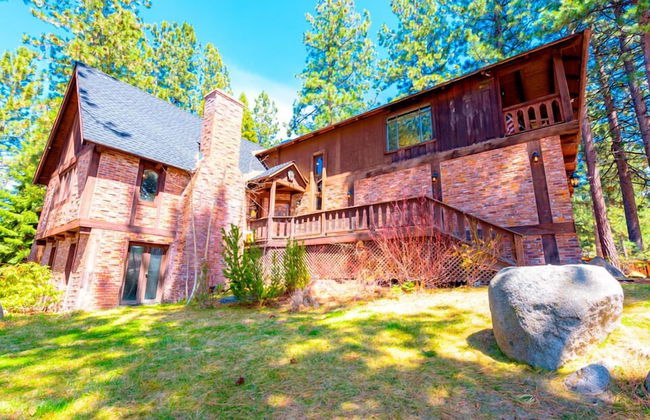
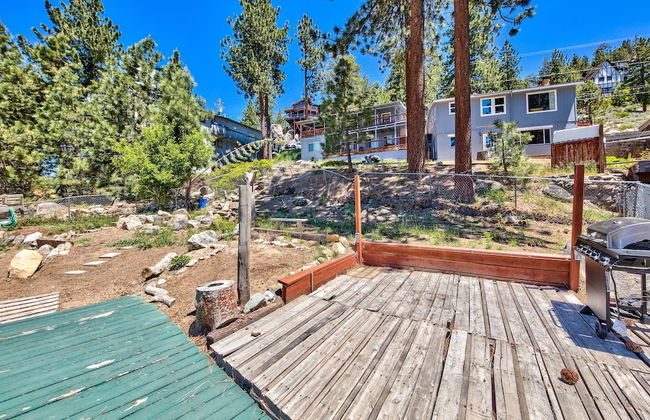
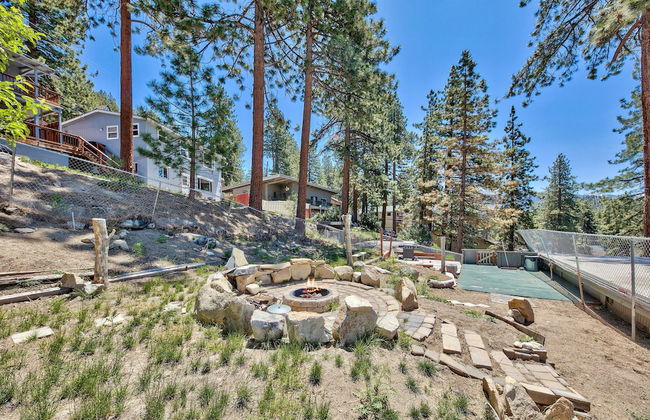
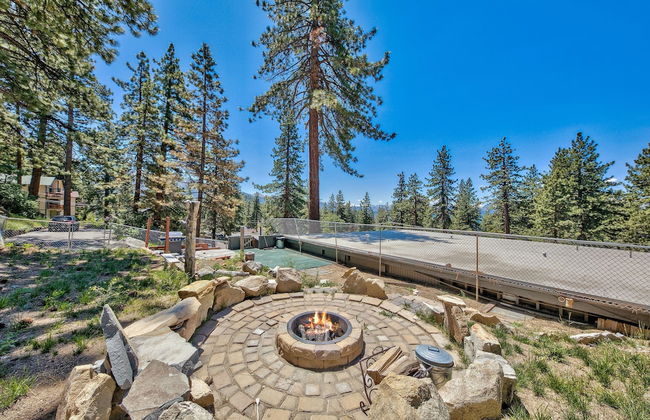
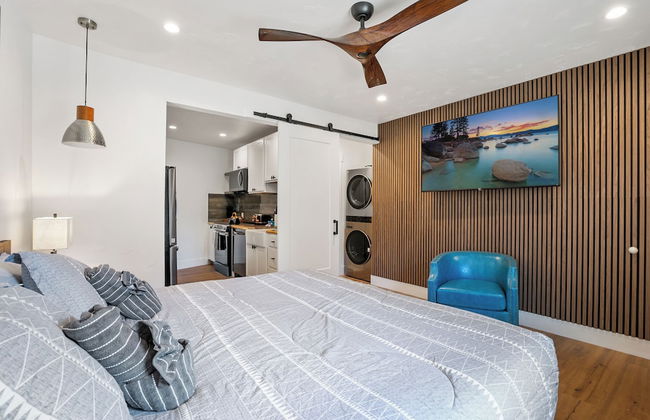
NEW Zephyr Cove Zen - Hot tub & Summer Pool
Zephyr Cove
- 280 M2
- 8 Personen
- Heizung
- Schwimmbad
- Parkplatz
- Balkon
- Tv
- Waschmaschine
- Barbecue
- Handtücher
- Bettlaken


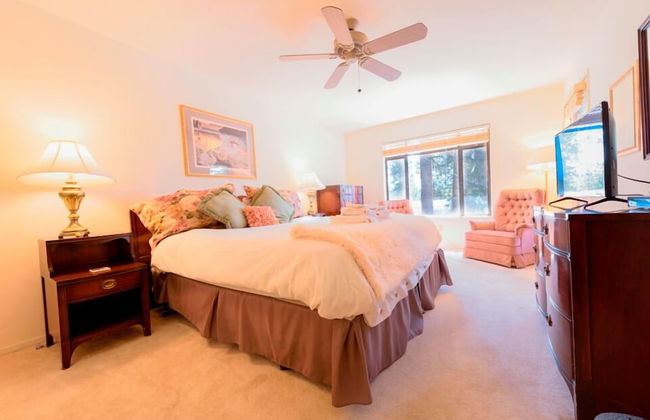


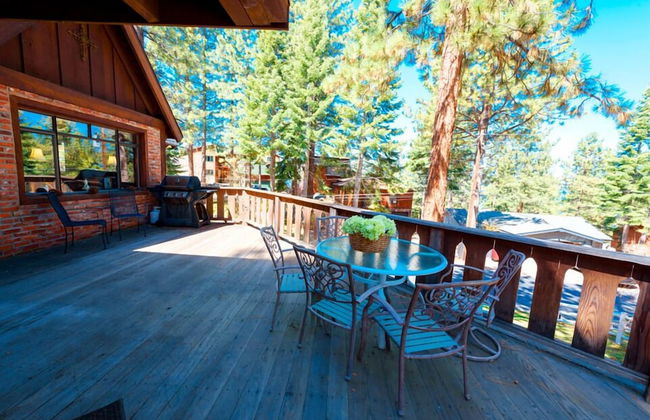


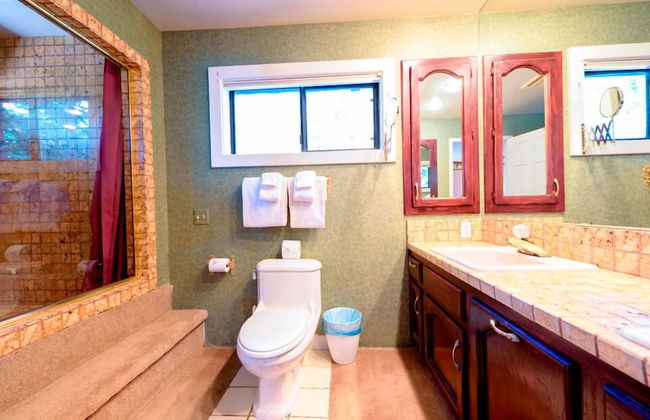


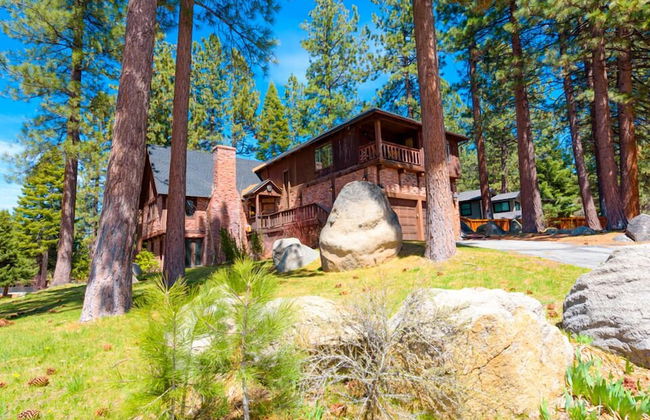
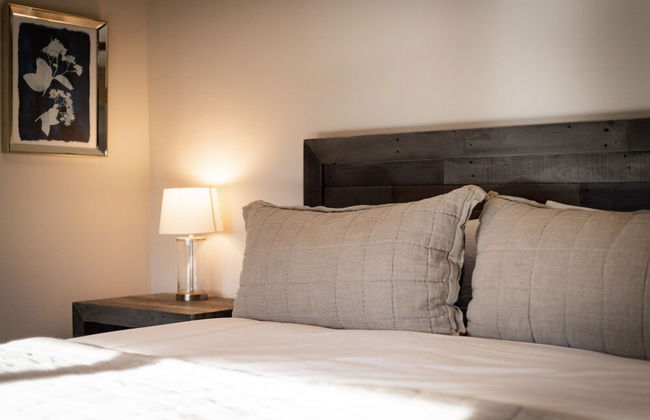
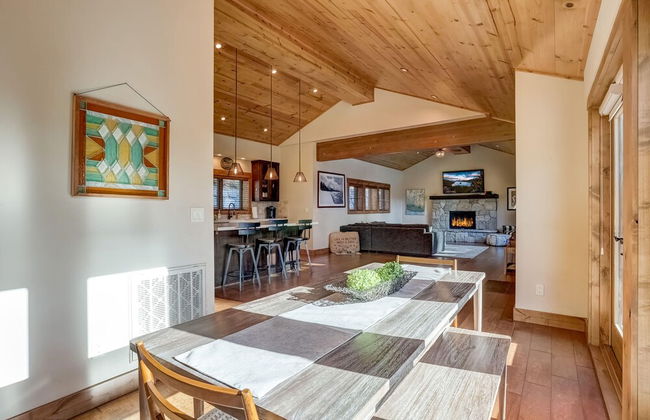
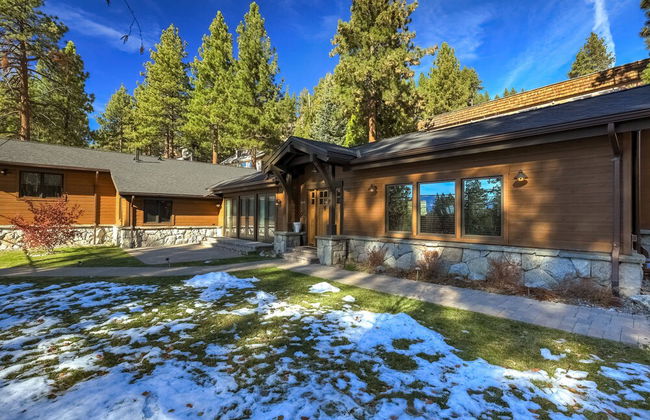
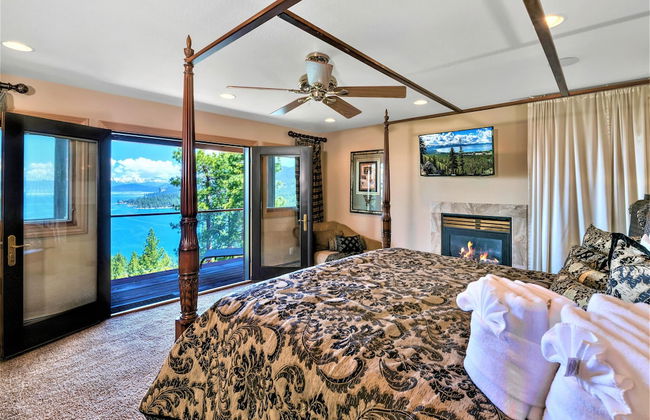
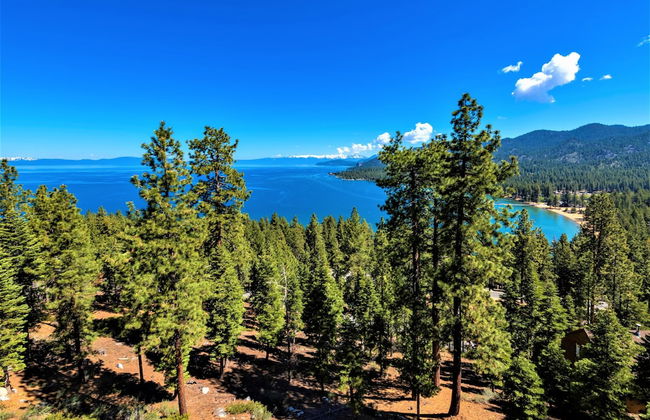
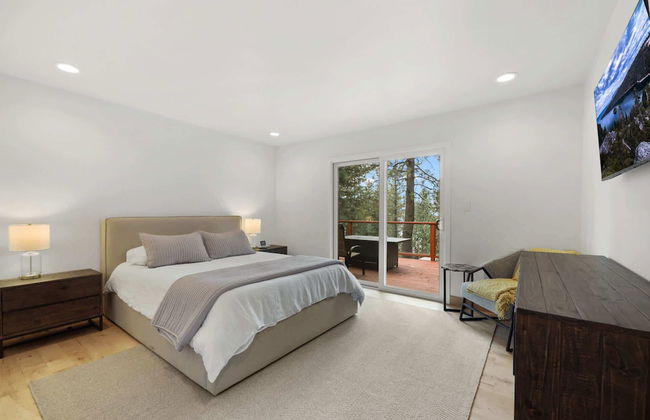
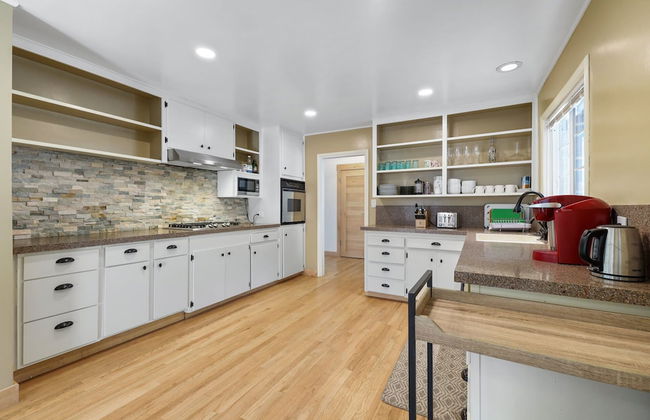
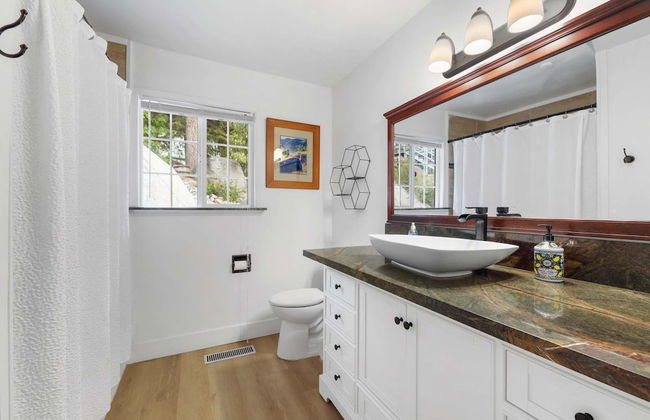
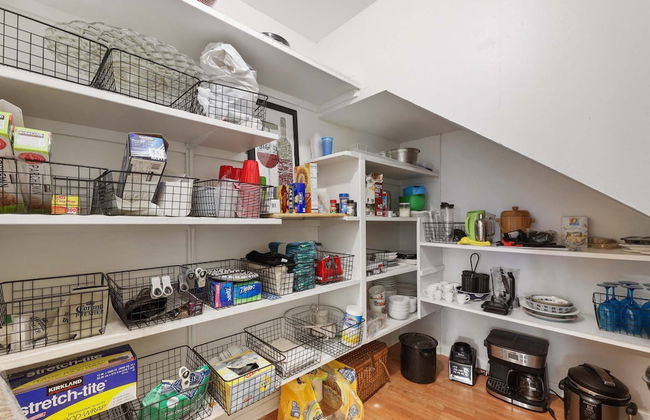
Month A Month Mv19 Willow
Zephyr Cove
- 323 M2
- 10 Personen
- Klimaanlage
- Heizung
- Parkplatz
- Balkon
- Tv
- Waschmaschine
- Schornstein
- Handtücher

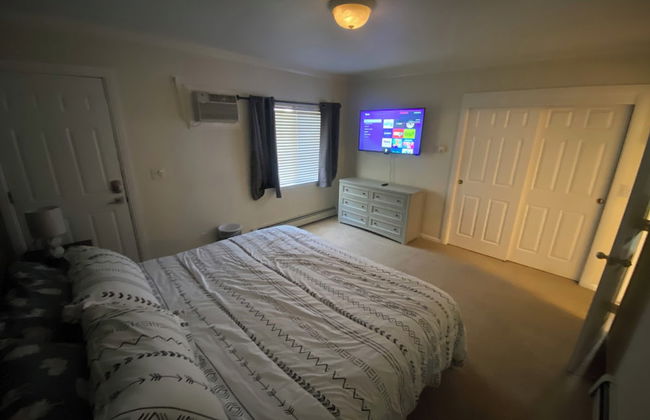


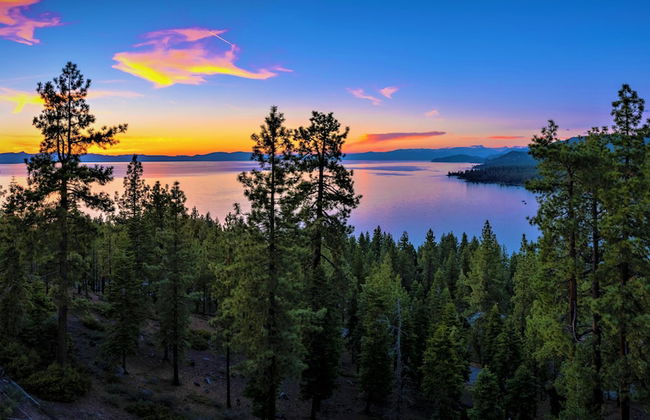
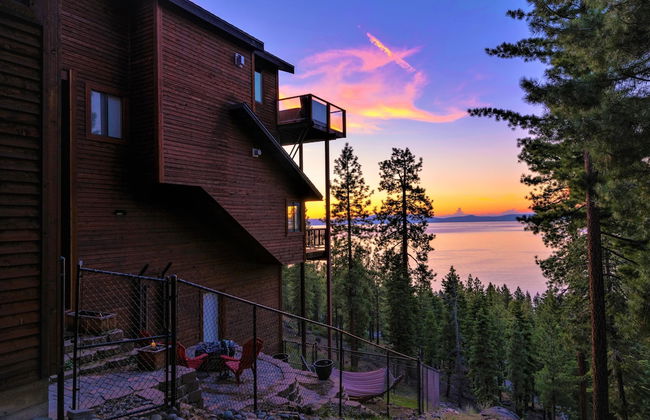
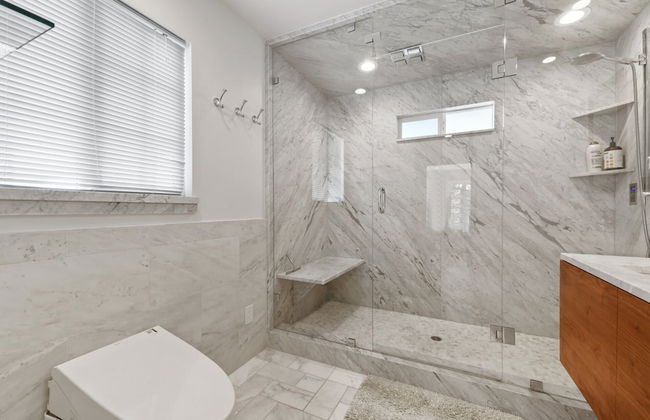
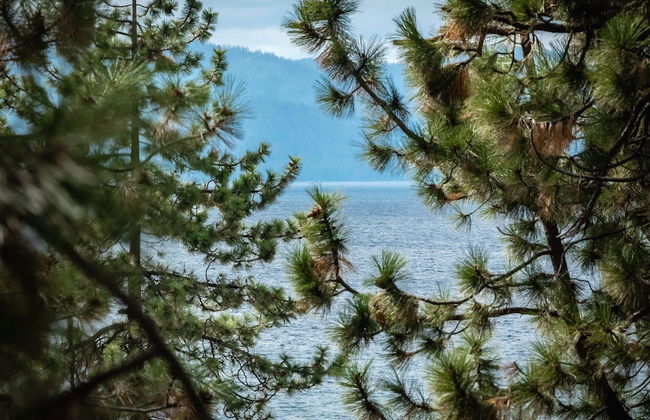
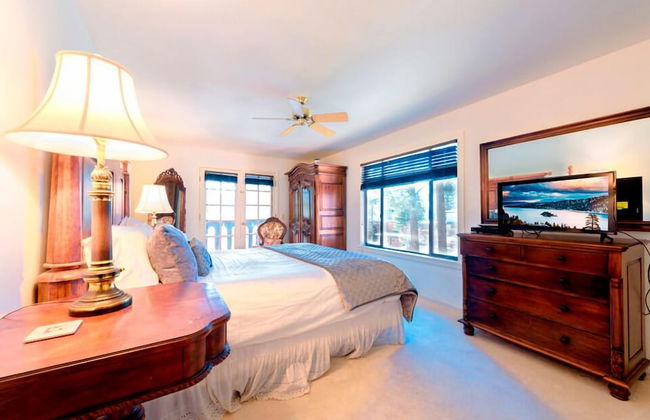
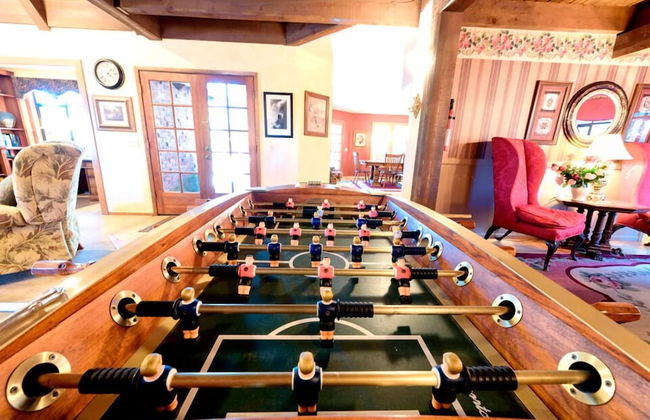
Singing Pines in Marla Bay - Walk to Lake!
Zephyr Cove
- 228 M2
- 10 Personen
- Heizung
- Parkplatz
- Balkon
- Tv
- Waschmaschine
- Schornstein
- Barbecue
- Handtücher
- Bettlaken