
352 Wohnungen in South Australia


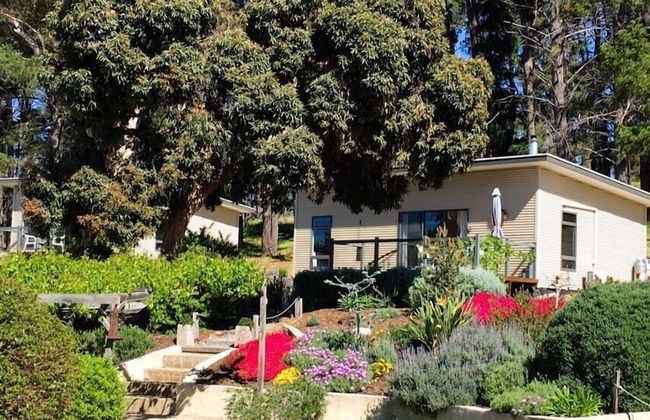
Esto House
Crafers - Crafers
- 16 M2
- 4 Personen
- Klimaanlage
- Heizung
- Terrasse
- Parkplatz
- Garten
- Tv
- Waschmaschine
- Schornstein
- Barbecue
- Handtücher
- Bettlaken
17 Bewertungen


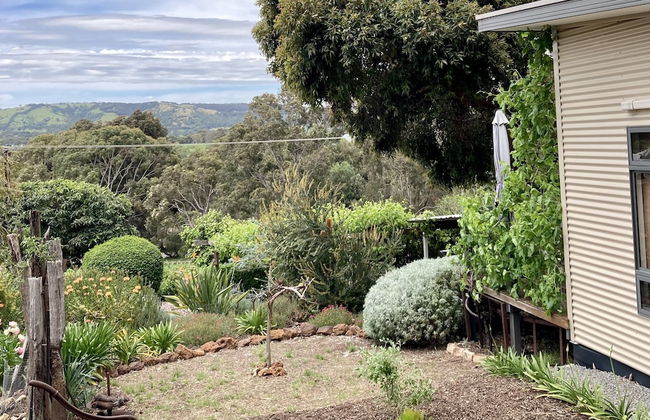
Miriams Cottage
Tanunda - Tanunda - 370 m vom Zentrum
- 180 M2
- 4 Personen
- Klimaanlage
- Heizung
- Terrasse
- Parkplatz
- Balkon
- Garten
- Tv
- Waschmaschine
- Schornstein
- Barbecue
- Handtücher
- Bettlaken
10 Bewertungen


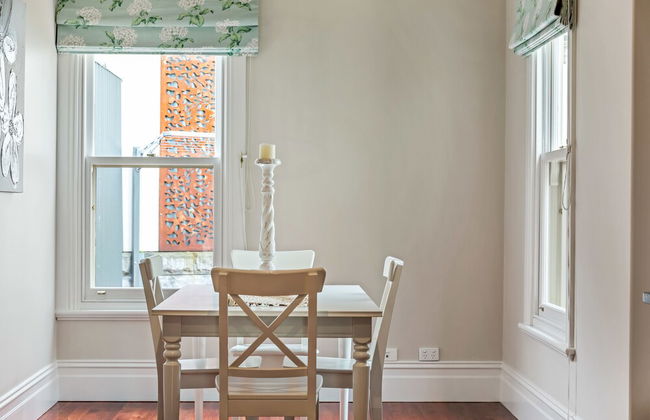
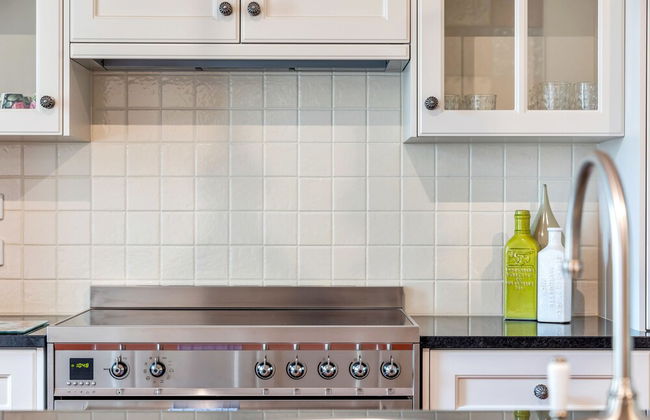
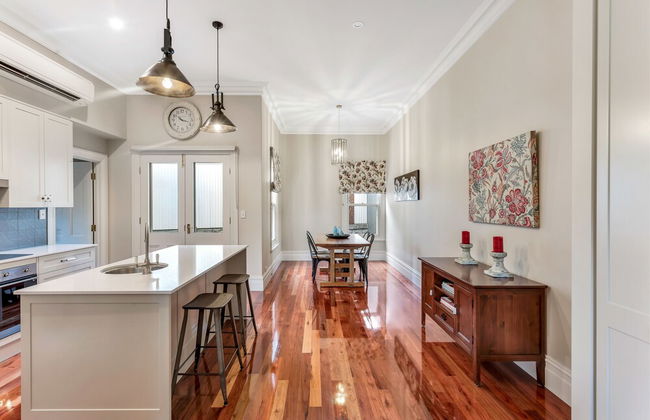
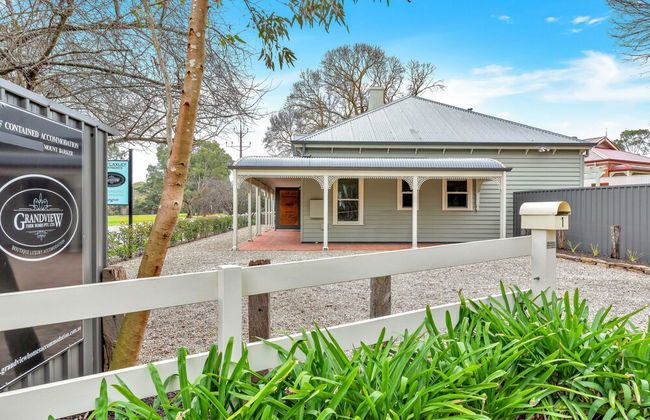
Grandview Accommodation - The Elm Tree Apartments
Mount Barker - Mount Barker - Im Zentrum
- 115 M2
- 6 Personen
- Klimaanlage
- Heizung
- Terrasse
- Parkplatz
- Garten
- Tv
- Waschmaschine
- Handtücher
- Bettlaken
15 Bewertungen


Barossa Bed & Breakfast
Tanunda - Tanunda - 320 m vom Zentrum
- 240 M2
- 6 Personen
- Klimaanlage
- Heizung
- Terrasse
- Parkplatz
- Garten
- Tv
- Waschmaschine
- Schornstein
- Barbecue
- Handtücher
- Bettlaken
12 Bewertungen


The Frames
Paringa - Paringa
- 145 M2
- 4 Personen
- Klimaanlage
- Heizung
- Schwimmbad
- Parkplatz
- Balkon
- Garten
- Tv
- Waschmaschine
- Schornstein
- Barbecue
- Handtücher
- Bettlaken
10 Bewertungen


Searenity Holiday Accommodation
Emu Bay
- 96 M2
- 8 Personen
- Kochnische
- Klimaanlage
- Heizung
- Terrasse
- Parkplatz
- Garten
- Tv
- Waschmaschine
- Barbecue
- Handtücher
- Bettlaken
29 Bewertungen


The Retreat at Stirling
Stirling
- 76 M2
- 2 Personen
- Klimaanlage
- Heizung
- Schwimmbad
- Parkplatz
- Garten
- Tv
- Waschmaschine
- Schornstein
- Barbecue
- Handtücher
- Bettlaken
29 Bewertungen


Barossa Pavilions
Lyndoch - Lyndoch - 2.7 km vom Zentrum
- 96 M2
- 2 Personen
- Klimaanlage
- Heizung
- Terrasse
- Parkplatz
- Balkon
- Garten
- Tv
- Waschmaschine
- Schornstein
- Barbecue
- Handtücher
- Bettlaken
87 Bewertungen


Mataro Cottage
Tanunda - Tanunda - 1.2 km vom Zentrum
- 16 M2
- 6 Personen
- Klimaanlage
- Heizung
- Terrasse
- Parkplatz
- Garten
- Tv
- Waschmaschine
- Schornstein
- Barbecue
- Handtücher
- Bettlaken
23 Bewertungen


Karawatha Cottages B&B
Blewitt Springs
- 65 M2
- 2 Personen
- Klimaanlage
- Heizung
- Terrasse
- Parkplatz
- Balkon
- Garten
- Tv
- Schornstein
- Barbecue
- Handtücher
- Bettlaken
27 Bewertungen


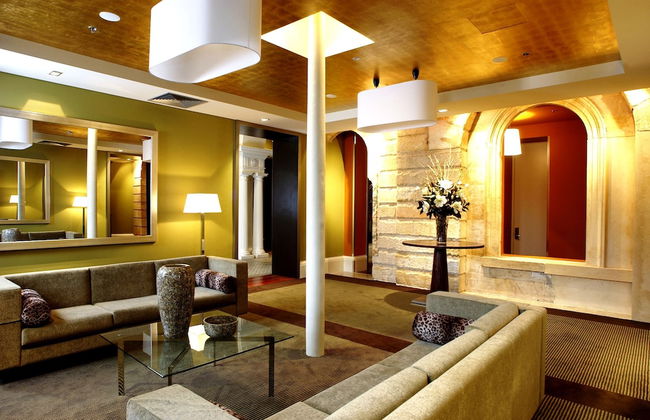


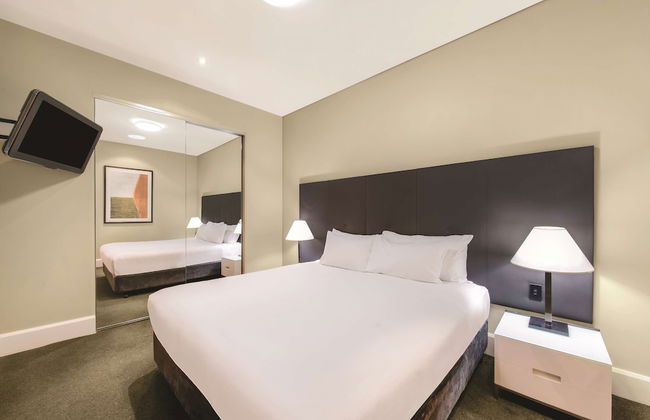


Adina Apartment Hotel Adelaide Treasury
Adelaide - Adelaide - Im Zentrum
- 82 M2
- 5 Personen
- Kochnische
- Klimaanlage
- Terrasse
- Schwimmbad
- Fahrstuhl
- Garten
- Tv
- Waschmaschine
- Handtücher
- Bettlaken
1425 Bewertungen


Jasmine's Cottage
Lyndoch - Lyndoch - Im Zentrum
- 20 M2
- 4 Personen
- Klimaanlage
- Heizung
- Terrasse
- Parkplatz
- Garten
- Tv
- Waschmaschine
- Schornstein
- Barbecue
- Handtücher
- Bettlaken
14 Bewertungen


The Other House
Piccadilly
- 104 M2
- 5 Personen
- Klimaanlage
- Heizung
- Terrasse
- Parkplatz
- Garten
- Tv
- Waschmaschine
- Schornstein
- Barbecue
- Handtücher
- Bettlaken
11 Bewertungen


Villas on the Bay Kingscote
Kingscote - Kingscote
- 79 M2
- 6 Personen
- Klimaanlage
- Heizung
- Terrasse
- Parkplatz
- Balkon
- Garten
- Tv
- Waschmaschine
- Barbecue
- Handtücher
189 Bewertungen


Grandview Accommodation - The Flaxley Apartments
Mount Barker - Mount Barker - 1.1 km vom Zentrum
- 95 M2
- 4 Personen
- Klimaanlage
- Heizung
- Terrasse
- Parkplatz
- Garten
- Tv
- Waschmaschine
- Handtücher
- Bettlaken
18 Bewertungen


Sky House Kangaroo Island
Middle River - 4 km vom Zentrum
- 150 M2
- 2 Personen
- Klimaanlage
- Heizung
- Terrasse
- Parkplatz
- Balkon
- Garten
- Tv
- Barbecue
- Handtücher
- Bettlaken
15 Bewertungen


Emu Bay Holiday Homes
Emu Bay
- 10 Personen
- Kochnische
- Klimaanlage
- Heizung
- Terrasse
- Parkplatz
- Balkon
- Garten
- Tv
- Barbecue
- Handtücher
- Bettlaken
32 Bewertungen


Majestic M Suites
Adelaide - North Adelaide - 1.8 km vom Zentrum
- 86 M2
- 6 Personen
- Klimaanlage
- Terrasse
- Parkplatz
- Fahrstuhl
- Balkon
- Garten
- Tv
- Waschmaschine
- Handtücher
- Bettlaken
484 Bewertungen


Boat Haven Studios
Goolwa - Goolwa
- 36 M2
- 3 Personen
- Kochnische
- Klimaanlage
- Heizung
- Terrasse
- Parkplatz
- Balkon
- Garten
- Tv
- Waschmaschine
- Barbecue
- Handtücher
- Bettlaken
110 Bewertungen


Bonnies of Beachport
Beachport - Beachport - 2.9 km vom Zentrum
- 82 M2
- 5 Personen
- Klimaanlage
- Heizung
- Terrasse
- Parkplatz
- Balkon
- Garten
- Tv
- Waschmaschine
- Schornstein
- Handtücher
- Bettlaken
107 Bewertungen