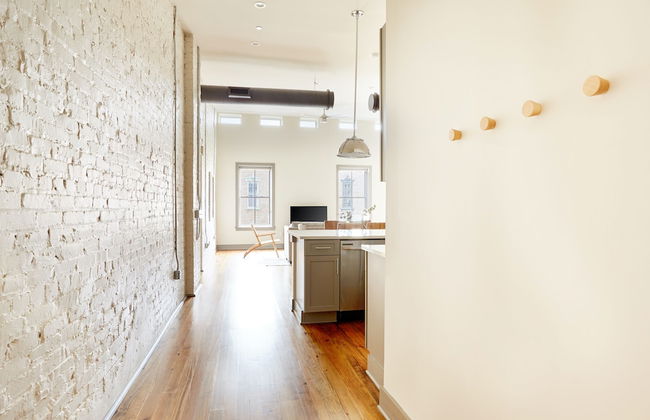
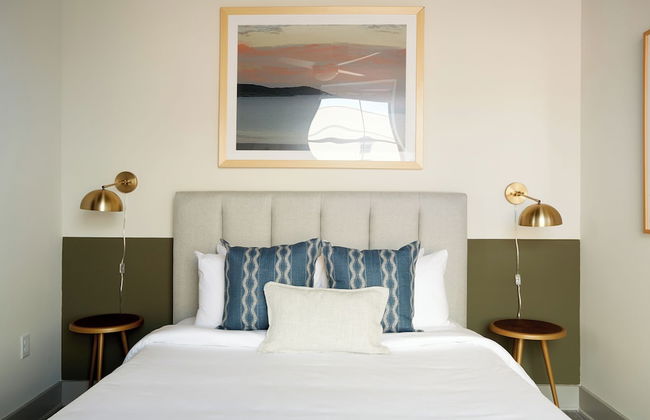
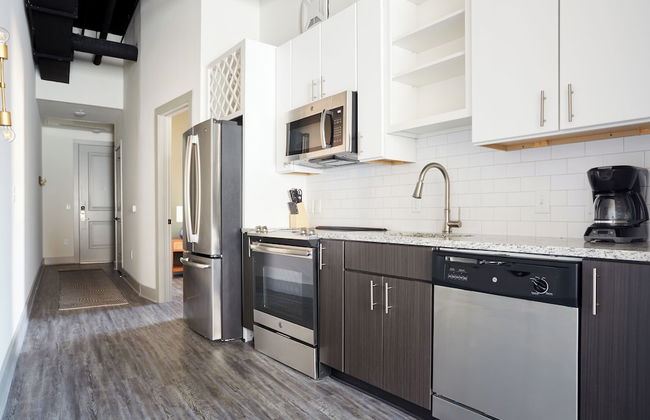
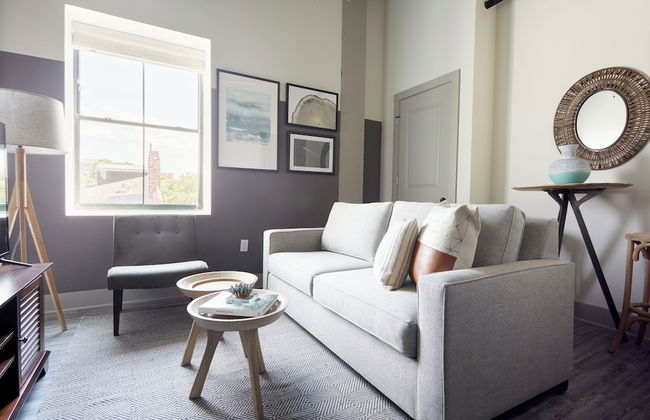
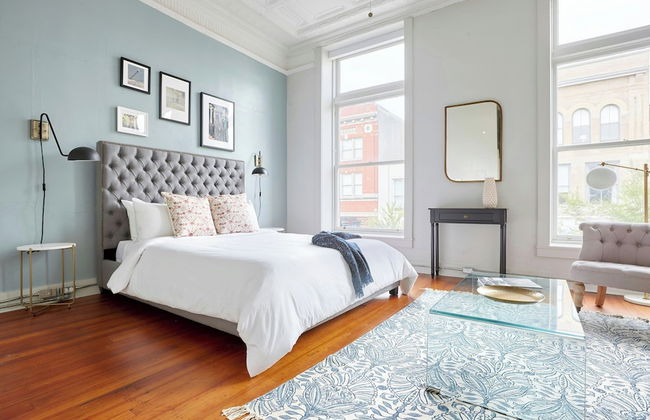
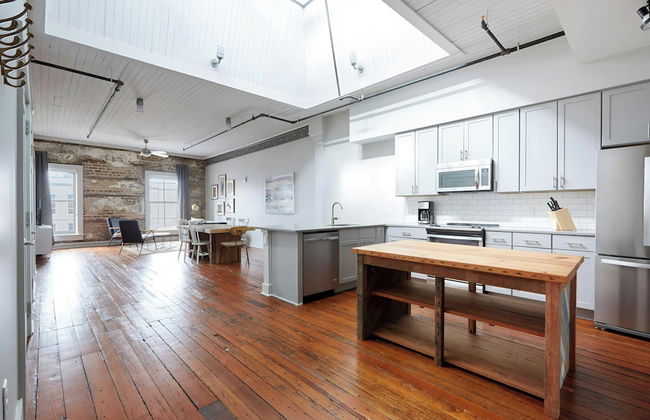
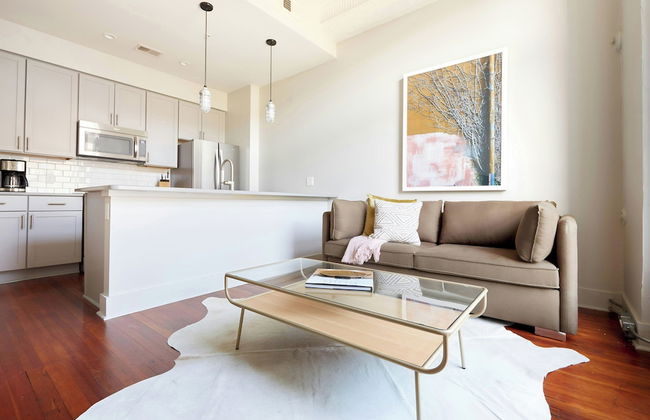
54 Wohnungen in Savannah


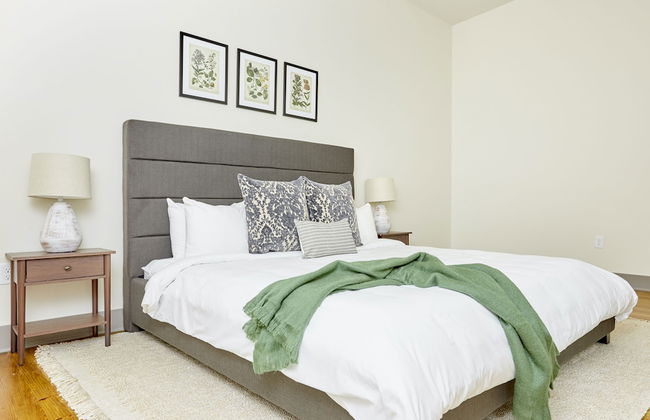
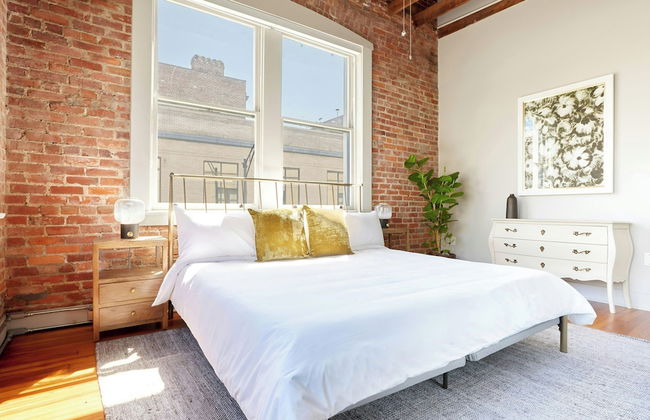
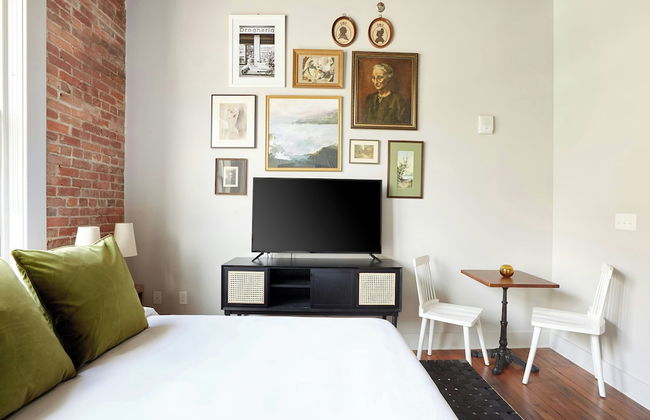
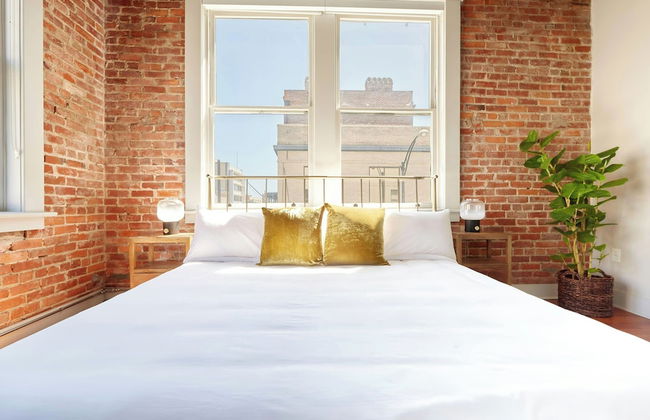
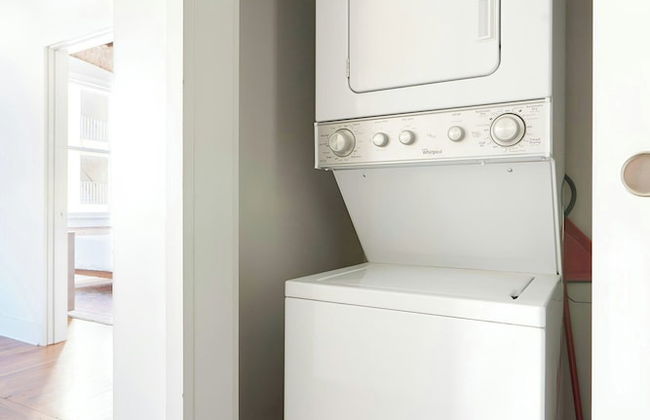
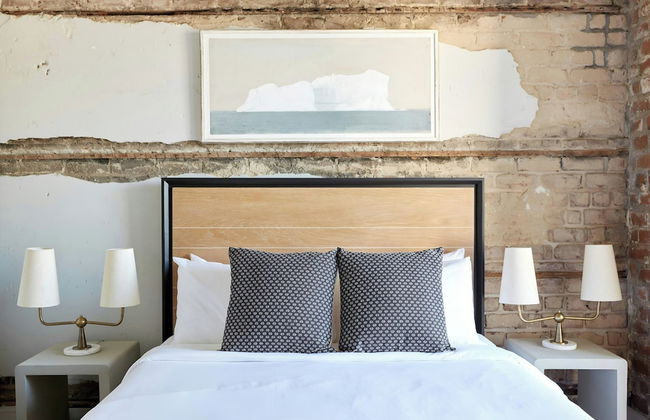
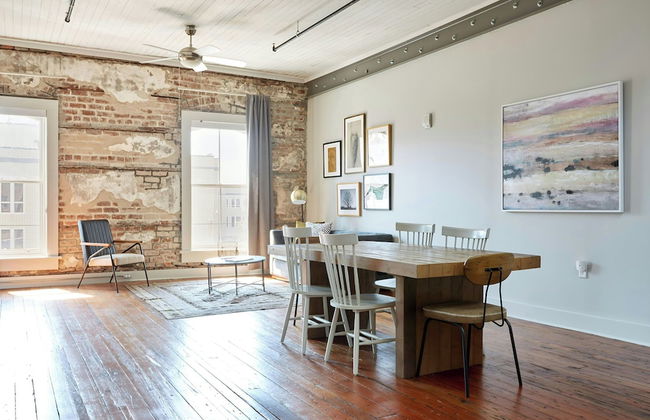
The Grant by Black Swan
Savannah - Downtown Savannah - Im Zentrum
- 8 Personen
- Klimaanlage
- Heizung
- Fahrstuhl
- Tv
- Waschmaschine
- Handtücher
- Bettlaken
216 Bewertungen


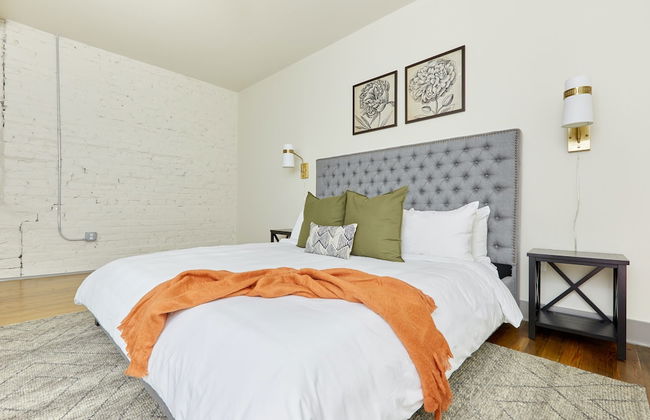
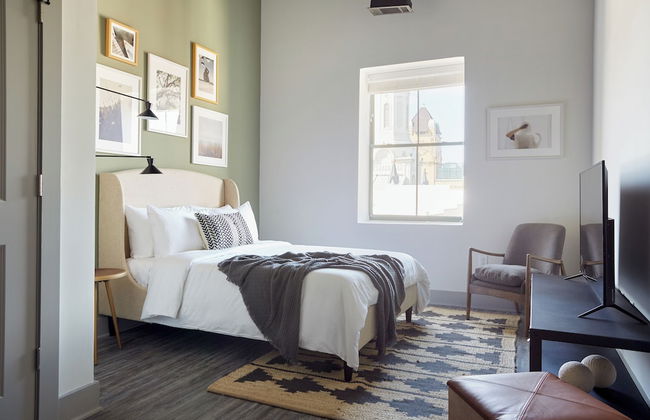
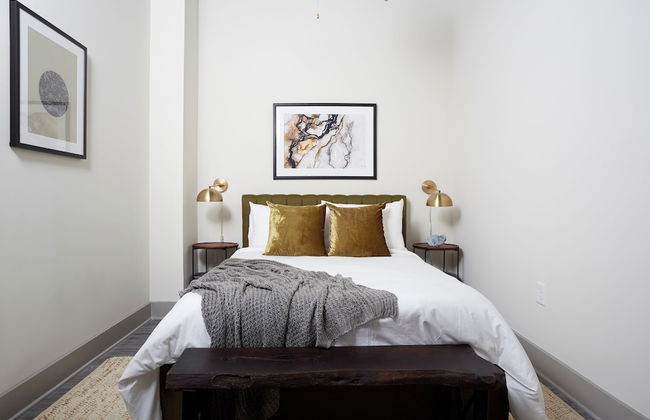
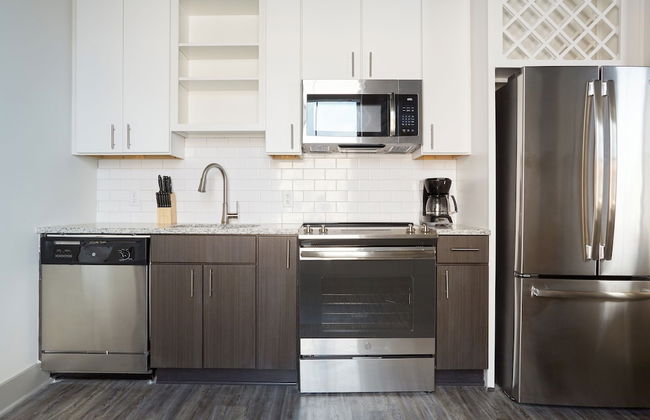
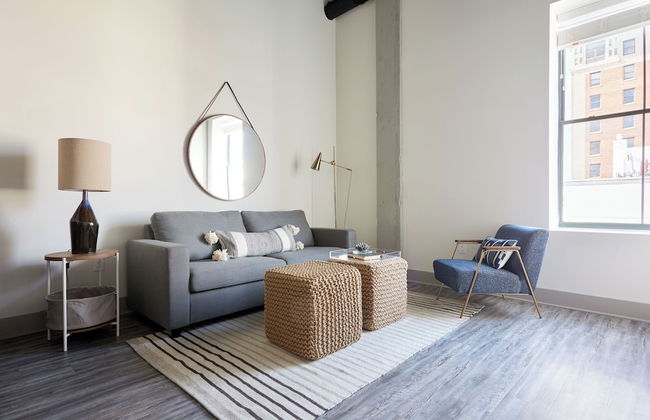
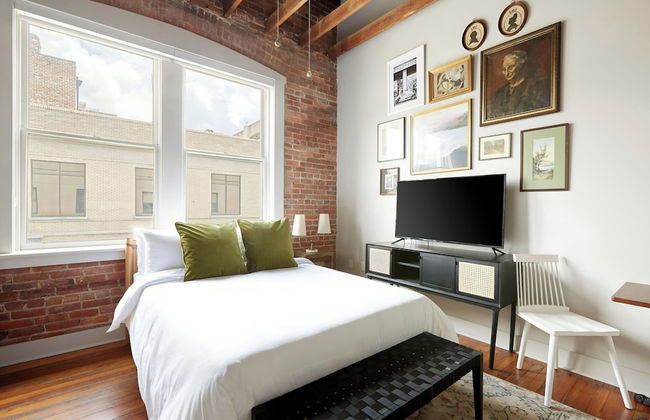
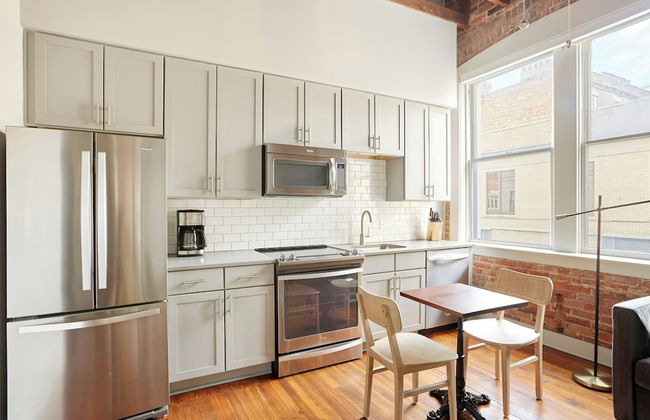
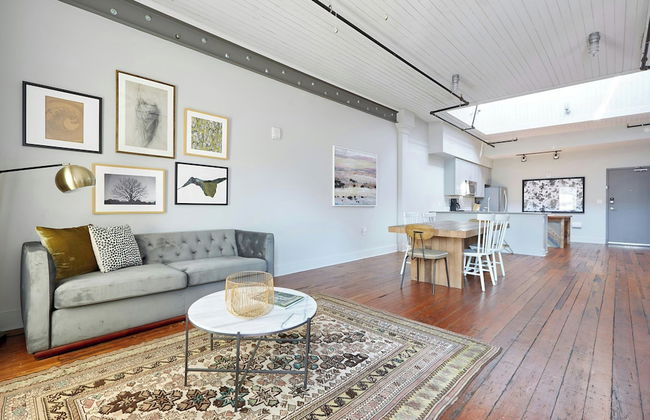
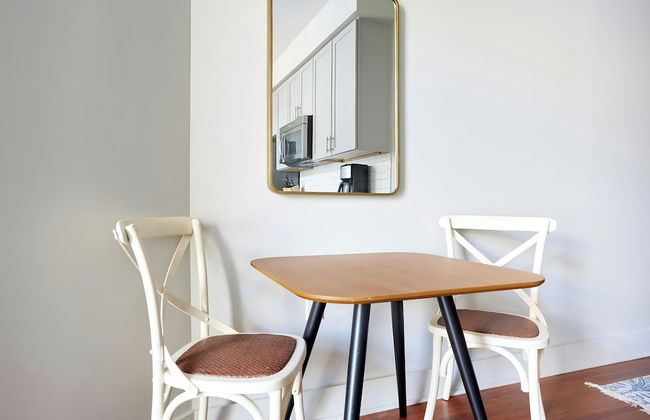
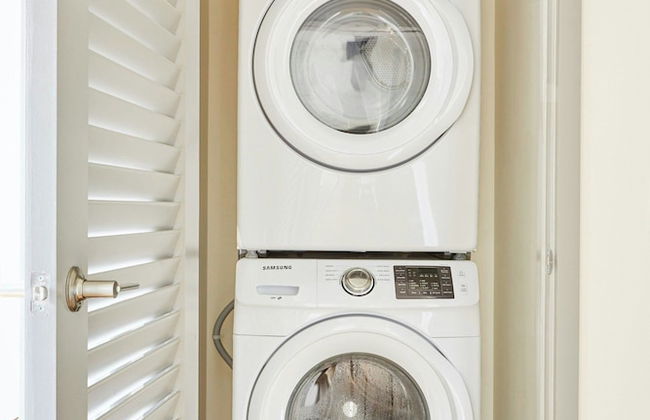
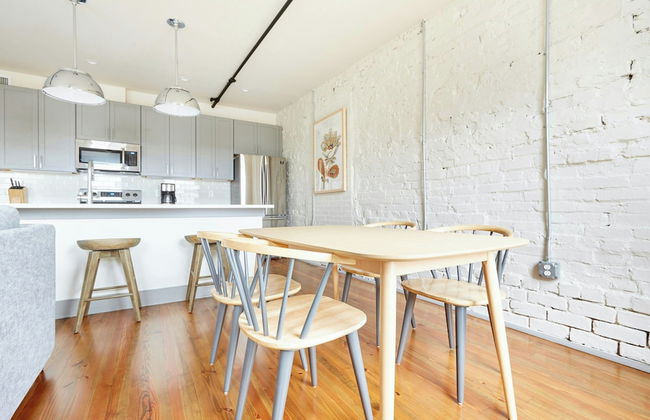
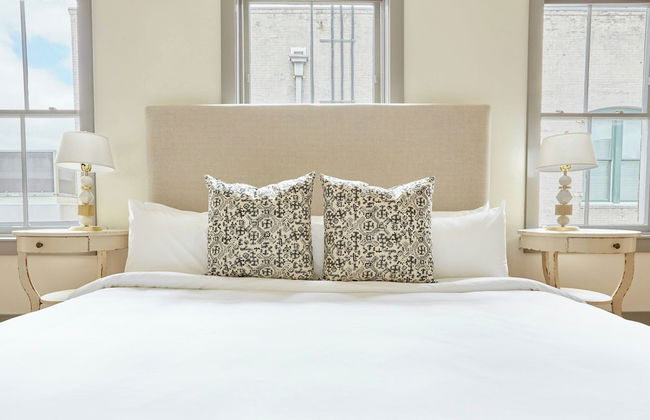
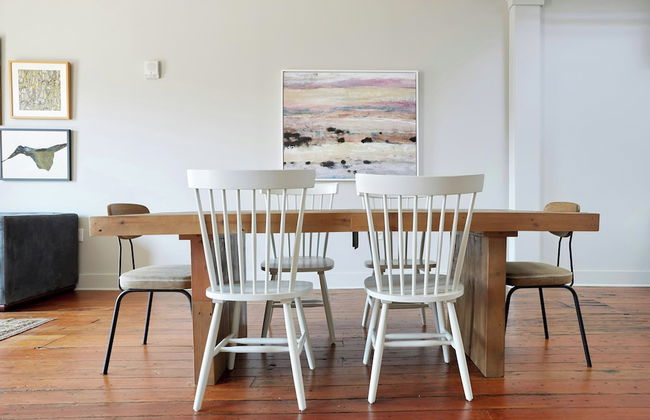
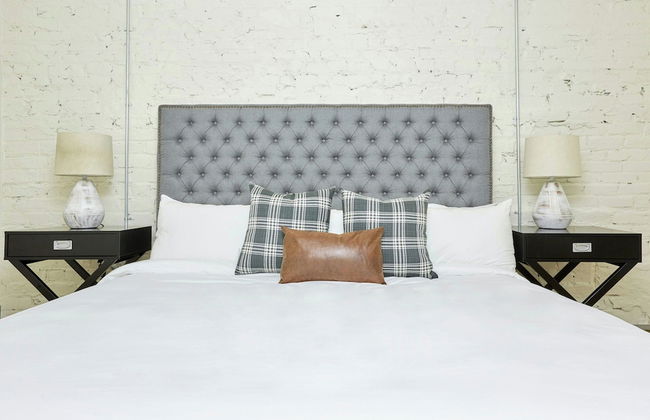
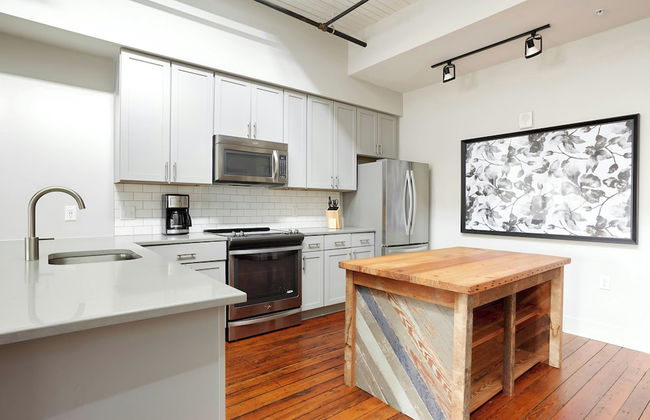
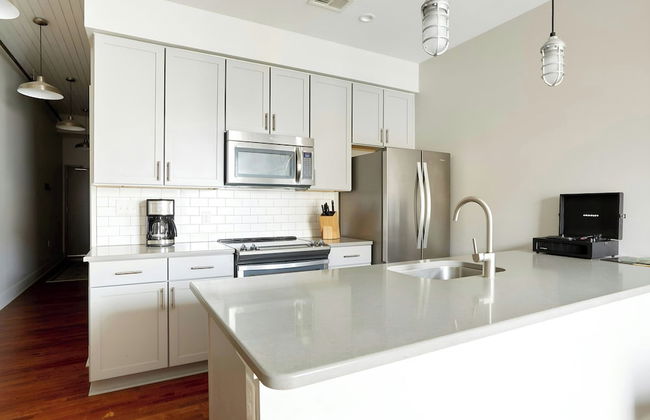
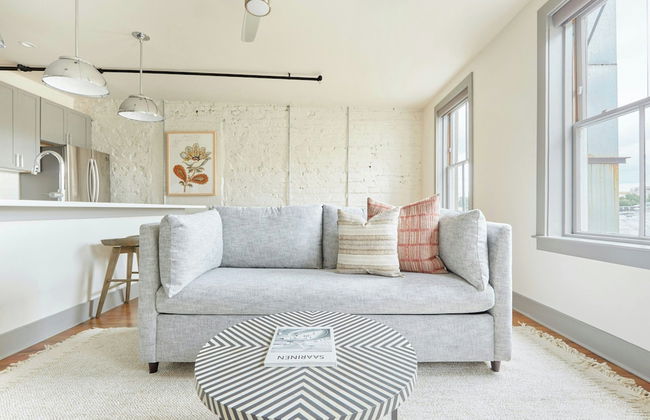
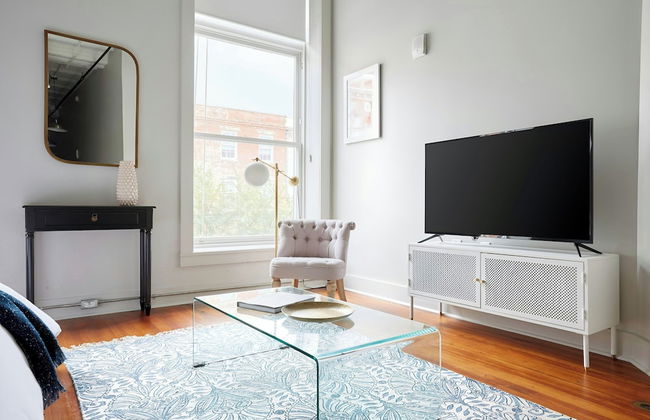
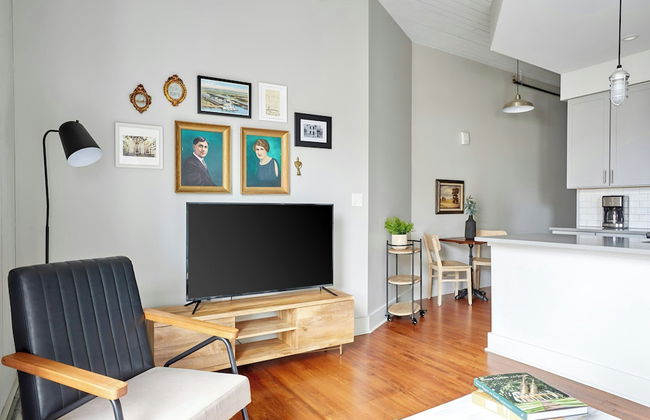
Kasa Jules Savannah
Savannah - Downtown Savannah - Im Zentrum
- 93 M2
- 6 Personen
- Klimaanlage
- Heizung
- Tv
- Waschmaschine
- Handtücher
- Bettlaken
52 Bewertungen


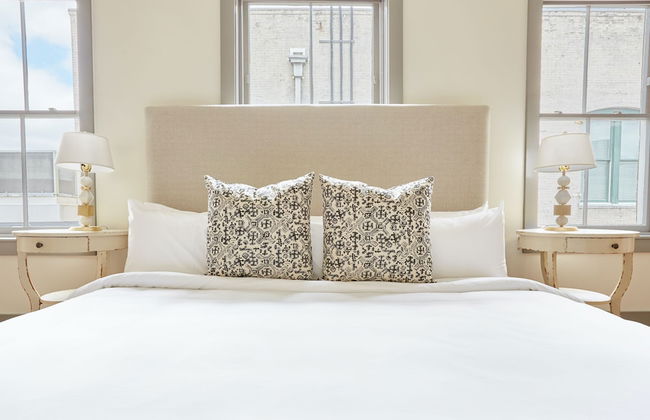


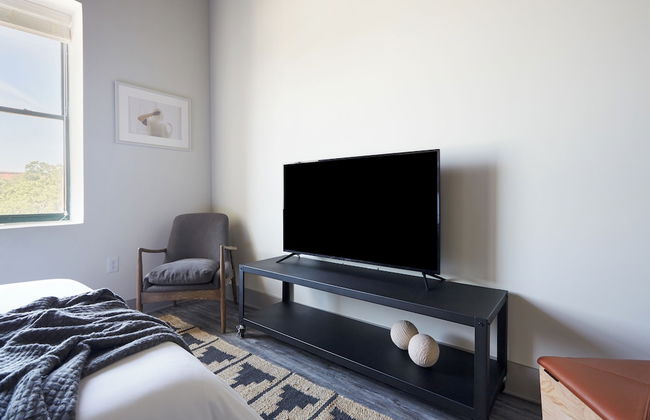
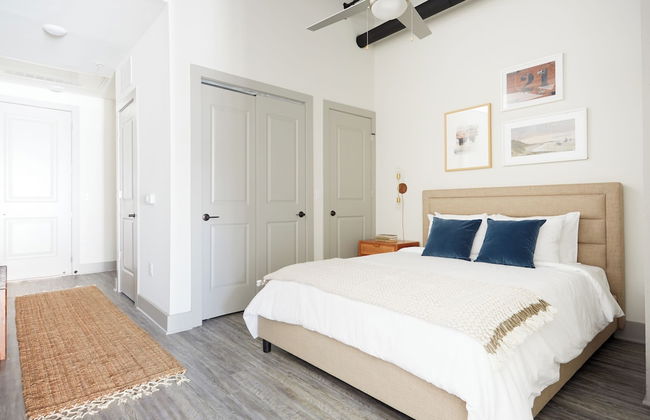
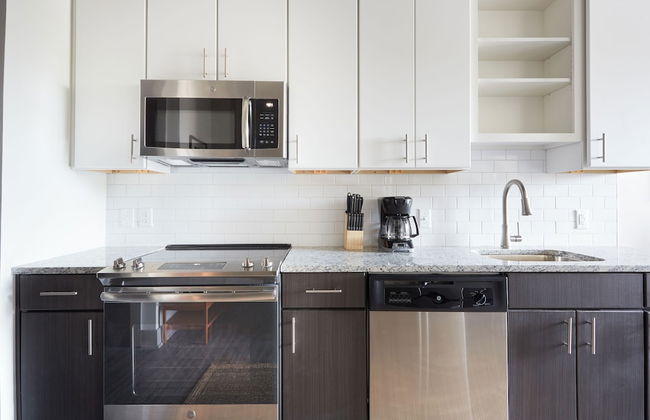
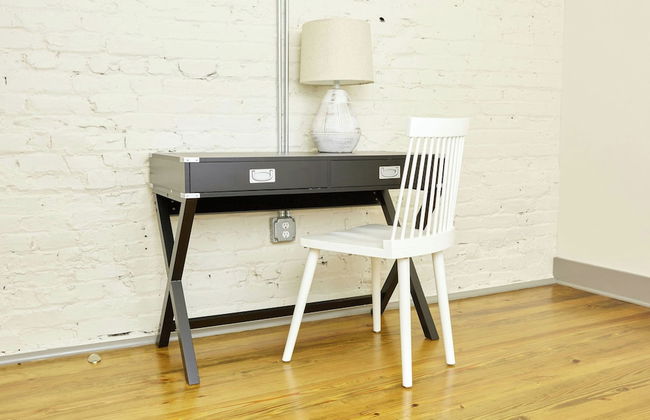
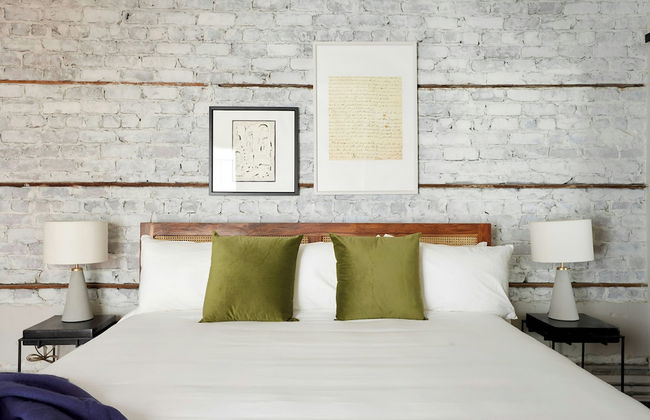
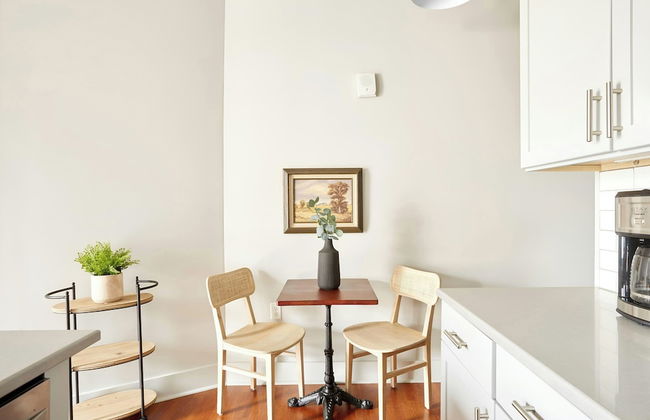
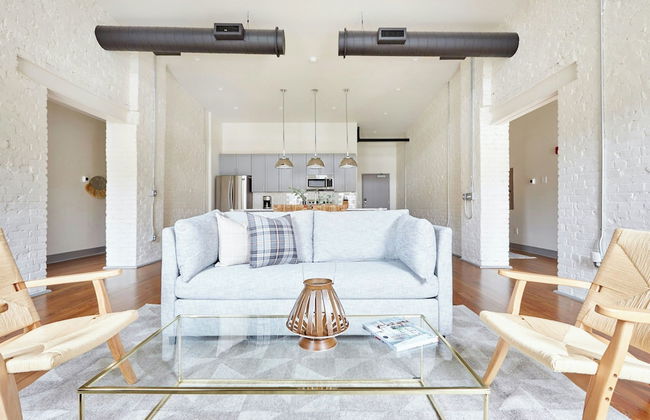
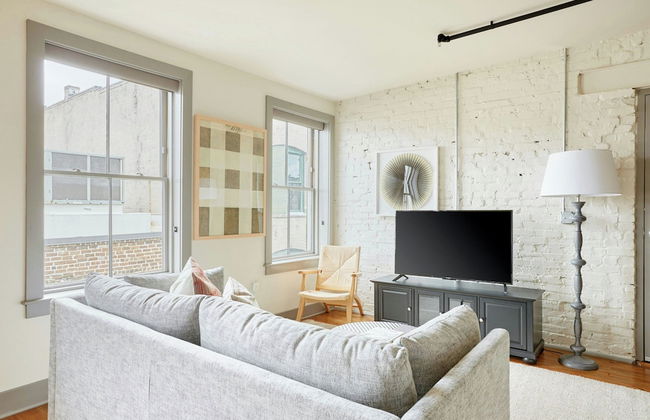
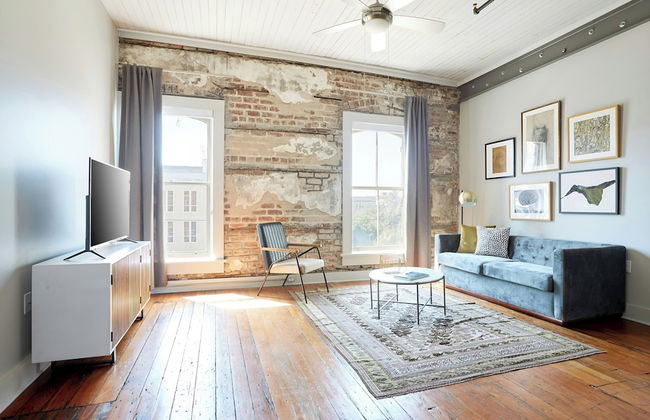
Sonder Ellis Square
Savannah - Downtown Savannah - Im Zentrum
- 225 M2
- 10 Personen
- Klimaanlage
- Heizung
- Fahrstuhl
- Tv
- Waschmaschine
- Handtücher
- Bettlaken
95 Bewertungen


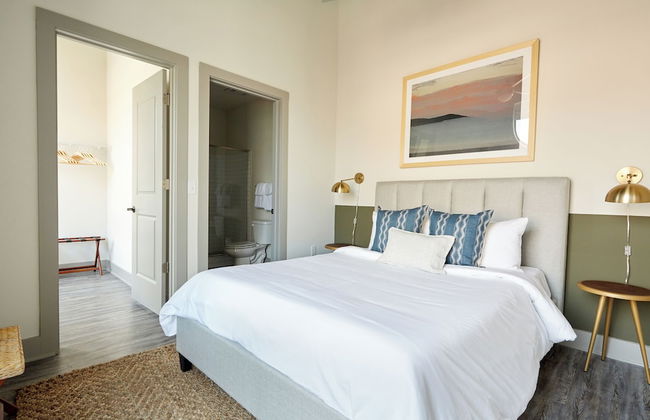


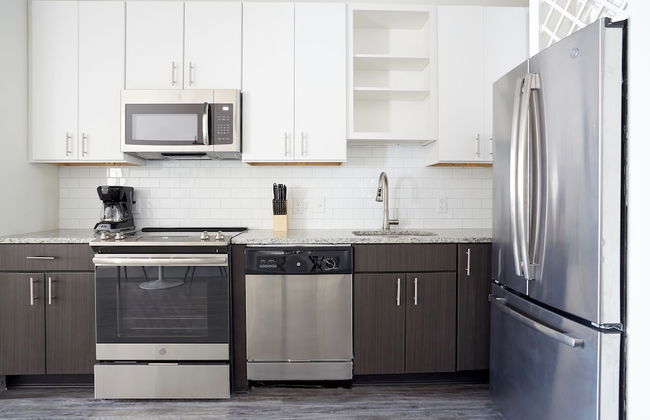
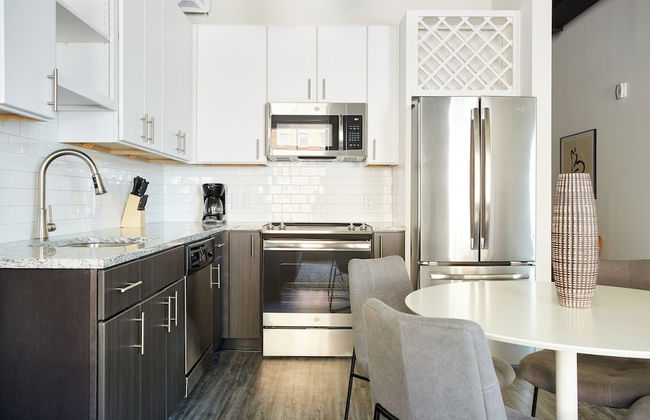


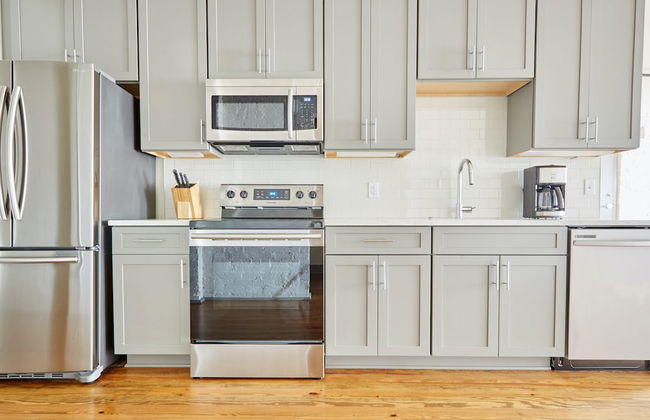
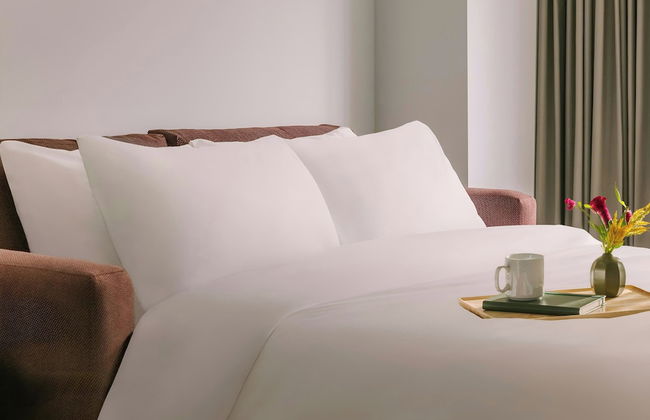
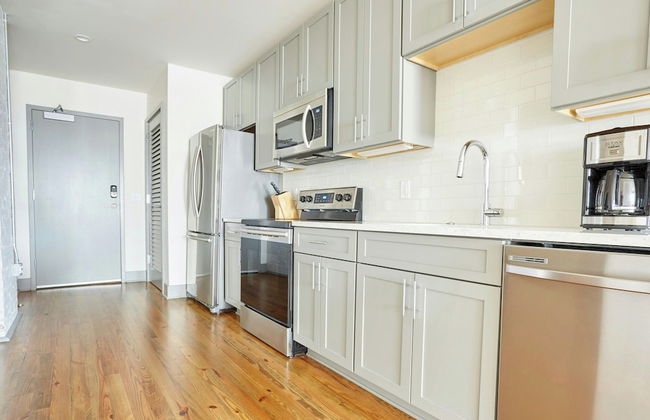
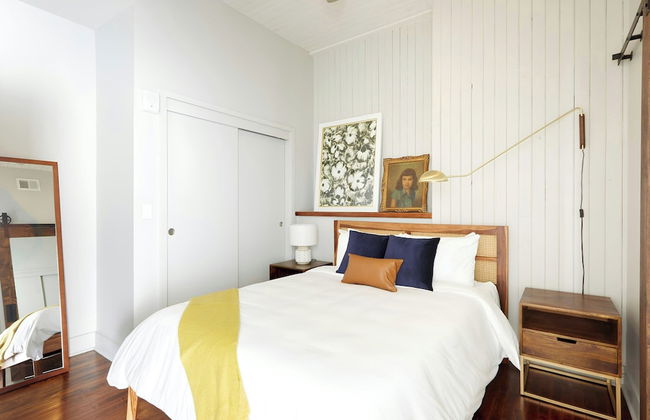
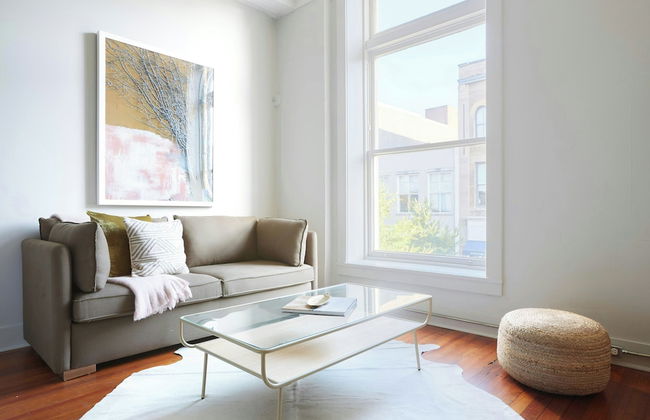
Kasa Altmayer Savannah
Savannah - Downtown Savannah - Im Zentrum
- 61 M2
- 4 Personen
- Klimaanlage
- Heizung
- Fahrstuhl
- Tv
- Waschmaschine
- Handtücher
- Bettlaken
212 Bewertungen


Sonder by Marriott Bonvoy The Drayton Apartments Historic District
Savannah - Downtown Savannah - Im Zentrum
- 4 Personen
- Klimaanlage
- Heizung
- Tv
- Waschmaschine
- Handtücher
- Bettlaken
214 Bewertungen


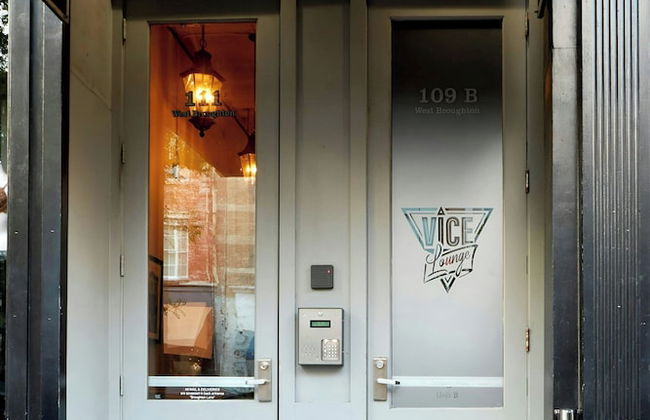
Sonder by Marriott Bonvoy The Broughton Apartments Historic District
Savannah - Downtown Savannah - Im Zentrum
- 9 Personen
- Klimaanlage
- Heizung
- Fahrstuhl
- Tv
- Handtücher
- Bettlaken
334 Bewertungen


Gallery Stays - Low Country
Savannah - Beach Institute - 540 m vom Zentrum
- 6 Personen
- Klimaanlage
- Heizung
- Tv
- Waschmaschine
- Handtücher
7 Bewertungen


Gallery Stays - Parkside Loft
Savannah - Beach Institute - 980 m vom Zentrum
- 6 Personen
- Klimaanlage
- Heizung
- Tv
- Waschmaschine
- Handtücher
8 Bewertungen

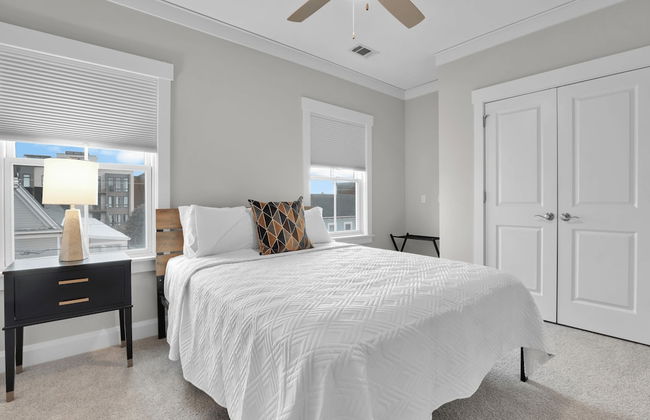
Sonder The Congress
Savannah - Downtown Savannah - Im Zentrum
- 122 M2
- 6 Personen
- Klimaanlage
- Heizung
- Tv
- Waschmaschine
- Handtücher
- Bettlaken
27 Bewertungen


Gallery Stays - Spartina
Savannah - Beach Institute - 540 m vom Zentrum
- 6 Personen
- Klimaanlage
- Heizung
- Tv
- Handtücher
- Bettlaken
3 Bewertungen


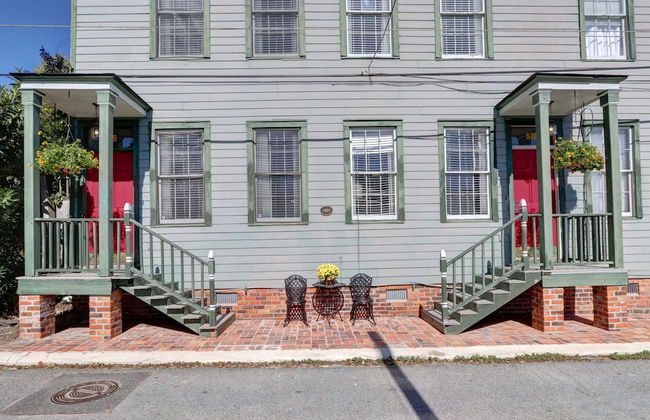
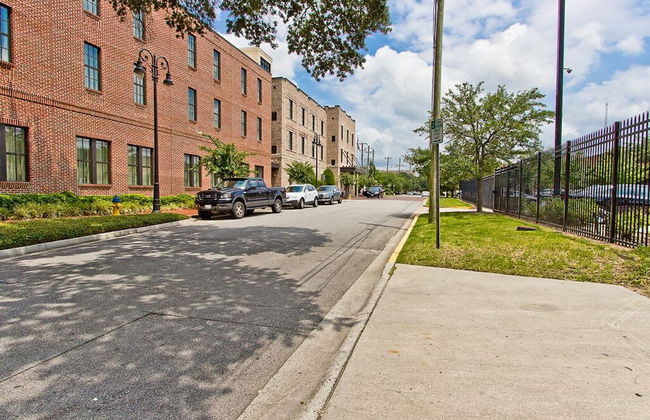
Barnard Row House
Savannah - Metropolitan - 1.7 km vom Zentrum
- 181 M2
- 12 Personen
- Klimaanlage
- Heizung
- Parkplatz
- Tv
- Waschmaschine
- Handtücher
- Bettlaken
3 Bewertungen


Gallery Stays - Parkside Suite
Savannah - Beach Institute - 990 m vom Zentrum
- 4 Personen
- Klimaanlage
- Heizung
- Tv
- Waschmaschine
- Handtücher
8 Bewertungen


Gallery Stays - Amiri Pop
Savannah - Beach Institute - 540 m vom Zentrum
- 6 Personen
- Tv
- Waschmaschine
- Handtücher
2 Bewertungen


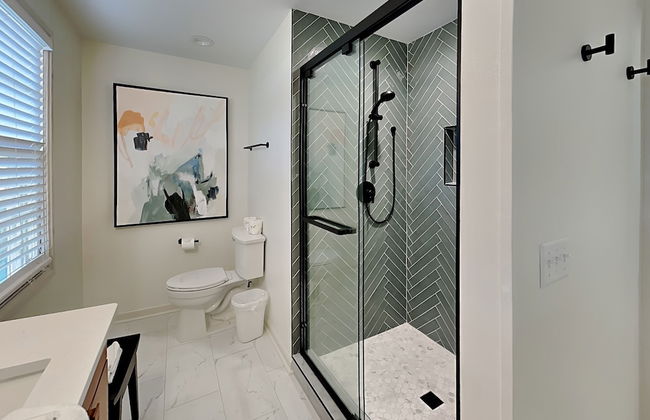

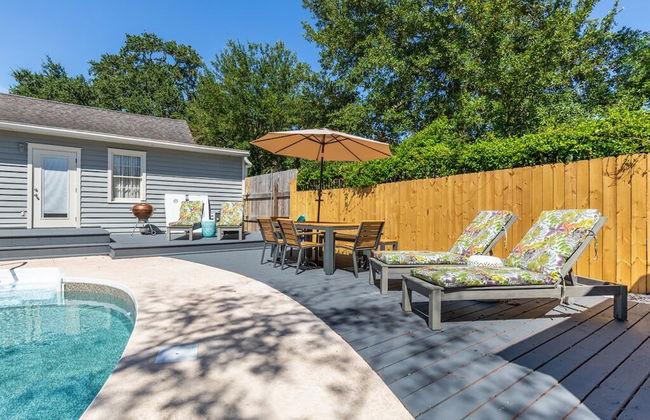
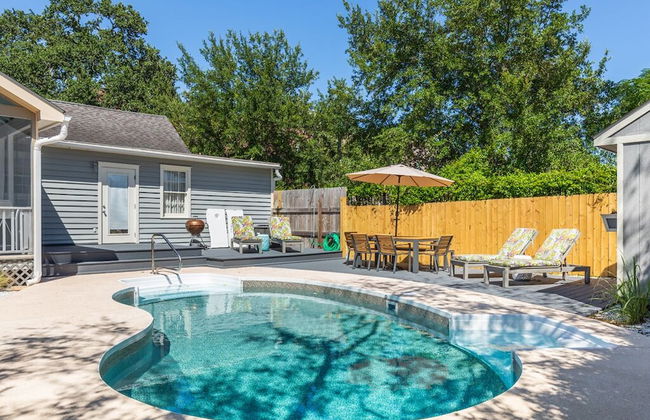

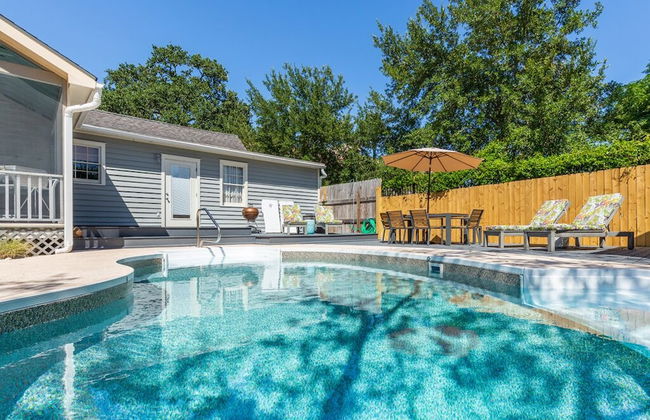
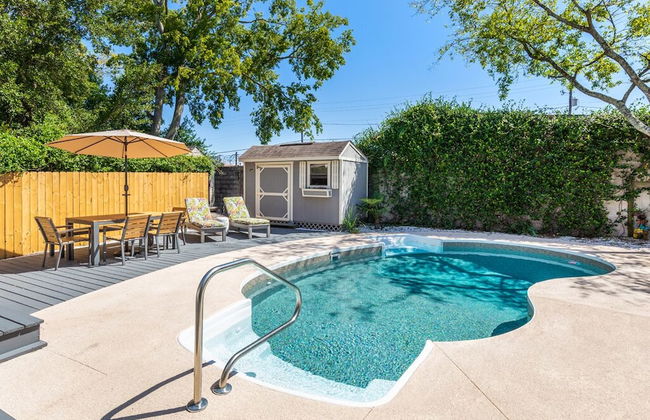

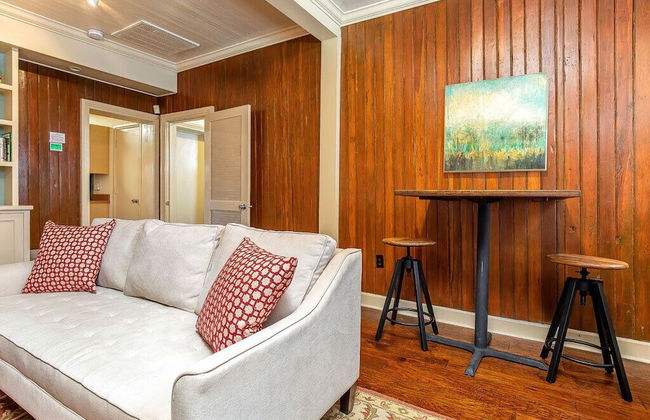


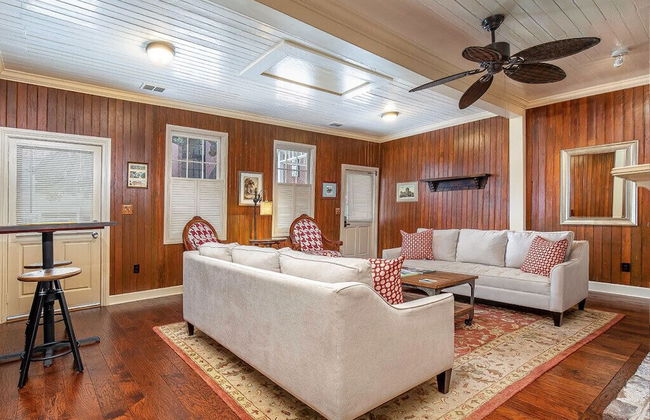


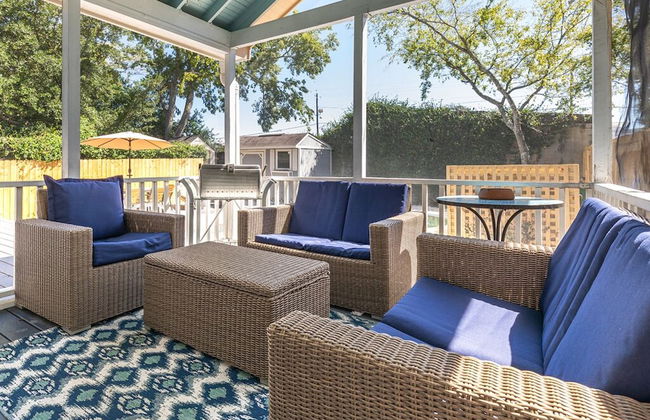
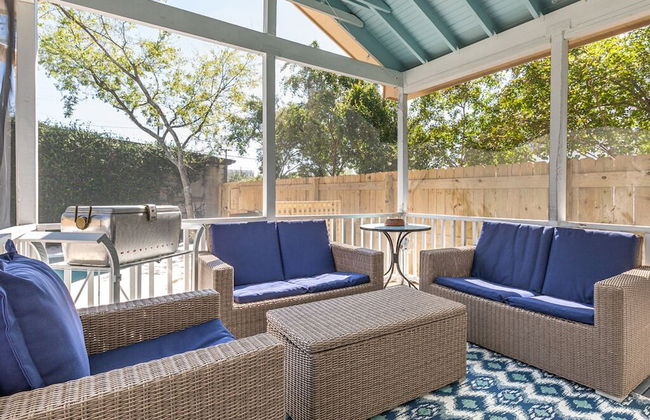


Frogtown Cottage
Savannah - Kayton/Frazier Area - 620 m vom Zentrum
- 127 M2
- 8 Personen
- Klimaanlage
- Heizung
- Schwimmbad
- Parkplatz
- Tv
- Waschmaschine
- Handtücher
- Bettlaken
1 Bewertung

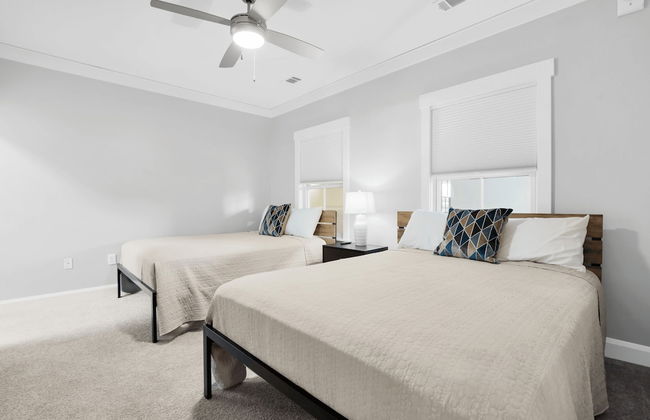


Savannah Residences
Savannah - Downtown Savannah - 770 m vom Zentrum
- 8 Personen
- Klimaanlage
- Heizung
- Parkplatz
- Fahrstuhl
- Tv
- Waschmaschine
- Handtücher
- Bettlaken
1 Bewertung