158 Wohnungen in Michigan


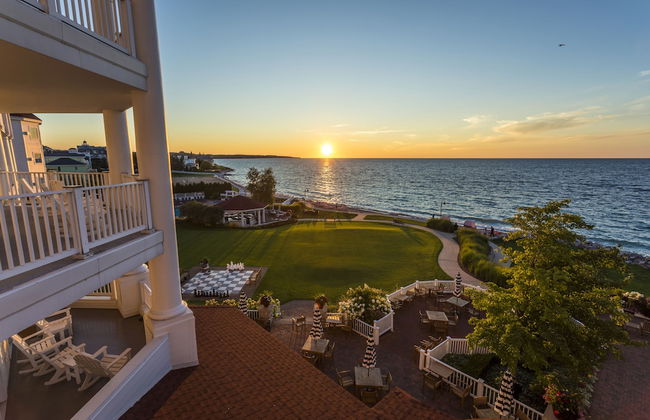
The Neighborhood Hotel - Grand Beach
New Buffalo
- 8 Personen
- Klimaanlage
- Heizung
- Terrasse
- Schwimmbad
- Parkplatz
- Tv
- Schornstein
- Barbecue
- Handtücher
- Bettlaken
39 Bewertungen


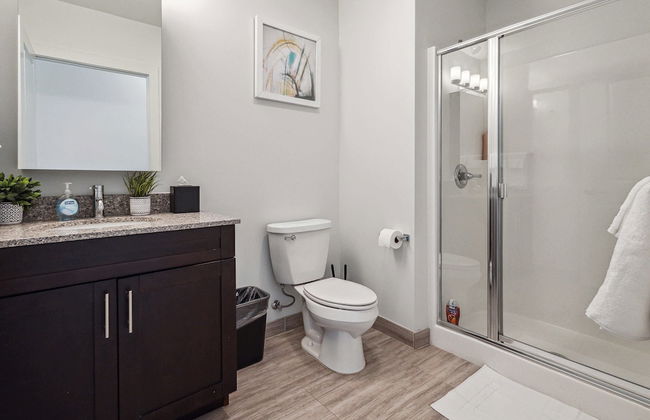


Executive Downtown Retreat
Detroit - Downtown - Im Zentrum
- 6 Personen
- Parkplatz
- Fahrstuhl
- Tv
- Waschmaschine
- Handtücher
- Bettlaken
10 Bewertungen


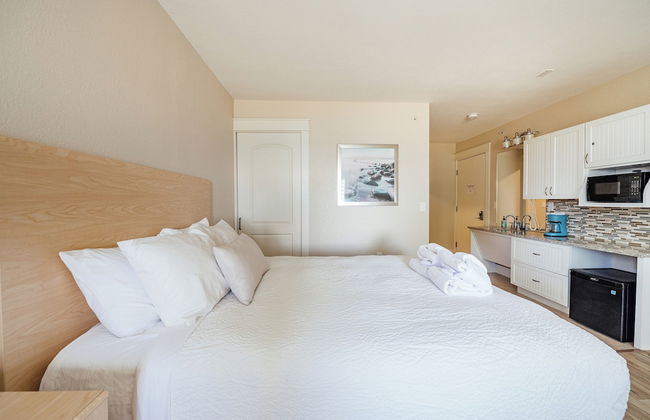
ROOST Detroit
Detroit - Downtown - Im Zentrum
- 95 M2
- 4 Personen
- Klimaanlage
- Heizung
- Parkplatz
- Fahrstuhl
- Tv
- Waschmaschine
- Schornstein
- Barbecue
- Handtücher
- Bettlaken
500 Bewertungen


Cottages at Bay Harbor
Petoskey
- 129 M2
- 10 Personen
- Klimaanlage
- Heizung
- Terrasse
- Schwimmbad
- Parkplatz
- Balkon
- Garten
- Tv
- Waschmaschine
- Schornstein
- Handtücher
- Bettlaken
46 Bewertungen


Kasa 539 Bay Street Traverse City
Traverse City - 1.1 km vom Zentrum
- 140 M2
- 8 Personen
- Klimaanlage
- Heizung
- Parkplatz
- Fahrstuhl
- Balkon
- Tv
- Waschmaschine
- Handtücher
- Bettlaken
18 Bewertungen


Pinestead Reef Resort
Traverse City - 4.9 km vom Zentrum
- 79 M2
- 8 Personen
- Klimaanlage
- Heizung
- Terrasse
- Schwimmbad
- Parkplatz
- Fahrstuhl
- Balkon
- Tv
- Schornstein
- Barbecue
- Handtücher
- Bettlaken
507 Bewertungen


Kasa Gold Coast Inn Traverse City
Traverse City - 6.9 km vom Zentrum
- 46 M2
- 4 Personen
- Klimaanlage
- Heizung
- Parkplatz
- Fahrstuhl
- Tv
- Handtücher
- Bettlaken
68 Bewertungen


Exhibit A2
Ann Arbor - Bach - Im Zentrum
- 4 Personen
- Klimaanlage
- Heizung
- Terrasse
- Fahrstuhl
- Balkon
- Tv
- Waschmaschine
- Handtücher
- Bettlaken
250 Bewertungen


Sonder by Marriott Bonvoy Gabriel Richard Apartments Downtown
Detroit - Downtown - Im Zentrum
- 6 Personen
- Klimaanlage
- Heizung
- Fahrstuhl
- Tv
- Waschmaschine
- Handtücher
- Bettlaken
1104 Bewertungen


EXPLORE Munising Alger Falls
Munising - 2.6 km vom Zentrum
- 7 Personen
- Klimaanlage
- Heizung
- Terrasse
- Parkplatz
- Tv
- Handtücher
- Bettlaken
69 Bewertungen


Expedition Inn
Calumet
- 4 Personen
- Kochnische
- Klimaanlage
- Terrasse
- Parkplatz
- Tv
- Schornstein
- Handtücher
- Bettlaken
22 Bewertungen


Keweenaw Waters Resort
Houghton
- 181 M2
- 14 Personen
- Klimaanlage
- Heizung
- Terrasse
- Parkplatz
- Balkon
- Tv
- Waschmaschine
- Barbecue
- Handtücher
- Bettlaken
61 Bewertungen


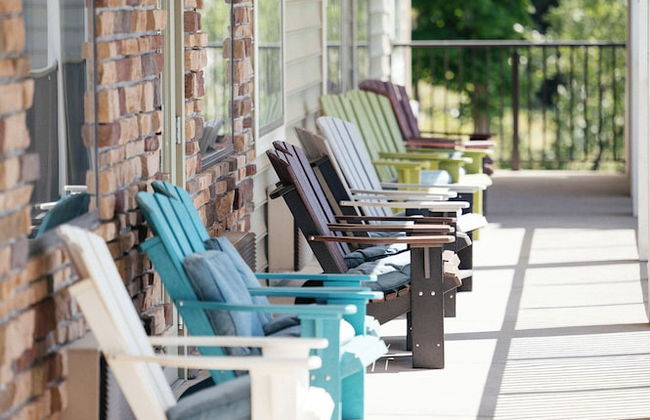
OLDE MILL INN OF CLARKSTON
Clarkston - 5.7 km von Pine Knob
- 28 M2
- 4 Personen
- Kochnische
- Klimaanlage
- Heizung
- Terrasse
- Parkplatz
- Balkon
- Tv
- Schornstein
- Barbecue
- Handtücher
- Bettlaken
88 Bewertungen


Kasa Cadillac Square Detroit
Detroit - Downtown - Im Zentrum
- 74 M2
- 6 Personen
- Klimaanlage
- Heizung
- Parkplatz
- Fahrstuhl
- Tv
- Waschmaschine
- Handtücher
- Bettlaken
493 Bewertungen


Lakeview Golf Retreat 1BDR Condo 5057
Williamsburg
- 4 Personen
- Klimaanlage
- Heizung
- Terrasse
- Parkplatz
- Tv
- Handtücher
- Bettlaken
2 Bewertungen


The Birches - Condotel in Lake Leelanau
Lake Leelanau
- 40 Personen
- Klimaanlage
- Heizung
- Parkplatz
- Balkon
- Tv
- Waschmaschine
- Handtücher
7 Bewertungen


Modern Downtown Apartment
Detroit - Downtown - Im Zentrum
- 6 Personen
- Parkplatz
- Fahrstuhl
- Waschmaschine
- Handtücher
- Bettlaken
5 Bewertungen


The Finley Block
Owosso
- 12 Personen
- Klimaanlage
- Heizung
- Parkplatz
- Tv
- Schornstein
- Handtücher
- Bettlaken
52 Bewertungen


Modern Retreat Near Henry Ford
Detroit - Virginia Park - 4.8 km vom Zentrum
- 116 M2
- 6 Personen
- Heizung
- Parkplatz
- Tv
- Waschmaschine
- Handtücher
- Bettlaken
2 Bewertungen